January means resolutions and often those are to make a fresh start in attaining and maintaining fitness goals. Did you know that sewing your own active-wear leggings is actually pretty simple and a great way to get the perfect fit?
The Women’s Activewear ‘Get Moving’ Fitted Bottoms & Leggings pattern was written with exercise in mind, but adding a gusset will help reduce the chance of popping a seam during stretching.
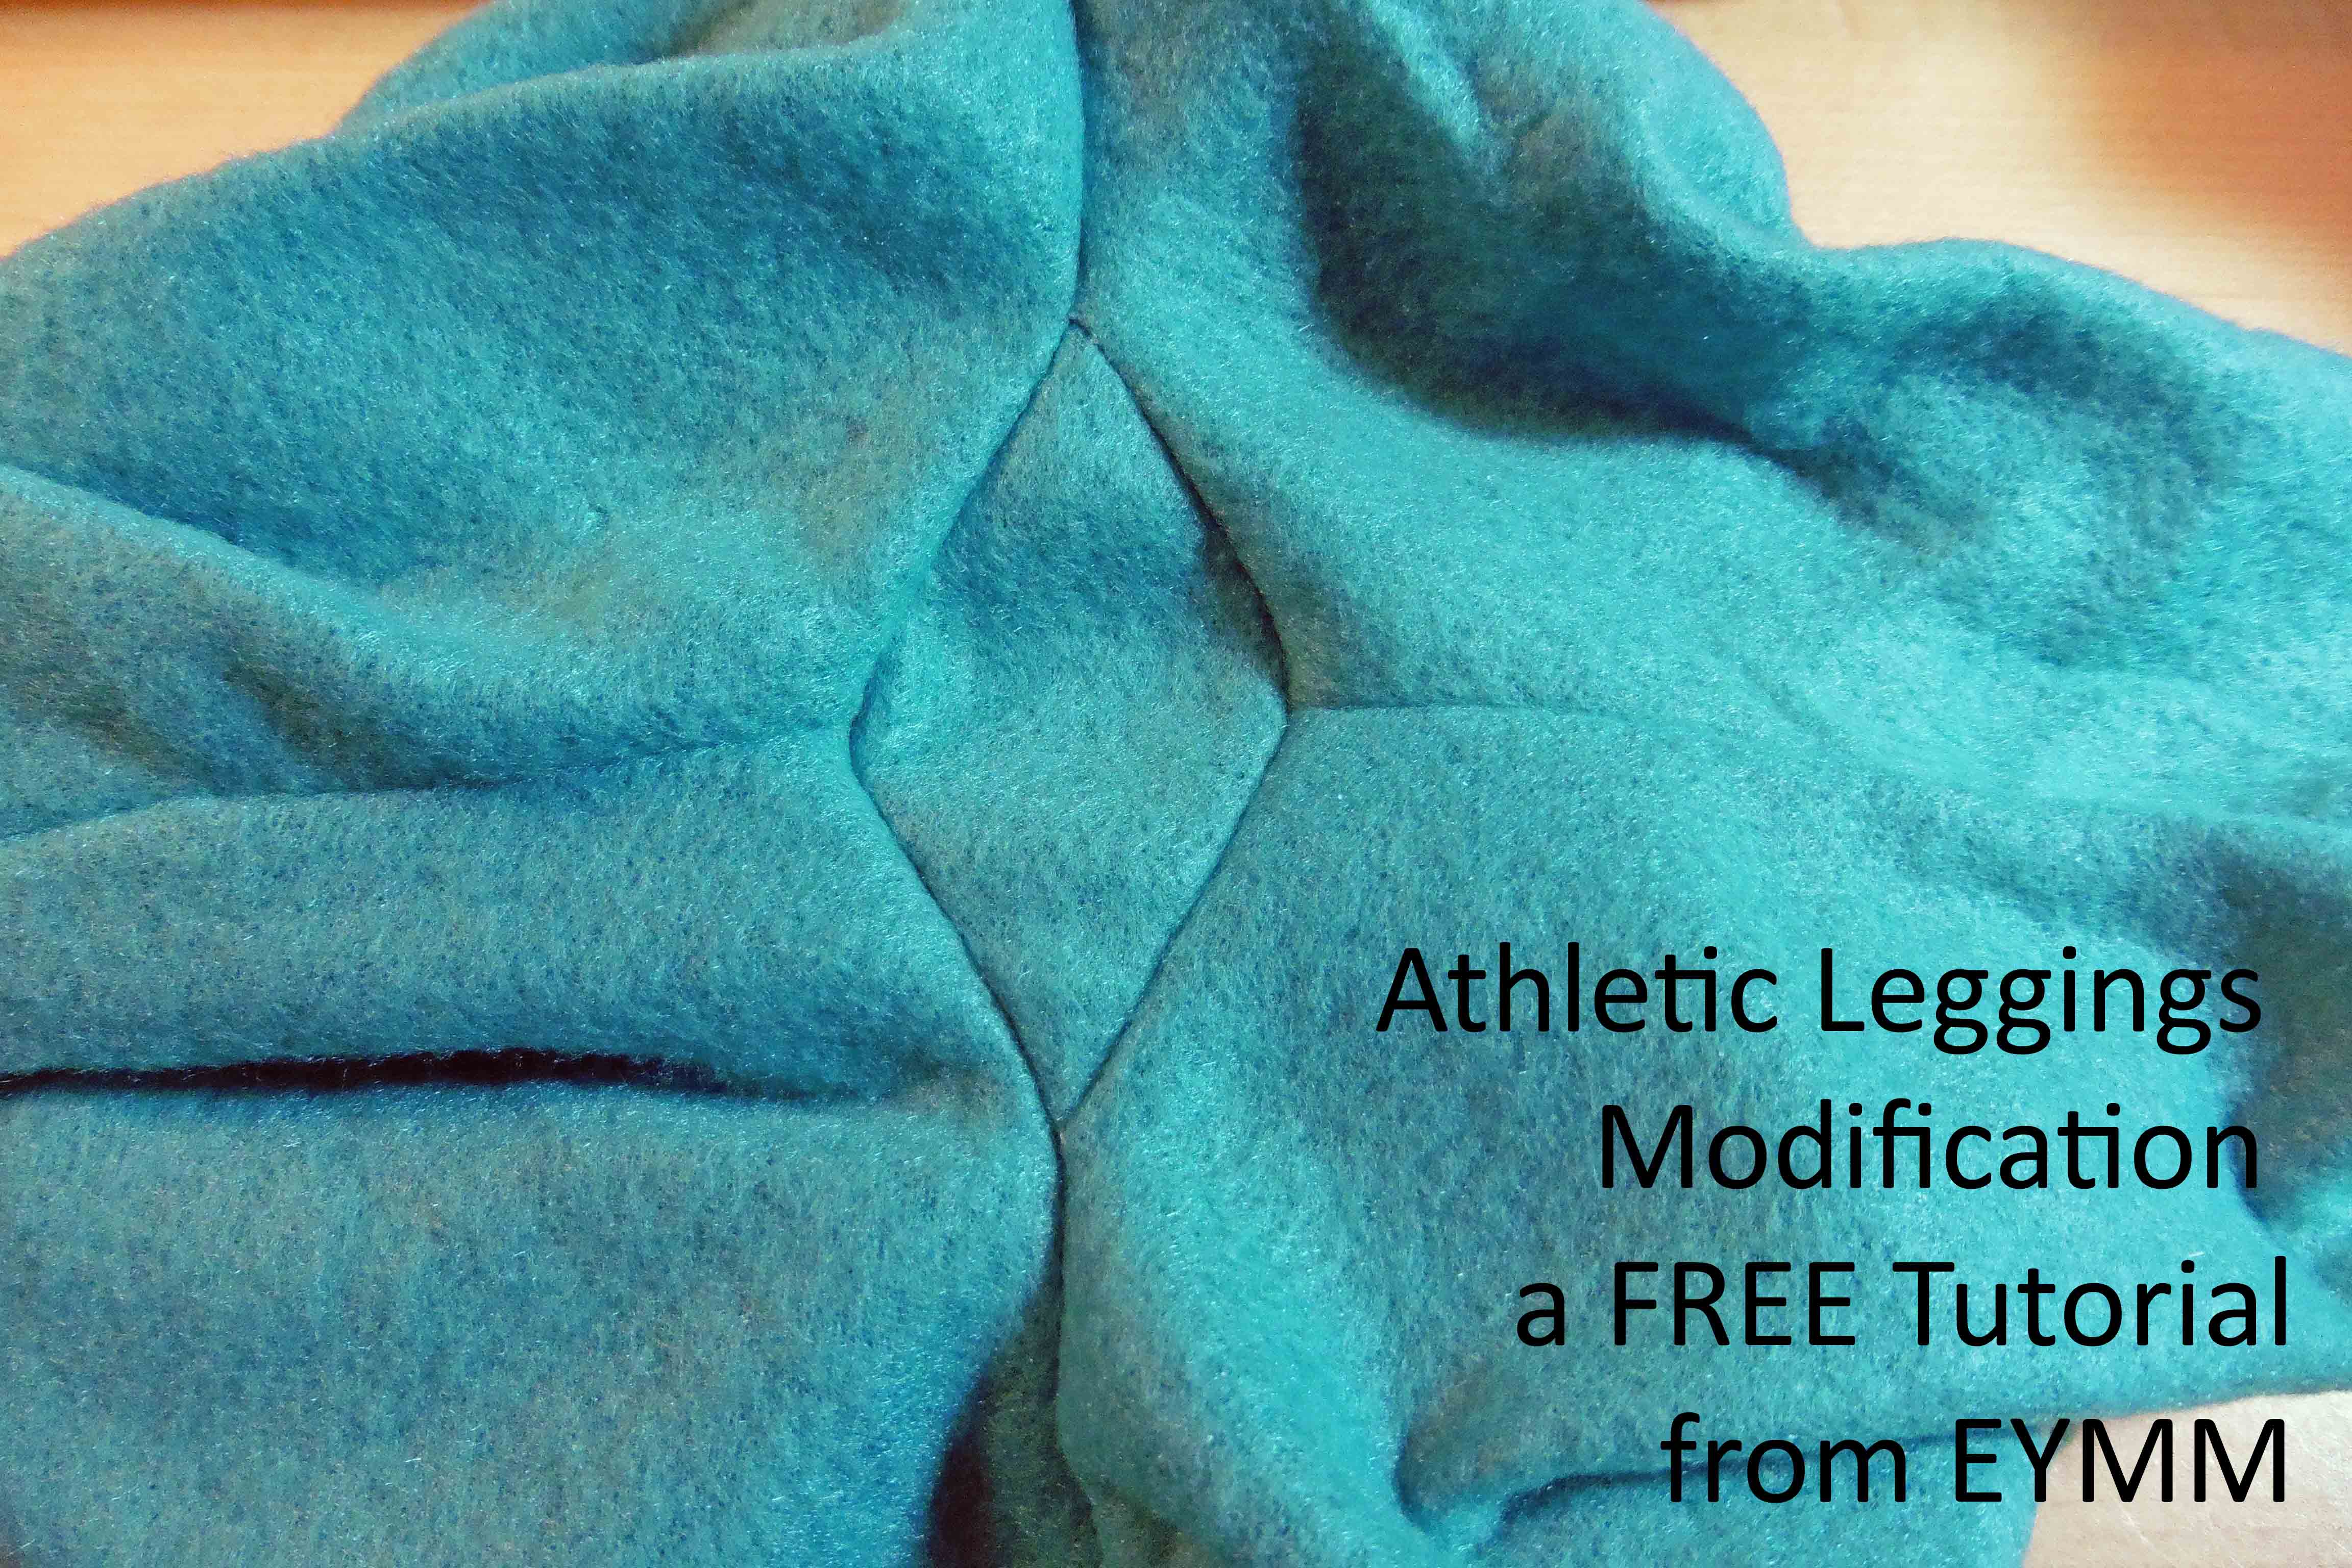
The stitching where the inseam crosses the rise seam receives the most stress during wear and inserting this diamond-shaped gusset piece will help strengthen that area.
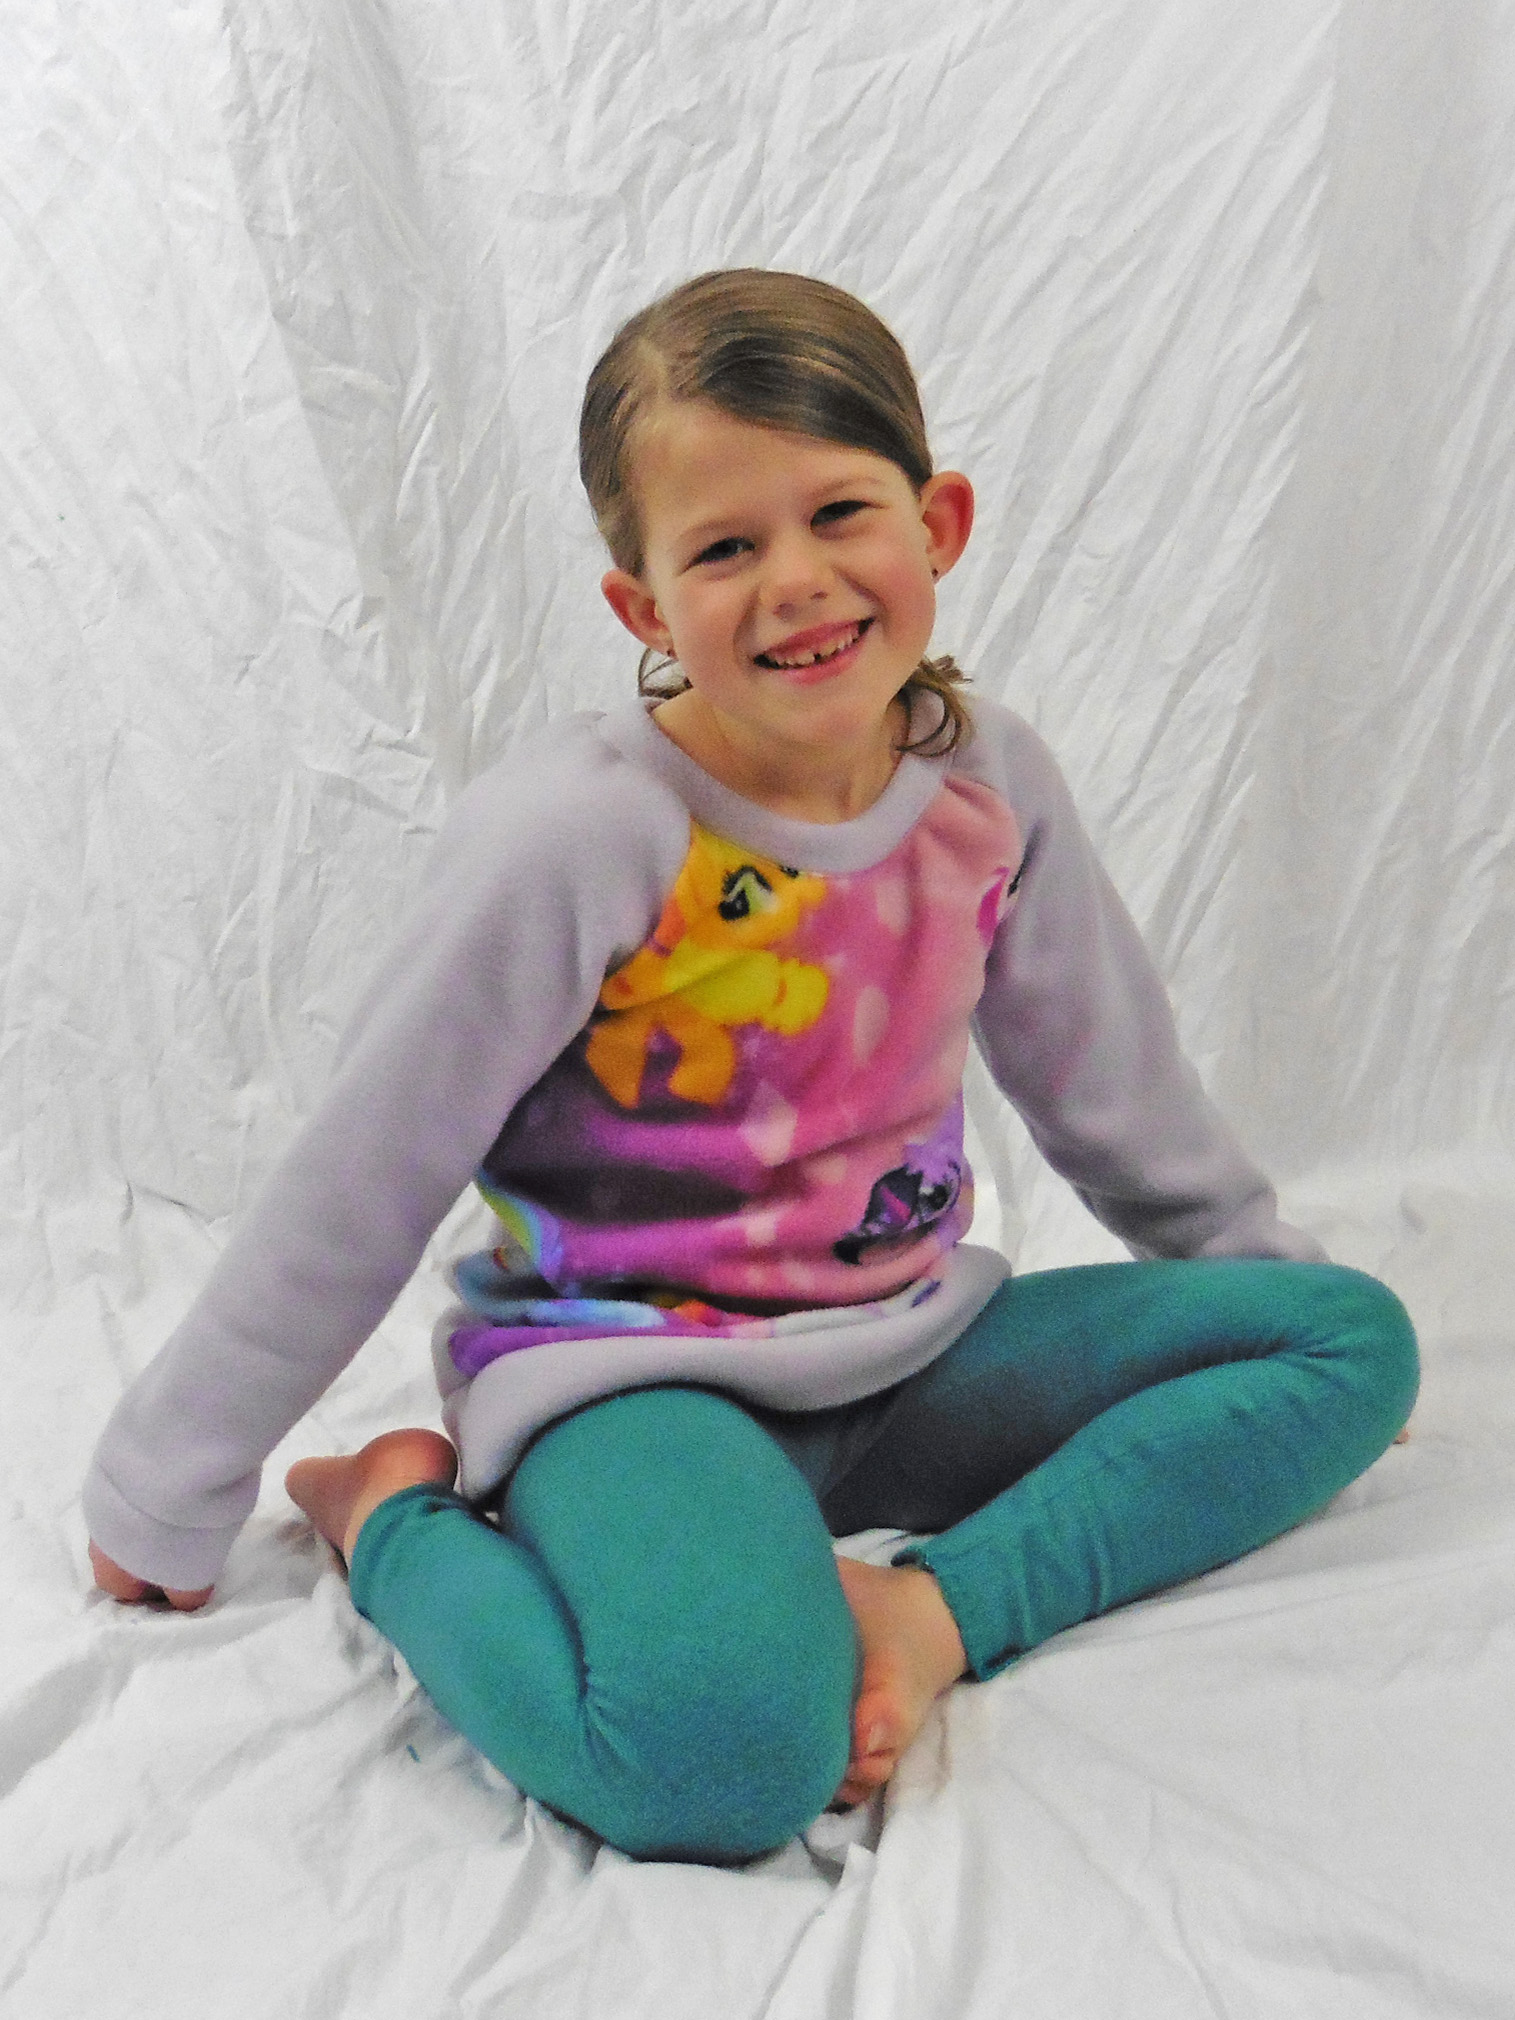
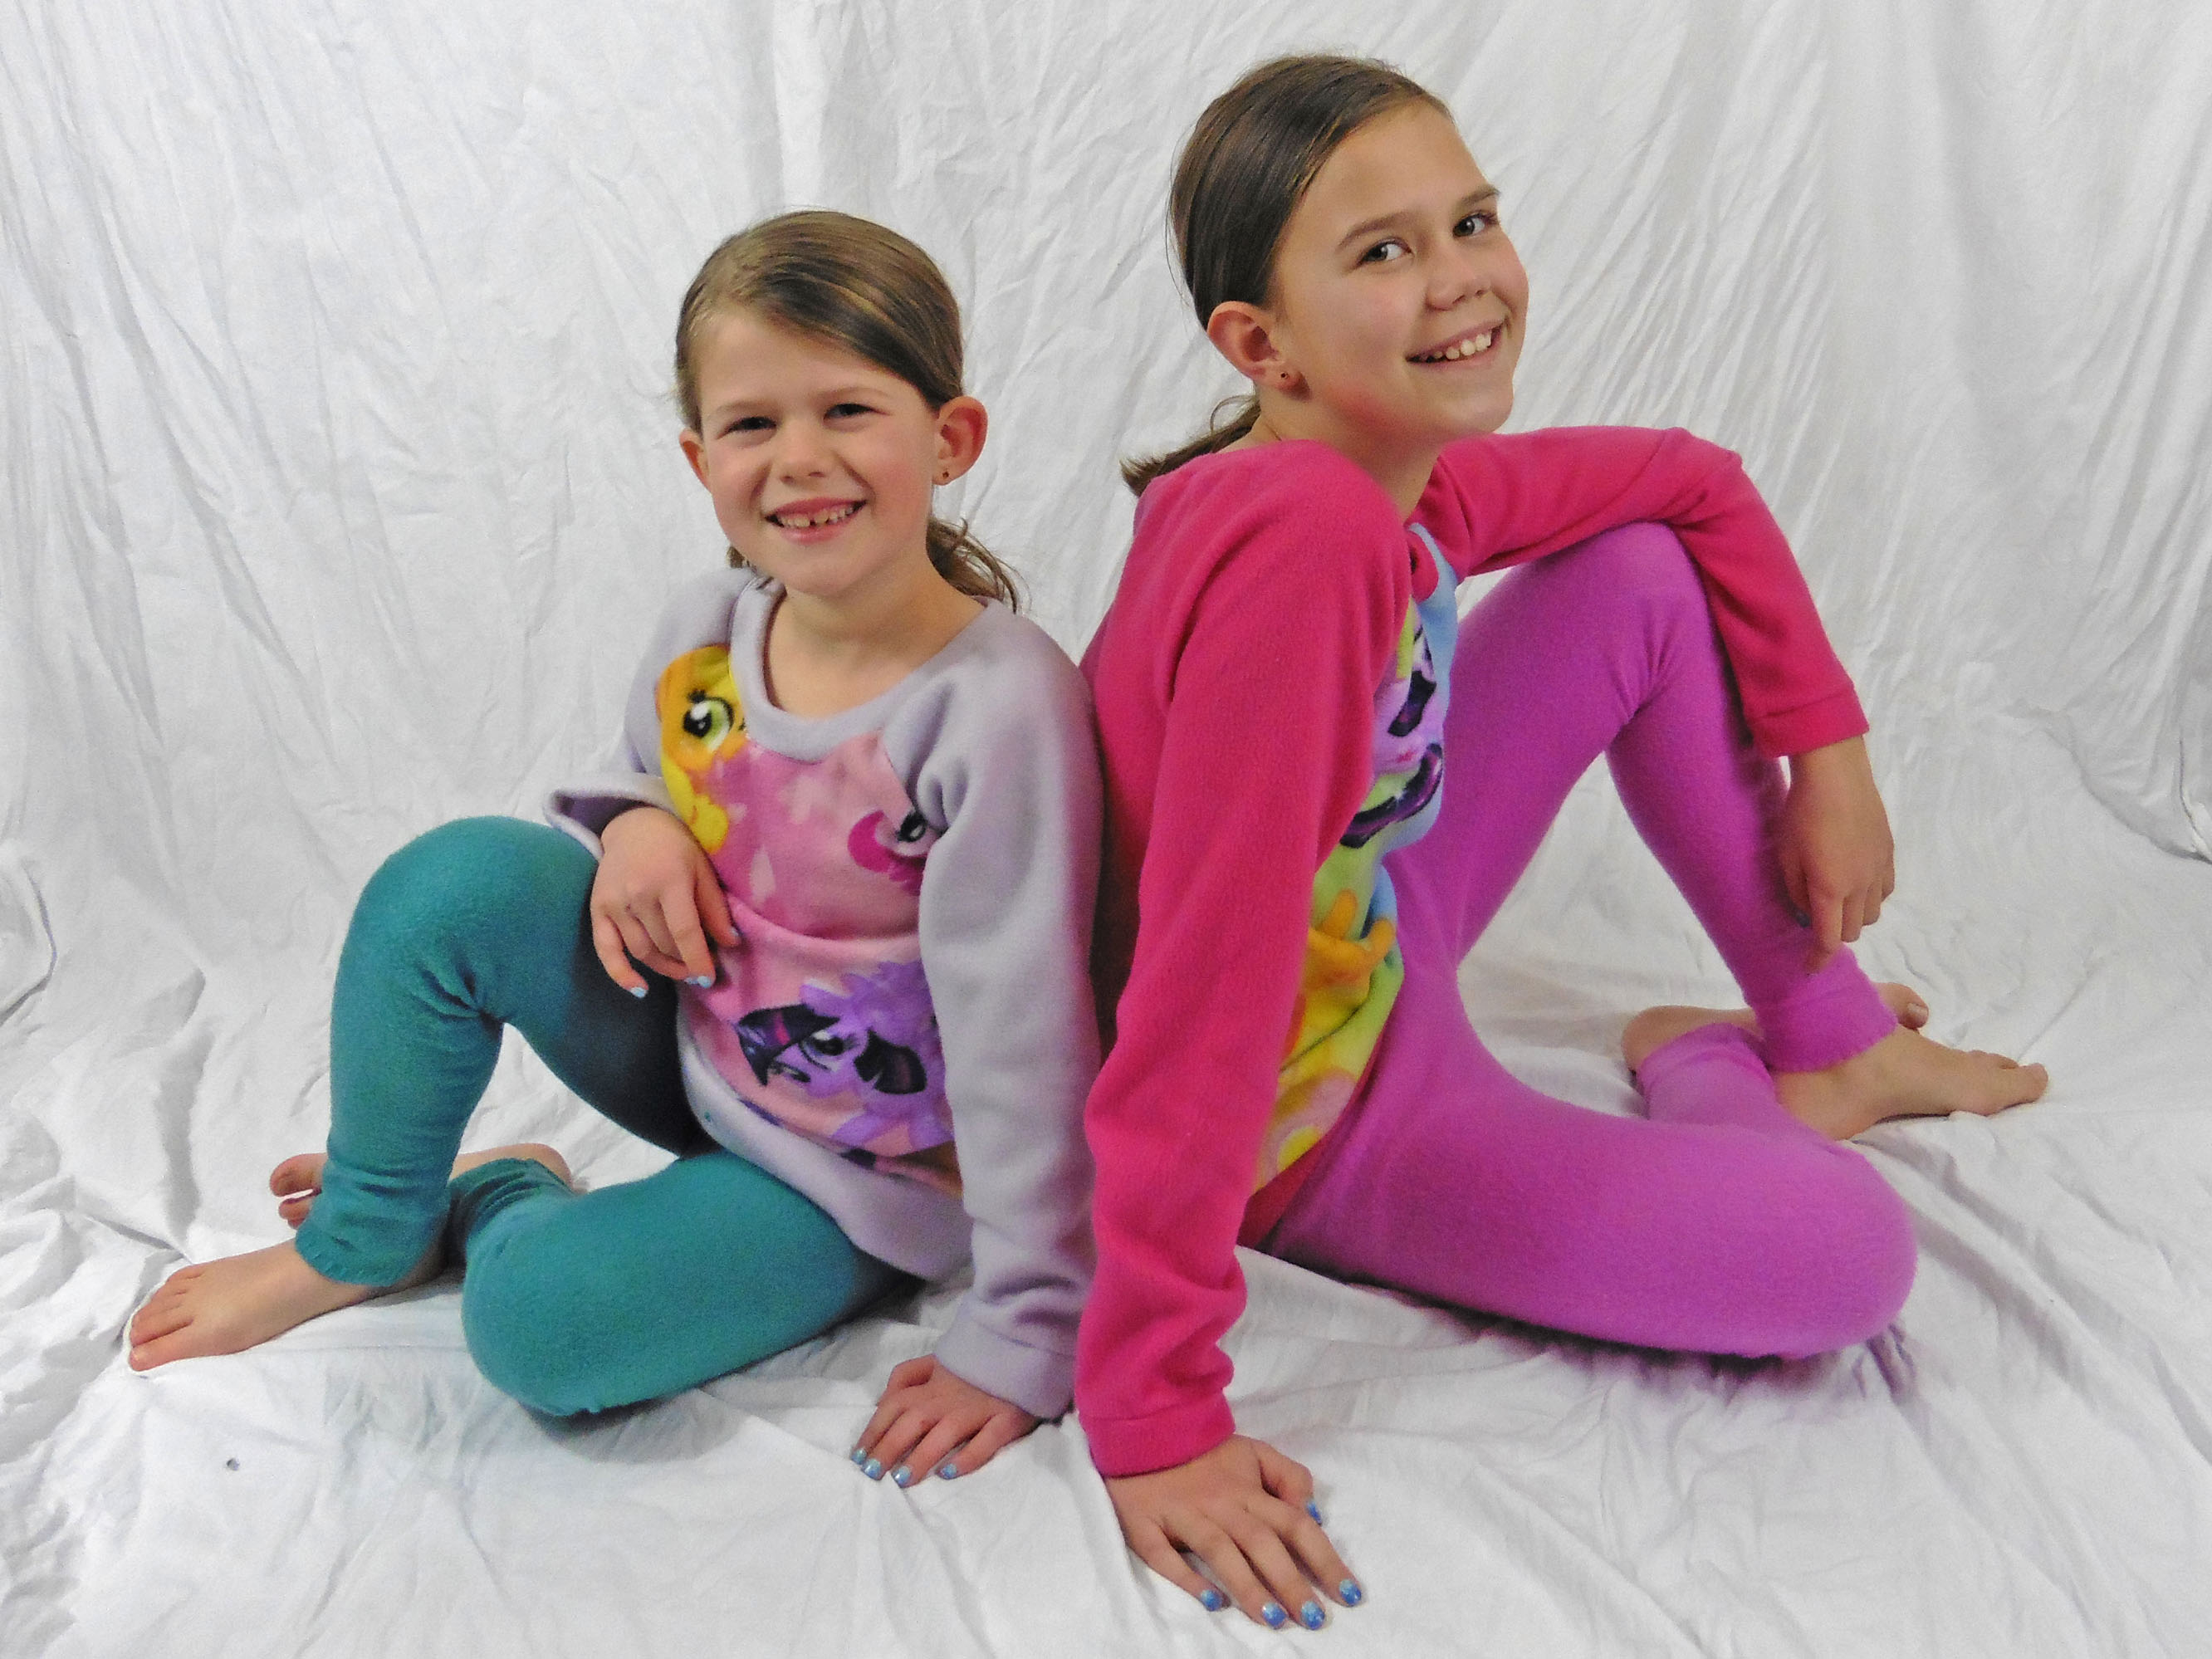
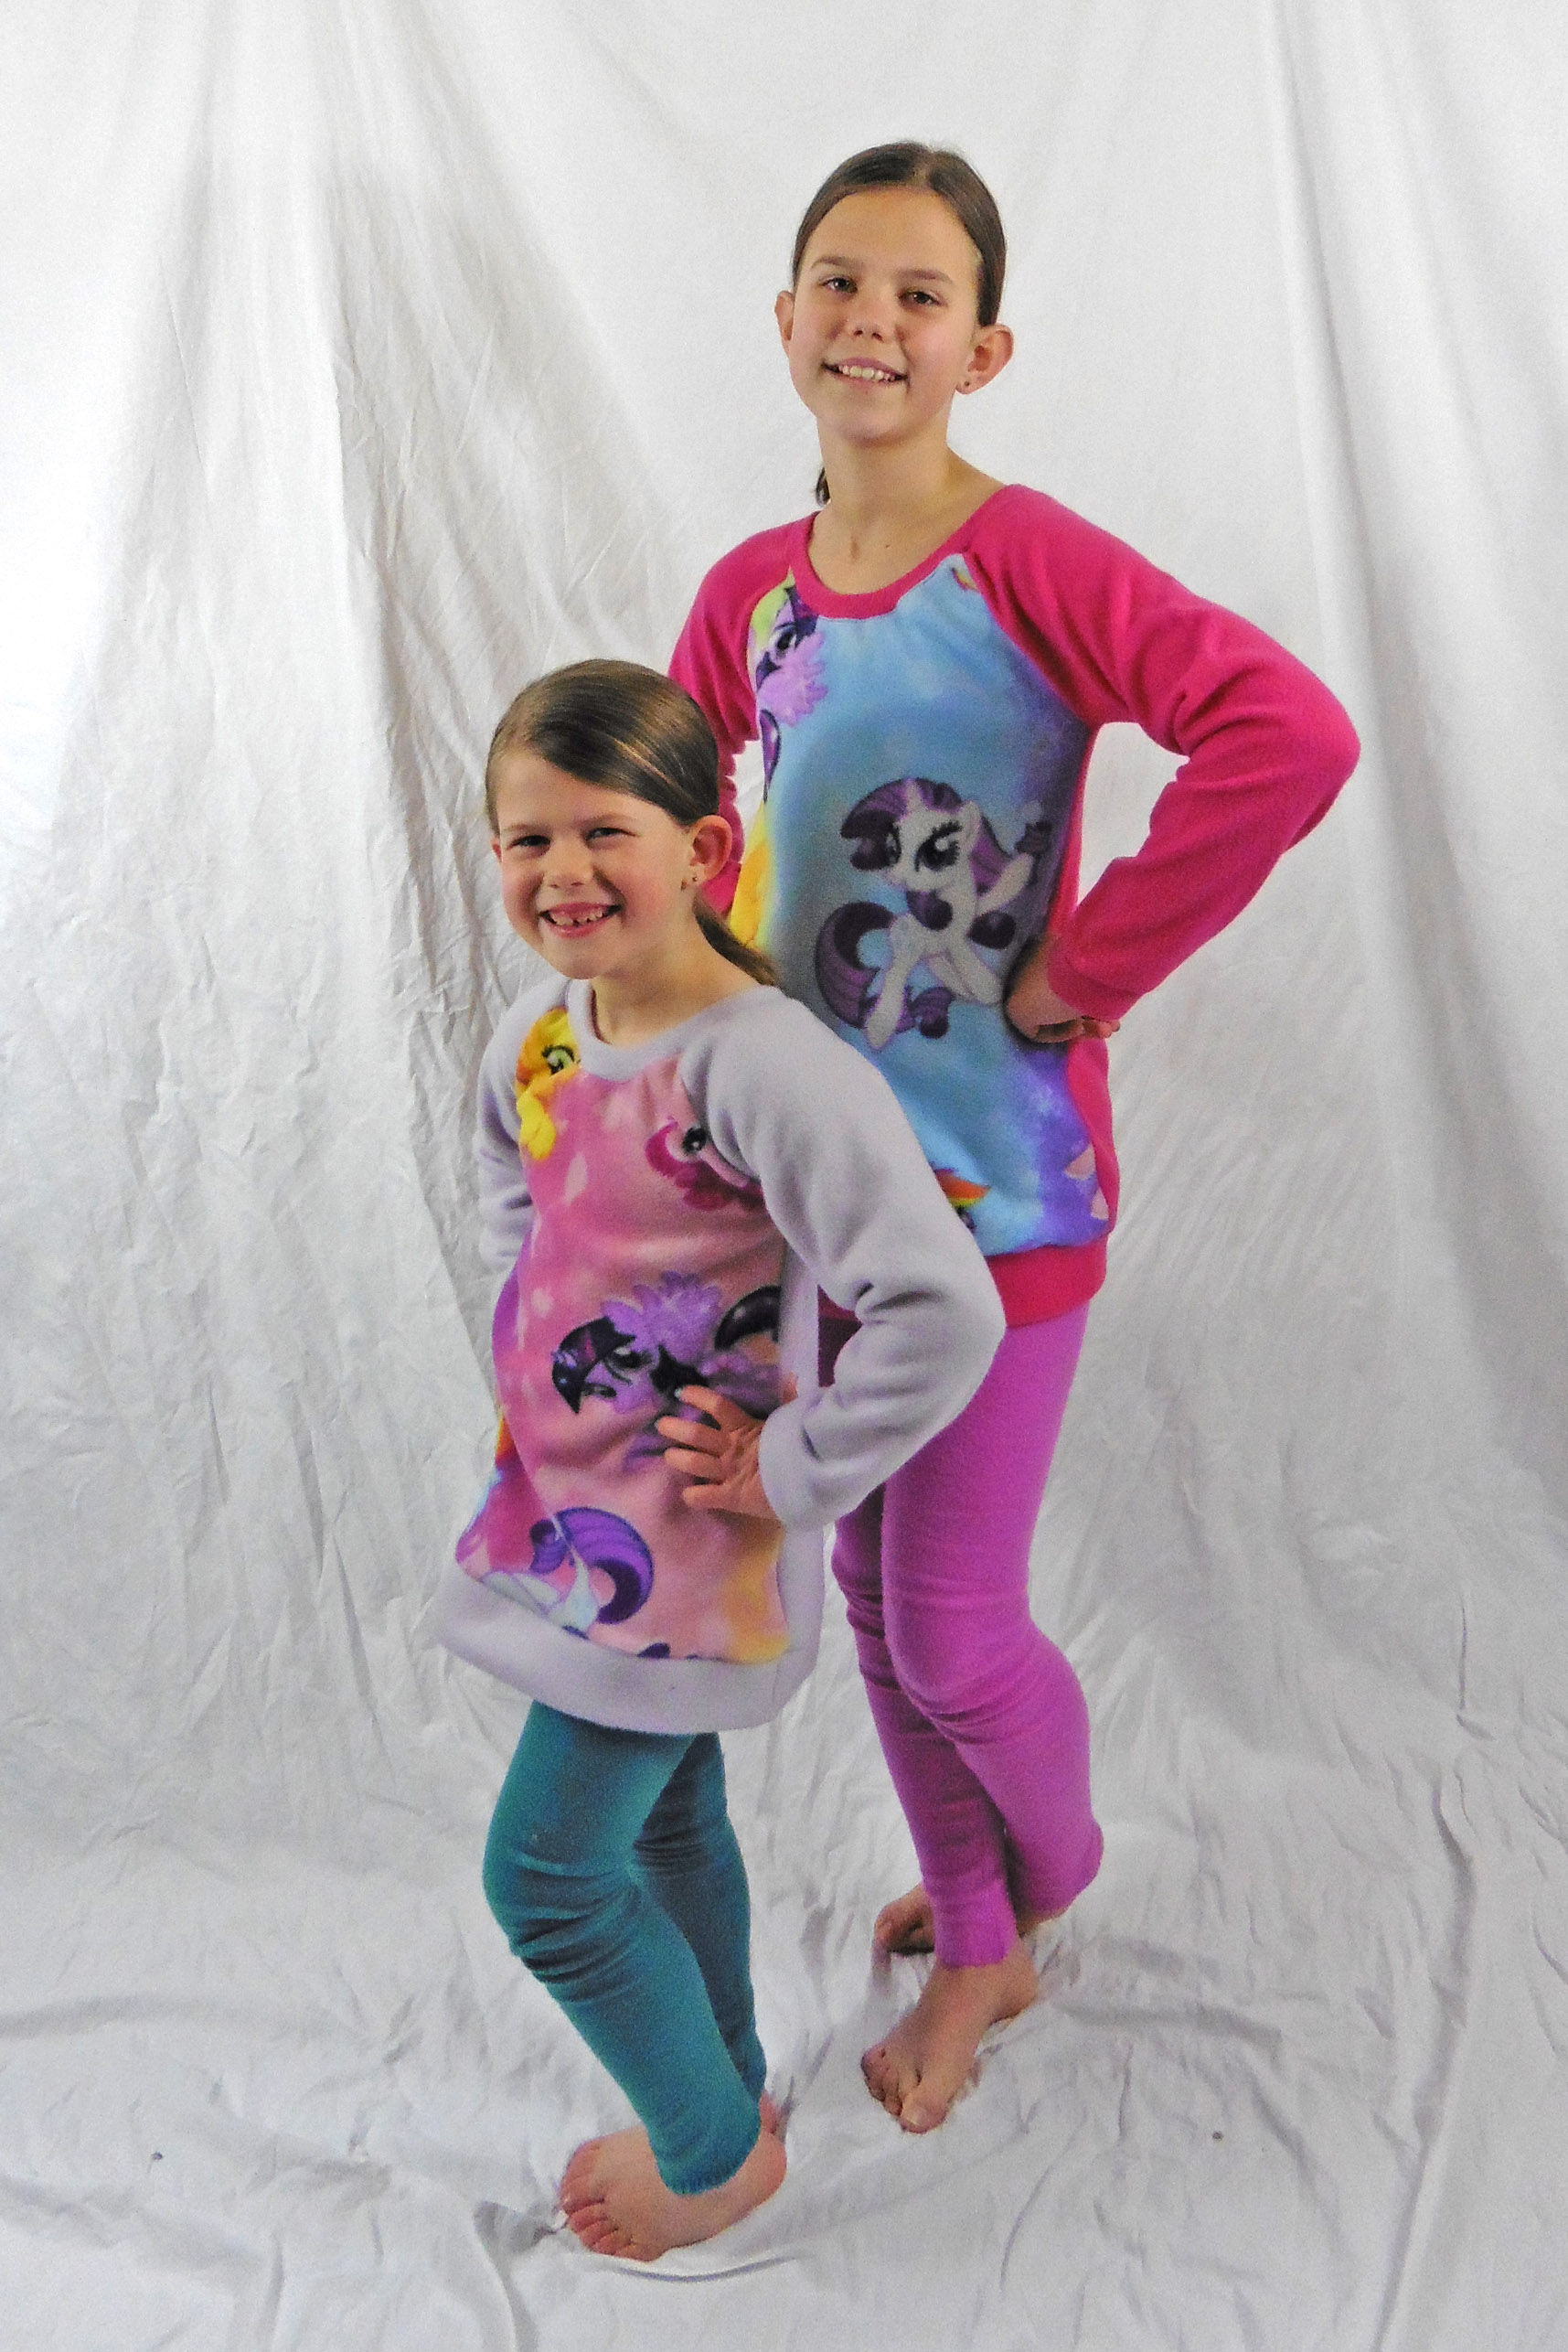
This add-on can be utilized on the girl’s size Jocelyn’s Leggings as well, so the following pictures are of new leggings for one of my daughters. They’ve both been requesting fleece leggings for lounging around the house (specifically to wear with their shirts I made last week), though I do not recommend fleece for activewear.
**If you do choose make a fleece pair, you should probably sew at least one size bigger since most fleece doesn’t have the stretch required for leggings.**
First things first, cut out all the pieces for your leggings (right leg, left leg, waistband) along with the athletic modification gusset corresponding to the size you’re making. It can be found here. (Save to your computer and open with Adobe Reader to ensure accurate printing. If you print from your browser, your 1″ square will likely be off, meaning your piece won’t be the correct size either.)
To insert the gusset, we need to change the order of construction from the legging pattern directions.
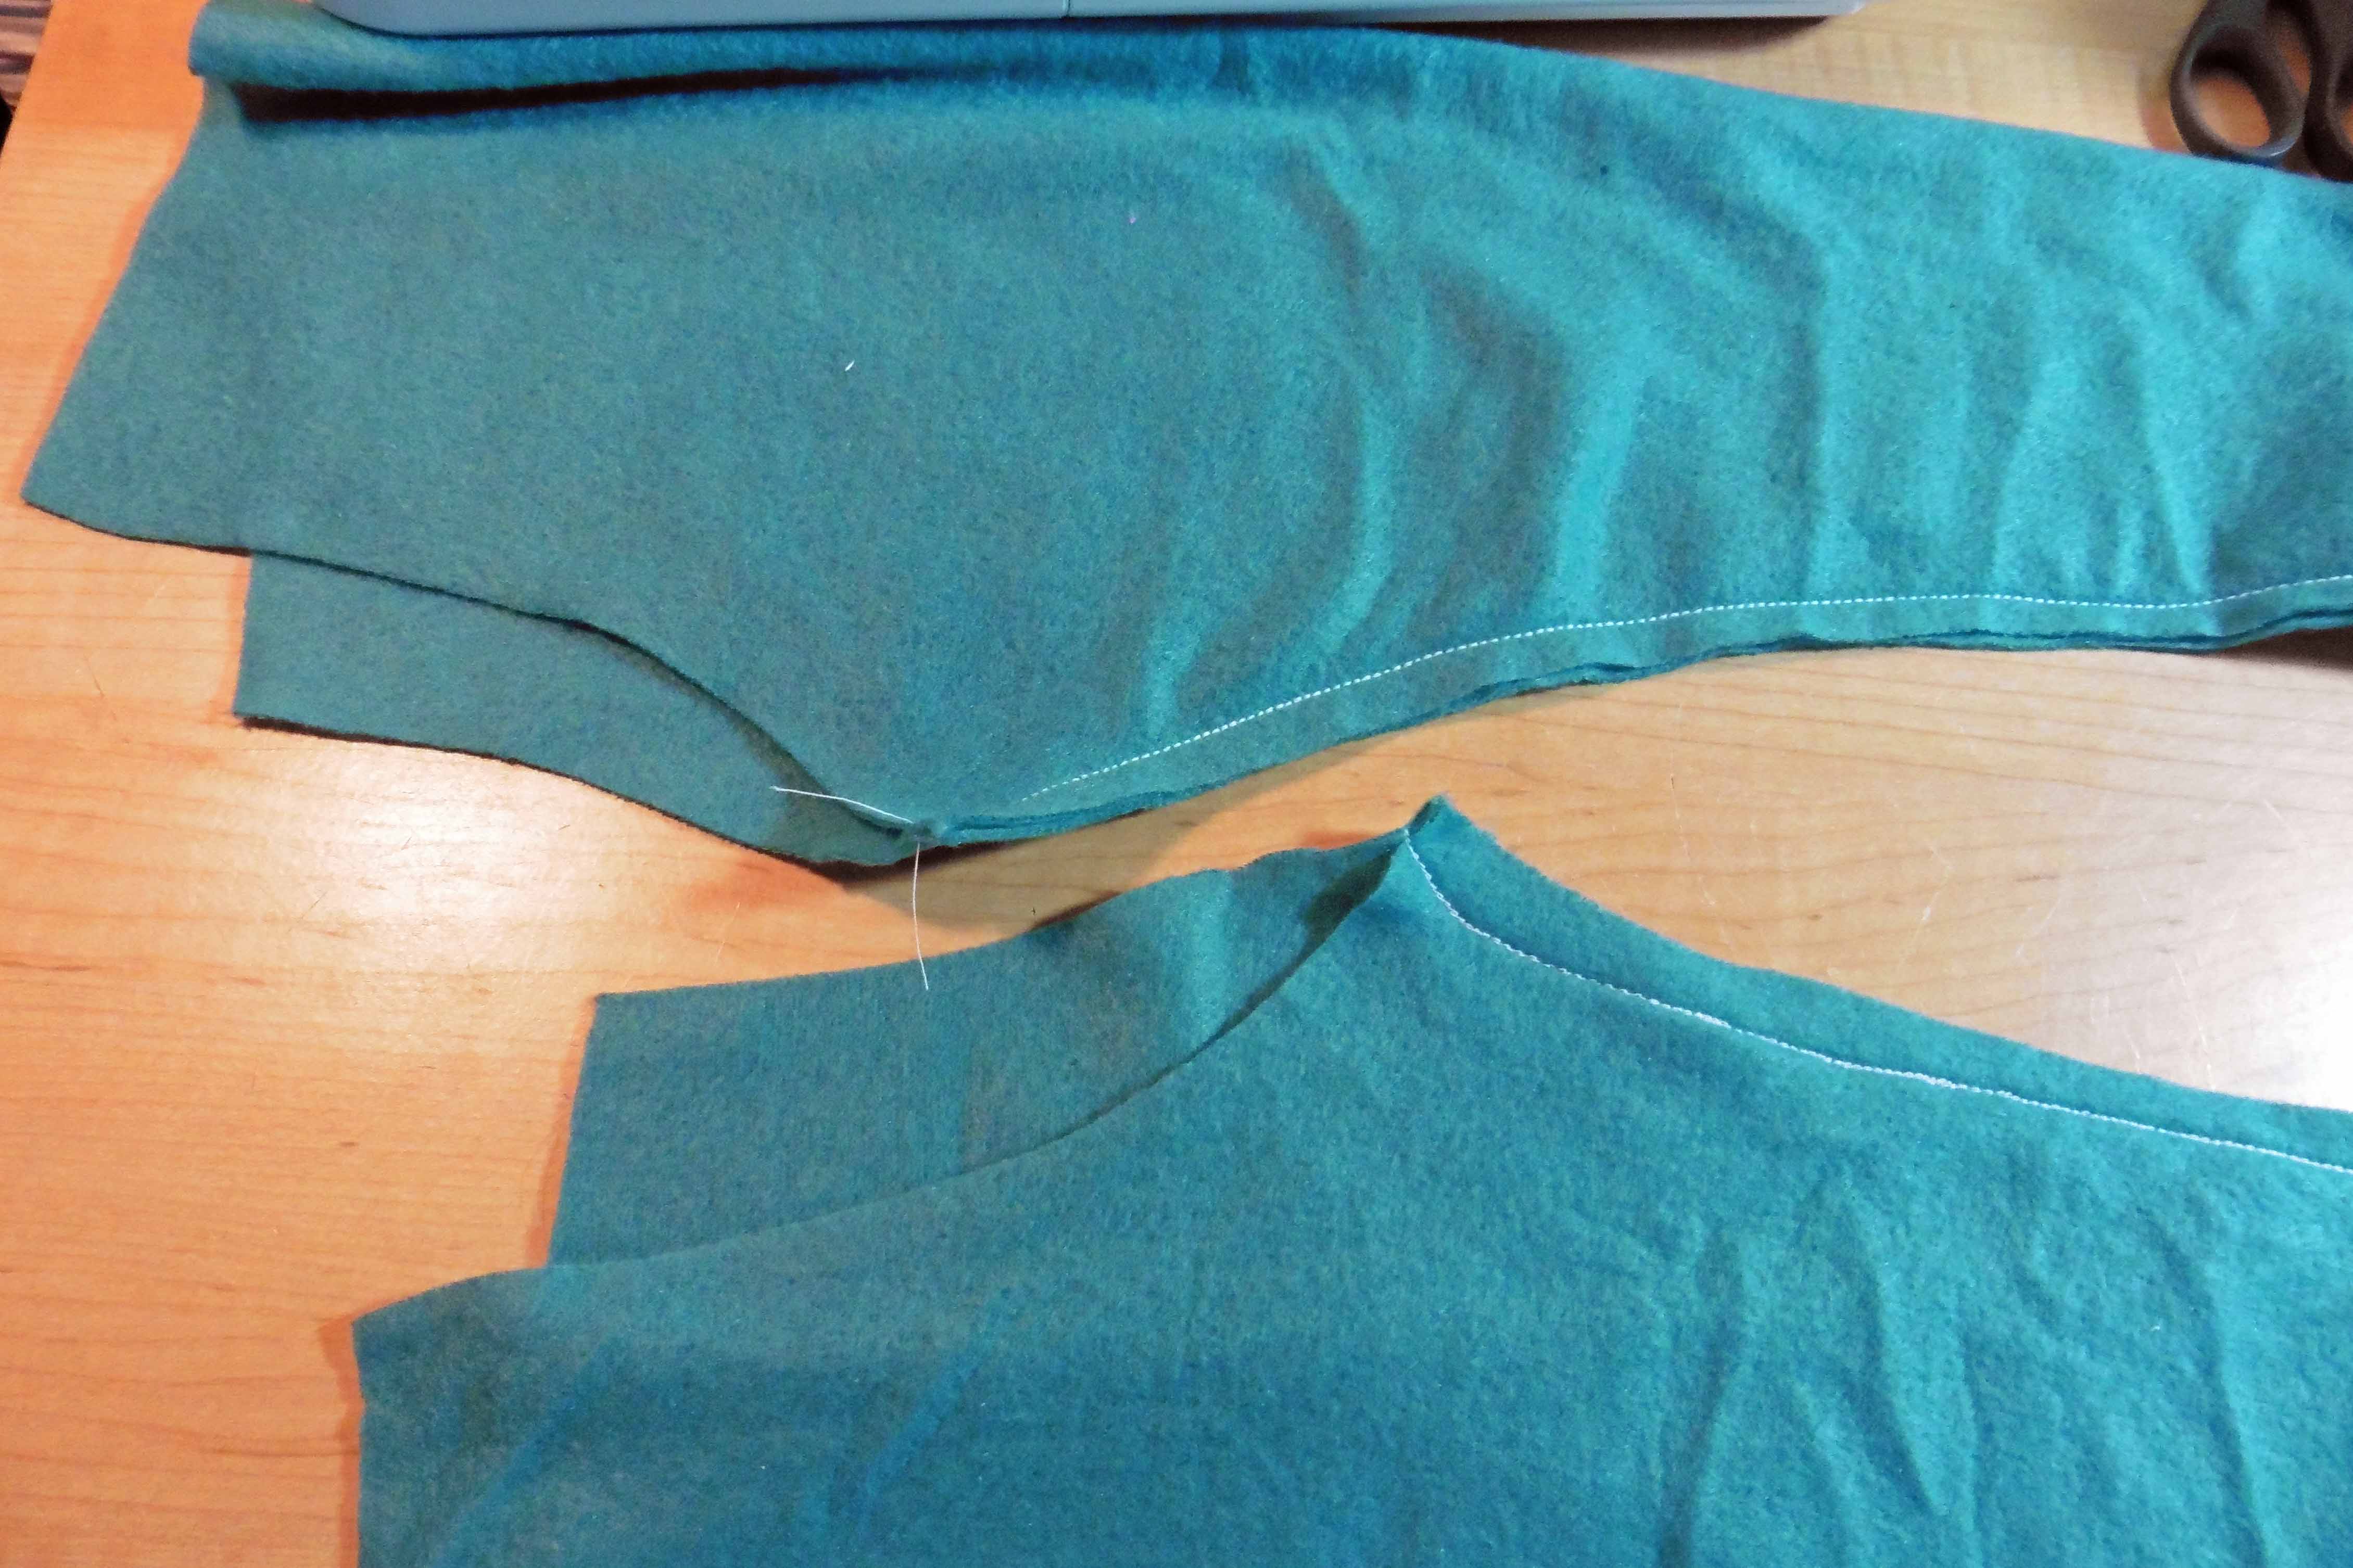
Instead of beginning with sewing the rise, you’ll want to sew the inner leg seams first. You’ll end up with a right leg and a left leg like the picture above. Turn one leg right side out and set aside.
**Tip: I like to use my sewing machine’s triple stretch stitch (which, on the stitch selector, looks like three lines of stitching side by side). It allows the fabric to maintain stretch, but looks like a straight stitch rather than zigzag. By going forward-back-forward for each stitch, it is also a fairly strong stitch for high-stress areas.**
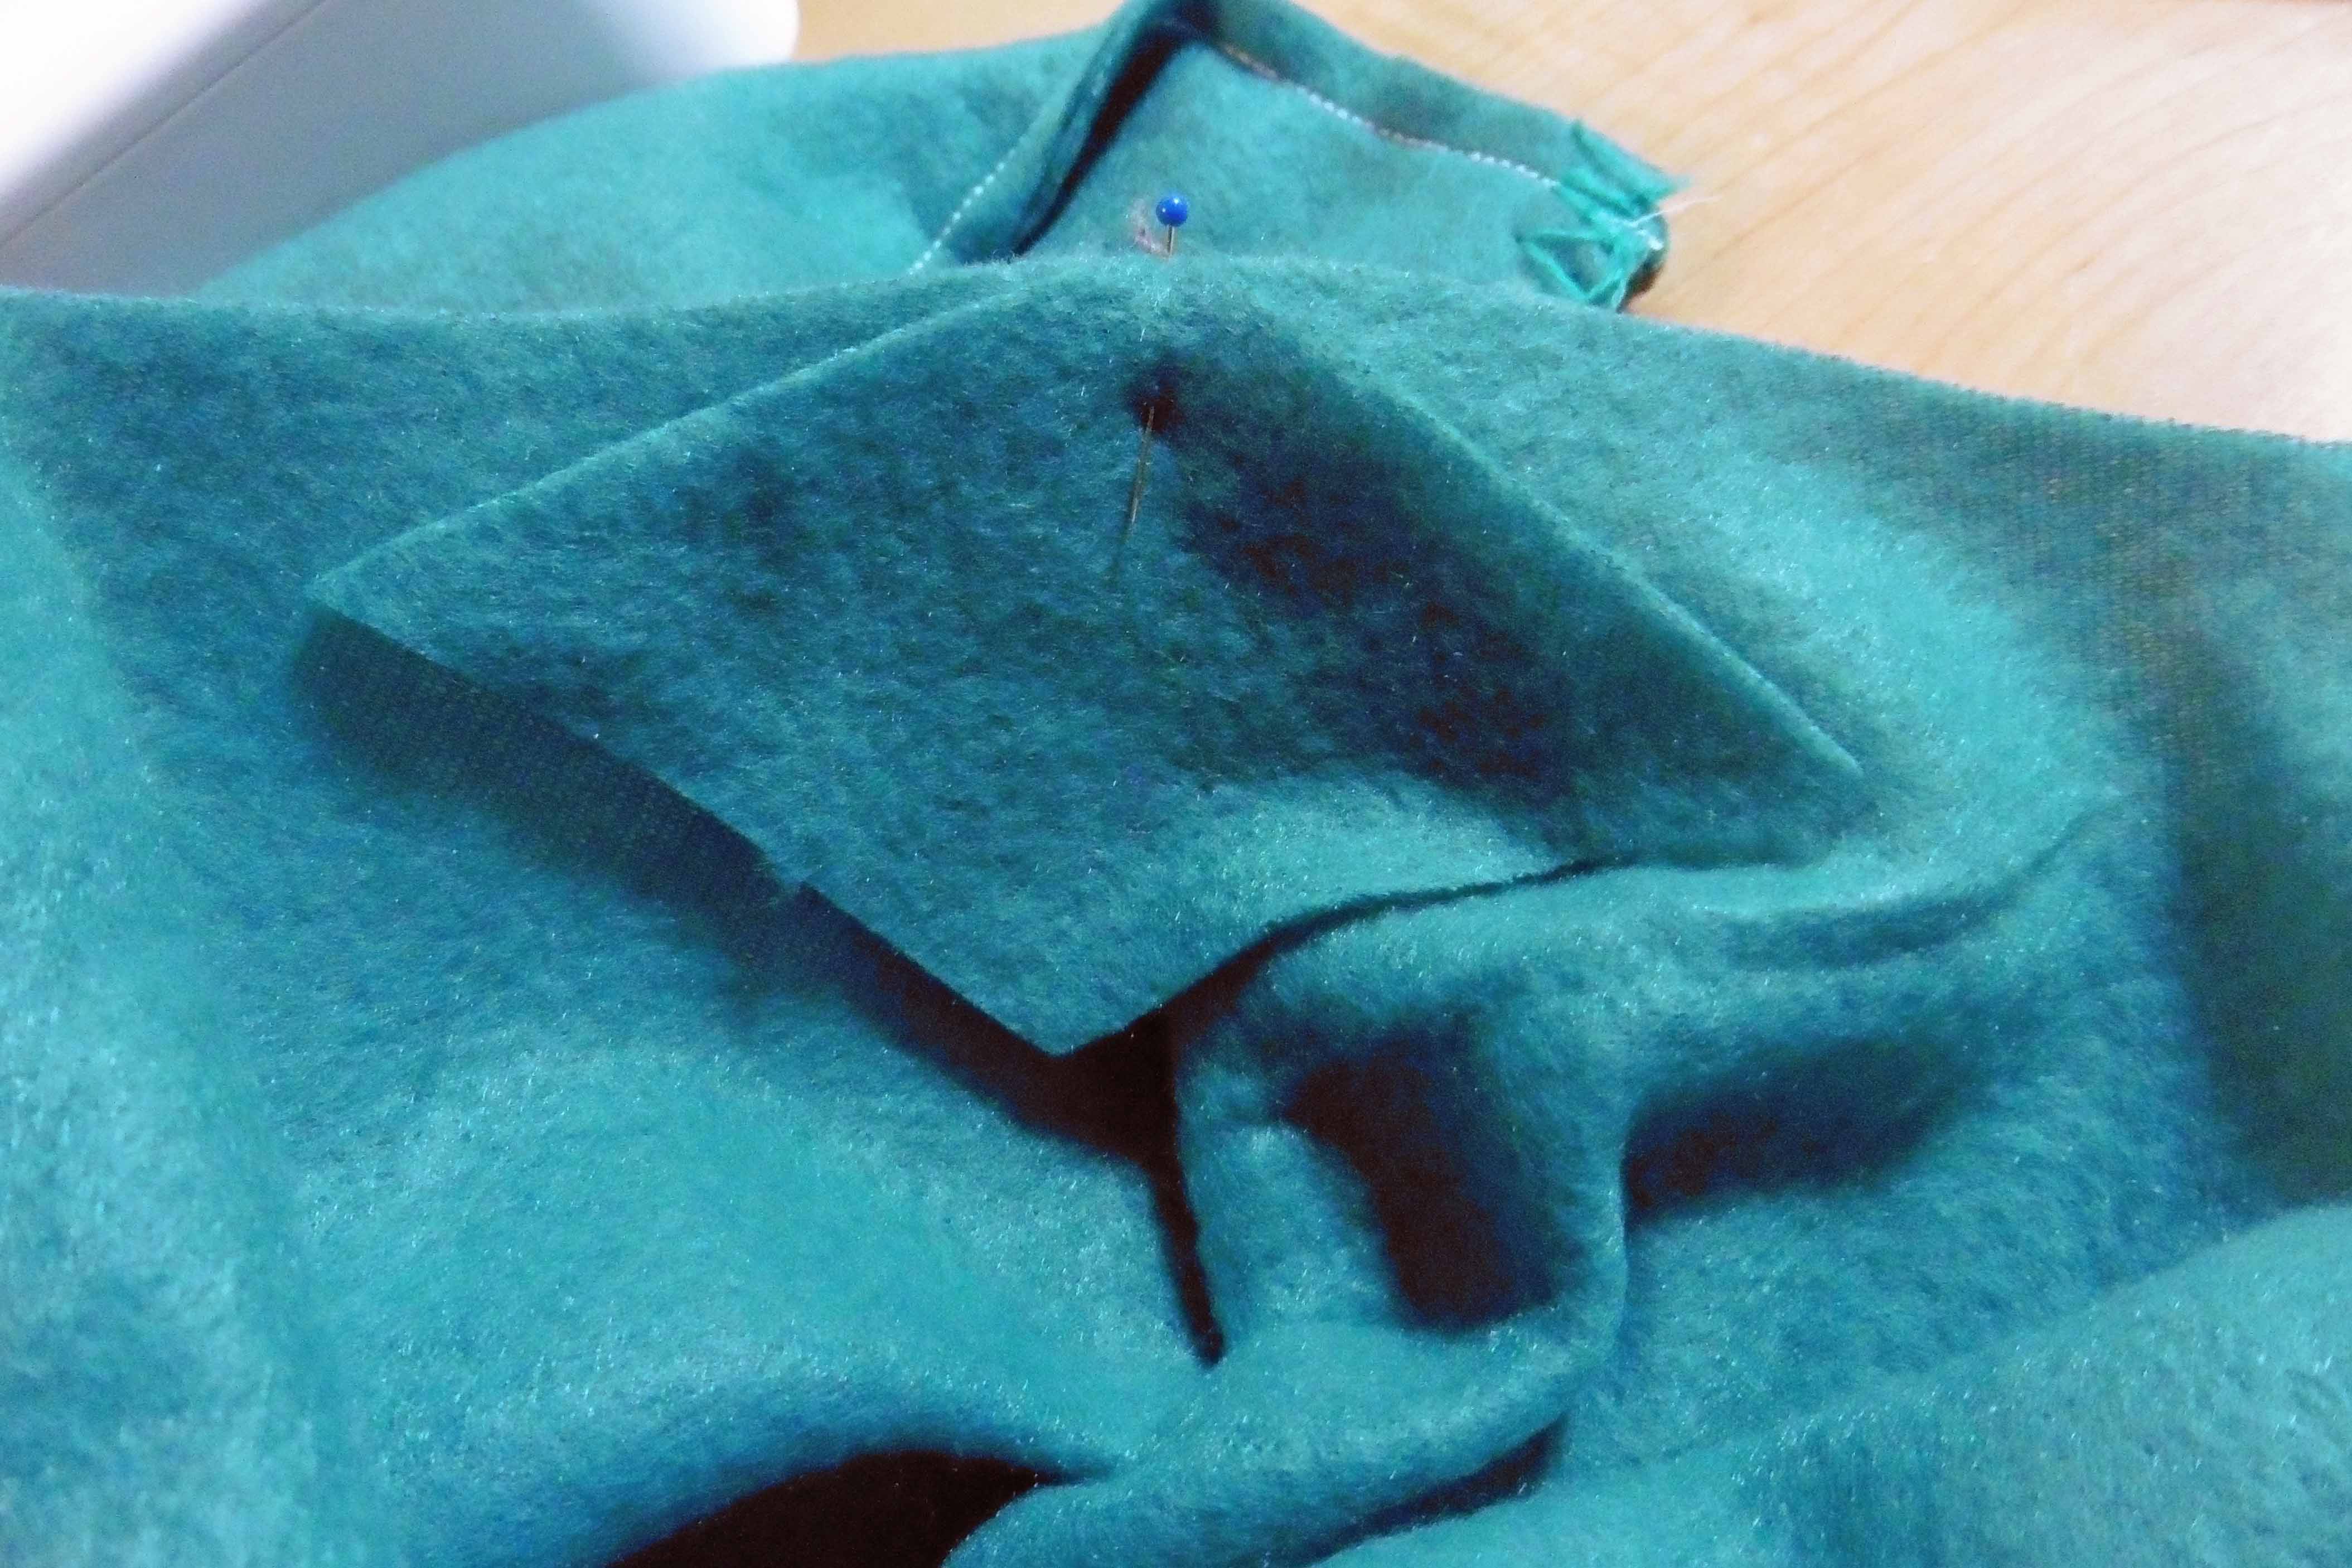
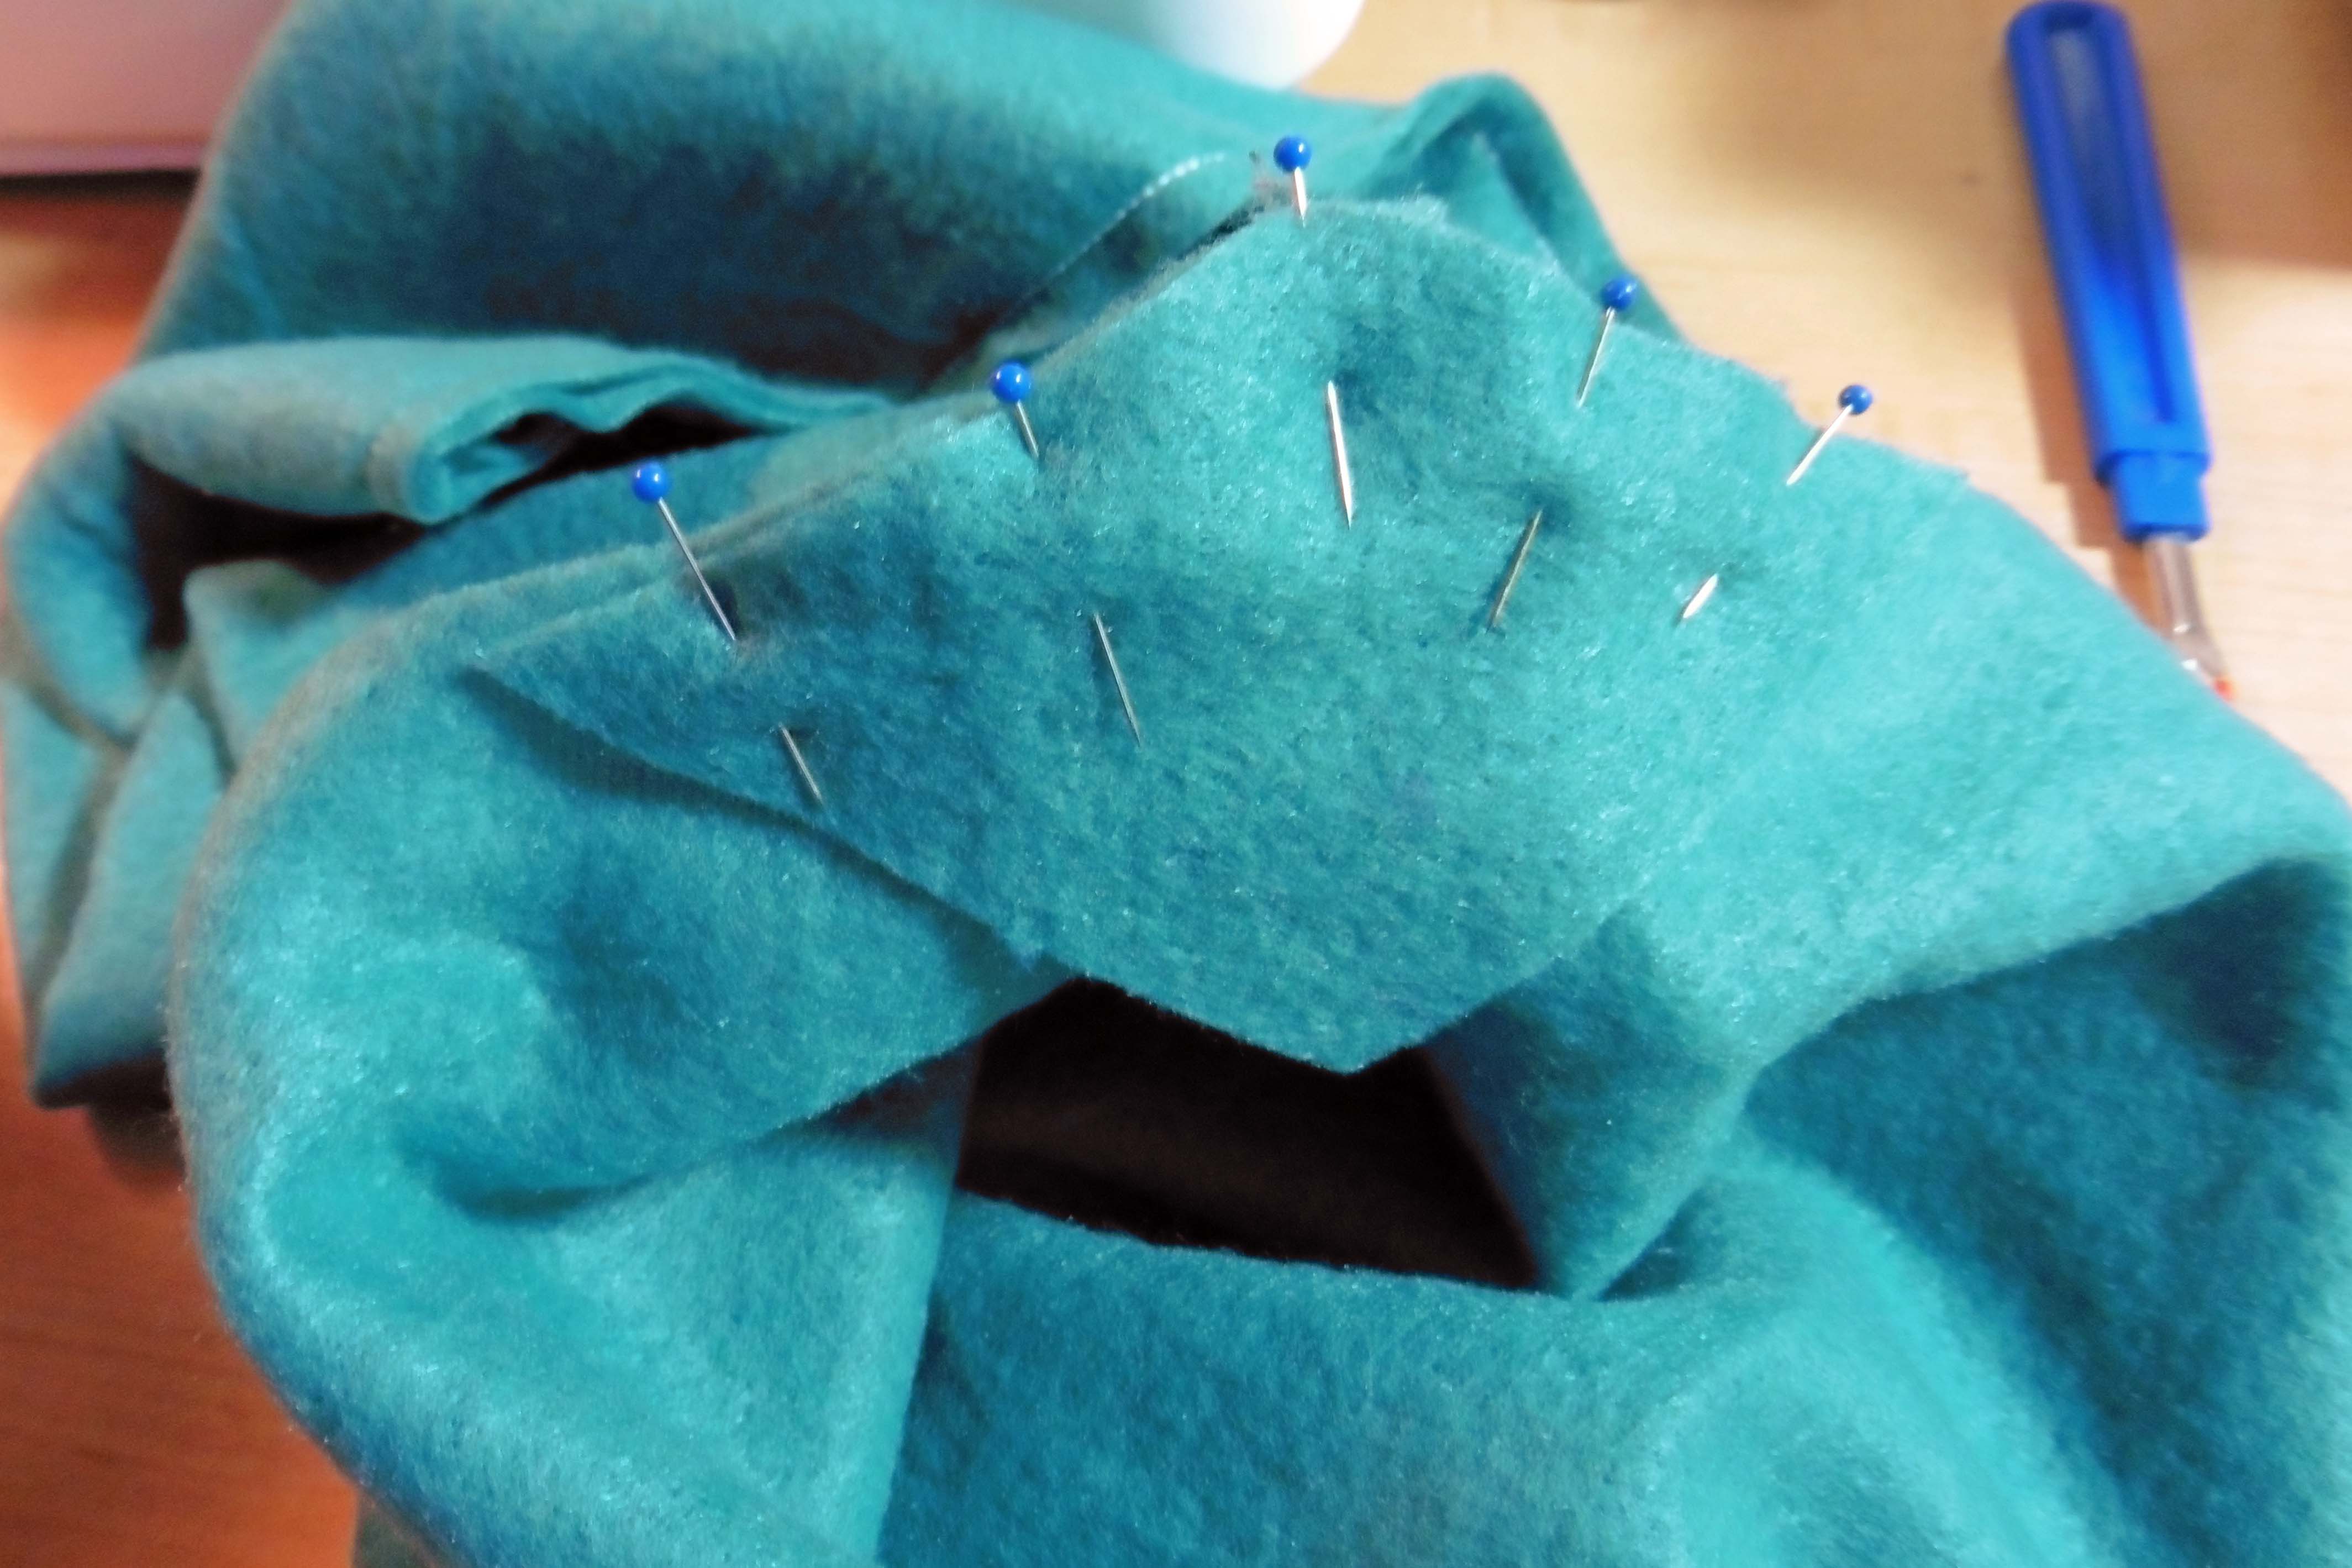
Take your gusset piece and pin it right sides together to the inside out leg, matching one of the wider angles of the diamond to the top of the leg’s inseam (above left). Next, pin the sides along the raw edge of the curved rise (above right). Using a 3/8″ seam allowance, stitch along those two sides of the diamond, starting and stopping 3/8″ from the points.
**Tip: When you reach the inseam, stop with your needle down and lift your presser foot. Pivot, put the presser foot down, and continue stitching the second side of the gusset. **
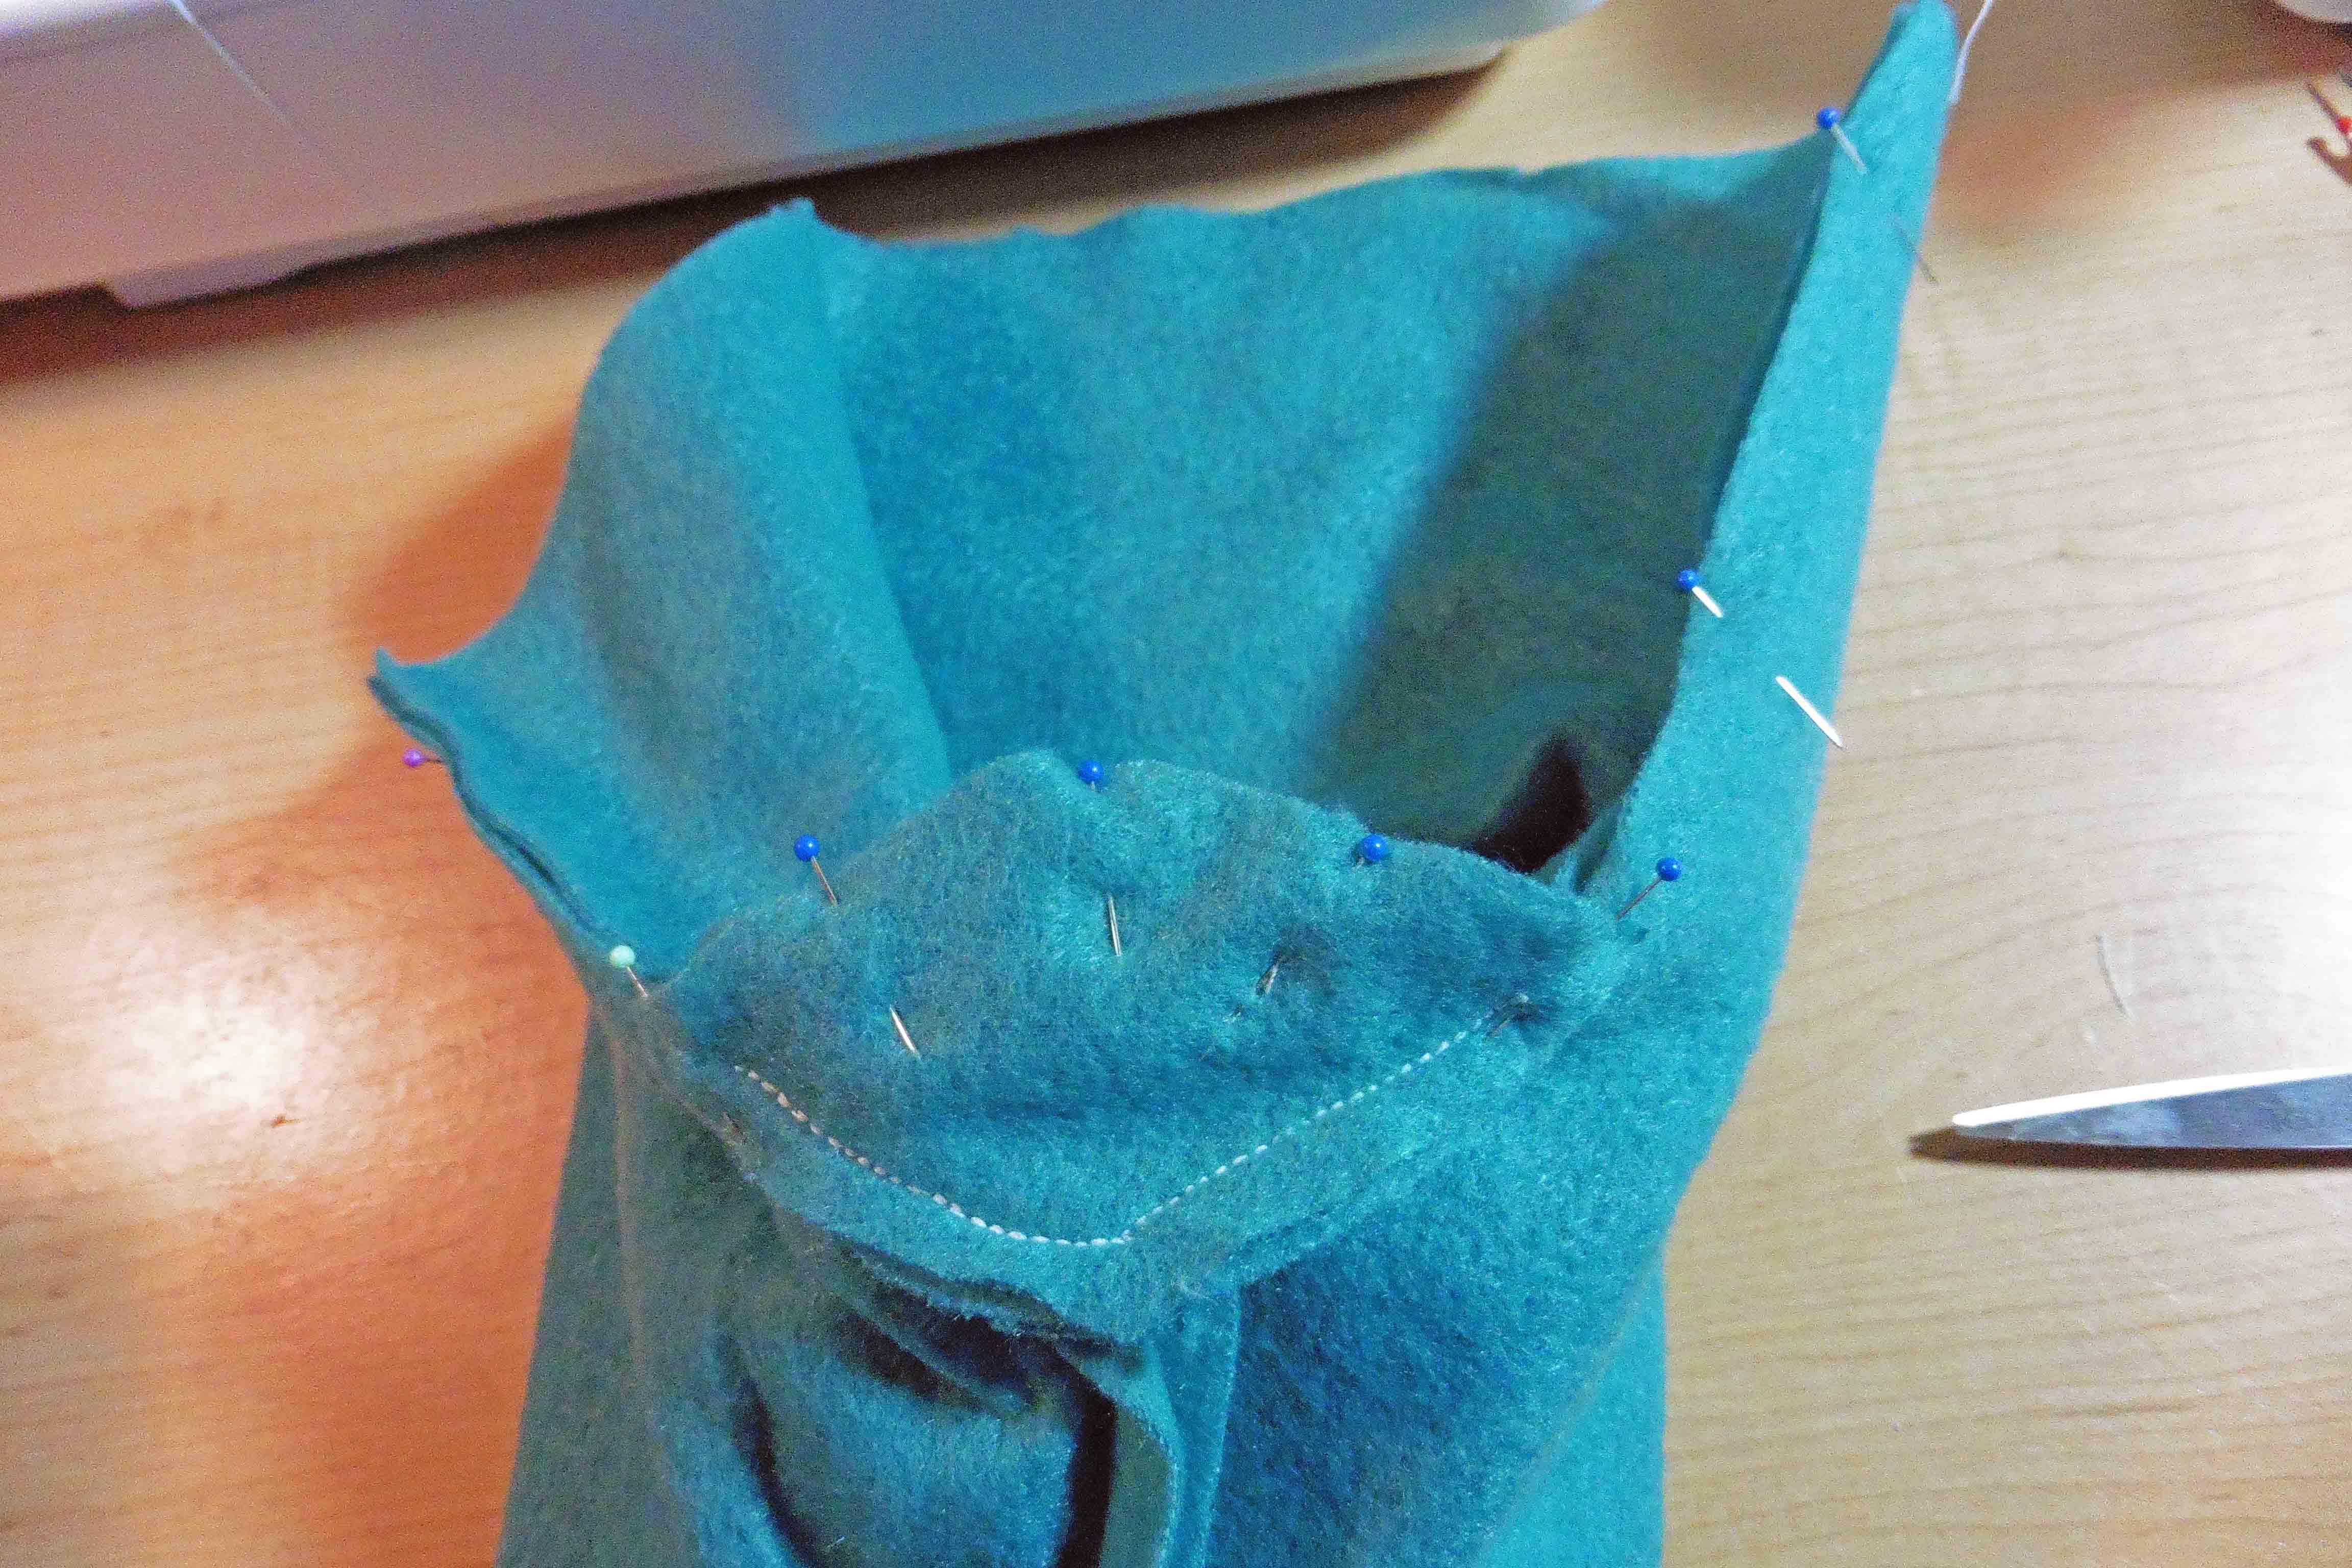
Slide your right side out leg into the inside out leg (right sides together) and match the opposite wide angle of the gusset to the top of the second leg’s inseam. Match up and pin the remainder of the rise and stitch. Make sure this line of stitches touches the ends of the first stitching on the gusset so you don’t have any holes at the points.
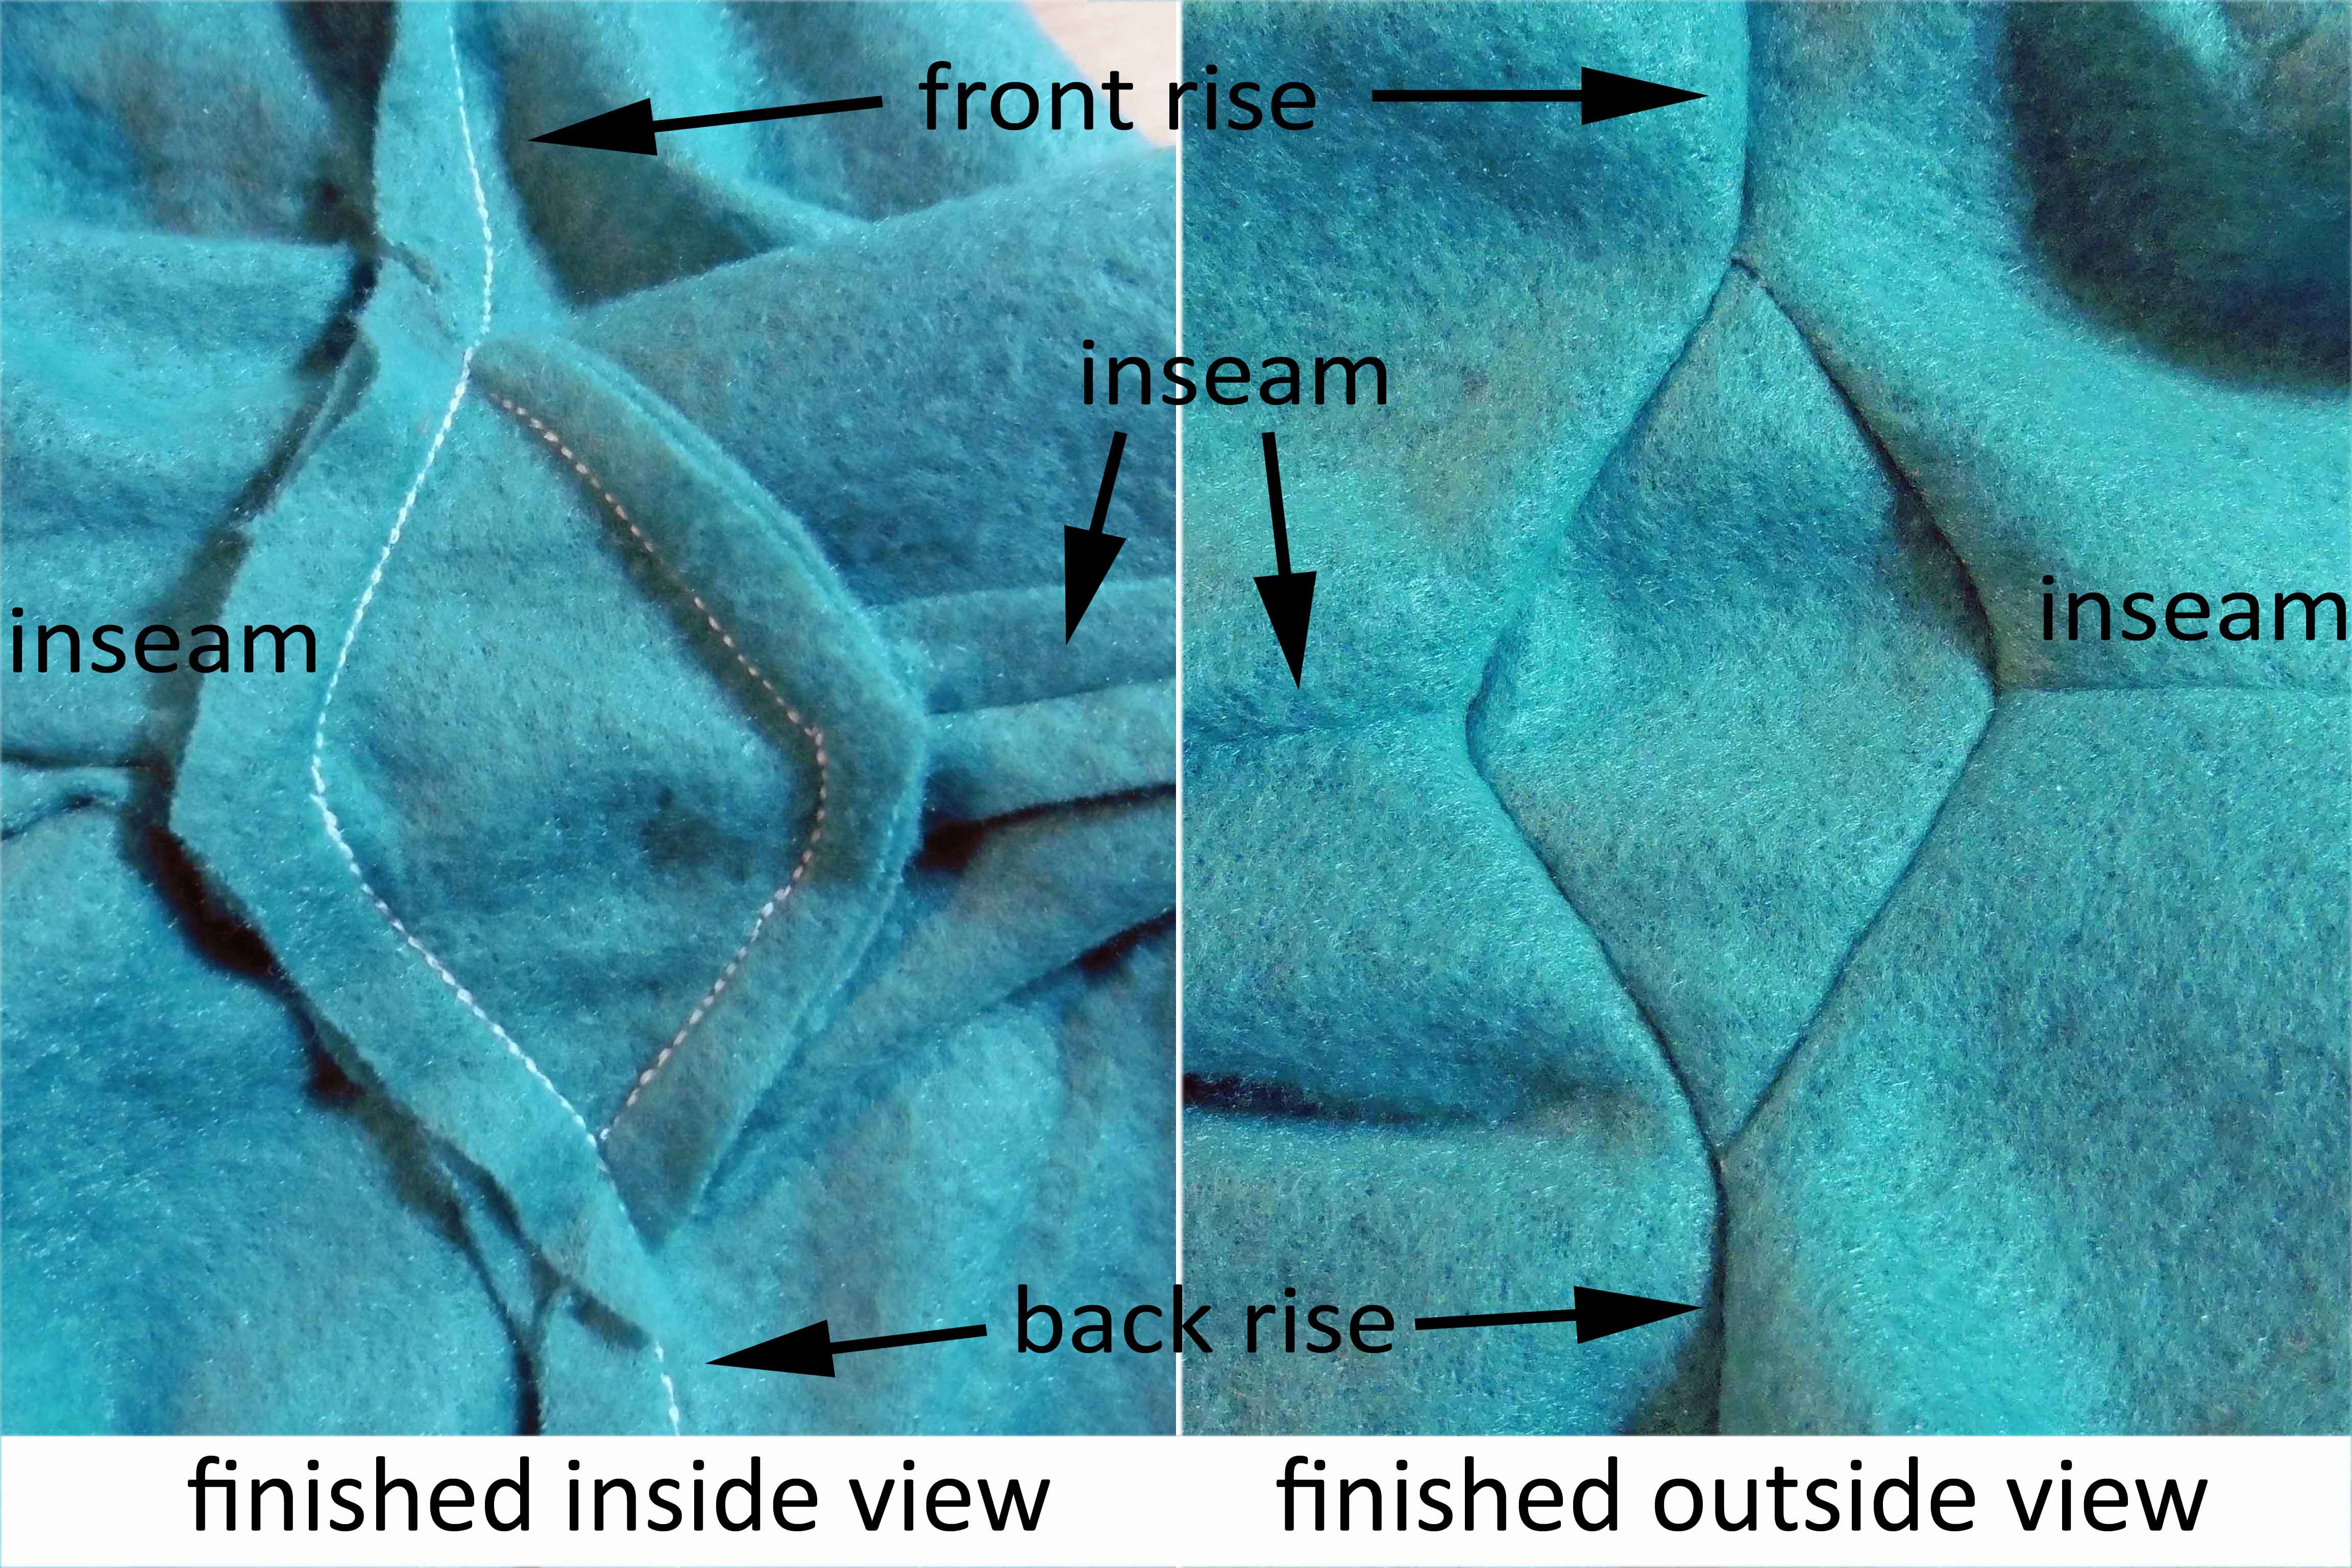
You can now turn your leggings right side out and admire your new, finished gusset! Yay!
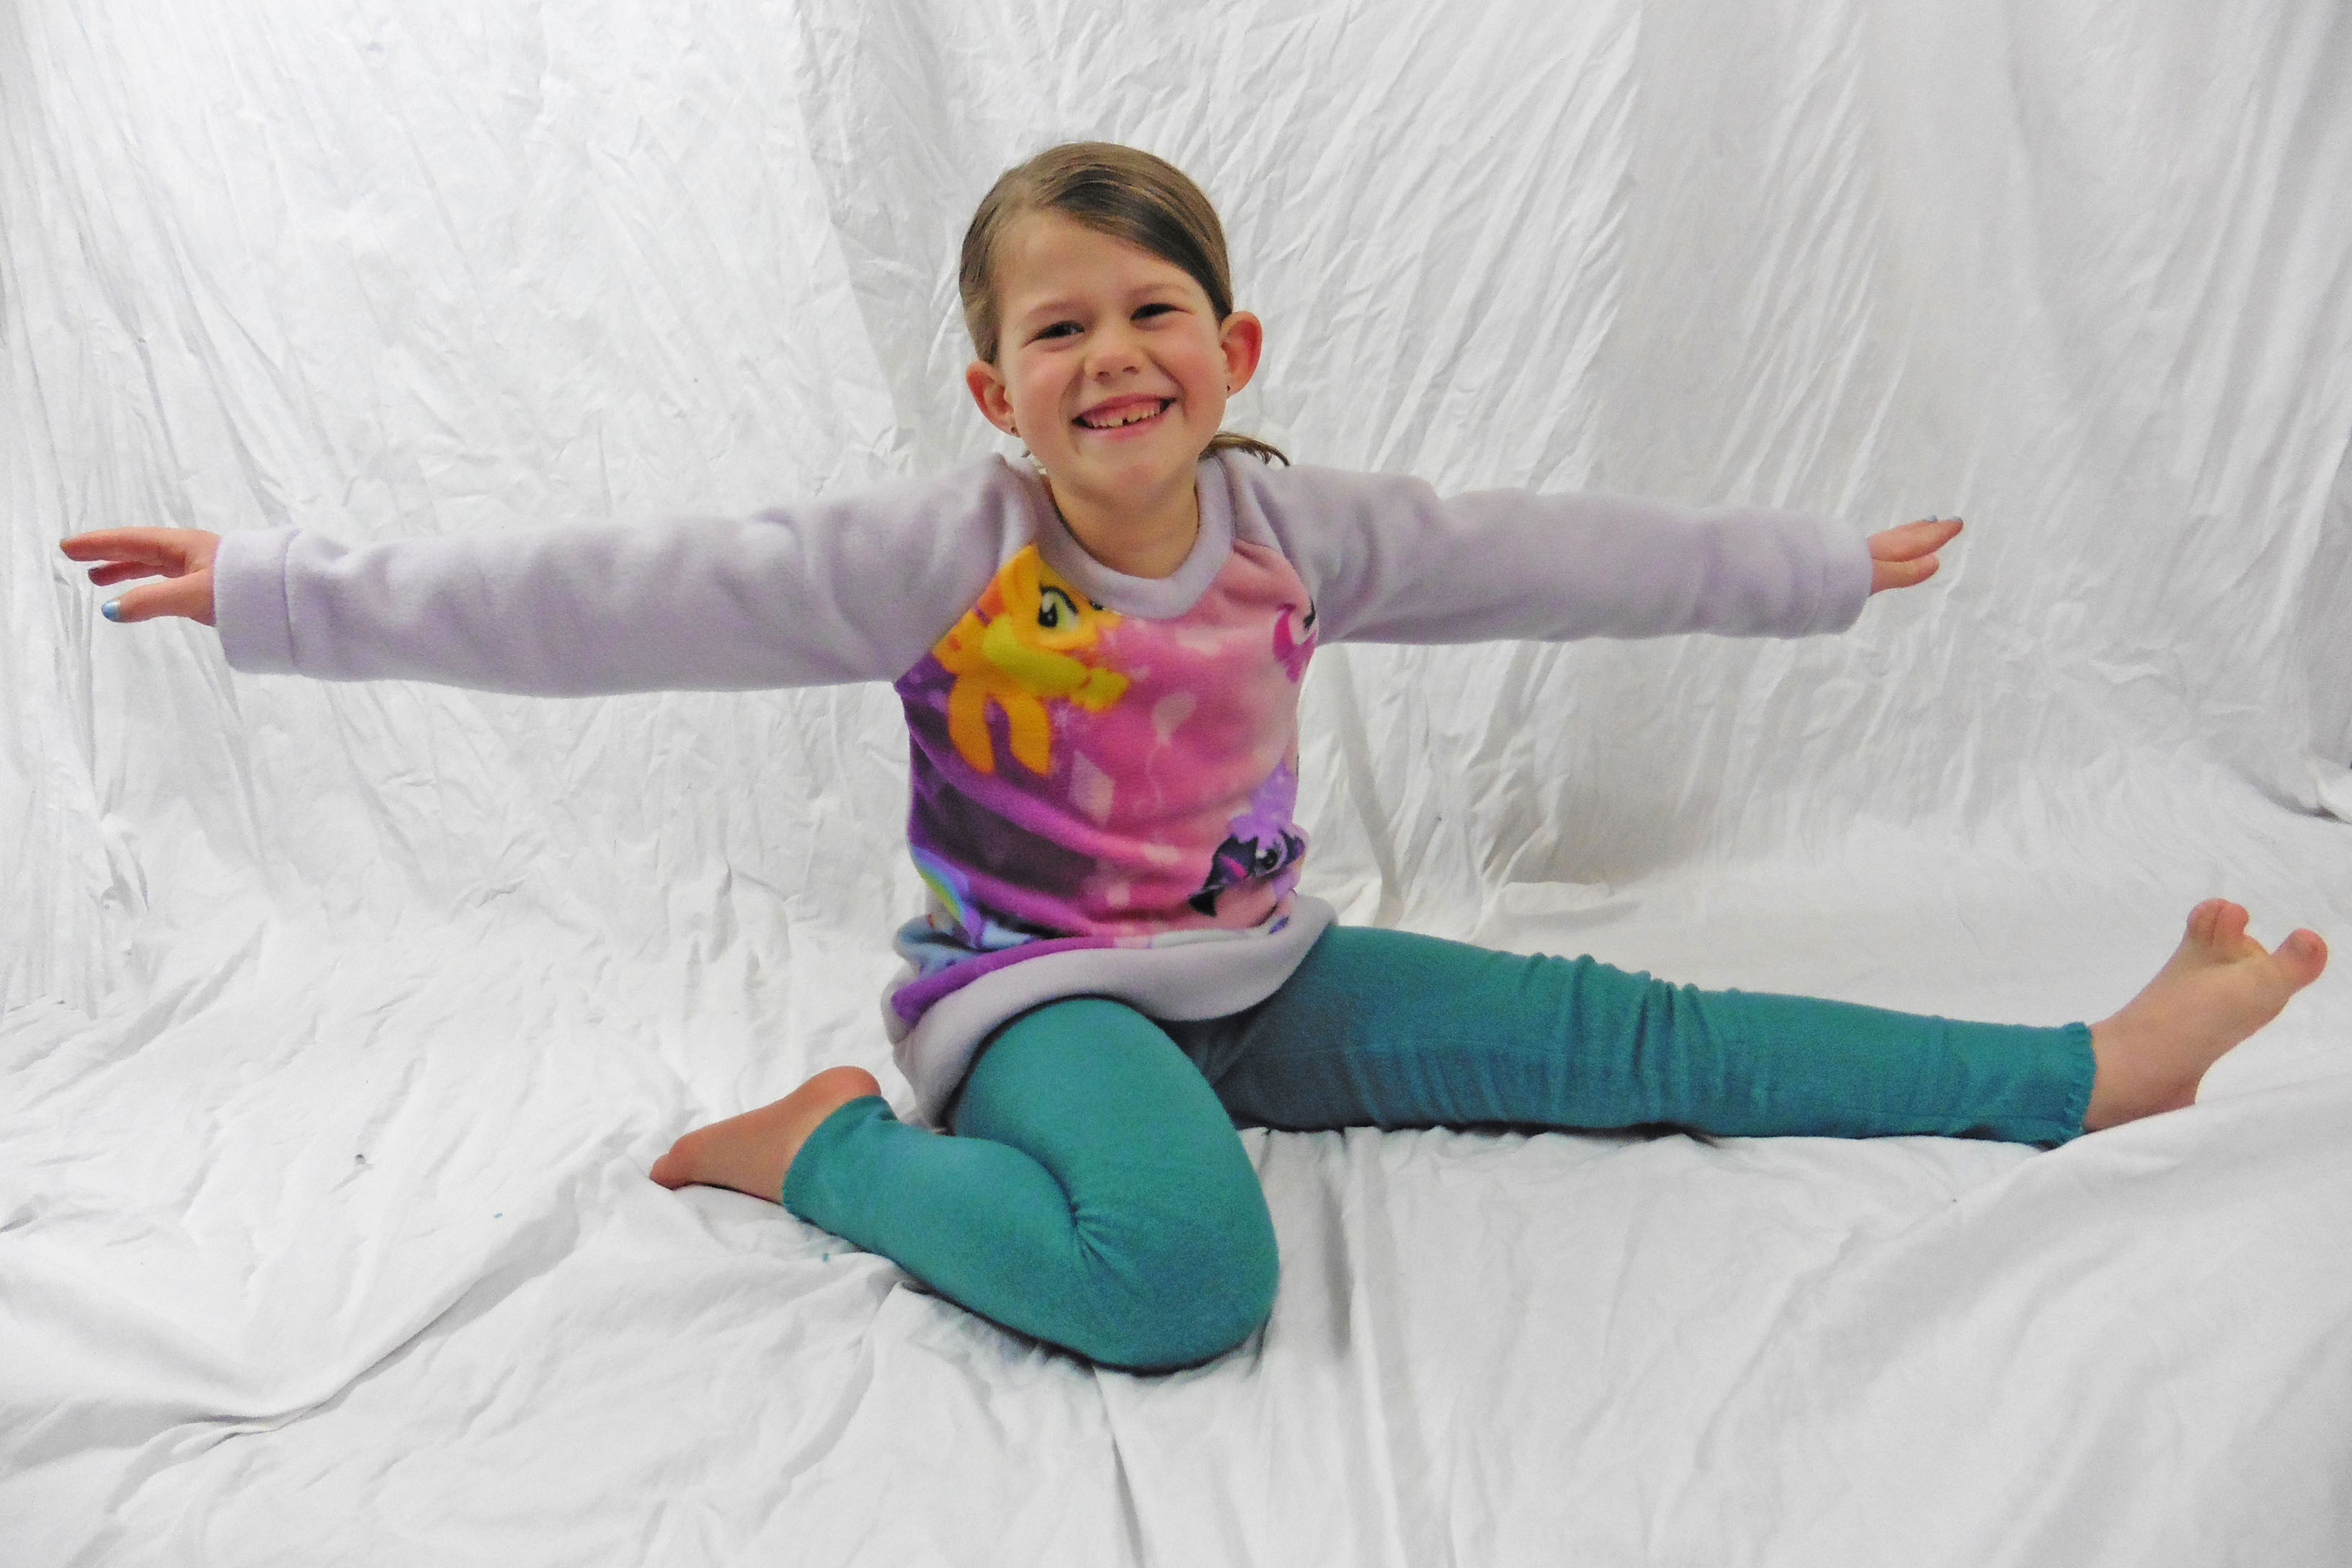
Follow the pattern to attach the waistband and hem the ankles and your athletic leggings are done!
Put them on and get moving (without having to worry as much about popping a seam)!
Happy Sewing!! ~ Joelle
9 Responses
Cute & Modest Workout Clothes! | Everything Your Mama Made & More
[…] tie. For the leggings I choose the shorter length capri with regular waistband and added the crotch gusset from the free tutorial on the EYMM […]
Sue De Yoe
This makes me laugh and remember my mom, a life-long sewer:
When I was growing up, the family had few cents to spare and so my mom sewed everything and made clothes from other clothes, no called re-purposing, then it was an embarrassing lack of funds. To squeak out clothes out of even remnants, she would cut pants and sometimes even shirt/sleeves using gussets because it allowed you to fit in the piece in narrower fabric and lets you slide the pattern piece farther up the length also using less overall yardage length: voila: a gusset fits the bill!
This became a game to see how little fabric she could use to get it all cut out, even later when she could afford to buy what was called for on the pattern. She would poo-poo the instructions regarding yardage. She did allow for nap and still somehow know exactly how much fabric to get!
Joelle
Sounds like a good memory (even if it wasn’t necessarily fun at the time). My penny-pinching self is sure glad that upcycling/repurposing has become a “cool” thing! 😉
Jessica
Love this! Such a useful tutorial! I hope it stays online forever !!
Joelle
That’s the plan. 😉
Noelle
Hello Joelle! I’m making some stretchy leggings with a crotch gusset. The instructions on the pattern I have are not super explanatory, so I googled and came across this post.
I want to finish all of my edges on the overlocker and this is the part that confuses me. Should I overlock the first side of the gusset before I go on to the second step, and then do the crotch seam and other side of the gusset?
Thanks in advance!
Noelle x
Ps. I’m named after my auntie Joelle 🙂
kymy
Not Joelle but I would be happy to help! Yes you will want to sew the seam, then overlock and then move on to the next seam!
Sarah Gafter
Hi, I hope I’m not too late to the party to get some help with this.
Did you subtract any fabric from the crotch of the original pattern? I’m about to sew a pair of leggings myself and I would like to add a gusset where the pattern has none.
Joelle
Never too late to get help! I did not subtract any fabric from the original crotch. I simply changed up the construction method to sew the inseam first. Then, before sewing the rise/crotch curve, I stitched the gusset to one side and then stitched the second leg’s crotch curve to the one with the gusset already attached. Good luck with your leggings!