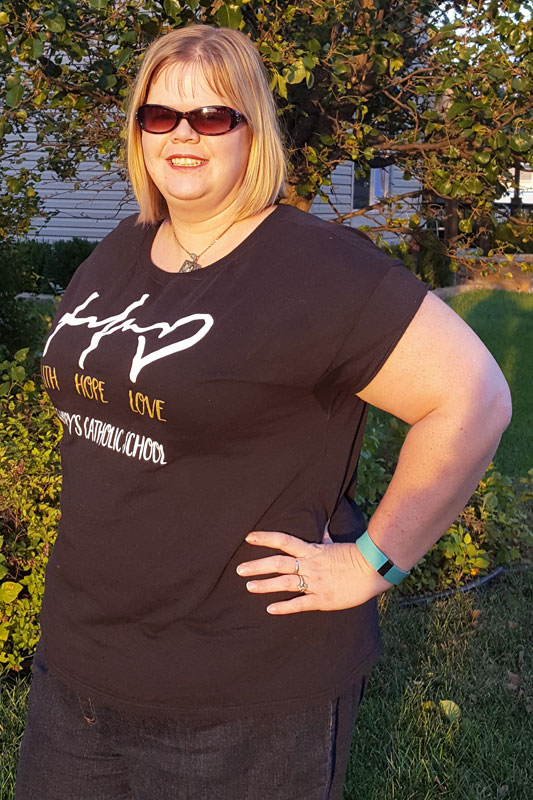
Have you ever gotten a t-shirt from an event or fundraiser and then proceeded to not wear it because it’s not flattering? I have and I finally decided this year that I’m tired of having to choose between representing my kids’ school or wearing a cute, handmade top. So I took one of the shirts from the school fundraiser and used the Boxy Boyfriend pattern to chop it up and sew it back together!
I loved it so much that I did it again and again until I ran out of t-shirts! When I got my shirt from this fall’s school fundraiser, I decided to slow down a bit and take some pictures so I could show you all my process and write a little tutorial.
**Tip: It’s helpful if you have the option to order a size or two bigger than you normally wear … but this one is the size I’d normally wear and it works out okay.**
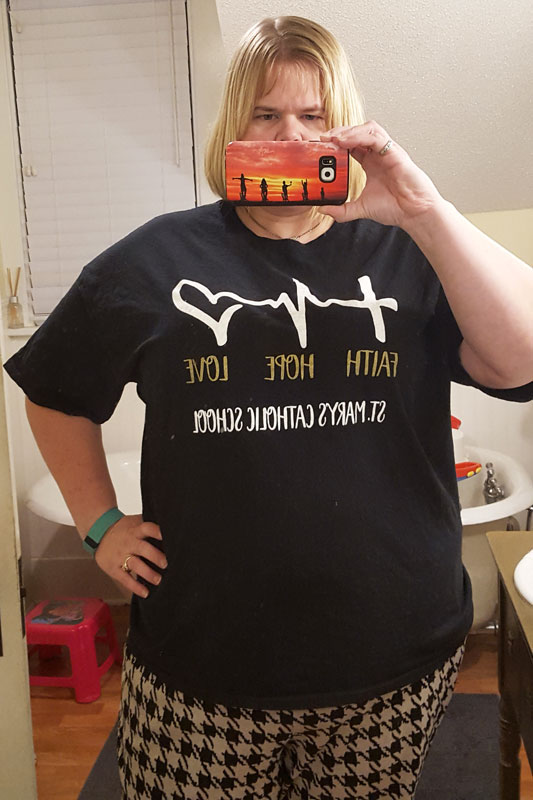
For the benefit of my blog readers, I started with a “before” shot of my unisex fit t-shirt. Sorry about the bathroom mirror selfie. I had decided to sew it late the night before my daughter’s volleyball game so I could represent in the morning. 😉 I think the fit is kinda big under the arms and I really dislike how long the sleeves are on a unisex tee big enough to fit my hips.
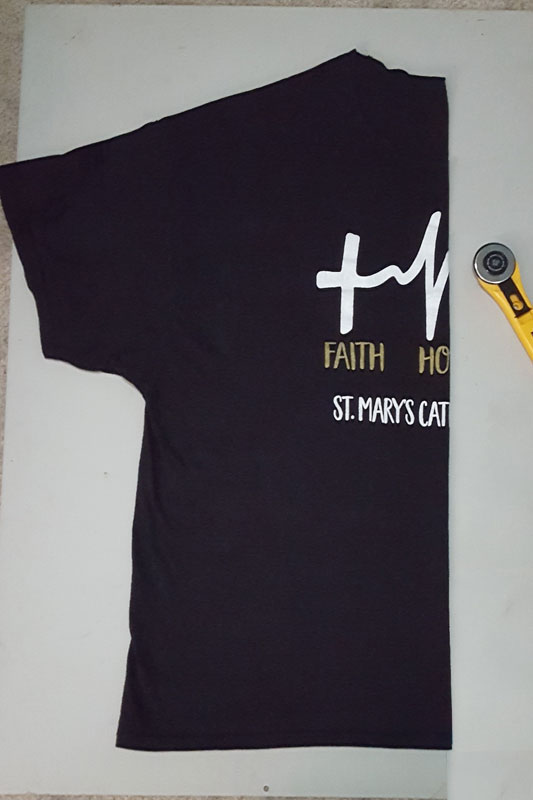
The first step in the altering process is to fold the t-shirt in half as pictured above. Line up the shoulder seams, sleeve seams, and bottom hem. Be as careful as you can to smooth out the wrinkles in each layer of t-shirt, but know that it’s likely not going to be completely perfect because mass-produced shirts are rarely cut straight on grain.
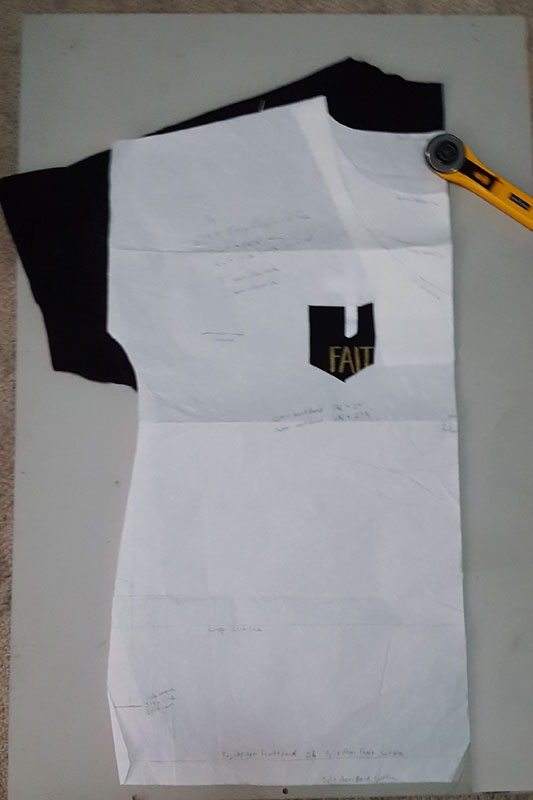
Next, lay your pattern on top of the shirt with the “fold” edge aligned with the t-shirt’s center fold and the shoulder as high as you can get it without hanging off the shirt. You can see that my shirt body is a little narrower than my pattern, which is okay since I know the shirt fits around my body. The finished tee just won’t have as much ease as a regular Boxy Boyfriend. Cut around the side seam, sleeve end, and shoulder. If your original shirt is narrower than the pattern, you can choose to cut it open down the side seams or just leave it as is. I like to cut mine so that I have a newly sewn seam all the way from sleeve to bottom hem.
*Tip: If your original shirt was too small or if you wanted more ease, you could add in a matching or contrast fabric panel to fill out the rest of the pattern.*
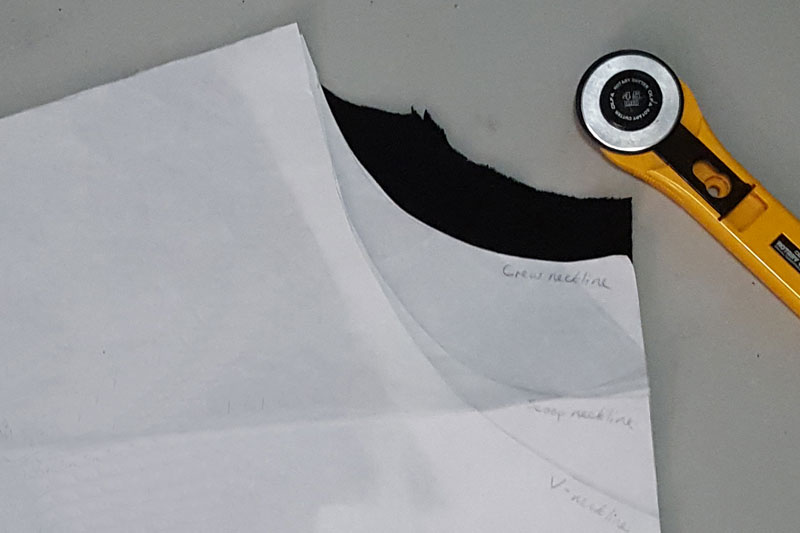
You can see on my pattern above that I have traced each neckline option (back neck, crew front, scoop front, and v-neck front) and attached them all to one copy of the pattern body. I trace the deepest onto the body of my pattern copy, then trace each neckline separately and tape them to the back in order of depth. This way, I only have a single shirt body pattern piece to store rather than one for each neckline option. I simply fold down the higher neckline(s) that I’m not cutting at the moment.
For this first cut (above), I cut through all the layers using the back neckline. Since it’s higher than the front, I can then easily go back and cut the lower front neckline on just the shirt front in the next step. Be careful not to cut into the original neckline ribbing if you want to re-use it on your Boxy Boyfriend. After you’ve cut the original neckline off, you can seam rip the ribbing off of the scraps to re-use. I’ve found that it’s usually a tad shorter than the crew neckband measurement, but stretches to fit the crew neckline with no problem.
Separate the shirt front and back and then refold the front in half. Use the front neckline of your choice (I chose the crew neckline so that it wouldn’t cut into the design on my shirt) to cut the front lower. This is another reason I’ve come to love altering regular t-shirts … because the original necklines always feel too high! Haha!
After you’re done cutting, it’s time to sew the shirt back together! Stitch across the shoulders and down the side seams as per the pattern instructions (skip the split hem like I did if you want to sew it extra fast). Attach the neckband, hem the sleeves (or add on longer sleeves from contrast fabric), and you’re done! Bonus … because you’re upcycling a ready-made shirt, the bottom hem is already done!!
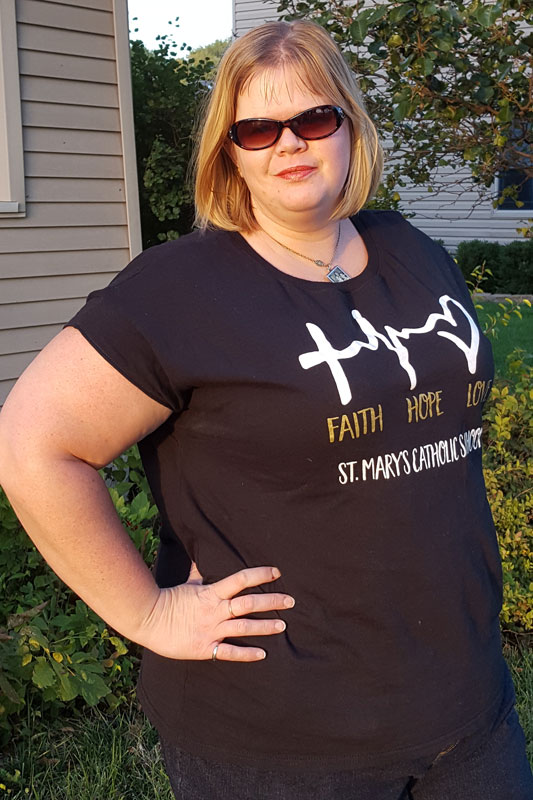
I love how quick it is to transform a mass-produced unisex t-shirt into a more flattering and comfortable Boxy Boyfriend Tee! It might not seem like much, but the shorter sleeves, lower neckline, and slightly slimmer fit around my bust make all the difference to me. Instead of getting thrown in the corner or buried in the bottom of my dresser drawer, I will now wear this shirt often and proudly!
Happy Sewing!! ~ Joelle
One Response
New Leggings for the New Year – Everything Your Mama Made & More!
[…] me to move freely and I love the way they fit. The “It’s in my DNA” shirt is an upcycled store-bought tee and the green panda tee is one of the two I made just after the pattern […]