Let me say this is actually an old post I just never got around to posting, so these pictures of the twins are more then a year old, but it’s just too cute not to share!
Last spring the sewing forum I am on had a challenge… use one pattern & make 3 variations of it by making some of your own changes not in the original pattern. It’s a great way to get a little out of your comfort zone & make things a little more unique without having to draft stuff from scratch. For this challenge I started with ‘Natalie’s Dress‘ from YouCanMakeThis.com. I have made the dress in the past as the directions are written with the exception of gathering instead of pleating & I chose to do a sewn on sash instead of side ties. My ONLY warning for this pattern is the bodice runs narrow & a tad short (I think the size 5 is actually slimmer then the 4?) so I highly recommend sewing a tester bodice first. It is totally worth it though as the twins wore these all year until they were too small & they got SO many compliments. For all my versions I added a placket of some sort because the bodice is so short that it makes it hard for many little ones to get on without it… this also makes the fit much better. I have a Continuous Bound Placket Tutorial with lots of photo’s showing you how to add this. Also I think I put all the buttons on the wrong side, but they still work & look just fine, I just didn’t realize it until I had cut the button holes. I still had newborn baby mama brain at the time because Parker was only about 6 weeks old at the time.
The neat thing about this is it shows you how much different you can make a pretty basic pattern by making a few changes to the skirt!
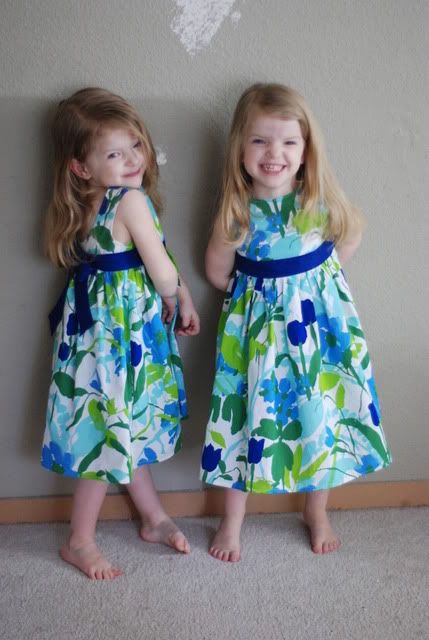
ORIGINAL LOOK:
This is the original version I made The Twins ‘Natalie’s Dress’ Easter Dresses…
LOOK 1:
My first modification was to draft a half circle skirt instead of a gathered or pleated rectangular skirt & include a placket in the back. This is a size 5 for a dress swap so it is too big for her, but I love that the it is so much lighter where the bodice & skirt meet unlike how bulky the seam is when a gathered skirt is attached, & it still twirls great!


LOOK 2:
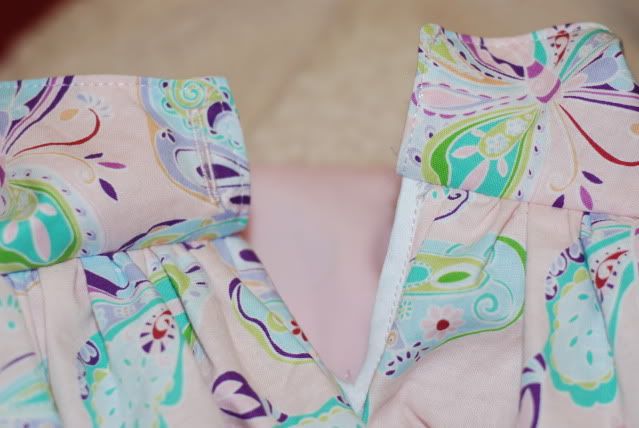
My second modification was to do a bubble skirt with the original outer skirt lengthened 4″ & then I drafted an A-line shaped lining skirt (1″ shorter then original skirt) for it to gather too. I also did a continuous bound placket in this one.


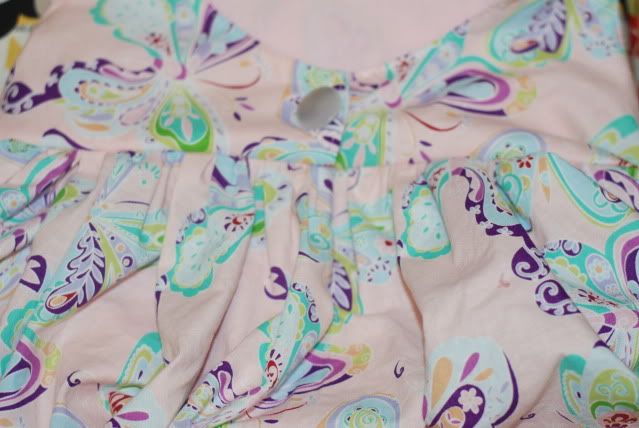
And a close up of the placket… (I took pics for a tutorial)
And when closed…
LOOK 3:
Finally my 3rd version may just be my favorite .gif "a (11)") . I think of it as a big girl version of the traditional A-line. It’s slimmer & a little retro with the high almost boat like front & scoop back I just love it!
. I think of it as a big girl version of the traditional A-line. It’s slimmer & a little retro with the high almost boat like front & scoop back I just love it!
For this one the bodice is still lined but for the front & back I extended the bodice pattern pieces to create a very subtle a-line shape instead of having a separate skirt & bodice that are sewn together. I think it looks much more little girl then toddler like most a-lines do. The only thing I will do differently next time is making the button placket a little longer and as a continuous bound placket (this was the first one I did, before I decided to try the continuous bound placket).
I can’t wait to make color blocked versions of this for the twins .


2 Responses
noelani
Your daughters are adorable! They remind me of my daughter-in-law and her twin sister (in pictures I’ve seen from when they were young). Their dresses are beautiful, too! My son and DIL have a nearly 5 YO girl, for whom I make more dresses than she needs. I just love making them so much!
Have fun sewing and mothering your kids!
Patricia Douglas
These are all lovely.