This is what happens when one mom of a newly diagnosed T1 Diabetic has a crazy idea that she asks her ‘friend who can make anything’ to help her out with. Turns out it’s not so crazy, more like brilliant according to the comments on Facebook, and very much needed. I hope this tutorial helps make the crazy world of childhood diabetes a little easier to navigate for all those families affected by it. You may share the link to this post but you may NOT copy the pictures or directions and post them else where. All text and images are protected by copyright and are the property of Everything Your Mama Made & More!

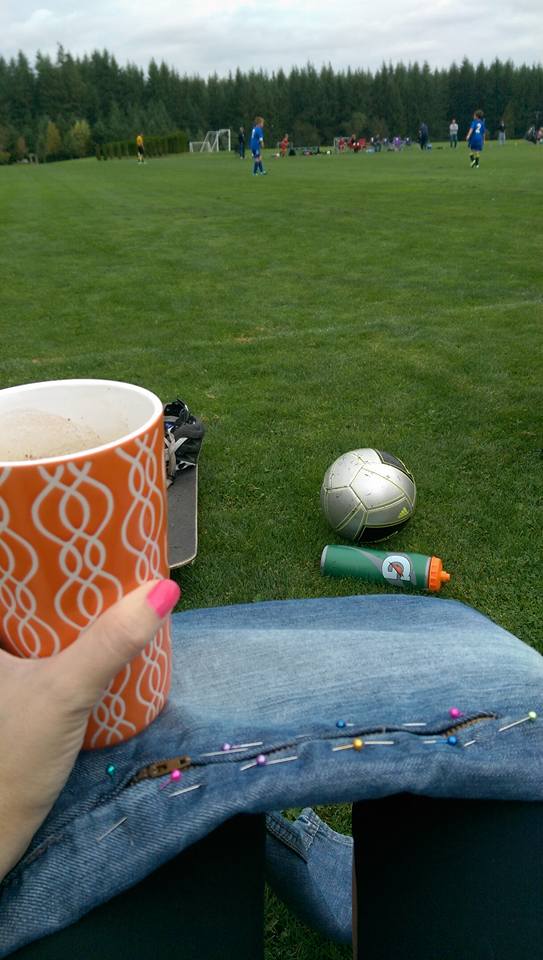
Today’s sewing project! This one is dear to my heart, one my my 10yr old’s good friends, classmate & soccer team mate, Ronin was diagnosed with T1 Diabetes this spring. It was very sudden like most, and his 10 month old baby brother hung out with us for 3 days, while his 2 other brothers went to their grandparents so he, his mom & dad could spend 3 days a few hours away at Seattle Children’s Hospital learning about what their new ‘normal’ was going to be. His class, team mates and another local T1 family have been amazing support and this summer he has started to get the hang of this new part of his life.

WELL our amazing western Washington summer weather has changed fast and posed a new problem, leg shots in the winter. They don’t do insulin pumps for the first year at least, sometimes longer, which means his insulin shots have to be rotated between arms and legs to prevent the build of scar tissue. With shorts at the end of the school year and summer it has been pretty easy to manage so far. Now that the weather has turned and school is started back up it posed a new problem. So when his mom Amanda asked me last week if I had any idea how to add zipper access to the leg of some of his pants I told her to bring me a pair of his older jeans and I would see what I could do.
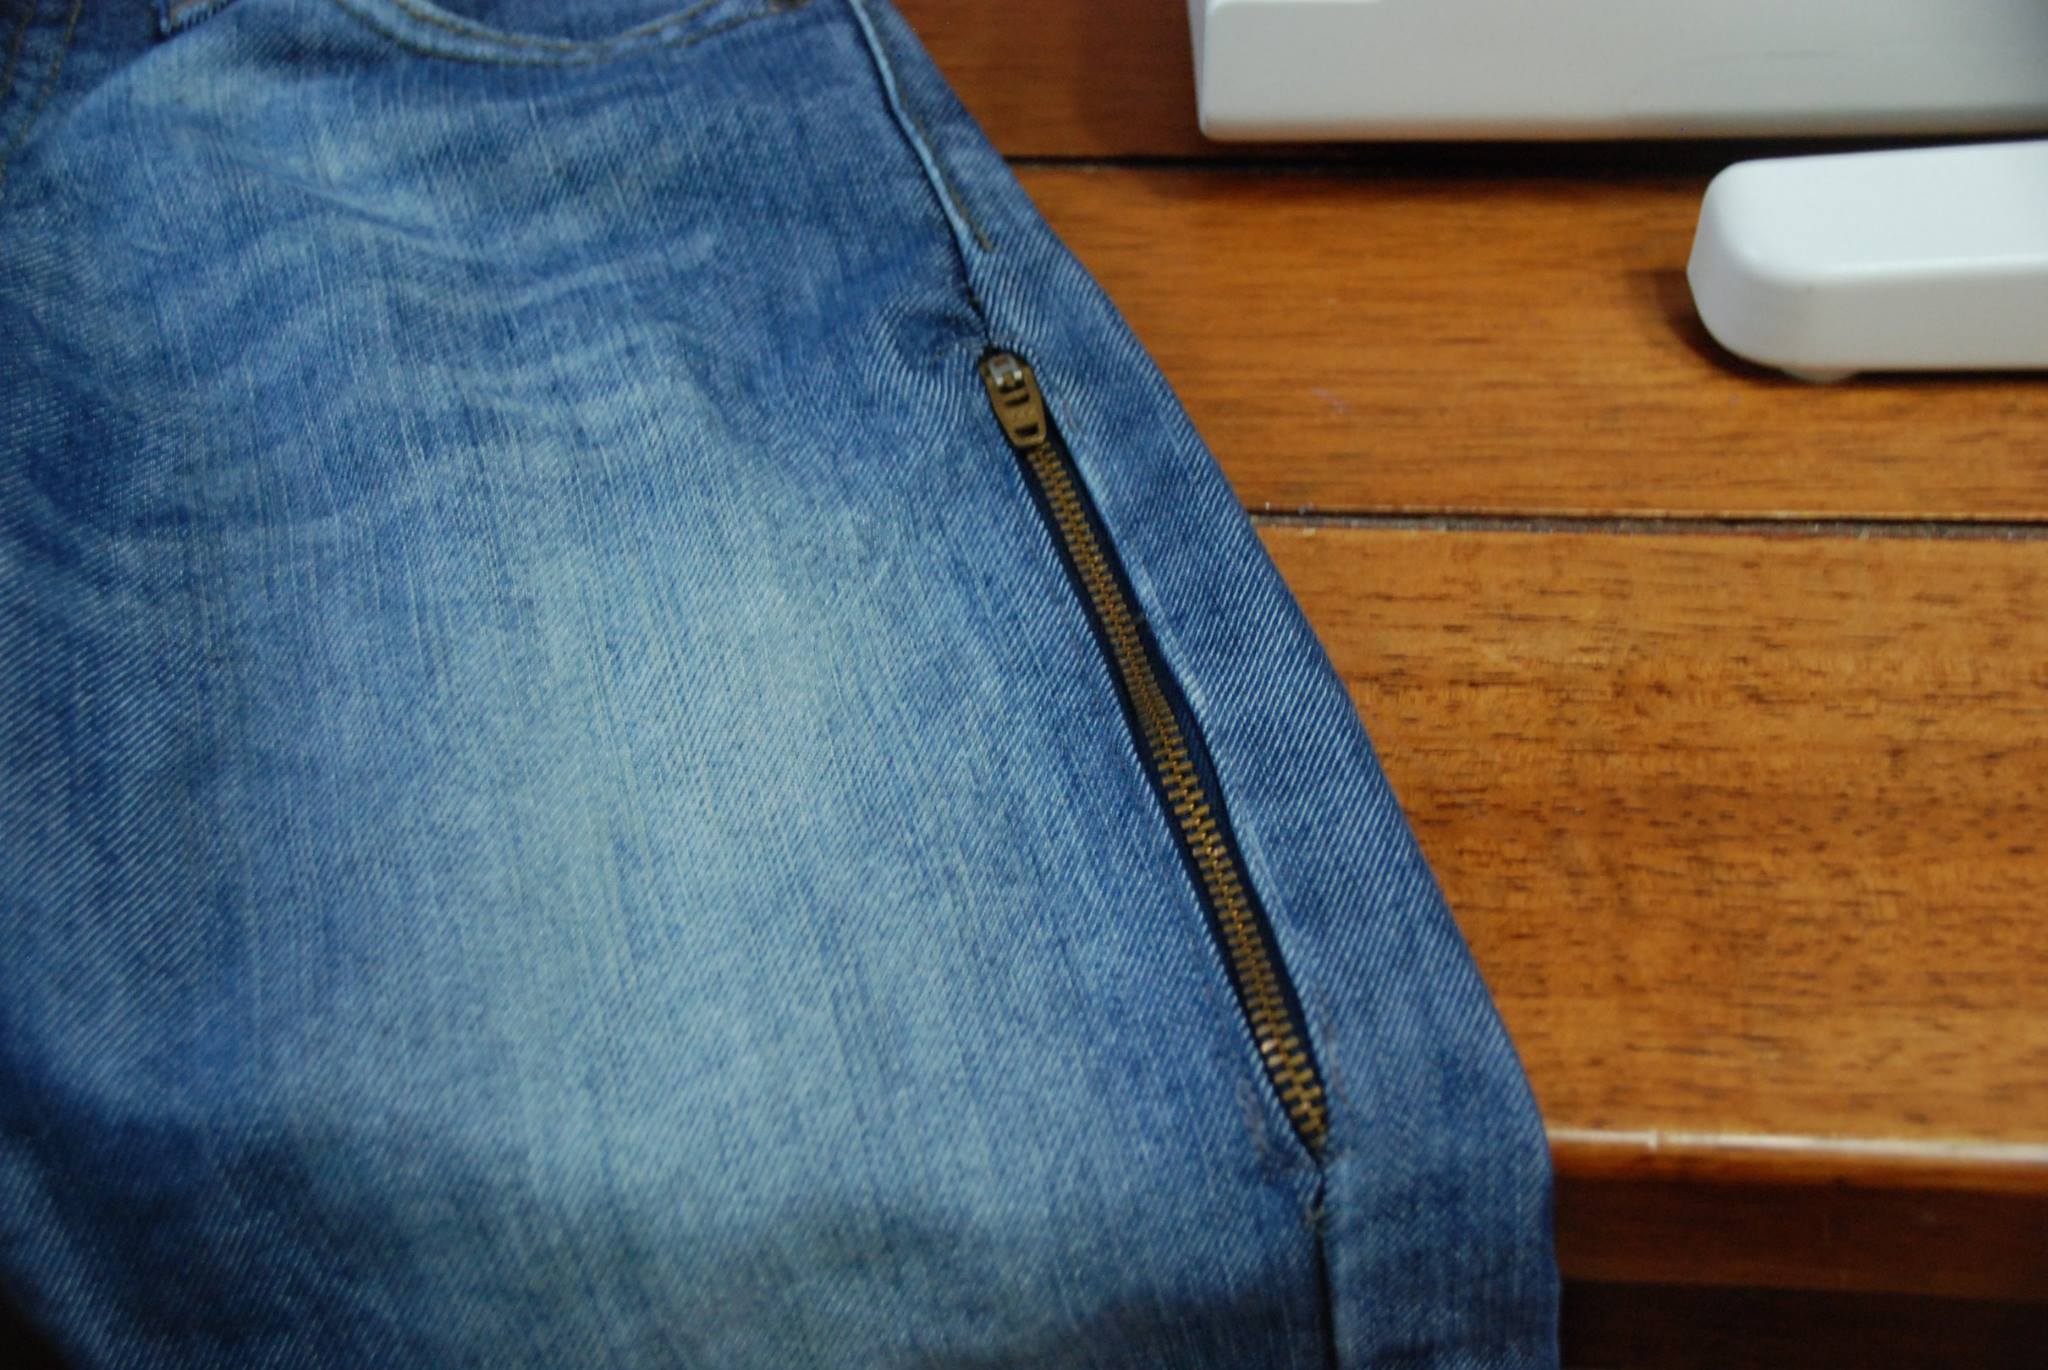
Yesterday I got 2 zippers from the thrift store for .50 each. They are actually just fly zippers that are removed from old jeans, but you can use just about any thing. I like these because they look like they are part of the jeans such as a pocket when done, not something added. About 2 hours later (including going to the boys soccer game) I had finished up his first pair of T1 Diabetes/Insulin friendly jeans! It was less then an hours worth of work, and $1 in supplies that will make a HUGE difference in his life. The best part is it looks like they were just added for looks, so he’s not going to stand out for having ‘special pants’ and no trips to the bathroom for shots during school.
I will say that he has an AMAZING class and they would never make fun of him for it, and they would rip others to shreds if they did because they have been together for 2.5 years now and are like a family. BUT next year they are venturing on to middle school and knowing how much more normal this will make him feel makes it worth it.
Below you will find the DIY tutorial. If you don’t have a sewing machine these CAN be done sewn by hand if you prefer. I will update this post later this week with pictures of Ronin rocking his new jeans ;). Don’t sew? I have a few friends who I can recommend, though I don’t know how much they would charge.
T1 Diabetes AKA Insulin Shot Friendly Pants Tutorial
SUPPLIES:
1 pair of jeans or pants that have a side seam
2 zippers at least 7″ long
A GOOD seam ripper – I HIGHLY recommend this one from clover
Stick Pins (extra long recommended)
Matching thread
Sewing machine or needle if hand sewing
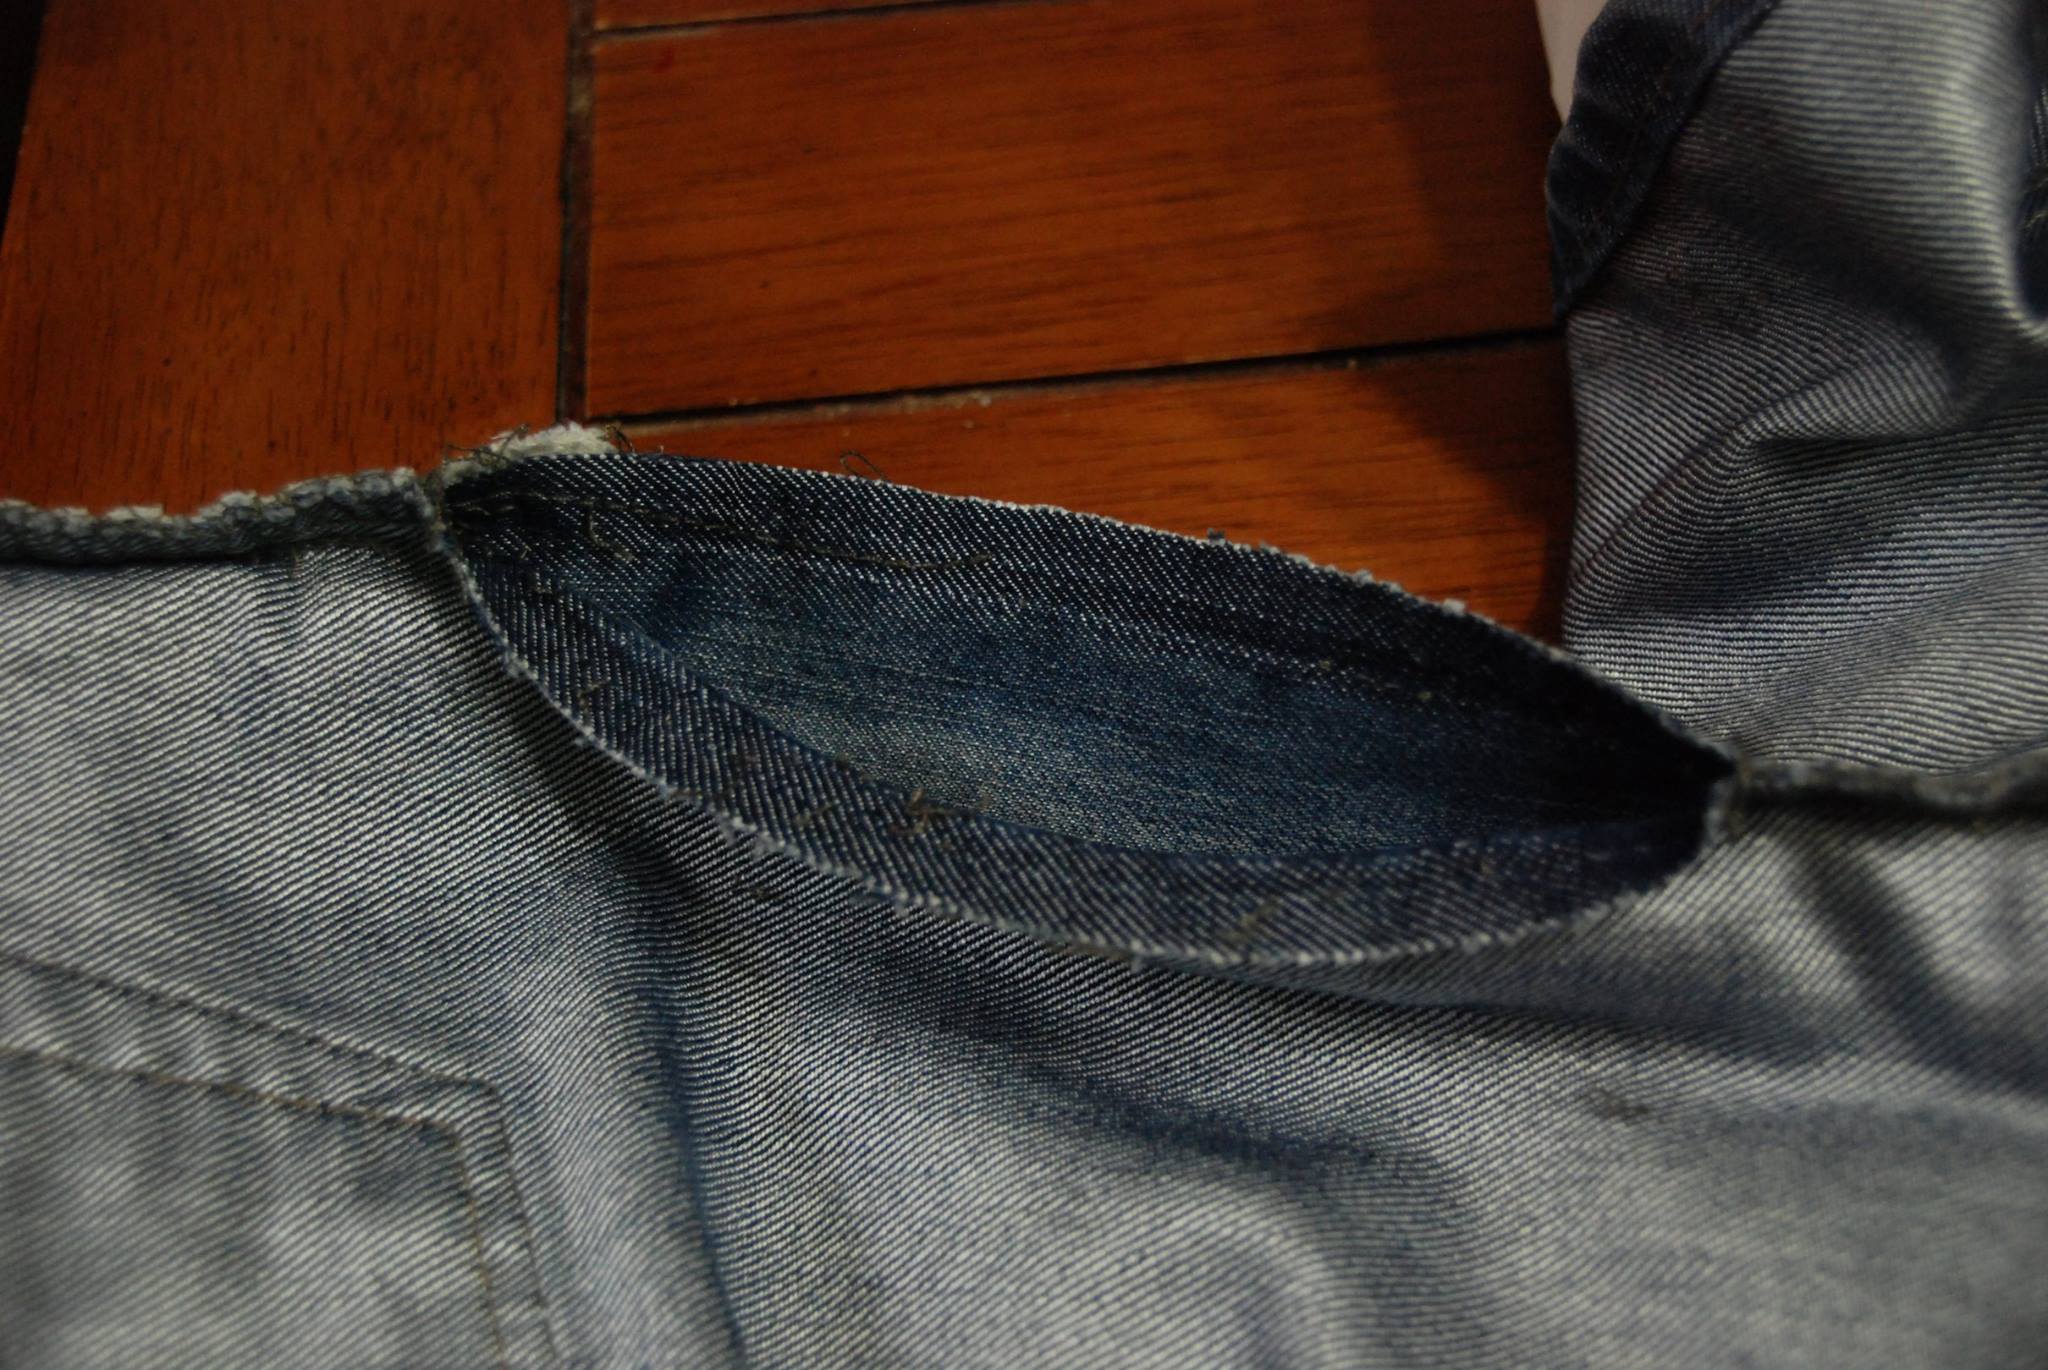
STEP 1: Seam Ripping the Hole
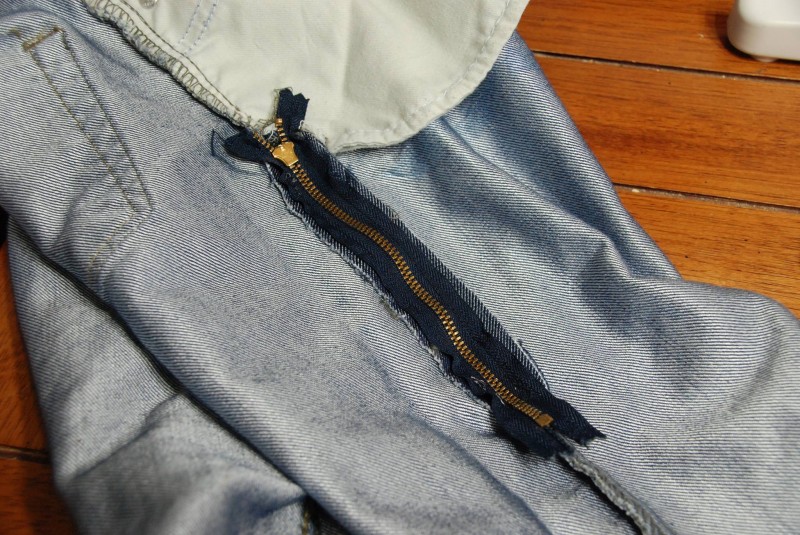
Decide where on the pants you want the zipper. Ronin wasn’t here so I just guessed and I started shortly after the top stitching on the side seam of the jeans ended. Turn the pants inside out and using the seam ripper, carefully rip out the stitches on the seam from the inside you want to open the seam enough for the bulk of the zipper to fit as shown below. I rip about every 3 stitches, making sure to catch the straight stitch and the serging, then I gently pull at the seam and most pop right out and I remove the broken threads. This is why I made a special note on the supply list for the seam ripper, the thing that comes with the sewing machines is AWFUL and dull. I have tried a lot and none compare to this clover one I recommend. It will make seam ripping go SO much smoother and is worth every penny for projects like this.
NOTE: If using very small jeans or skinny jeans you may to need rip out more of the side seam in order to get them under the foot of your machine, otherwise you can hand sew them in place as well.
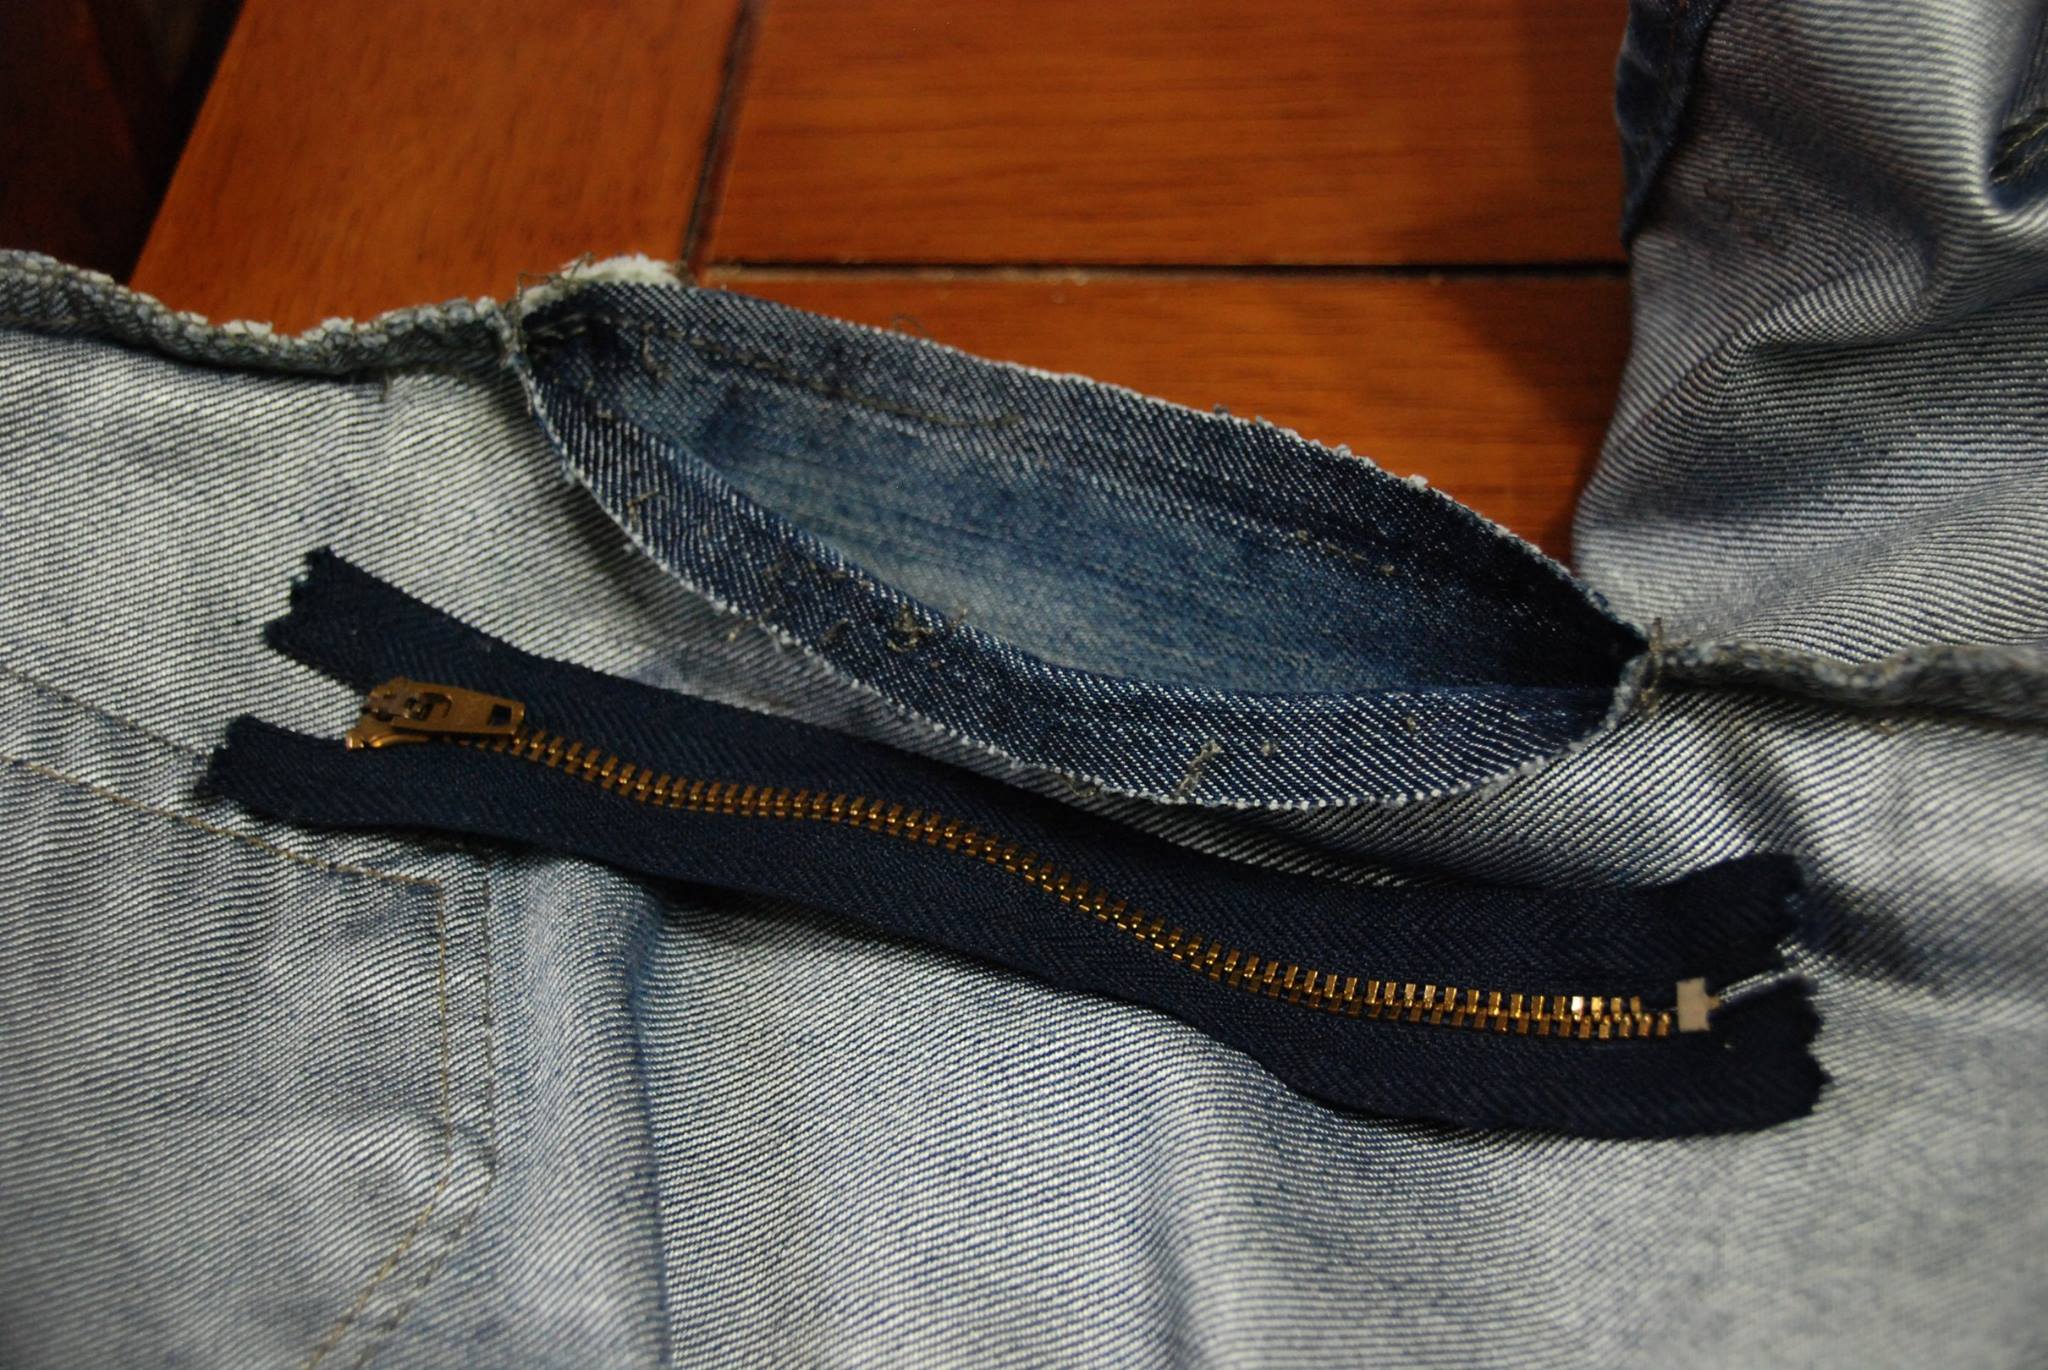
STEP 2: Placing the Zipper
Turn the pants right side out. Press the seam allowances that you just ripped the stitching out of each to their own side utilizing that nice crease that is already there, to create a nice finished end and guide. If you are using an invisible zipper your installation will be different, I recommend watching videos on you tube. *We are not installing this the traditional way.* If you know how to you can, but because of the type of zipper I am using and the crease we are essentially top stitching it into place.
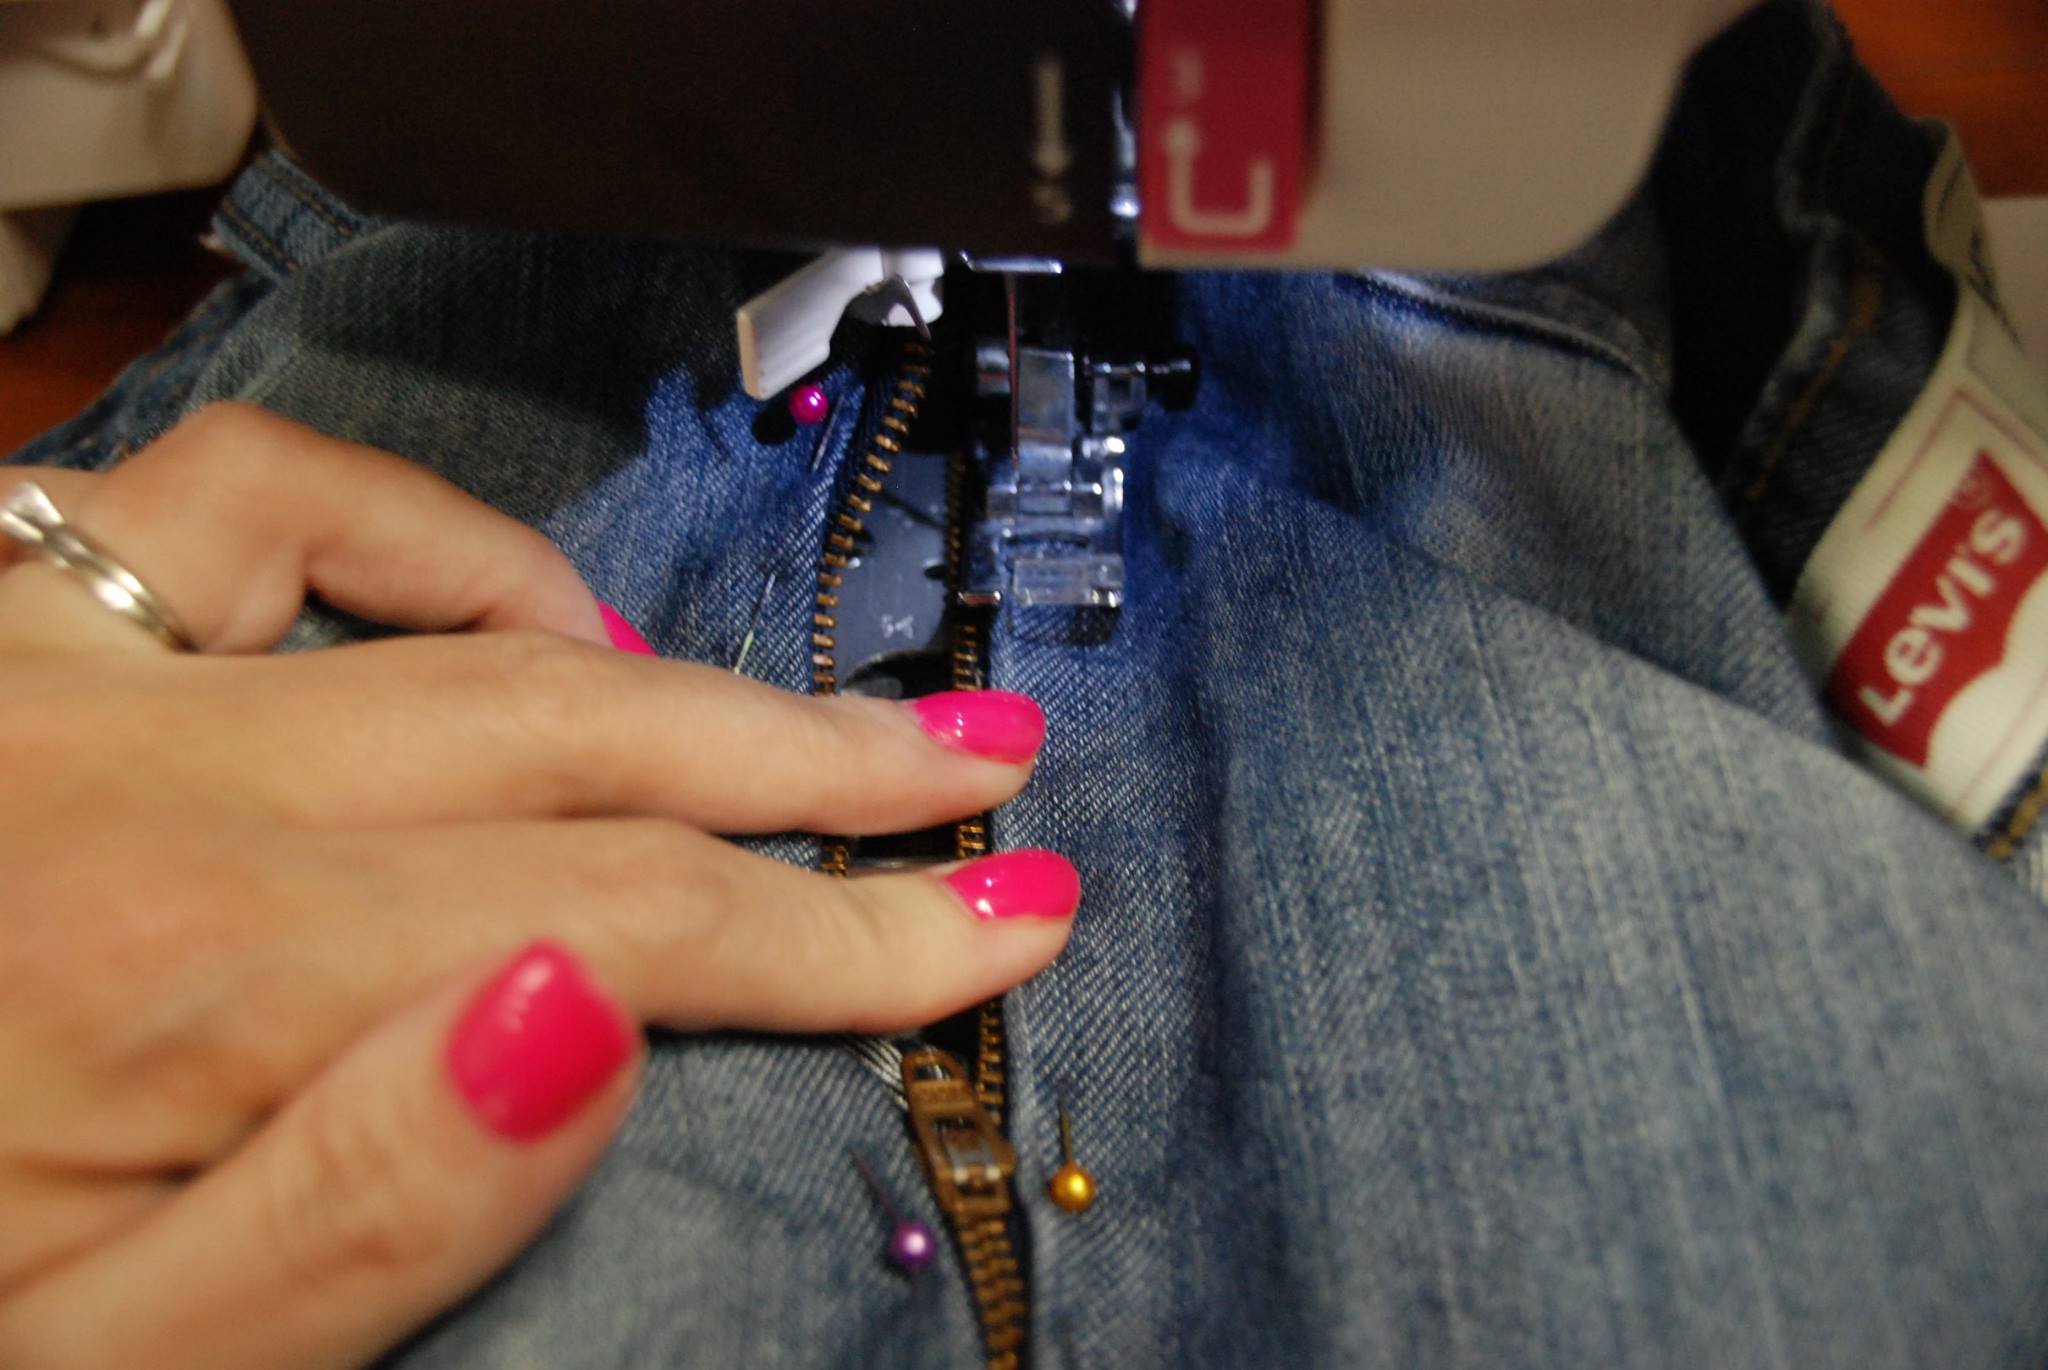
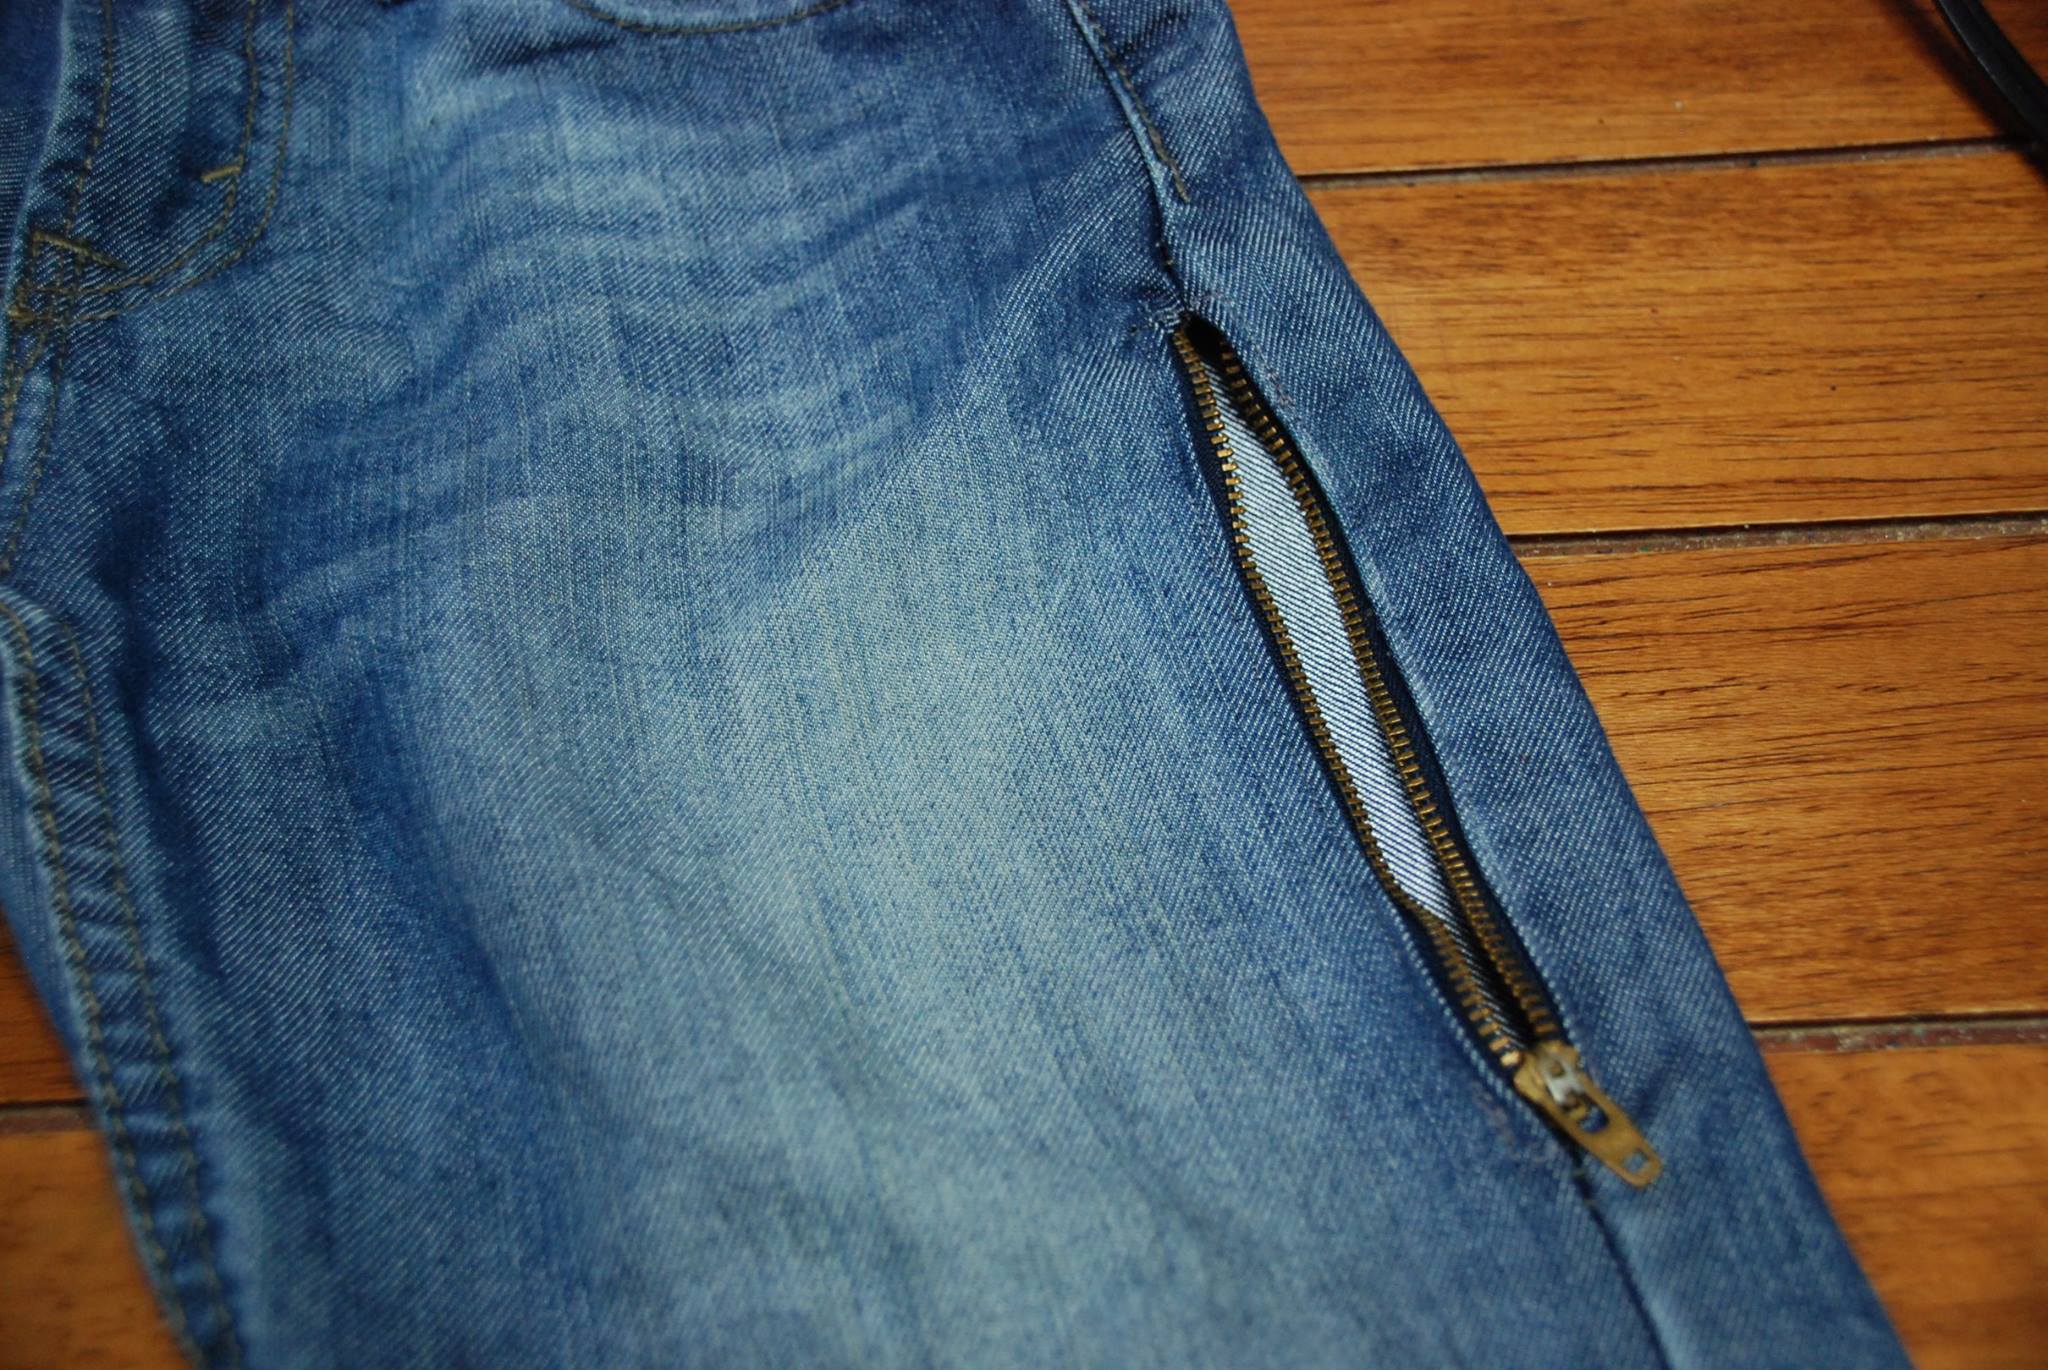
With your seam allowance folded in and your zipper open carefully pin one side of the zipper onto the INSIDE of the leg as shown. You want the fold to be close to, but NOT touching the zipper teeth or it will catch.
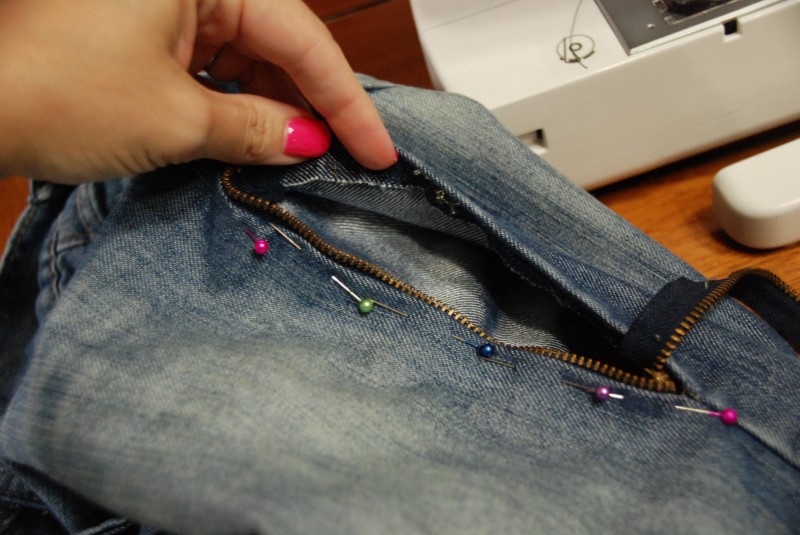
Once you finish the first side, zip your zipper closed and repeat with the 2nd. Make sure to unzip the zipper to make sure none of the teeth catch.
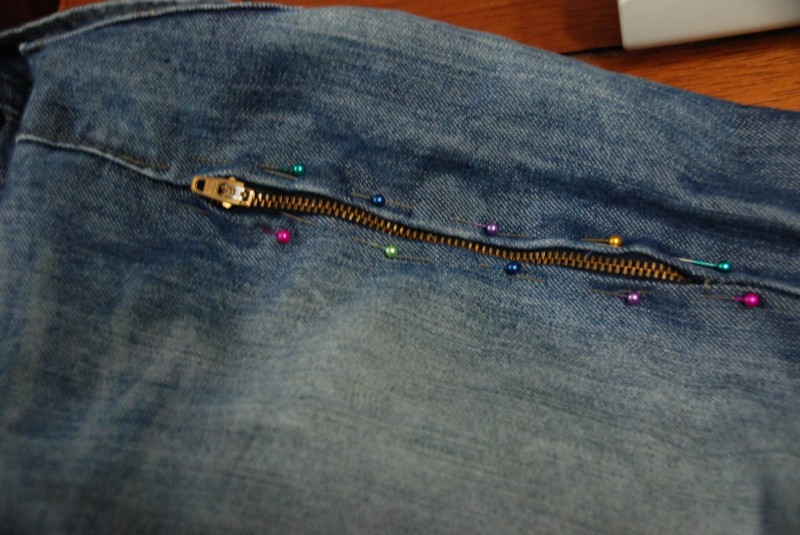
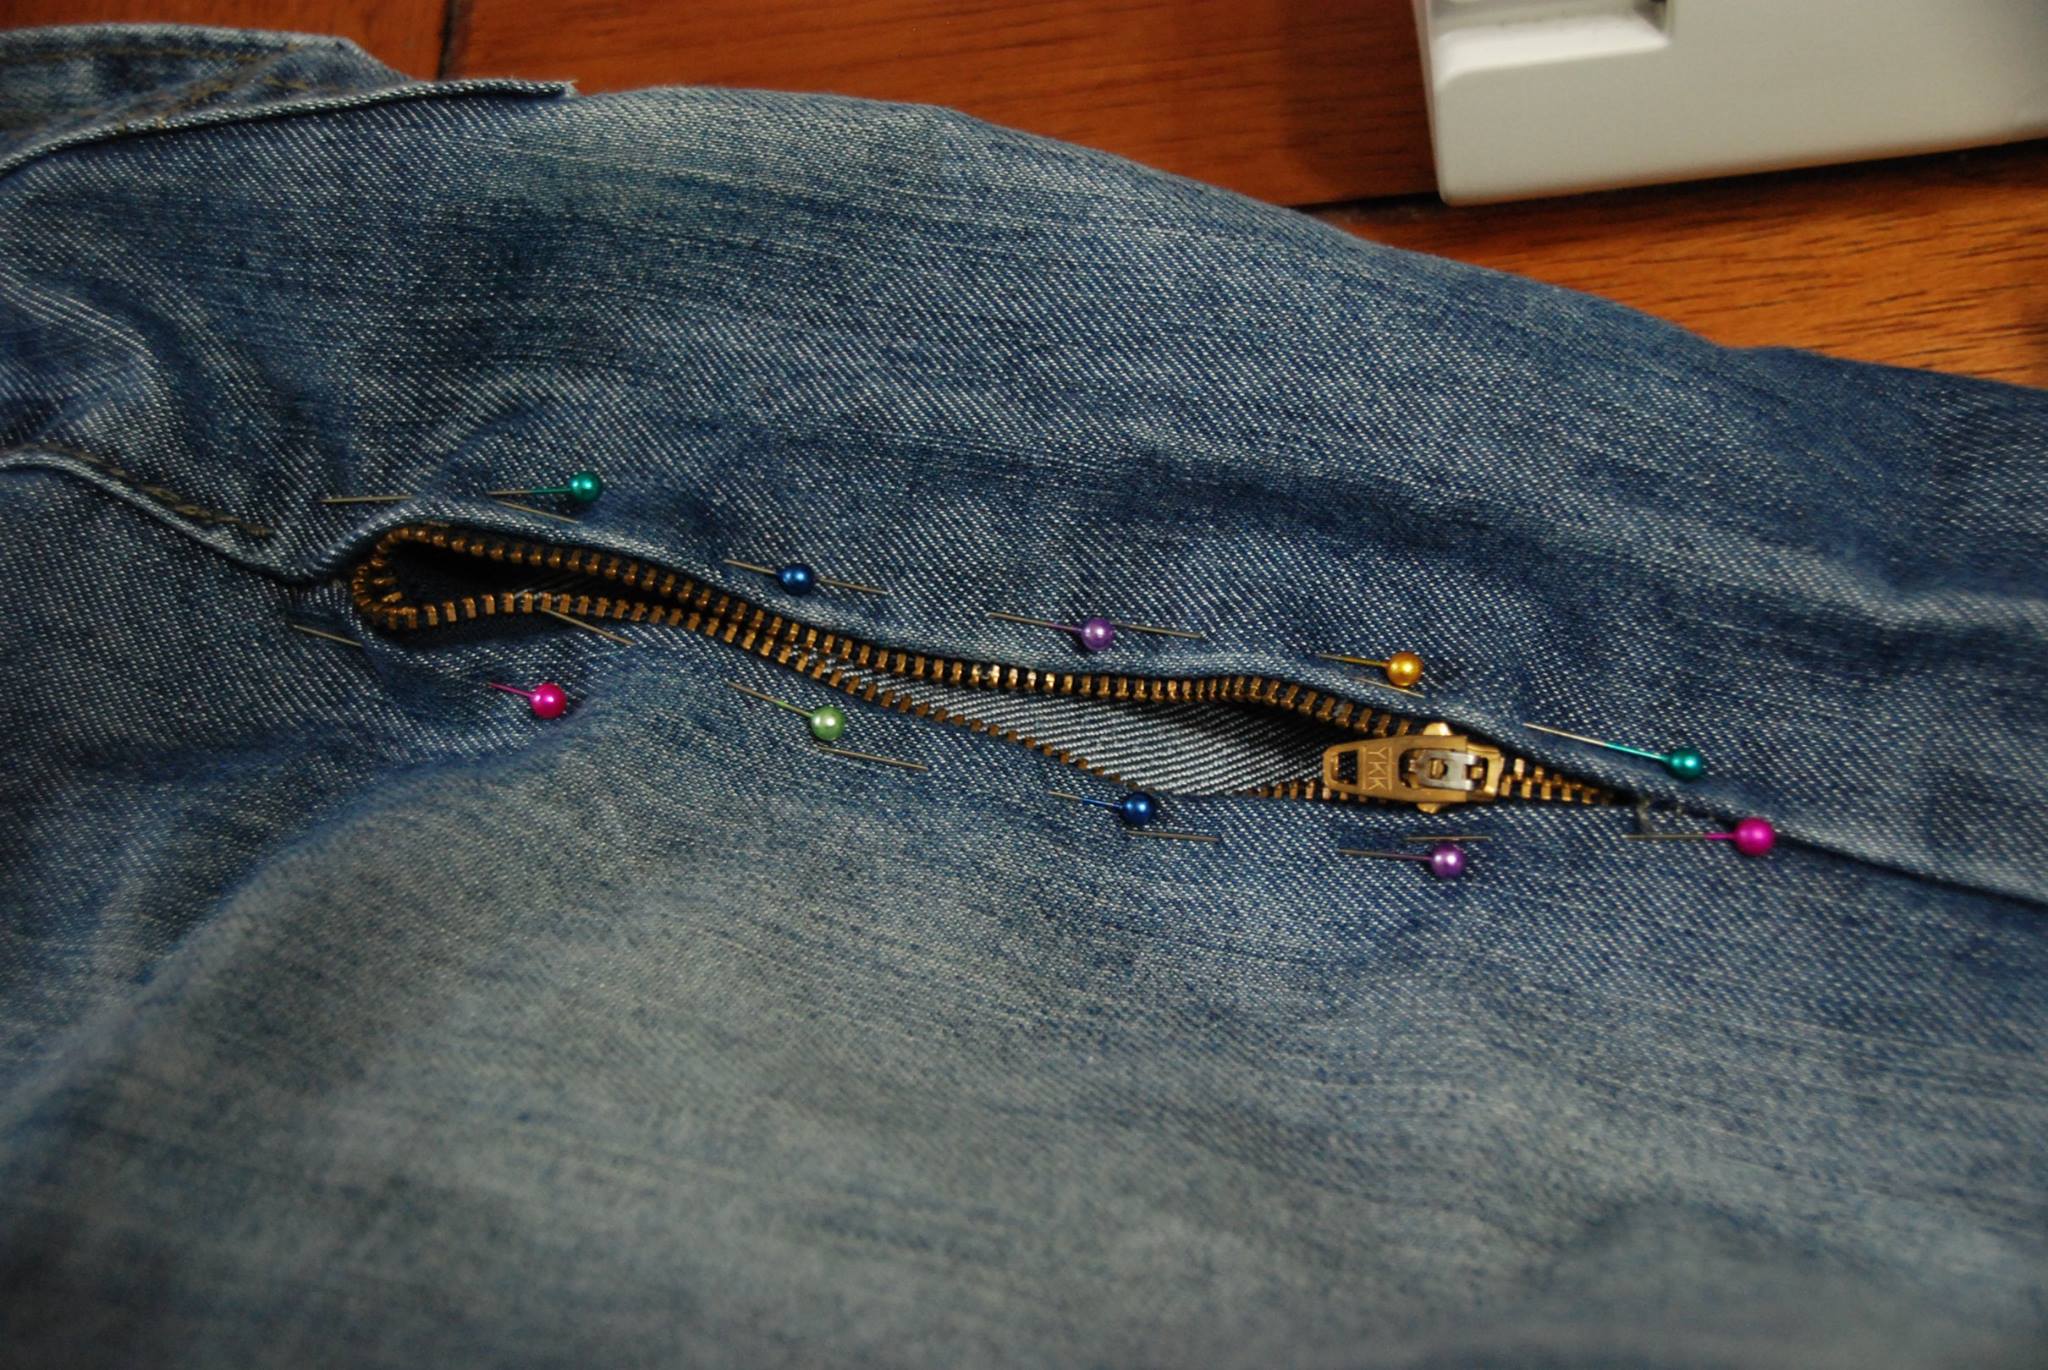
While you don’t see it in the photo’s above that I took on the first leg I recommend perpendicular pins at the top and the bottom of the zipper as well, making sure to catch both sides of the zipper.
STEP 3: Sewing the Zipper in Place
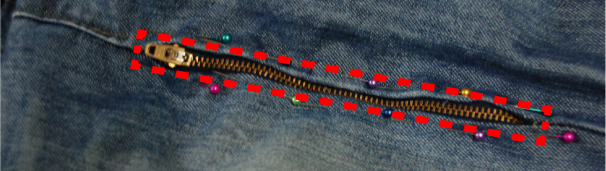
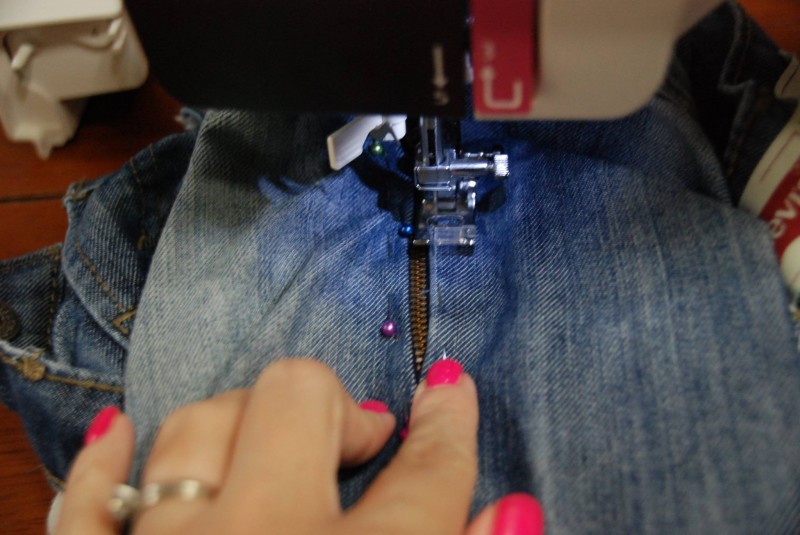
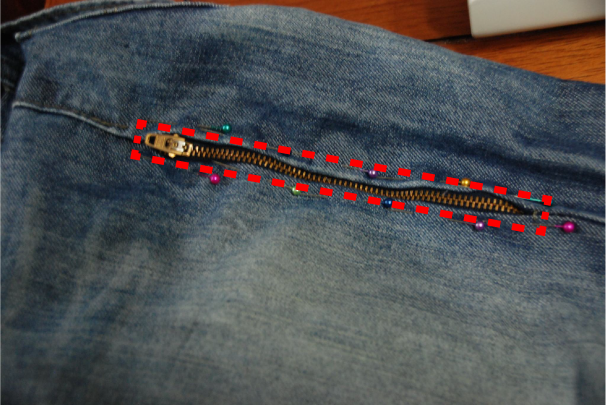
Again, disclaimer, this is NOT the proper/technical way to sew in a zipper, but it is the easiest for this application and works. Using thread that matches the color of the pants OR the contrast thread used for decorative stitching, very carefully sew around your zipper, pulling pins as you go, trying to stay 1/8″ or less away for the zipper teeth. You want to be close enough to the edge/fold of the fabric that you sew through all 3 layers (top pants layer, seam allowance layer and the cloth tape portion of the zipper). I recommend starting that the end opposite of the were the zipper pull is at, making sure to back stitch to start. When you get with-in 2″ of the zipper pull stop with your needle down. Lift your pressure foot up and rotate 90* so that you can sew across the ends. USE EXTREME CAUTION when sewing across zipper teeth on a machine, I turn the wheel by hand generally so I can feel if it’s going to hit something. You can always hand sew the ends if you prefer not to try using the machine. When you have made it all the way around make sure to back stitch again before cutting your threads.
The dotted red line shows and approximate example of where you will be sewing.
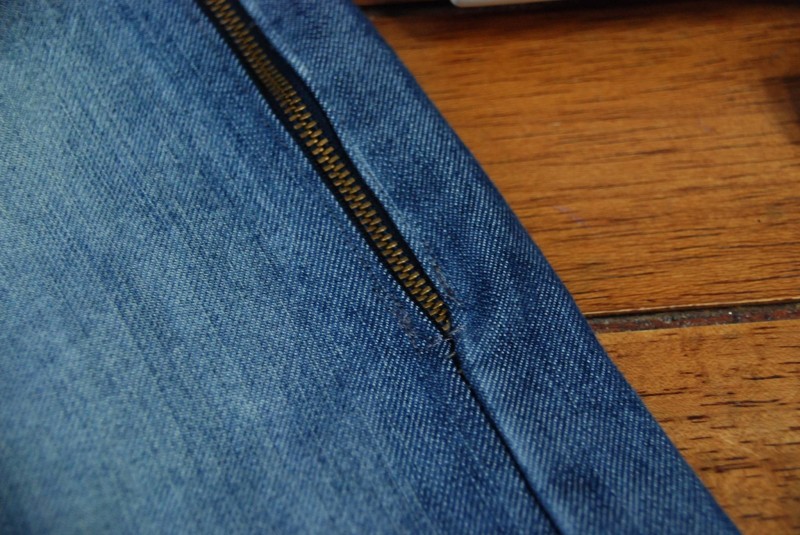
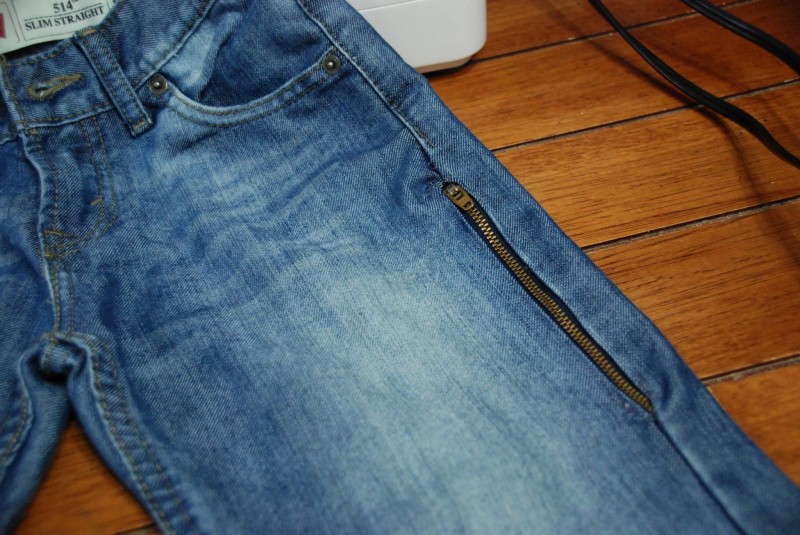
You can see the top stitching just barely here if you have good eyes. I used a grey that blended nicely with the denim.
This is what it will look like on the inside of the pants. Jean zippers are generally on soft tape so there should be minimal irritation though kids with sensory issues you may want to tack a soft scrap of fabric over it on just one side like a flap.
STEP 4: Repeat on Other Leg, Test Zippers & Your DONE!
One Response
Colleen Nordgren
BRILLIANT!