My girls love character shirts from the big box stores, but I dislike paying so much for what is usually a poorly-constructed tee. Our compromise? Wait until the shirts land on the clearance rack and transform it into a fabulous handmade top!
Today, I’m sharing my preferred method of performing t-shirt surgery (i.e. cutting up a t-shirt to make a much more interesting shirt). I will be back later this week with a second technique.
For upcycling, I try buy the biggest tee available with the graphic I want. Of course, if you’re making a shirt for a smaller child, you’ll want to take into consideration how big the picture is and whether it will fit on the child’s size of shirt … you may not want/need to buy the biggest in that case. For this tutorial, I’m using EYMM’s Carlie’s Dolman Top pattern but this method also works with other shirt or dress patterns.
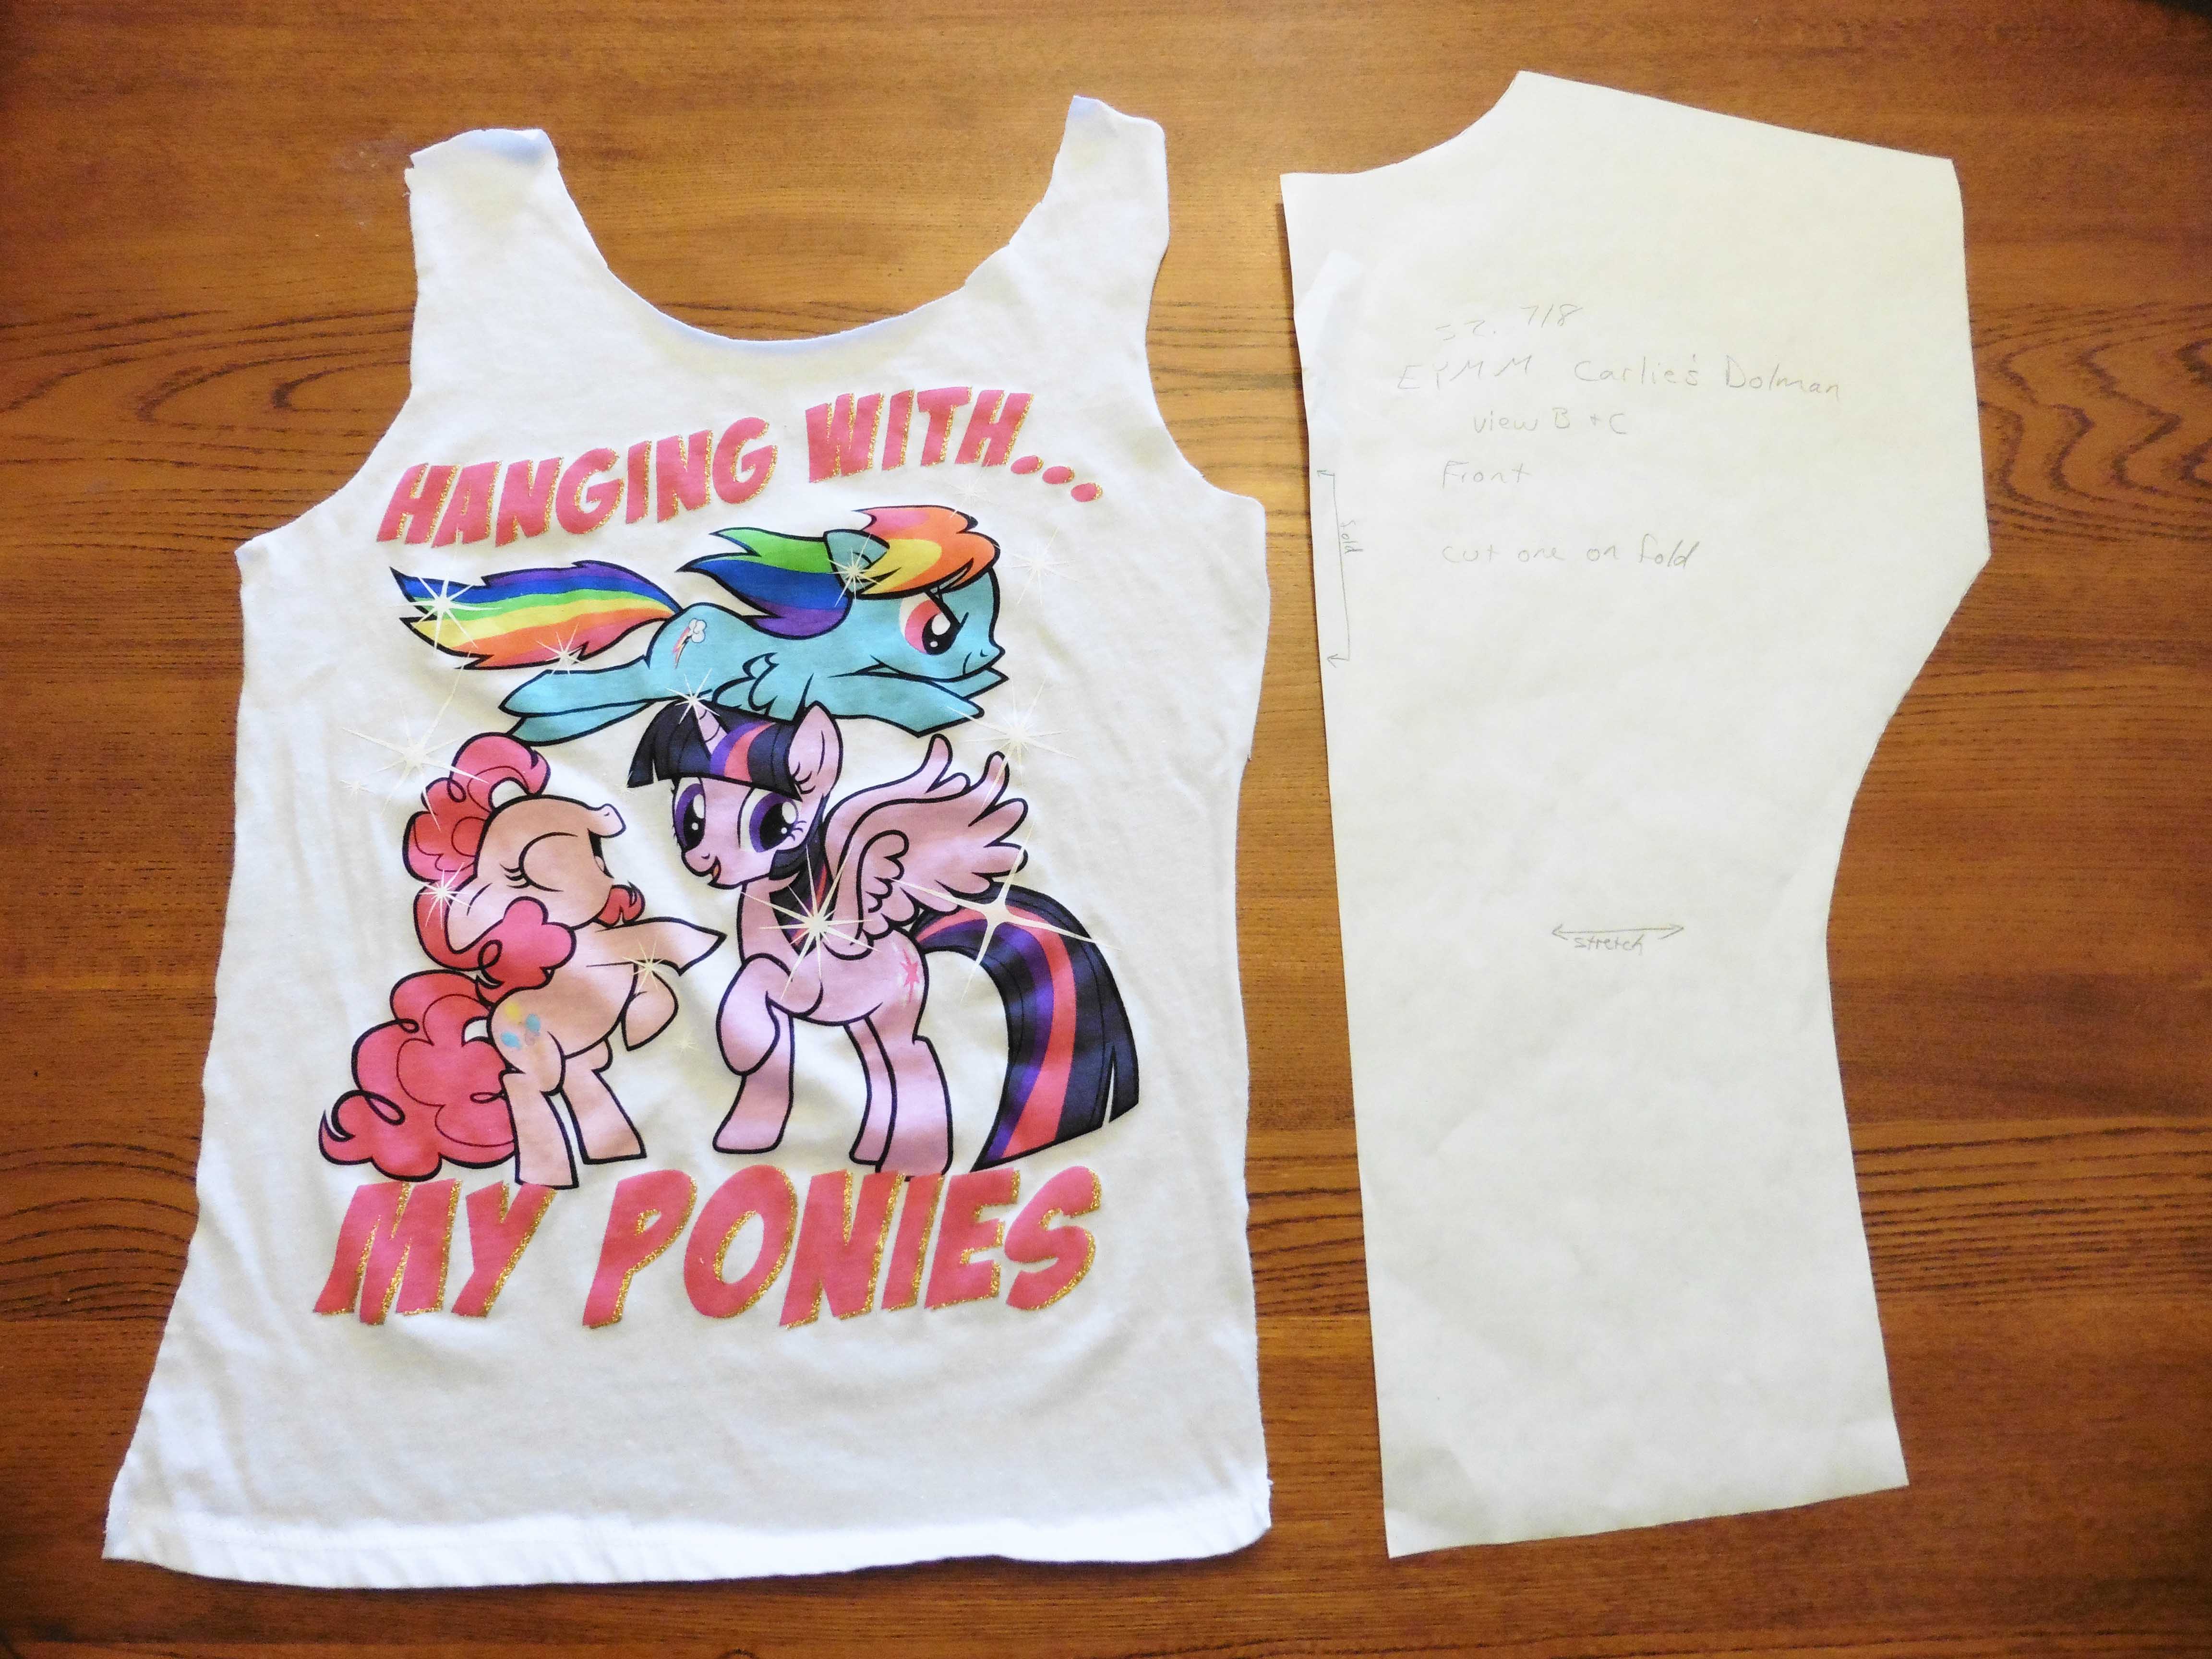
As you can see above, I carefully cut the shirt apart. I cut right next to the side seams, around the sleeves, across the shoulders, and around the neckline. Since I’m choosing to only piece the front, I only cut out the front. You will also need to trace/cut your chosen pattern in the size you need.

Next, I squared up the original shirt into a rectangle with the design centered widthwise. I folded it in half and placed it on the dolman pattern’s front to get an idea of how much to add to each side, keeping in mind to account for seam allowances when I pieced it together. Because I was doing the option with a bottom band, I chose to place my shirt rectangle at the bottom of the pattern and add to the sides and top (since the band would add blue across the bottom, too).
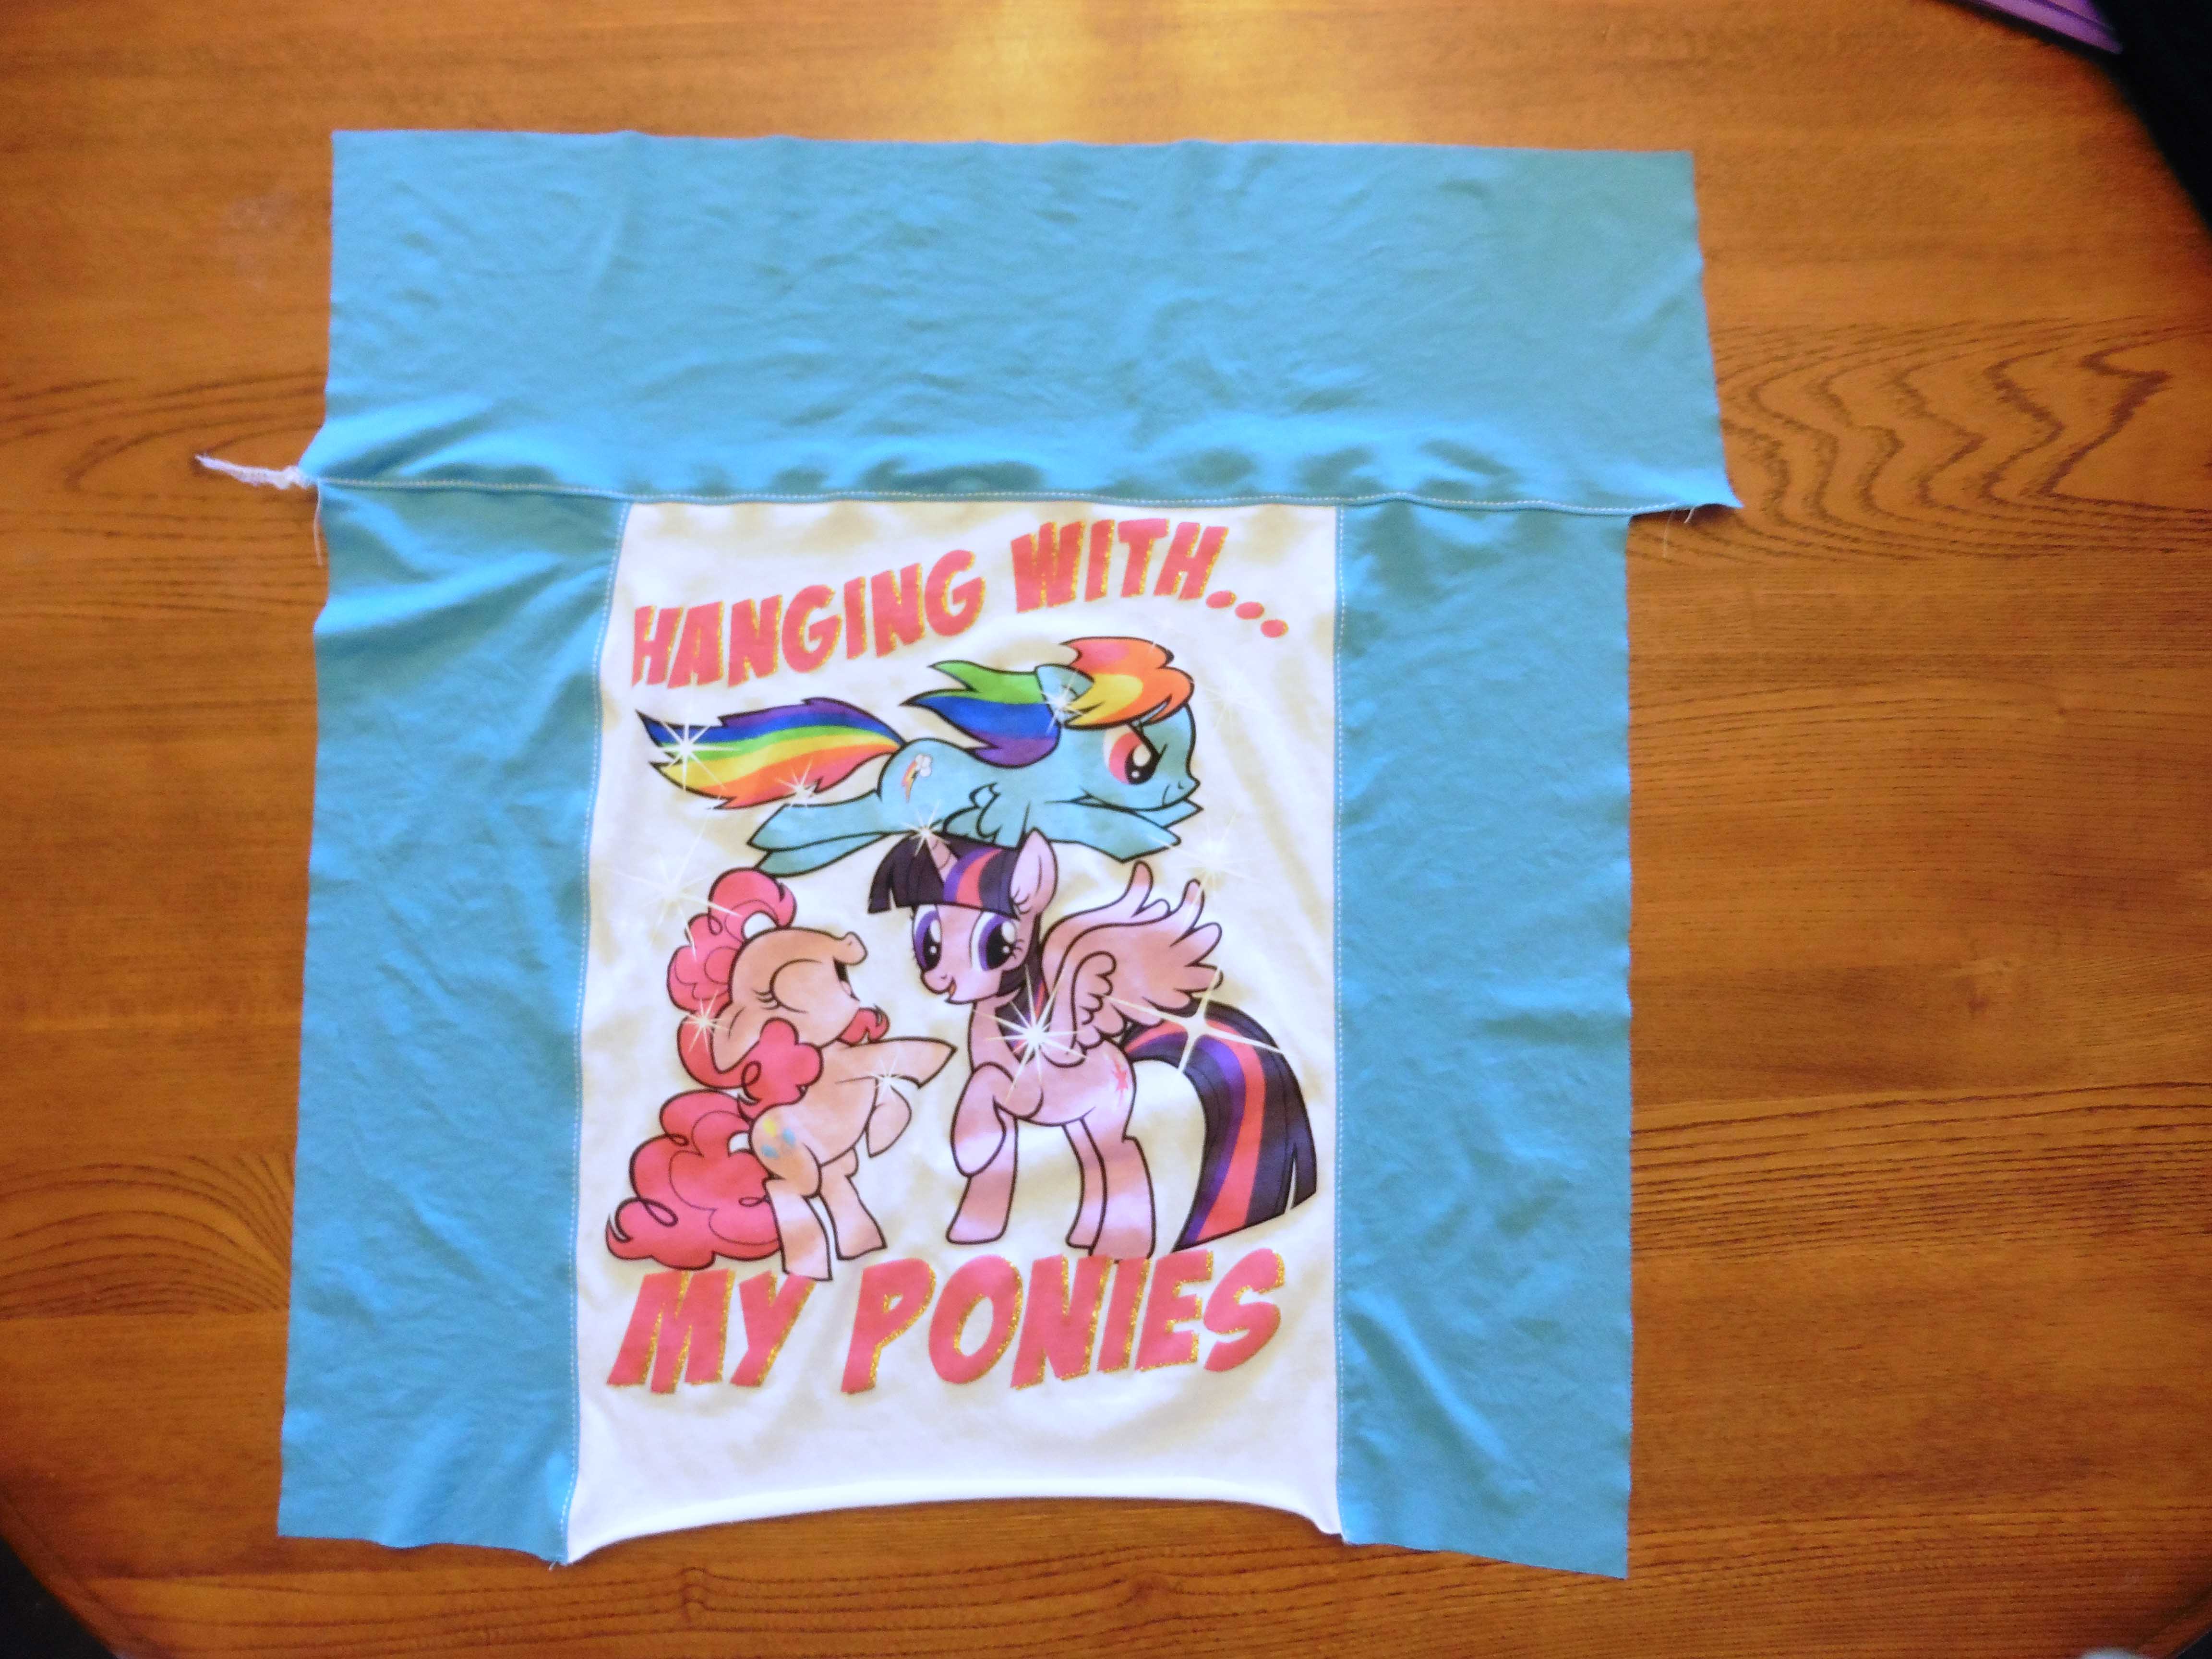
I cut rectangles of my blue knit and sewed them to the sides and top of my original shirt rectangle. I sewed both of the sides first, squared them off with the top of the graphic rectangle, then added a blue rectangle all the way across the top. I chose to gently press the allowances to the blue side of each seam and topstitch so that it would lay more nicely (I topstitched the sides before adding the top piece).
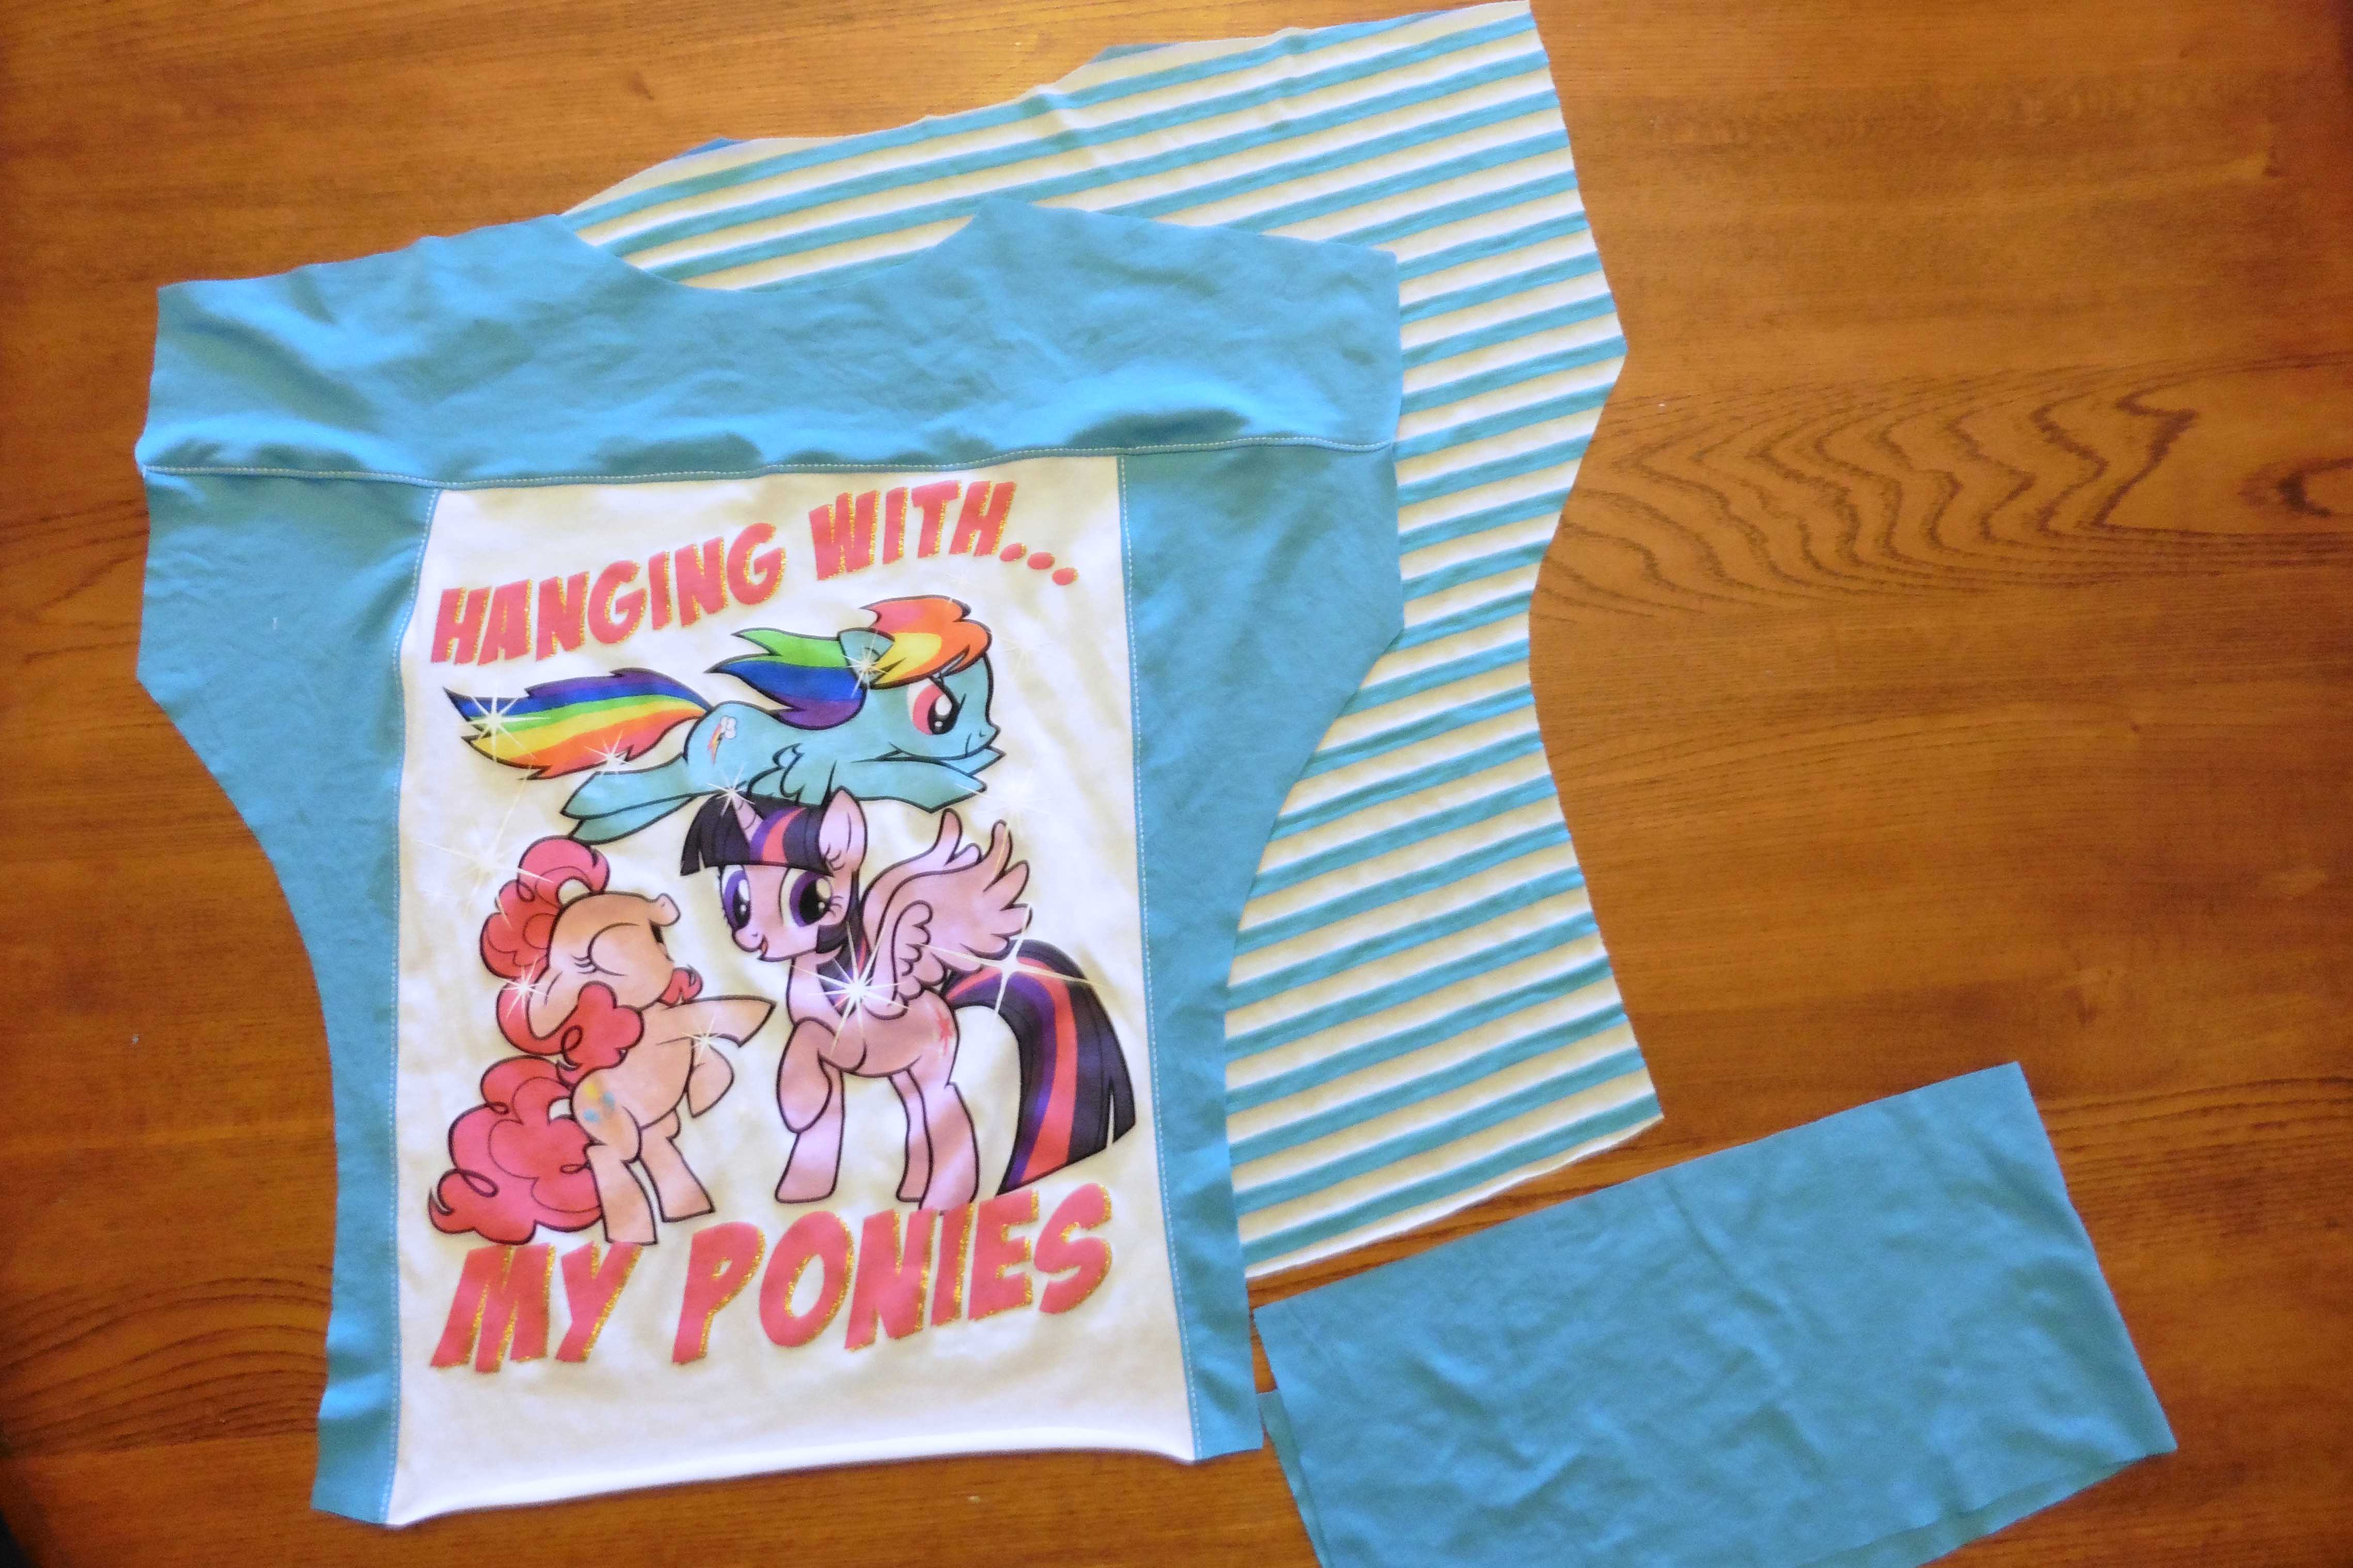
The next step is to fold the new front piece in half and cut out the dolman pattern front. You can also piece the back together or just use one piece of coordinating knit like I did. If you’re doing the version with the hip band, don’t forget to cut it out also (or, if you chose a different pattern, cut any other pieces needed).
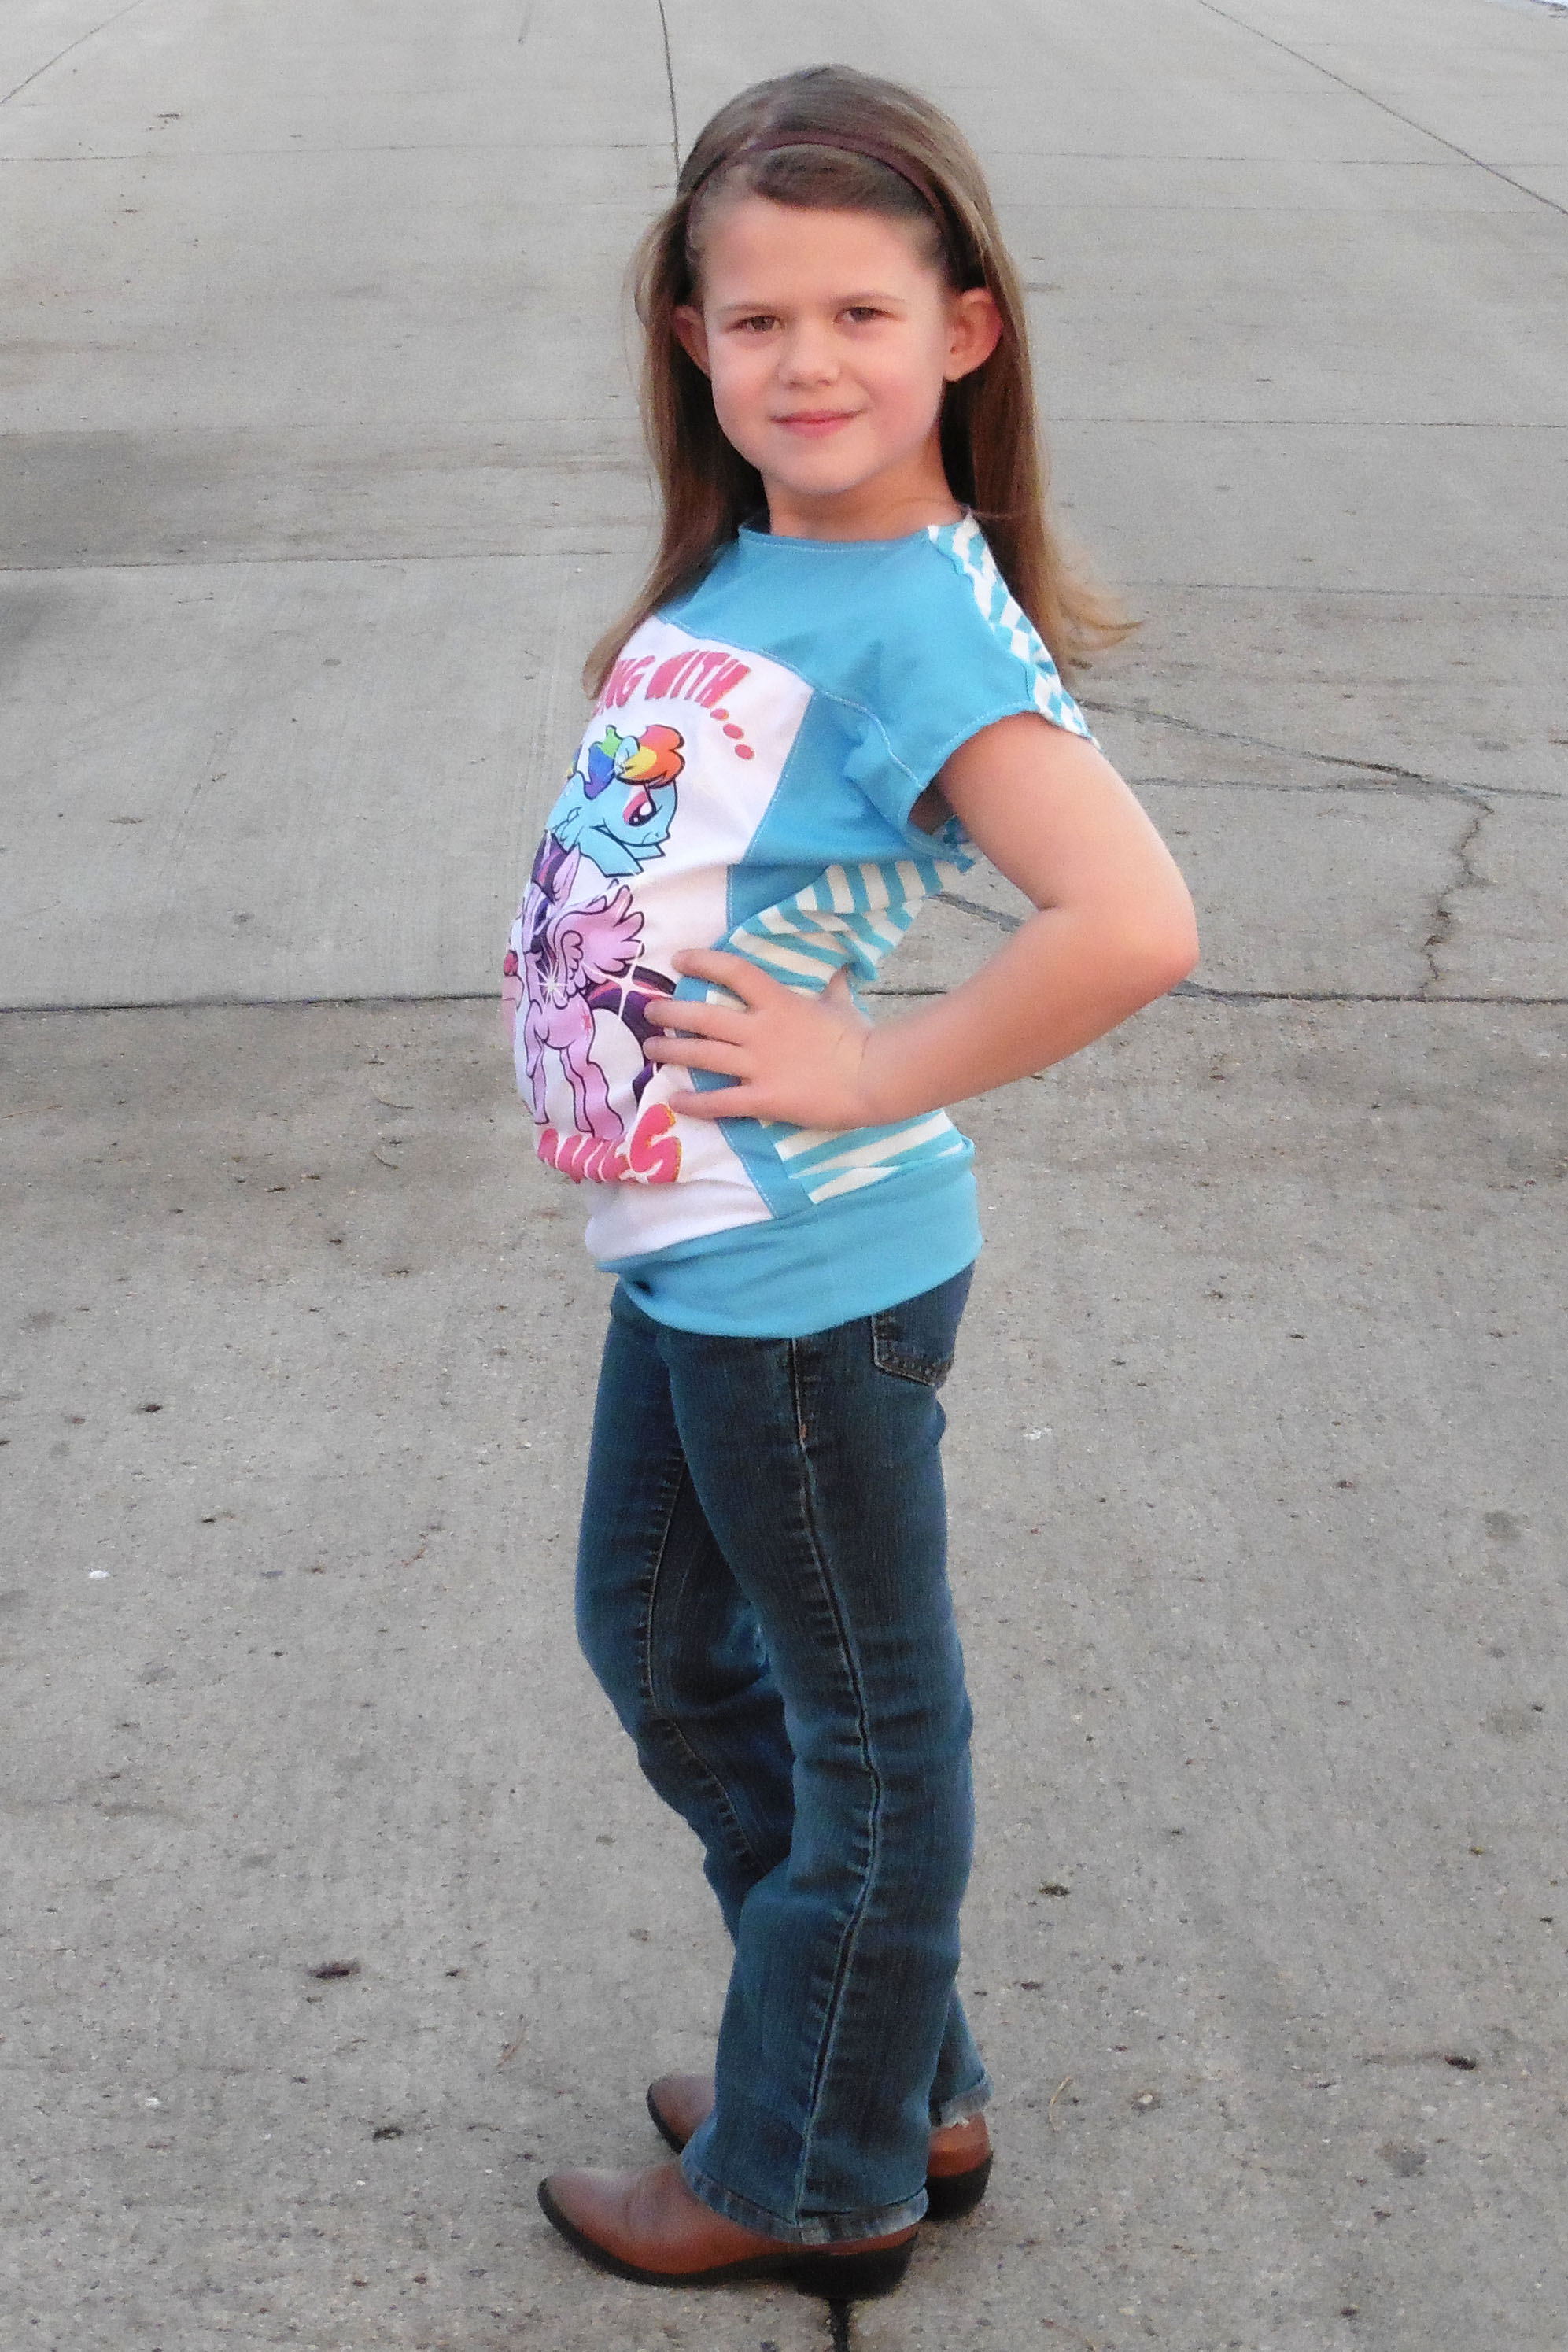
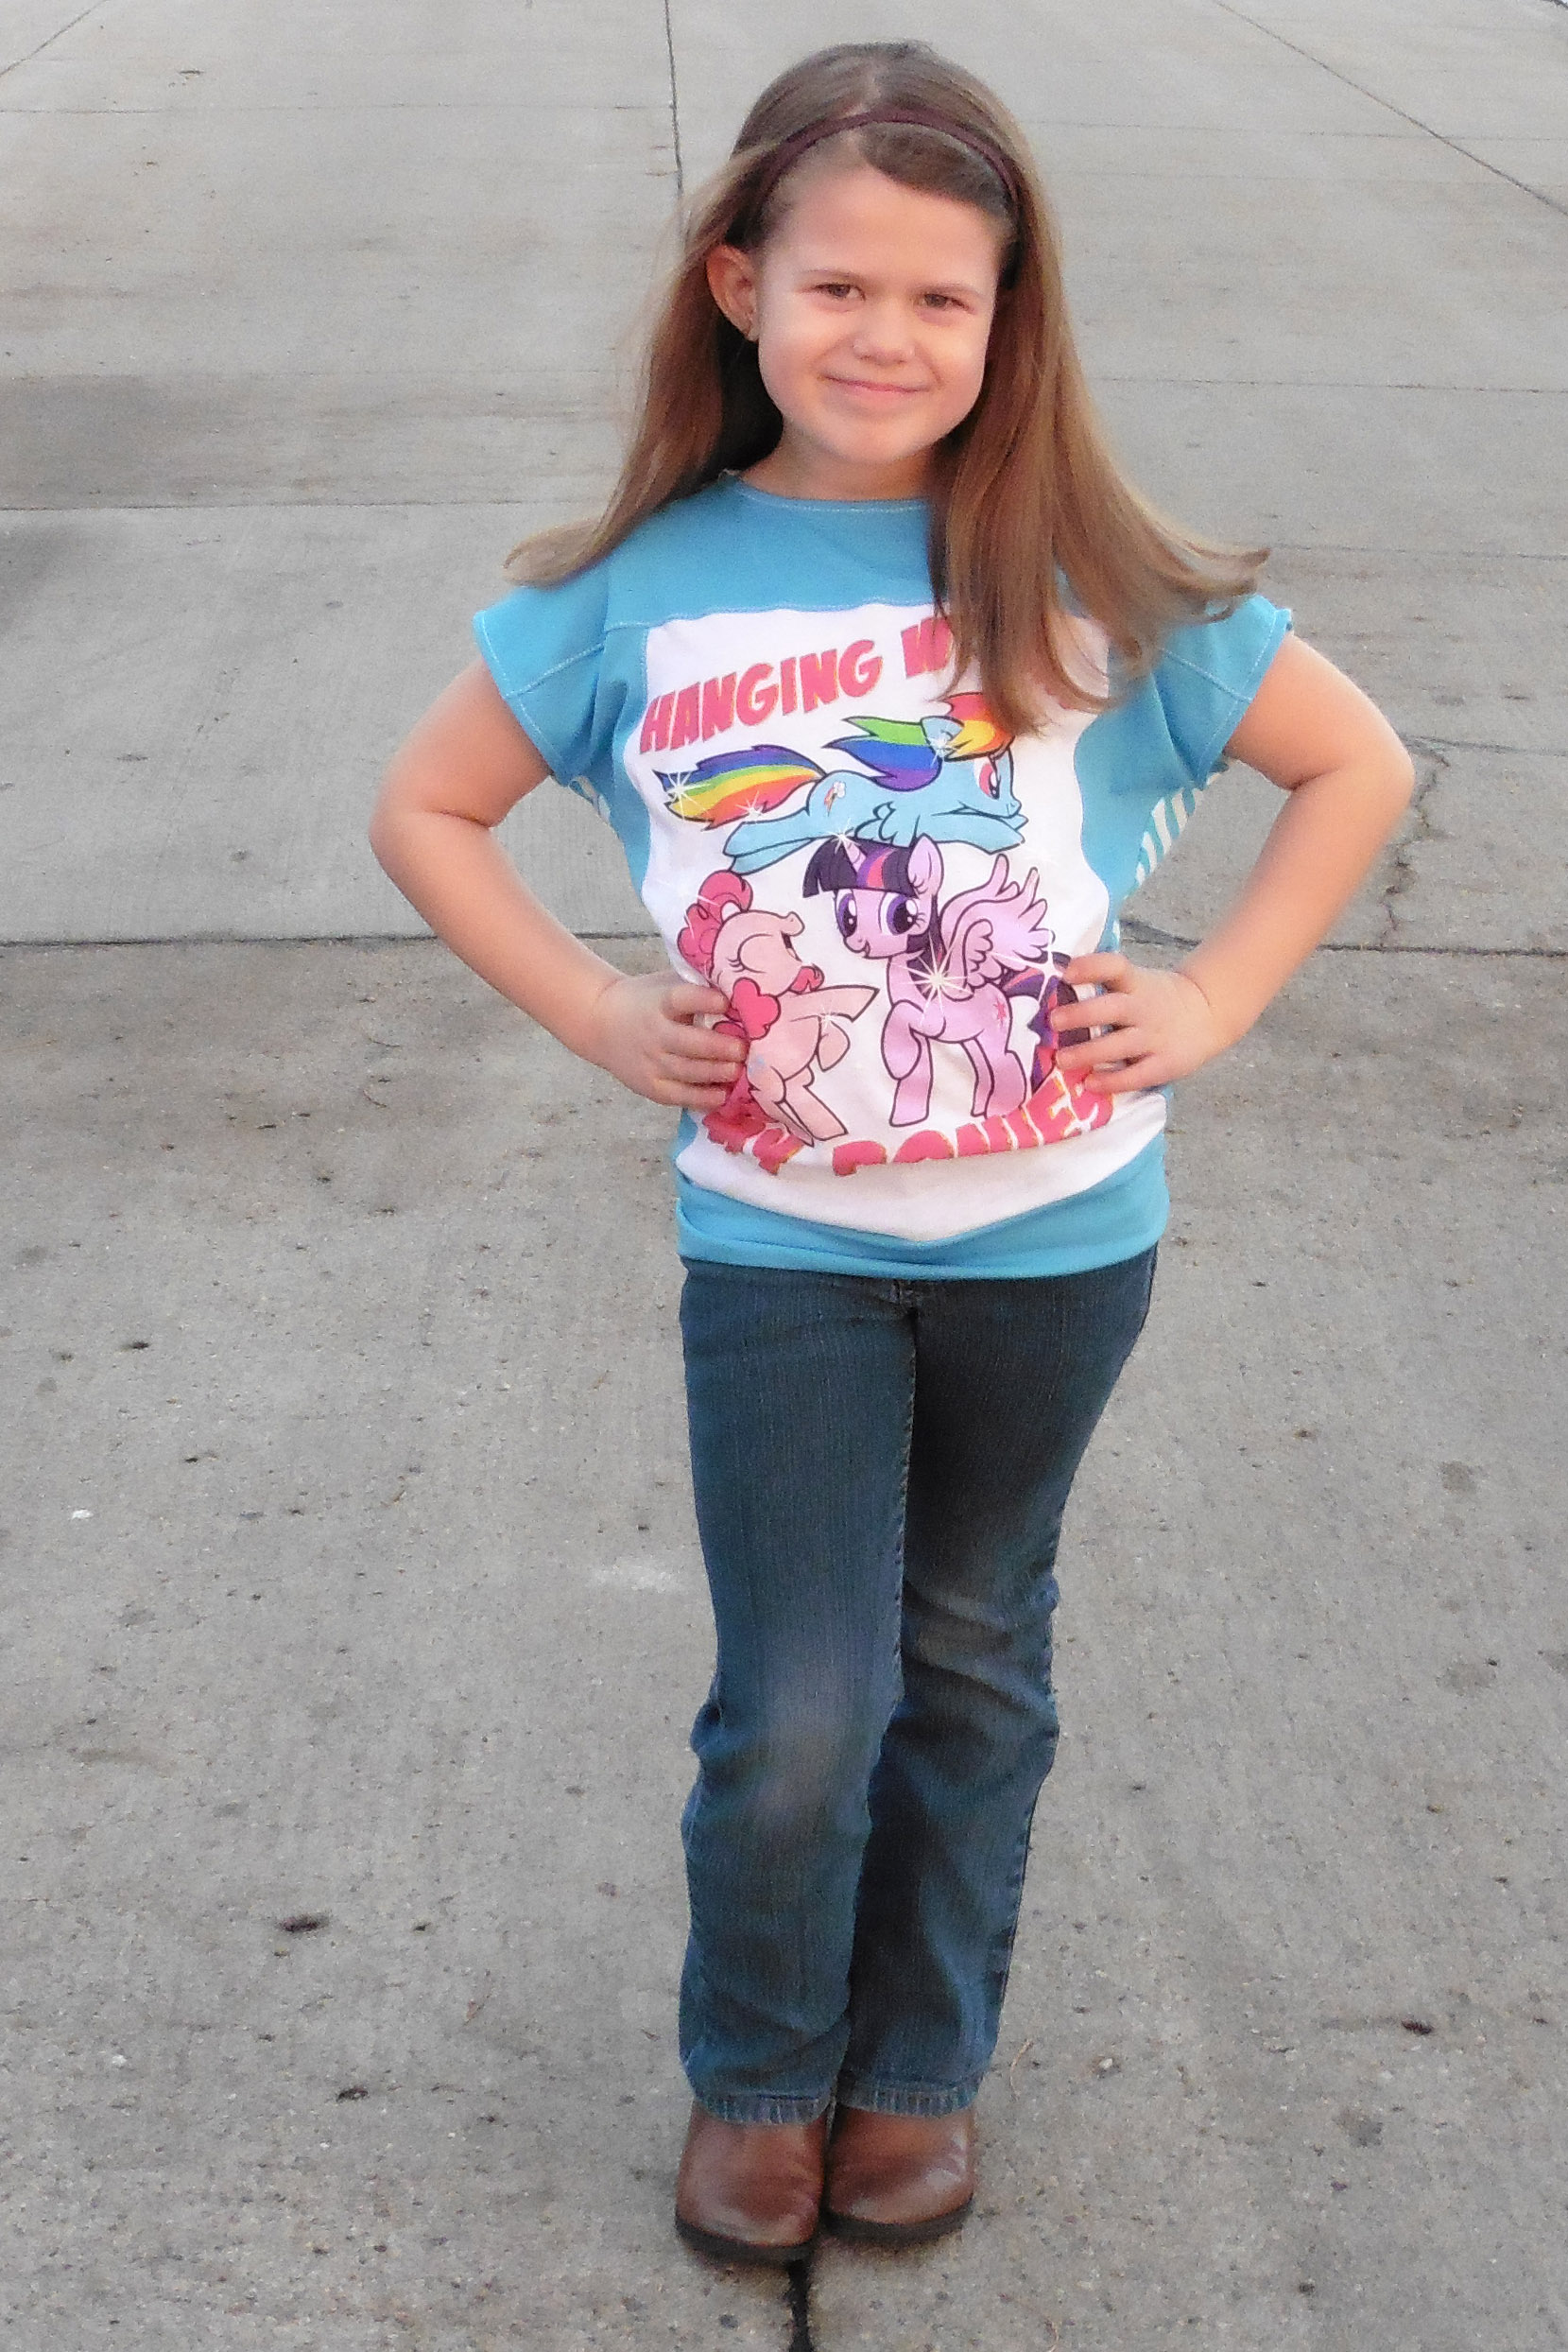
Once everything is cut out, you can construct your shirt as the pattern instructs and enjoy your new one-of-a-kind top!
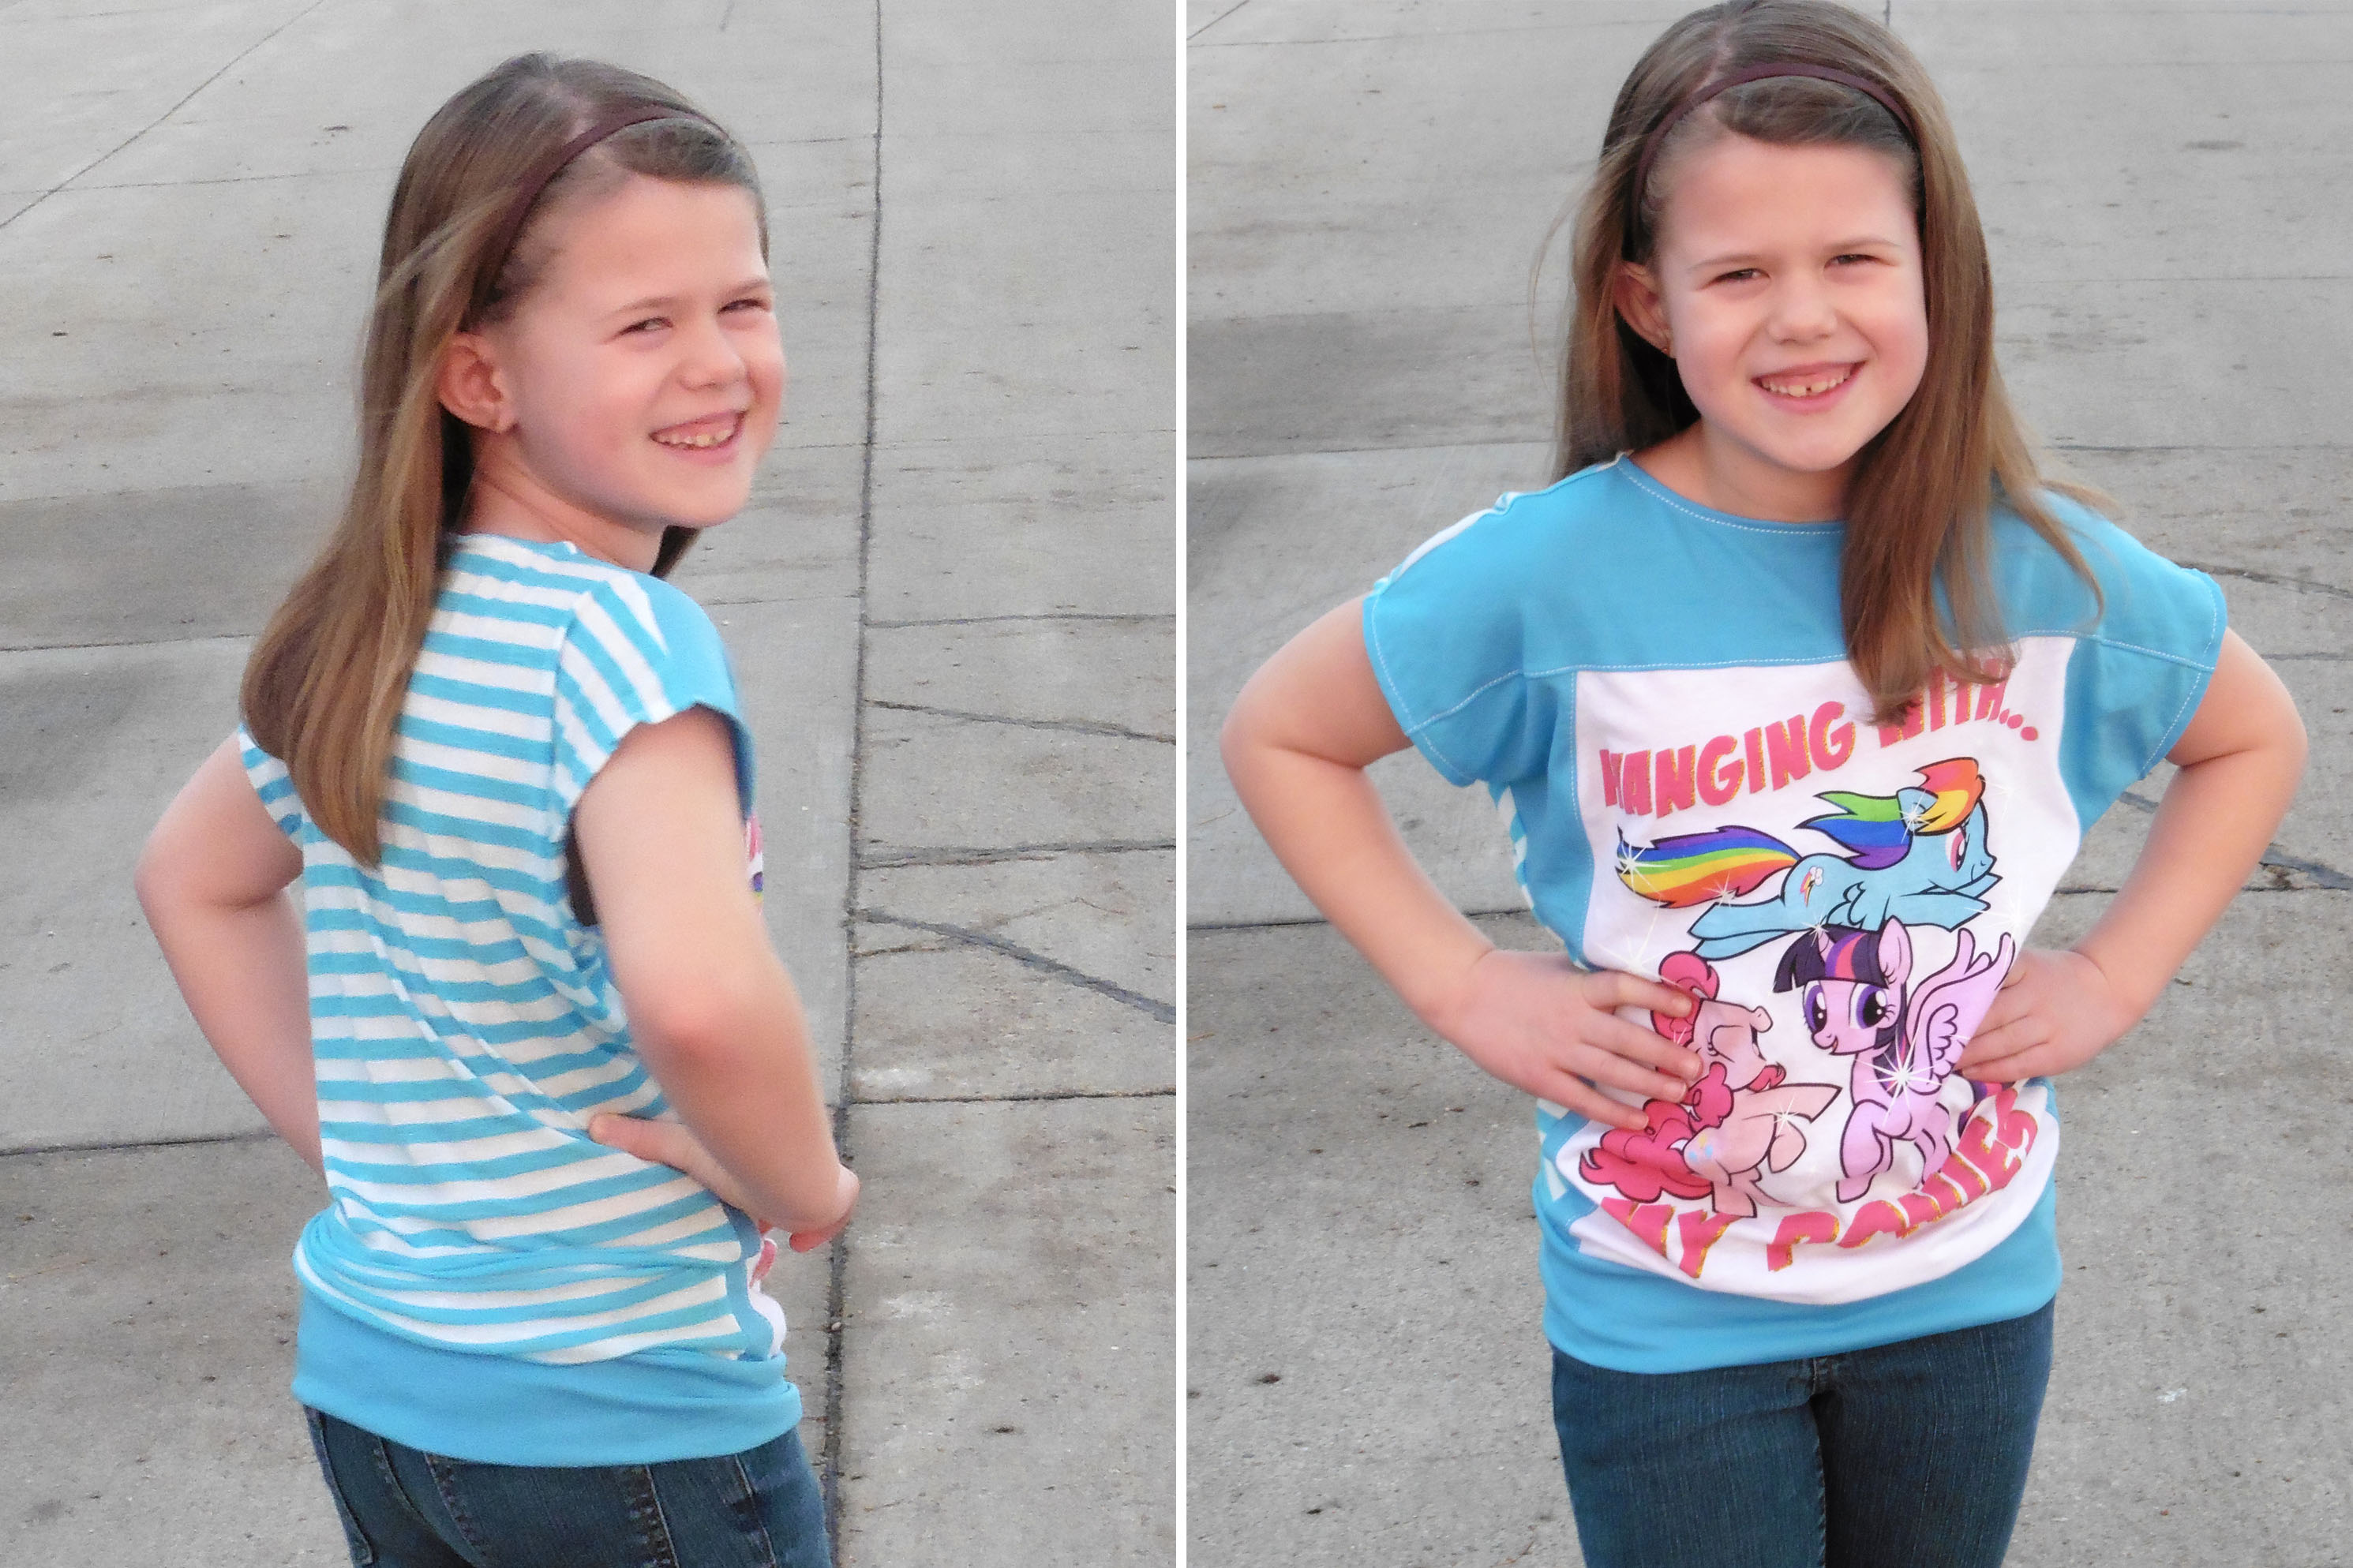
My daughter loves that her new shirt is different from all the ones in the store and I love that it’s constructed to withstand more than a month or two of wearing!
Up next is her big sister’s t-shirt surgery (gotta keep it “fair” 😉 ). Check back later this week for another method to upcycle a store-bought tee into a great handmade top!
Happy Sewing!! ~ Joelle
3 Responses
T-shirt Surgery: The Grown Up Version | Everything Your Mama Made & More
[…] performing t-shirt surgery to make my girls some upcycled Carlie’s Dolman Tops last week (see here and here), I got to thinking about a pieced-together Kymy’s Dolman for myself. I looked […]
Hack: Riley’s Nightgown to Upcycled Raglan Tee | Everything Your Mama Made & More
[…] (because I’m cheap and got it from her remnant sale) it was a little short for my tall girl. “T-shirt surgery” to the […]
Ninja Turtles Upcycle for My Birthday! | Everything Your Mama Made & More
[…] used this t-shirt surgery method to add fabric around my turtle panel, making it wider and long enough to fit on the California […]