I must say I love the availability of .pdf patterns especially because of you don’t have to leave the house and the can include lots of pictures. This makes them a prime choice for many who are new to sewing or get frusturated with traditional tissue patterns like McCalls. The down side is ANYONE can publish and sell them so you never know what the garment fit or instructions will be like. This has also launched a trend of boutique patterns with similar issues. I will say not all are like this! But while many are great designers of fabric patterns and aesthetic they are not all pattern drafters and this often causes sizing and fit issues.
One of the biggest issues I see and hear about from friends and readers is about the ‘front pouch’ that many of the basic pants patterns have or like of coverage in the bum. This is most often caused by one thing… using the same rise in front and back. These patterns often have one peice you cut 2 of on the fold. I have put together this tutorial so you can fix the pattern you bought and are otherwise happy with instead of buying others that may or may not be the same. If lack of coverage in the back is the problem you add paper to the top and do the reverse add inches to the back instead of the front.
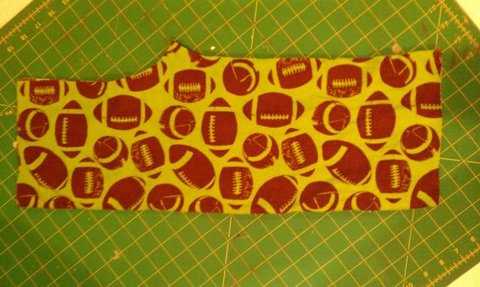
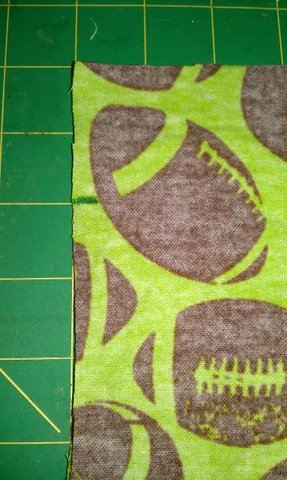
First off your pattern piece most likely looks like this (this is after I cut it out on the fold but you get the idea).
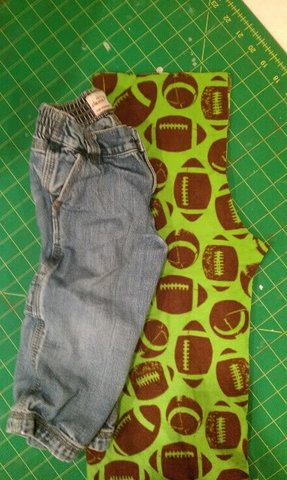
If you compare this to a pair of ready to wear pants you will notice for kids pants the front rise should be about 2″ shorter. You can always measure the difference of a pair the same size and use that. For this tutorial I used 2″ because that was what I needed for my size 2 pj bottoms.
If you are working on the pattern print off a 2nd and tape them together to make them look like this (minus the line, I apparently deleted the wrong picture!, you get the idea). If you have already cut them out and or sewn them together you can still fix it! Just seam rip out the waist band so it looks like pre-elastic and casing state.
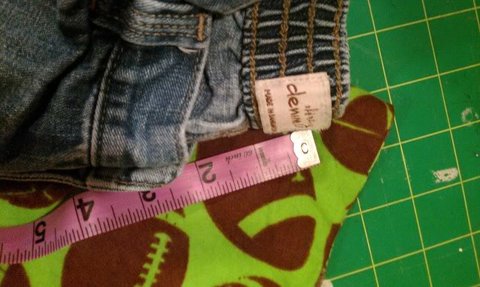
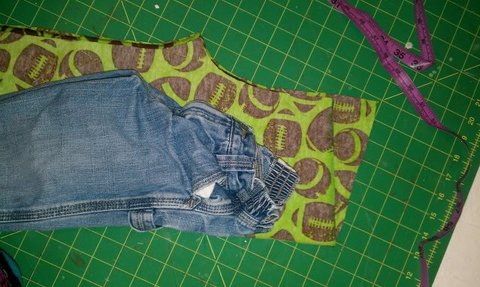
Now (with right sides together and the wrong side facing out/you) if working on pre-cut fabric or partially assembled pants) on the front mark down 2″ and then draw a line straight in about 1″. On the back side on the top edge go 1″ towards the middle an make a mark. The reason is if you don’t you will end up with a wonky V shape.
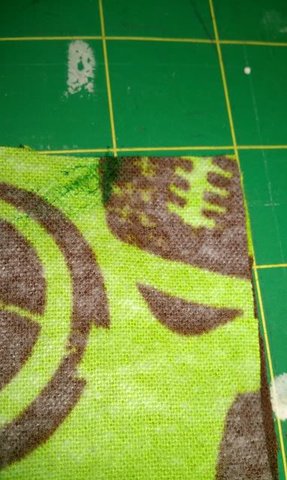
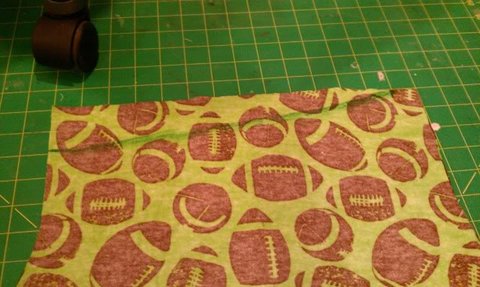
This can be scary but it’s really not (I promise it’s easy… that’s what washable markers and drawers are for! Lol) eyeing it draw a gradual line with slight curve connecting the 2 trying to make the transition as smooth as possible. It’s okay if you may a bit of a mess as long as you know where to cut.
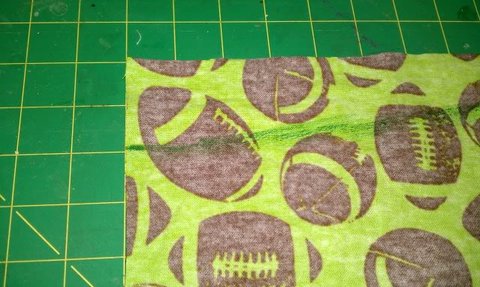
When in looks good cut it off and assemble as usual! Notice after cutting it that it looks more like the store bought pants?
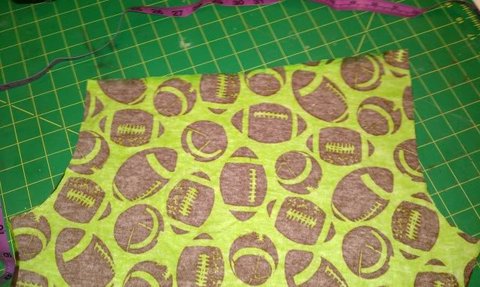
It’s not perfect and it’s not proper (the proper way is to properly draft/shape a pattern but sometimes making do works) but it works and will hopefully prevent the waste of otherwise cut pants and the cost of purchasing more patterns.
Sorry about the horrible cell phone pictures, I promise a finished modeled pic and comparison pic soon! If you use this post the before & after pictures on my facebook page to help inspire others!
Leave a Reply