I remember as a child & teen taking scissors to my old jeans to make shorts. It worked but I have to say they were often FAR from straight and they unraveled for ever getting shorter & shorter over time if you trimmed the strings.
So recently when my skinny little twins had a growth spurt & outgrew a bunch of jeans length wise I decided to turn them into cute cut offs! This is GREAT for pants that still have lots of room in the waist & butt but are too short or that have the knees blown out/trashed & can be done for both boys and girls, kids & adults!
Quick & Easy Cut Off Shorts (done the RIGHT way)
SUPPLIES:
Old Jeans
Golden jean thread OR tread that matches the denim
Scissors (sharp ones or a sharp rotary cutter)
Washable marker
Sewing Machine
STEP 1:
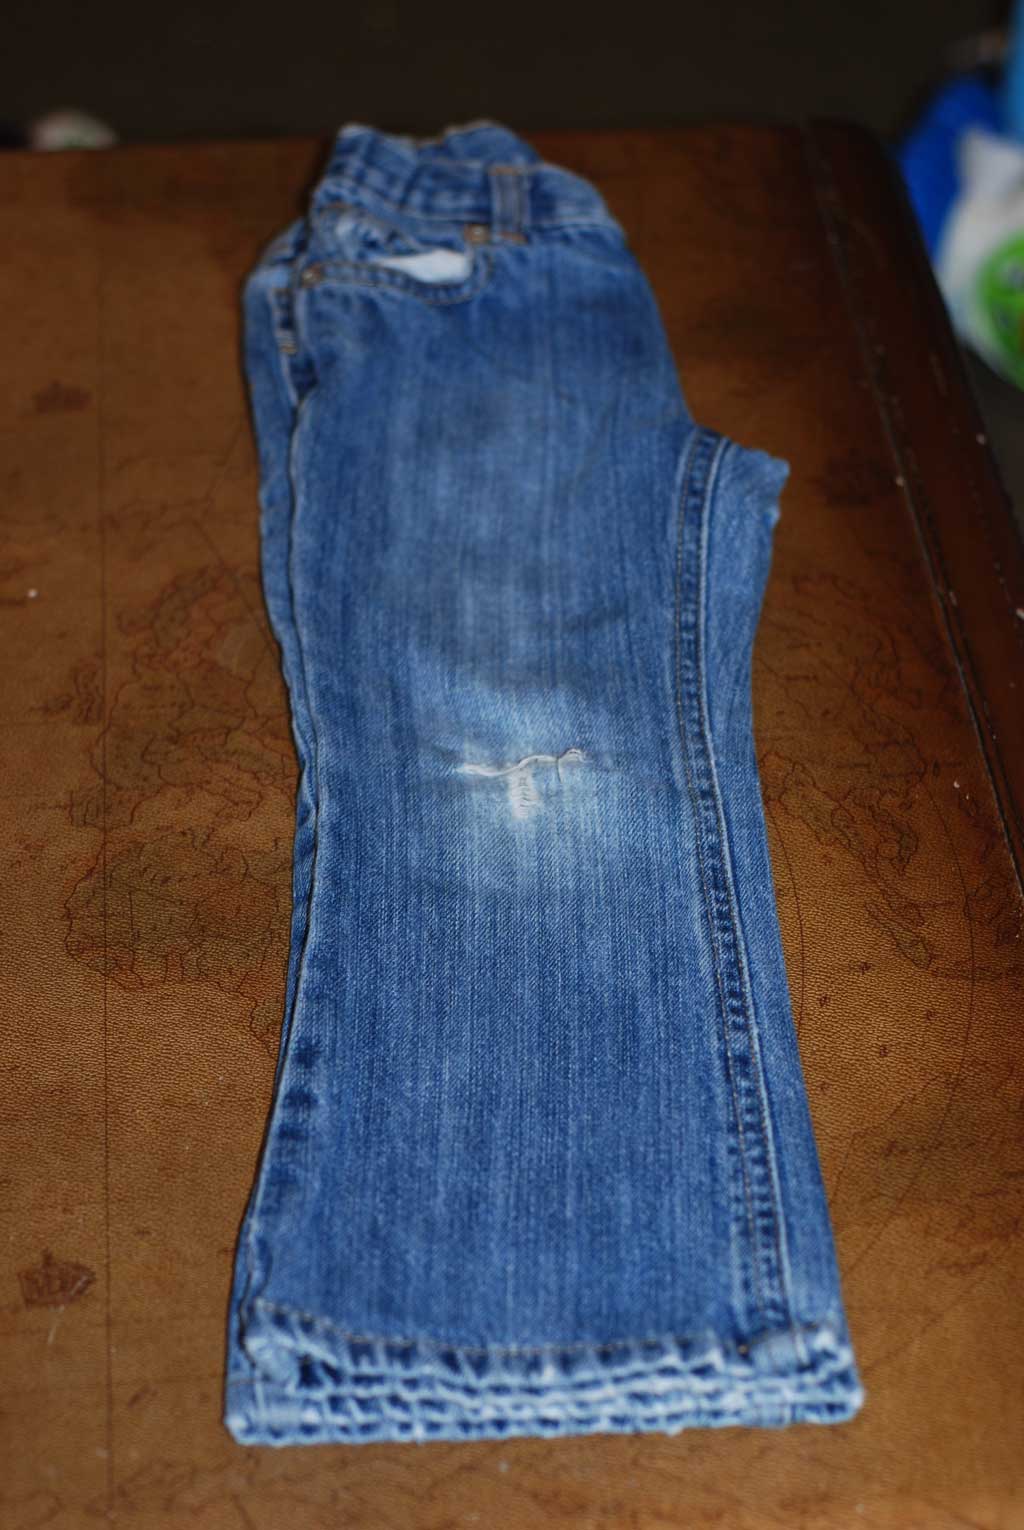
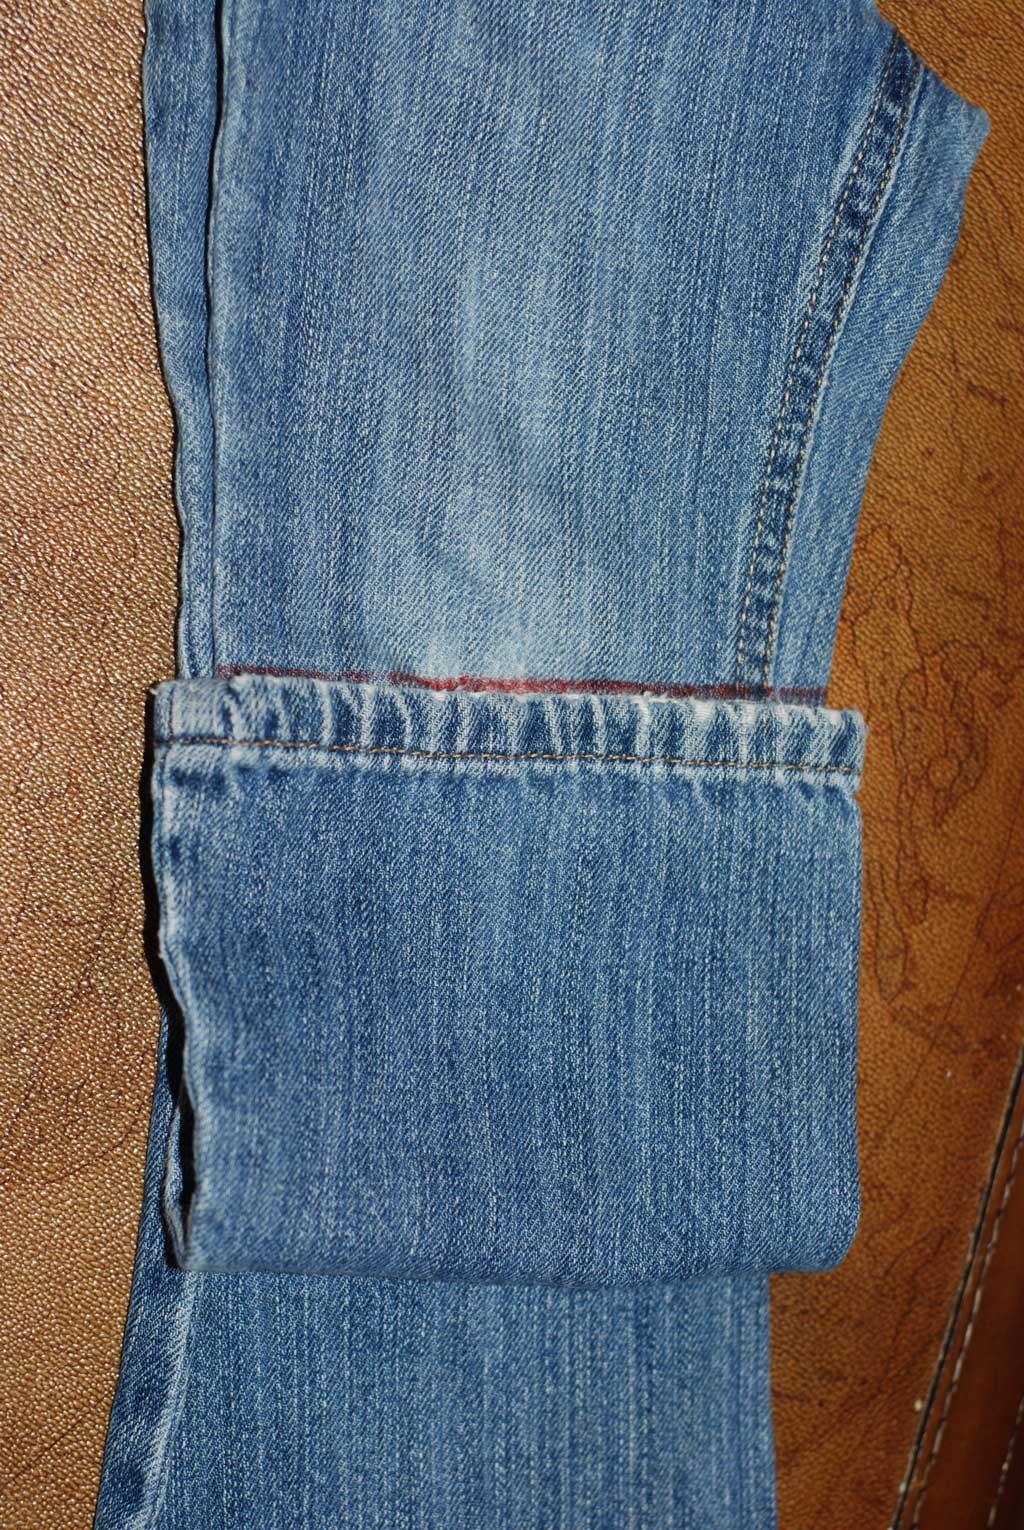
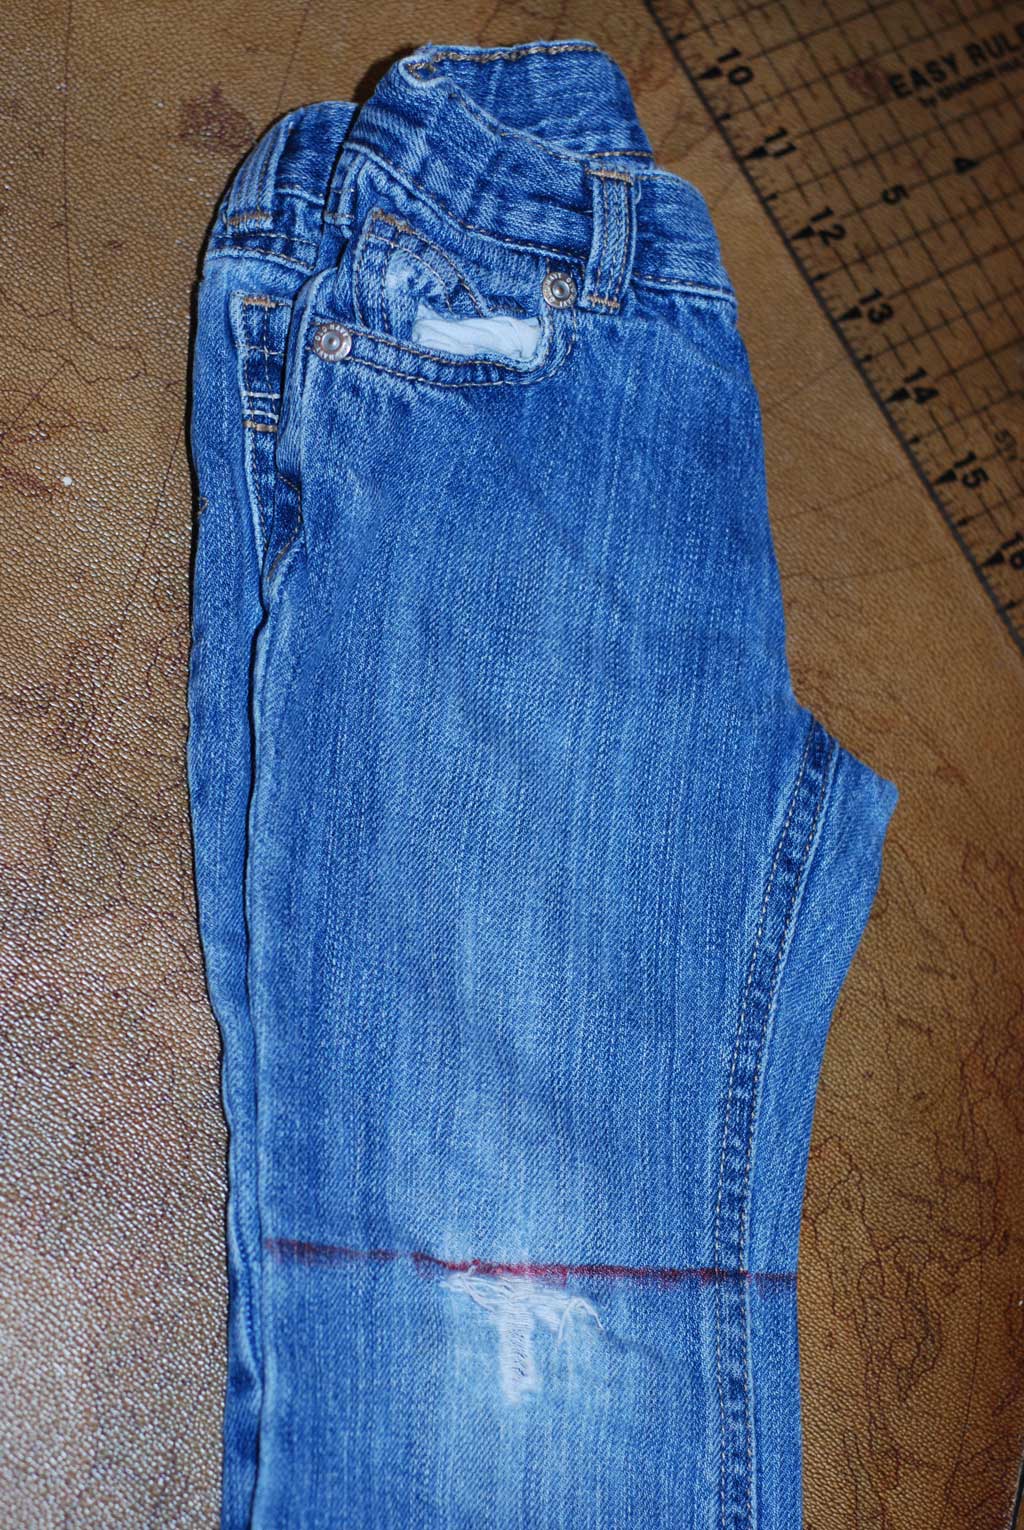
Fold up the bottom hem of the jeans to the length you want to cut them off. I am using girls boot cut jeans for this tutorial so I centered them over the knee so that there was even over hang on both sides… this is important in having them sit even when worn. If you are using non-flared/bootcut pants then you just want to line it up with the OUTSIDE leg seam. The inside seam is tapered in the thigh of almost ALL jeans & if you line it up there you will end up with not so straight shorts. Using a washable marker mark your straight line. When in doubt MARK LONG!!! It’s easier to cut them shorter later then to end up with them too short right off the bat!
STEP 2:
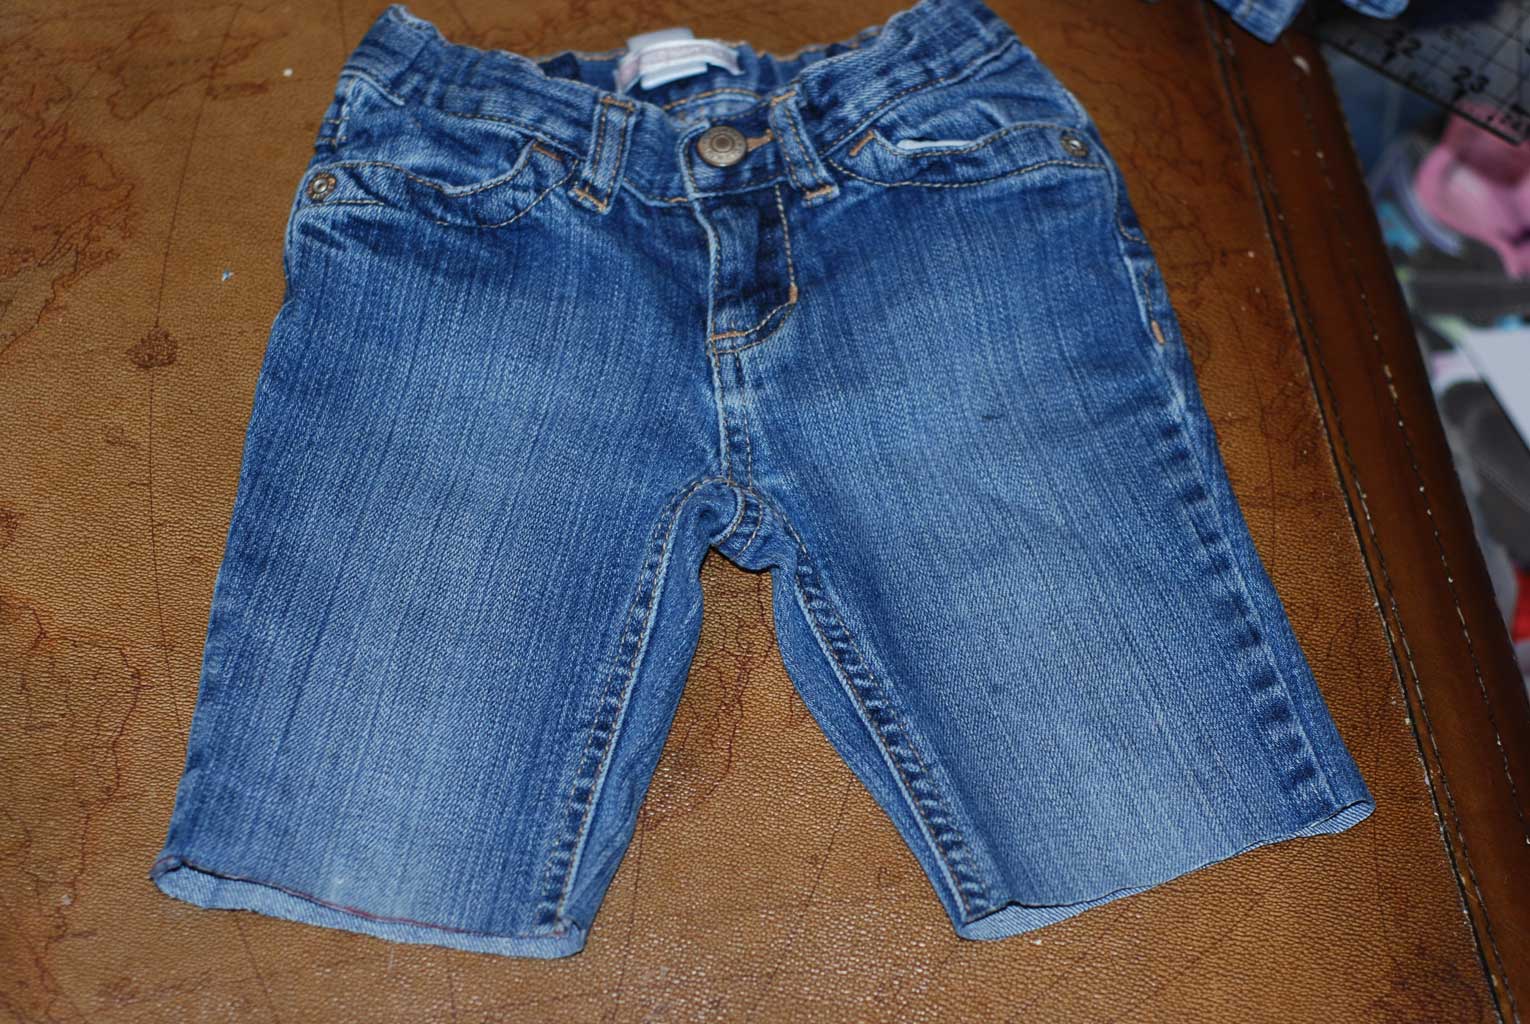
While carefully folded in half so the waist bands in the back line up & the crotch in the front, using scissors (or a rotary cutter) cut through both layers at once at the line. It’s a good idea to try them on & make sure you don’t want them any shorter. Save the bottom of the legs for another project that I will be posting soon :). I know they don’t look straight when laid out like this, but they do when folded in half & on.
STEP 3:
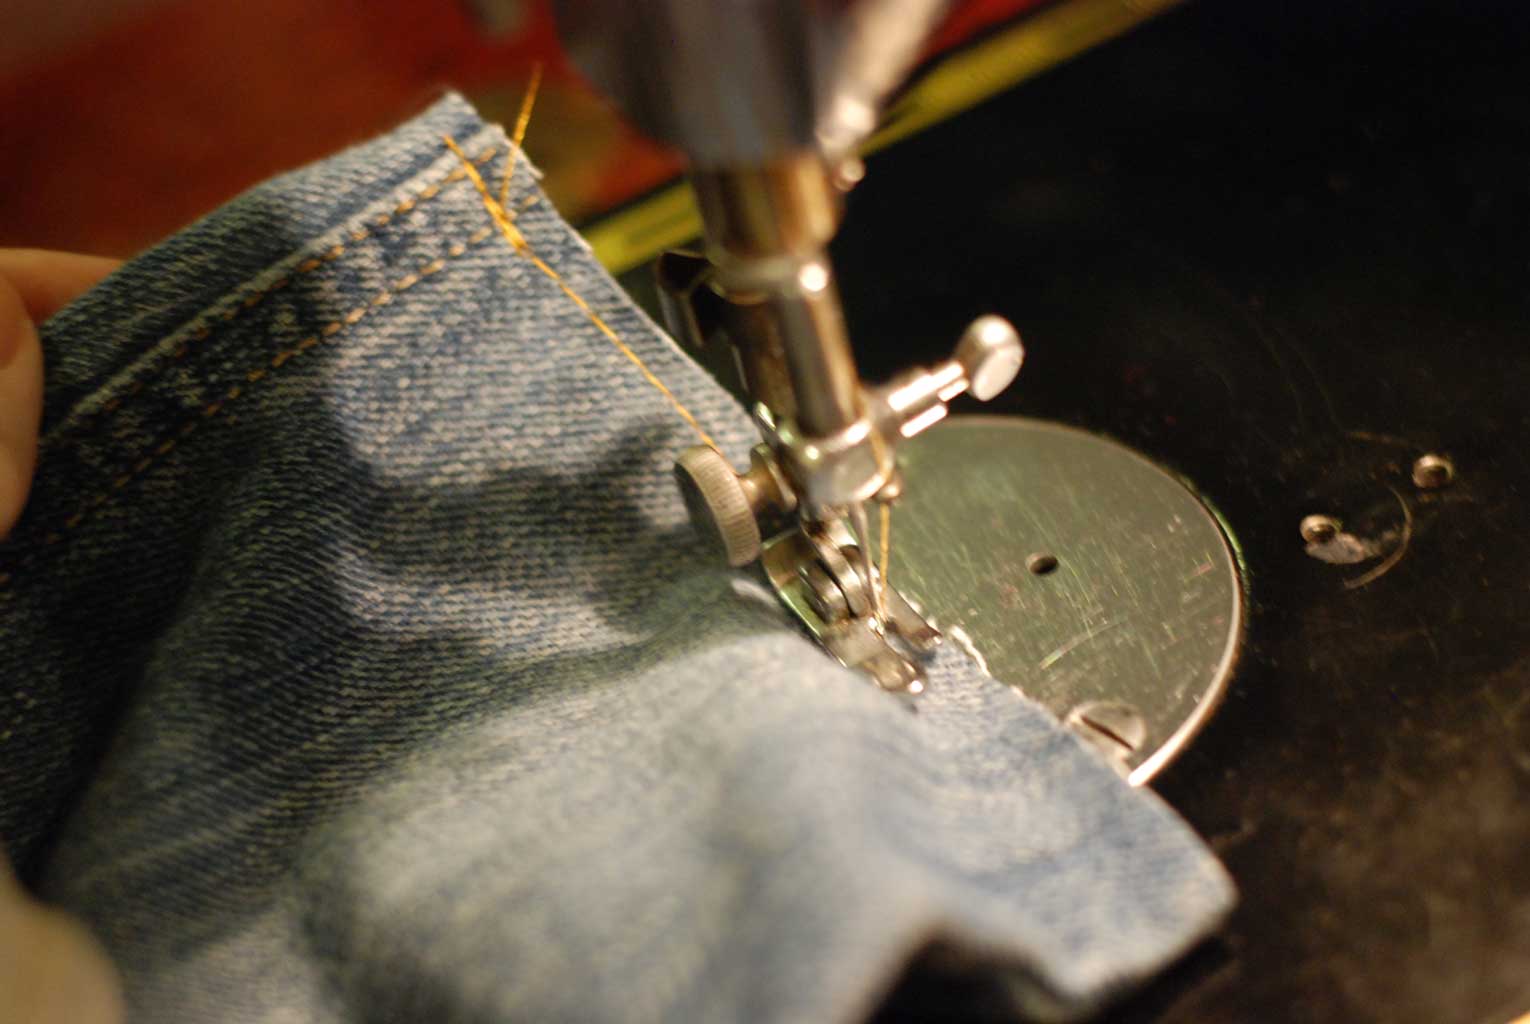
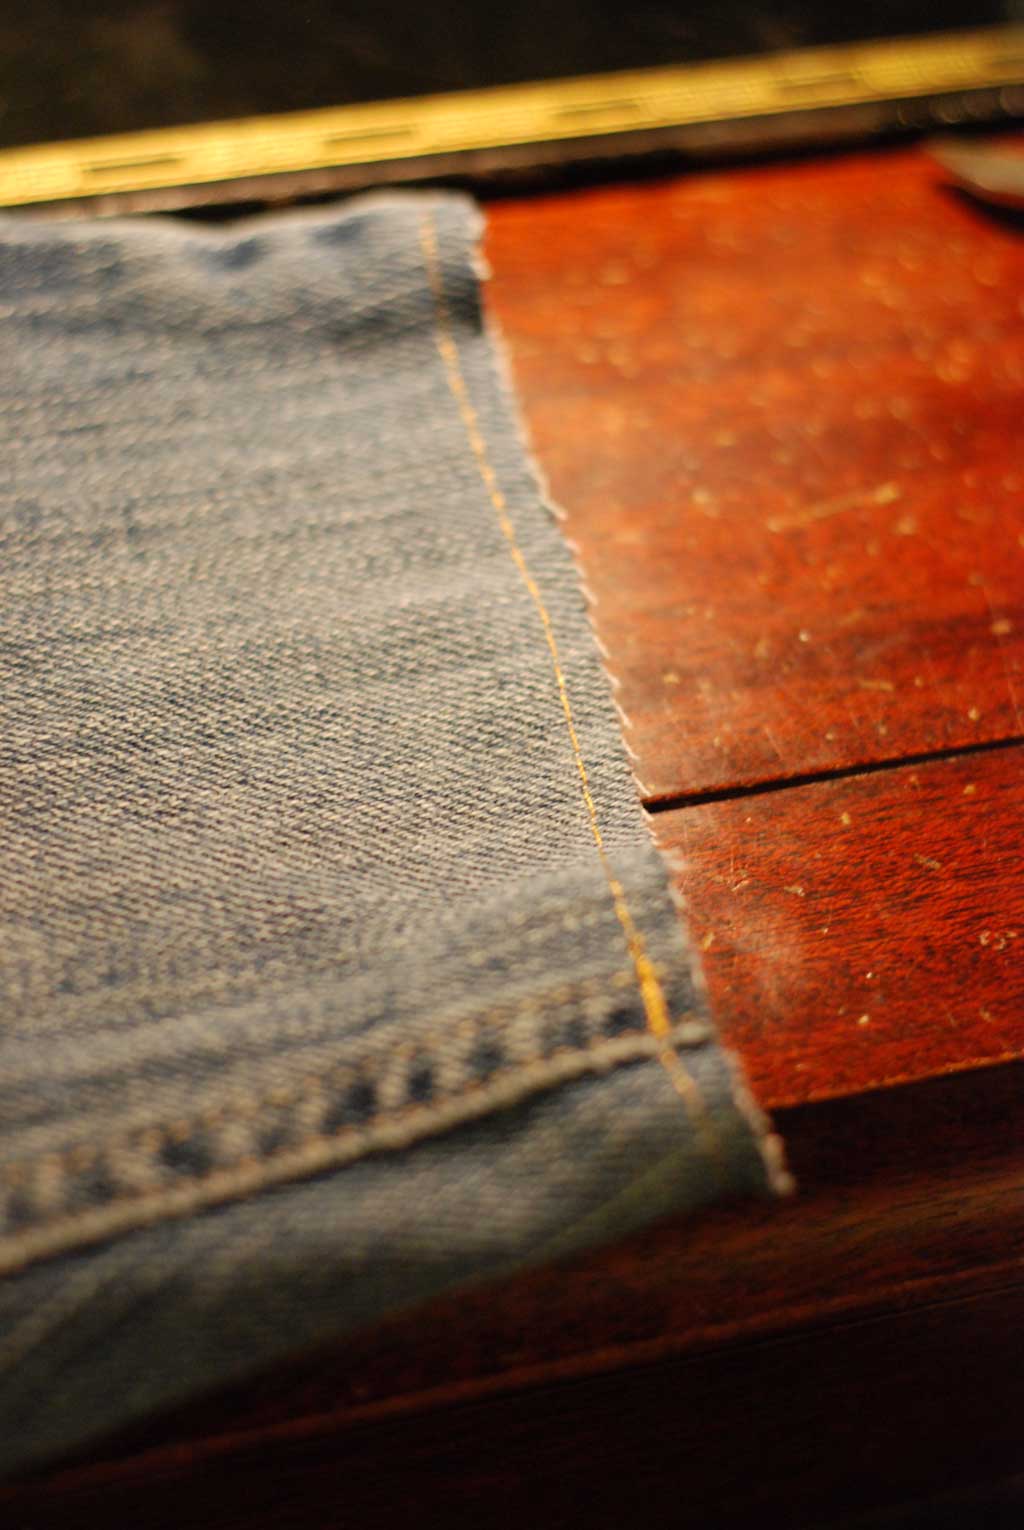
Using your sewing machine with either thread that matches the decorative stitching or the color of the denim sew all around each leg 1/8″ from the raw edge using your longest length straight stitch. Start at the inseam making sure to backstitch when starting & stopping. It is important to use a long stitch because most modern denim has stretch to it.
This step is important because it is what prevent’s them from continuing to fray unevenly making them shorter & shorter.
STEP 4:
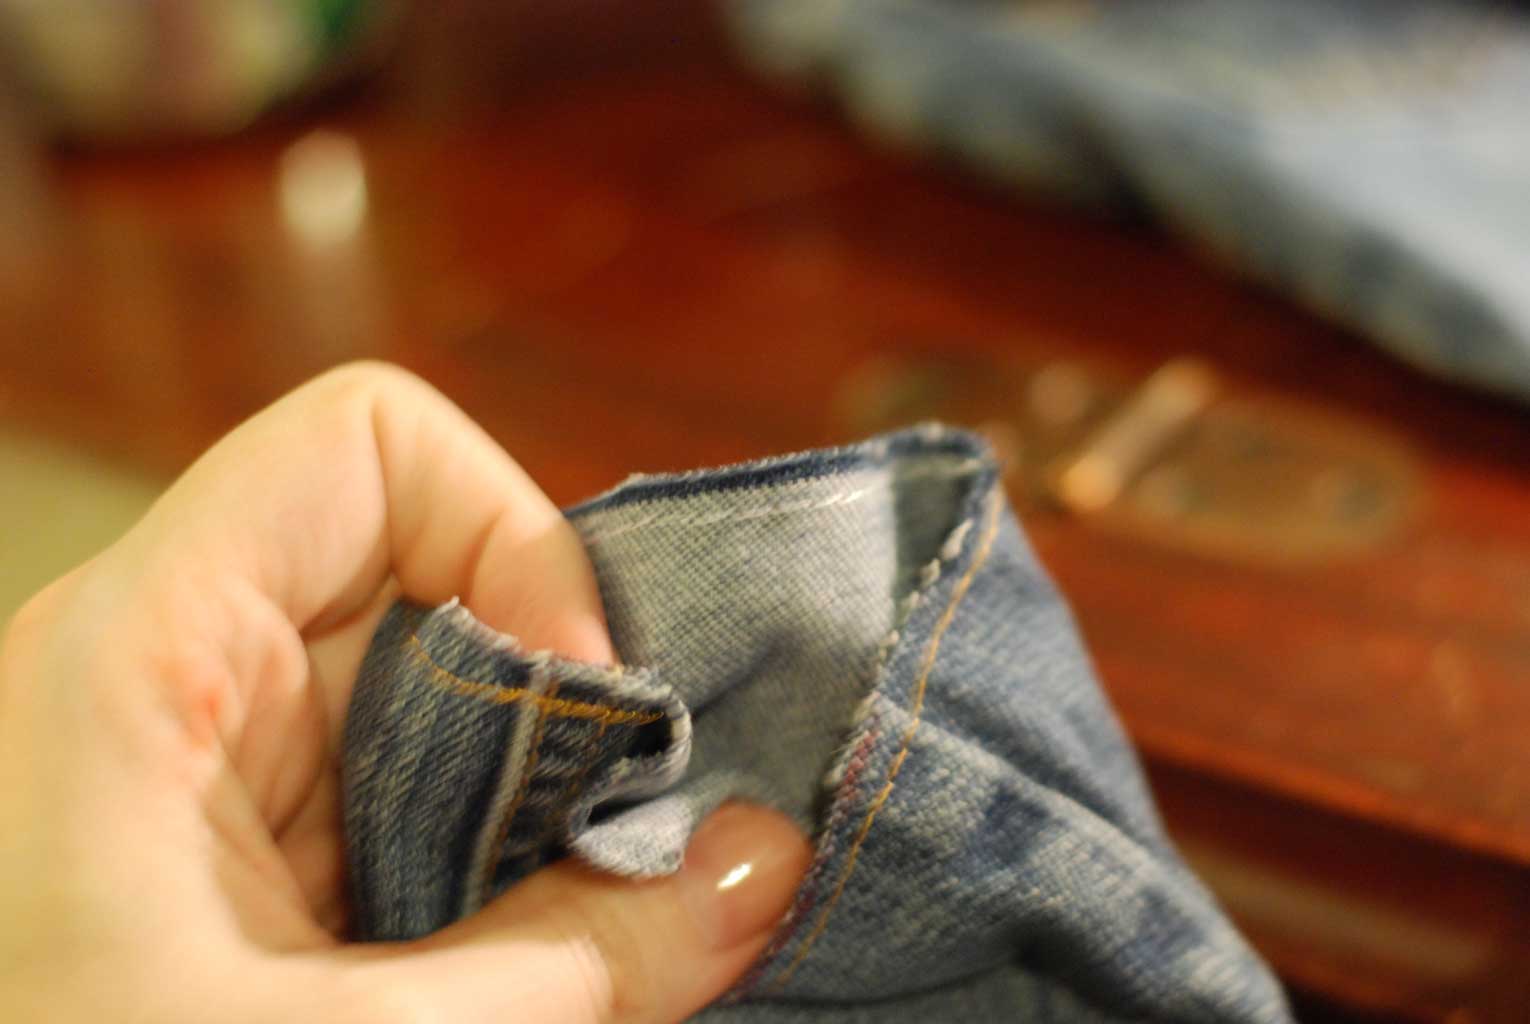
now you want to pull on the thicker, often white threads. These are often horizontal threads that cause the vertical threads to have the frayed look. The stitching from step 3 will allow you to have just enough fraying without making massive messing strings and having the shorts get shorter & shorter with each wash. After you do this & the first few washings you will want to cut the longer white threads off. And your DONE
With just 4 simple steps you can ‘upcycle’ your old jeans into a nice pair of shorts with lots of life left!



One Response
selma
Thanks for sharing this tutoria,l after many years of errors and failed attempts that ended up in the scrap pile..i came across yours and tried it and VIOLA! Gosh where were you 7 years ago..when i was mutilating jeans..lol..luckily then they were the toddler sizes so now i can cut them and when i quilt i can use them. I am so psyched..i am going to try this technique to lengthing as well and adding some material or lace to extend the length to get me from winter to spring next year…