After seeing the dress I made for my younger girl (which was *ahem* the second dress I sewed her), my older daughter decided that she also needed a Kenzie’s Party Dress with signature skirt! She chose all 8 of her fabrics, then asked me to change the back neckline and shorten the sash to eliminate the bow. She’s pretty modest and didn’t want her back open and she doesn’t enjoy leaning against the knot of a bow.
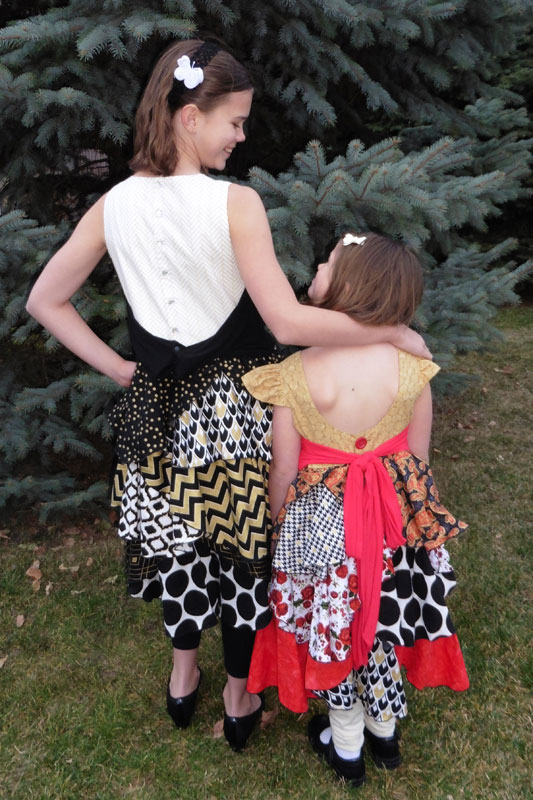
I love the dramatic scoop of the back on Kenzie’s Party Dress, but was happy to oblige my daughter’s requests. I know some moms aren’t fond of open back dresses on girls, so thought I’d write up a quick tutorial on how I altered Kenzie’s Party Dress to fit my girl’s preferences. She also claims this will keep her “much warmer” during church on Christmas. (But she wanted sleeveless? Silly girl! lol)
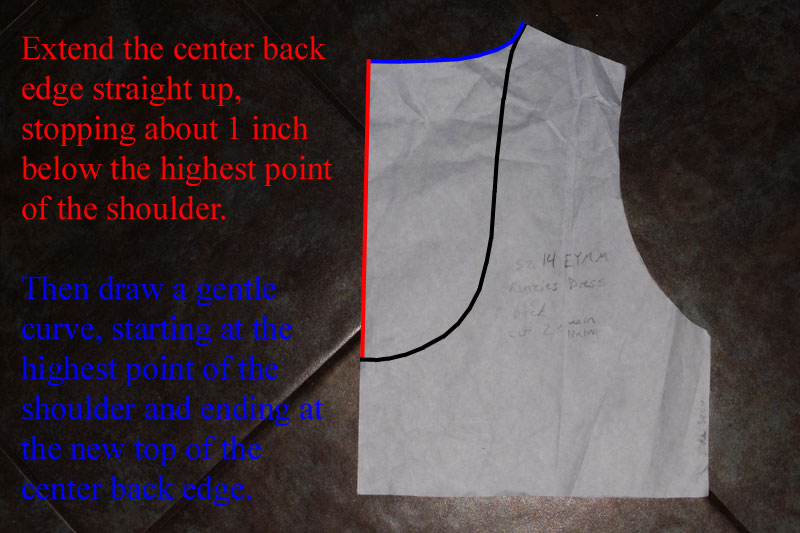
Modifying the back to be full-coverage is a fairly straight-forward hack. I started by tracing the back pattern piece (the black curve in the above photo is the original back neckline) and, before cutting it out, marking a point about 1 inch down from the highest shoulder point (where the red and blue lines meet in the above photo). Next, I extended the center back edge straight up to that point (red line). Finally, I drew in a gentle curve (blue line) from the inner shoulder point to meet the new top point of the center back line. You’ll notice that the original back neckline curves outward near the top and that’s where I chose to split my new neckline curve away from the original. It worked wonderfully!
You can then cut out your new back pattern piece from your tracing paper and use it to cut and sew the dress as instructed in the pattern. The only other difference is the addition of more buttons/snaps to close the higher back!
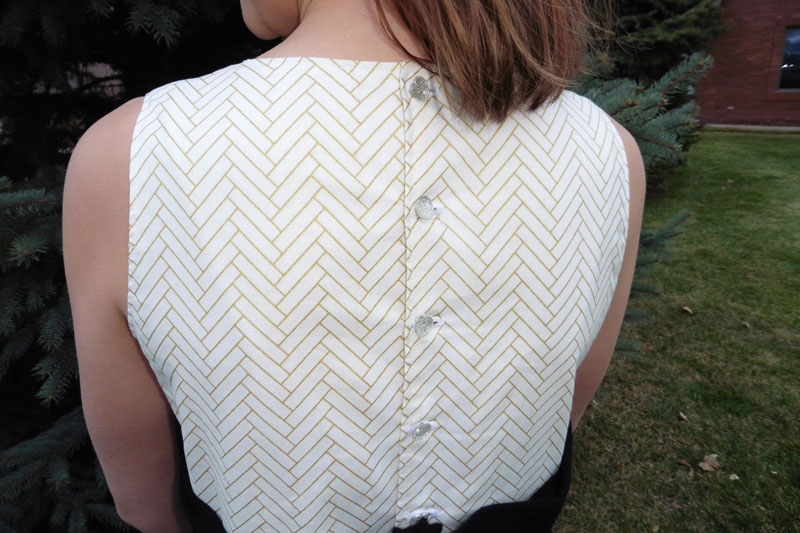
Just don’t make the “mistake” I did and let your girly pick out heart-shaped shank buttons that are hard to button. LOL
After modifying the back to be full-coverage, I turned my attention to her request for a shorter sash. Her idea was to only put the front/middle sash piece on and sew it into the side seams, but I knew that wouldn’t work since the sash is meant to lay over the top of the skirt/bodice seam. Instead, I shortened the sash sides to be the same size as the back piece. It worked pretty well, but because I used knit for the sash I think I could’ve made the sides an inch or so shorter so they wouldn’t droop in the middle back. Live and learn, right?
To hold the sash together in the center back, I put a couple snaps on the ends of the sash “ties.” I need to add one more snap to the (vertical) middle, but I used my last two black snaps on the top and bottom corners of the sash. 😉
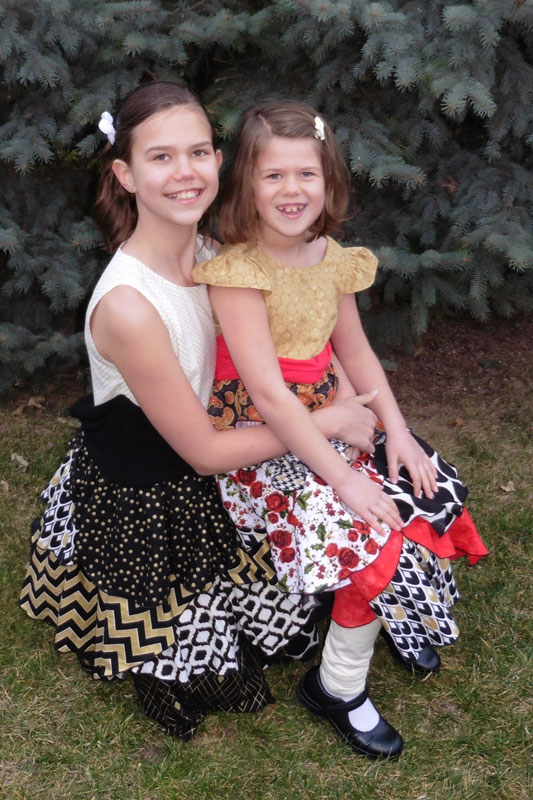
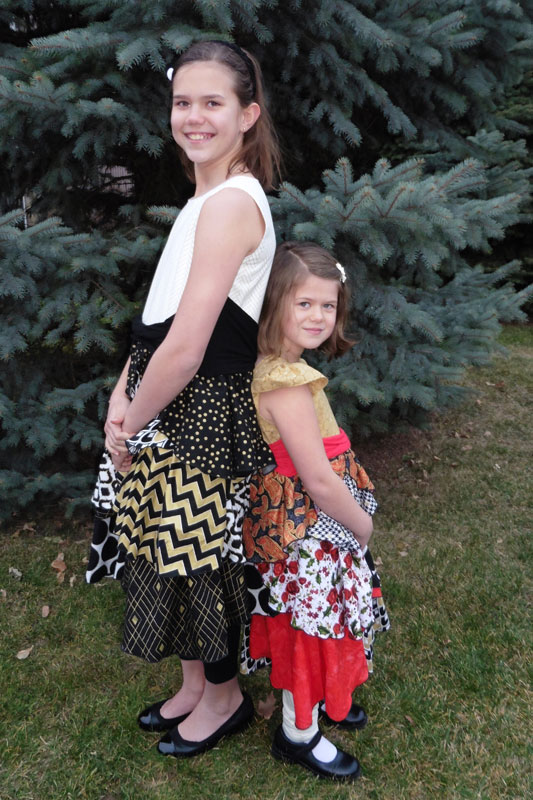
Golly, I wish these girls would stop growing! My 10 year old’s dress has a size 14 bodice with 4 extra inches of length and a size 18 skirt! I first made the bodice the original length and it looked disproportionate on her long torso (she’s taller than the size 18 specs). So I had to seam rip it off the skirt, add 4 inches to the bodice pattern, and re-cut/sew a new bodice. She definitely gets her height from her 6’2″ daddy!
What’s on your sewing table? Are you making Christmas outfits or gifts?
Happy Sewing!! ~ Joelle
One Response
Kenzie’s Party Dress in Satin and Organza | Everything Your Mama Made & More
[…] debated on whether to raise up the back scoop like I did on my older daughter’s Christmas dress, but both my daughter and I love the scooped back, so I left it alone. Bonus … it means less […]