I don’t know how many times I’ve heard sewists say that making boys’ clothing is boring because there’s not as much variety as girls get. And I suppose when you look at it from the standpoint of “shirts, pants, shorts” it can seem like there’s not much excitement when compared to “shirts, pants, shorts, leggings, sunsuit, maxi dress, ruffles, sundress, bolero/shrug, etc.” but I like the challenge of making boys’ clothes fun and interesting. The ones that really grab your attention usually have fun details to make them stand out.
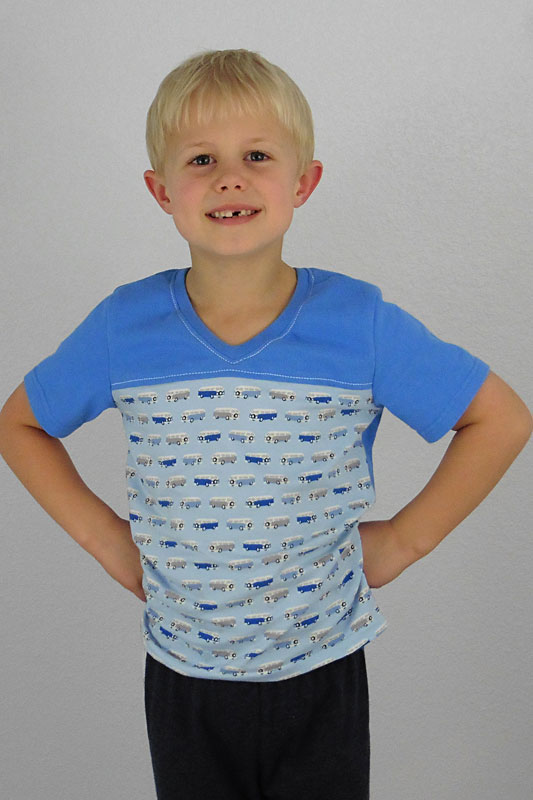
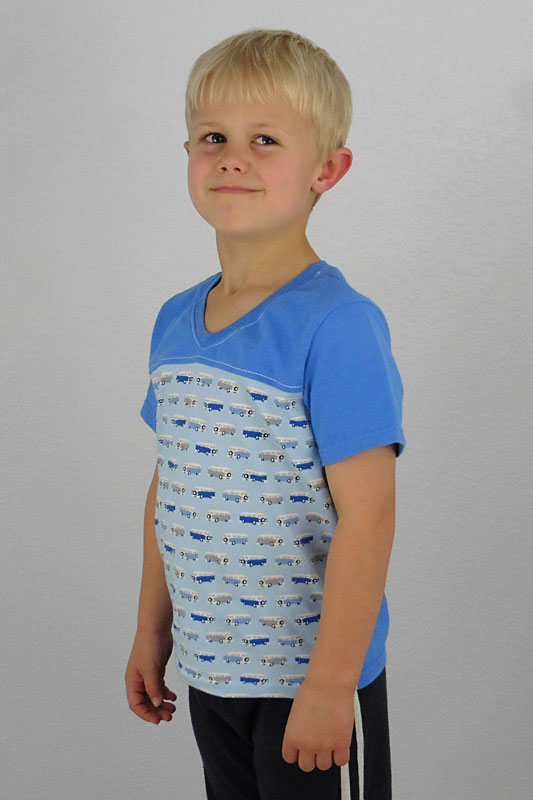
Parker’s Vintage Fit T-Shirt is the perfect “staple” wardrobe piece for boys since it has two sleeve lengths (plus you can layer them for a third sleeve option) and two neckline options. Color-blocking is the perfect, easy added detail to help it stand out as a statement piece!
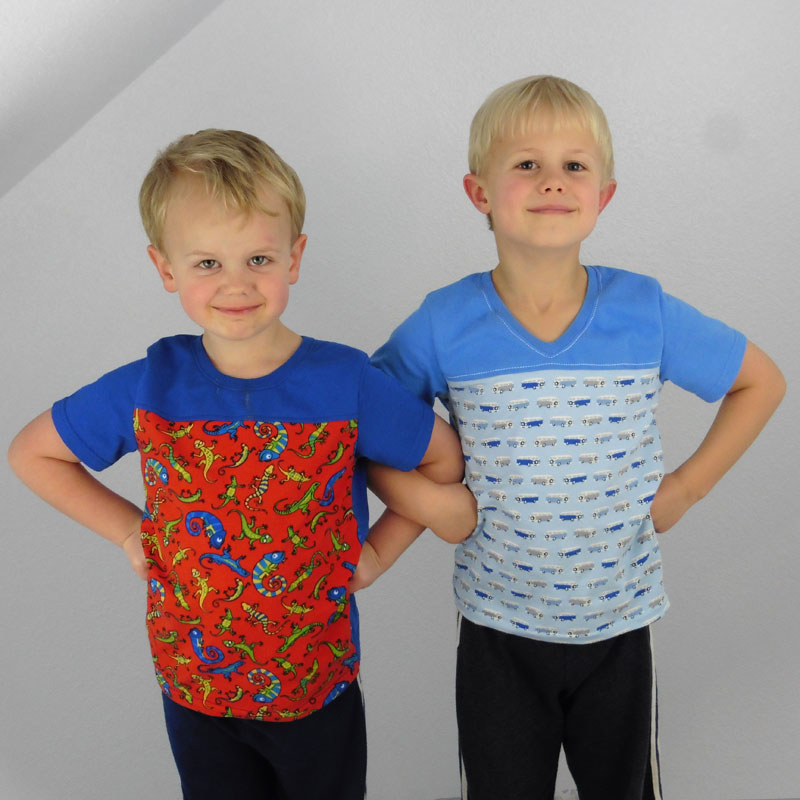
I made one for each of my big boys (and the baby said “Me, too?” so I suppose I’ll be making a smaller version, lol). Of course, when we picked out fabric, they didn’t want just solid colors so we used a print and a solid. These two prints happened to be 1/2 yard pieces that I’d bought back when my boys’ shirts would have fit top-to-bottom on 18″ but I hadn’t used them before my boys got too tall! Color-blocking to the rescue!
Color-blocking is also a great way to incorporate panels, use up scraps, or use smaller amounts of custom knits or remnants, because you don’t need as much yardage as the whole shirt would take. Using two solids for colorblocking like this is also quite striking!
Anyway, on to the tutorial:
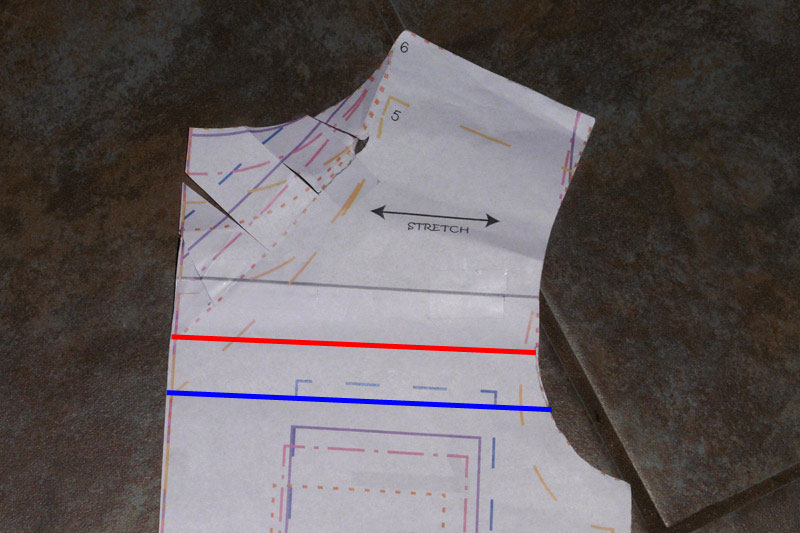
First, you have to decide where you want your color-block seam to be. For my younger son, I made a crew neck shirt and I placed the seam right at the end of the v-neck marking on the pattern (red line on above photo). On the size 6, it is about 1.75 inches below the crew neckline. For my older son’s v-neck shirt, I decided to put the color-block seam 3/4 inch below the point of the v-neckline (blue line on above photo). That way it wasn’t too low, but was just low enough to not interfere with attaching the neck binding.
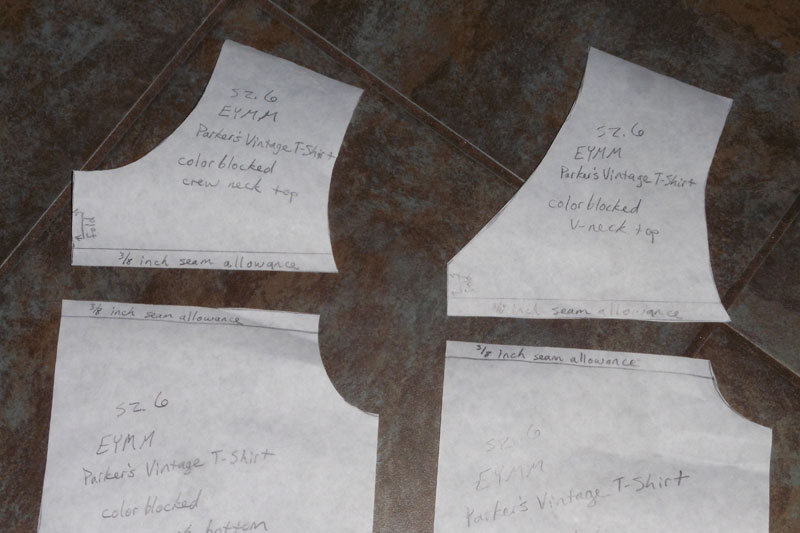
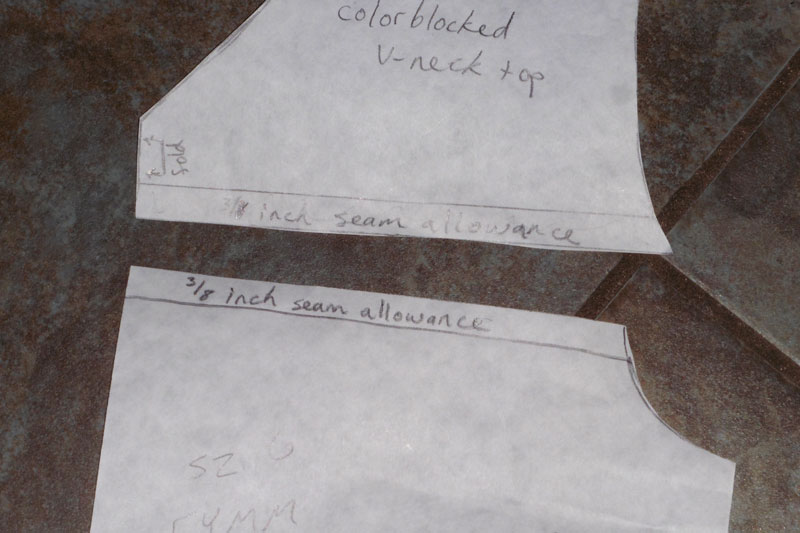
I folded along each line and traced the top and bottom halves of the pattern to make a copy for each color-block option, which I labelled so they didn’t get mixed up (especially since my skinny 6-year-old and stocky 4-year-old can wear the same size!). Make sure to add an additional seam allowance on each piece at the color-block seam edge. You can see in the above right picture how I added 3/8 inch to each piece before cutting them out.
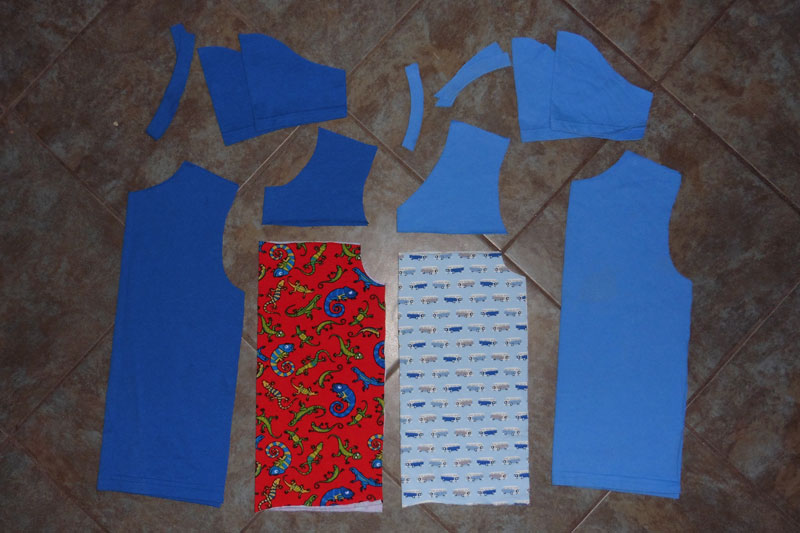
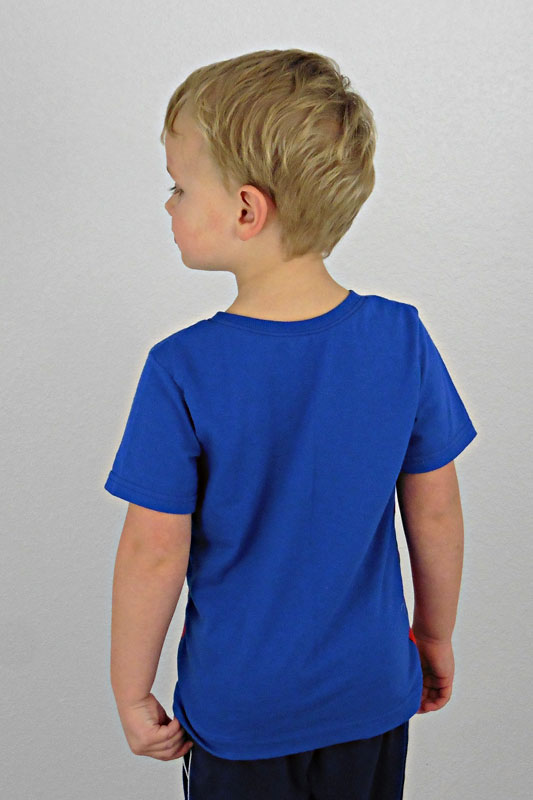
Cut out all your pattern pieces from your fabric. You can choose to make the back the same as either the top or the bottom of the front and the sleeves could also be from either fabric. You can also choose to color-block the back of the shirt using the same steps as I just went over for the front (you’d just have to trace the top half with the back neckline).
Another option to consider is to move the color-block seam down under the armscye for another look altogether. There are so many ways to change it up so each shirt can look different!
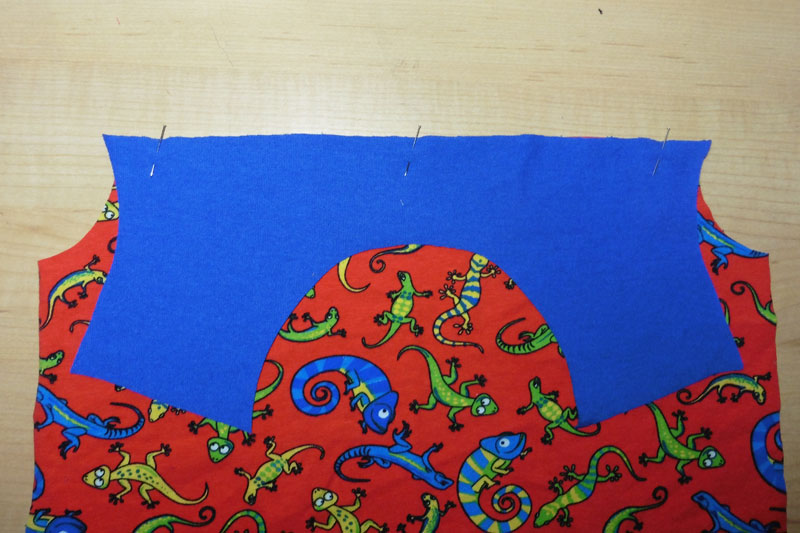

Once you’ve got all your pieces cut, you’re ready to sew! Start by placing the top and bottom front pieces right sides together with the raw edges of the color-block seam aligned (above left photo). Pin and sew with 3/8 inch seam allowance (or whatever seam allowance you added when tracing). Flip the top up, press the seam toward the top, and top stitch it 1/8 inch from the seamline. There will be little corners of the seam allowance sticking out at each end, which you can trim off even with the armscye (see above right photo).
Repeat with the back if you chose to color-block it, too. Then, you can continue constructing your shirt as per the pattern directions! Color-blocking is such an easy mod that can make a big impact on a simple shirt like Parker’s Vintage Fit T-Shirt!

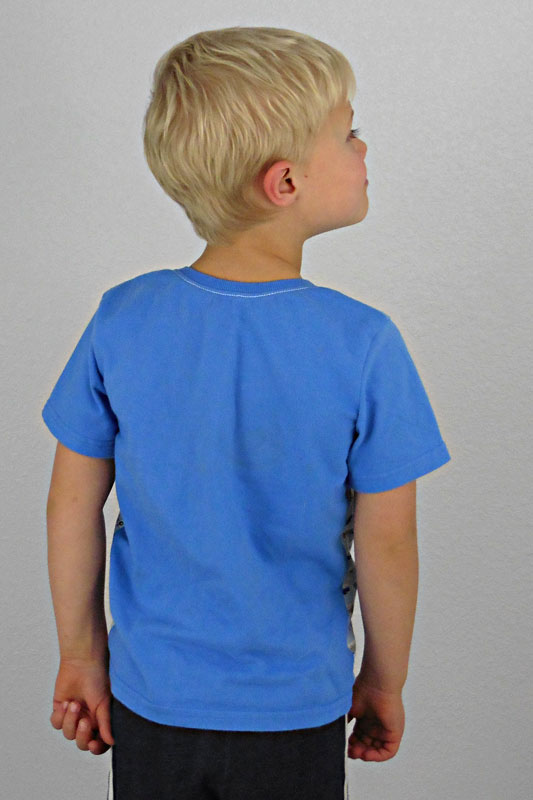
And now I’ve got a few more pictures just cause I love my boys and they love their shirts!


… and a couple “outtakes”!!


Happy Sewing!! ~ Joelle
One Response
A Day Late and A Dollar Short: My Boys’ New Parker’s T-shirts | Everything Your Mama Made & More
[…] small strip to each side and then a piece of black across the top, so they look similar to my color block tutorial from last fall. The whole time I was sewing this afternoon, I kept hearing “Who Ya Gonna […]