I’m back today with another upcycling method. This one garners the same result as the technique I explained earlier this week, but gives you a little more control over the placement of a fabric’s print on the pattern pieces. I’ll show you how to slice your pattern before cutting fabric, so you’ll be able to “fussy cut” and get the print just where you want it on your finished shirt.
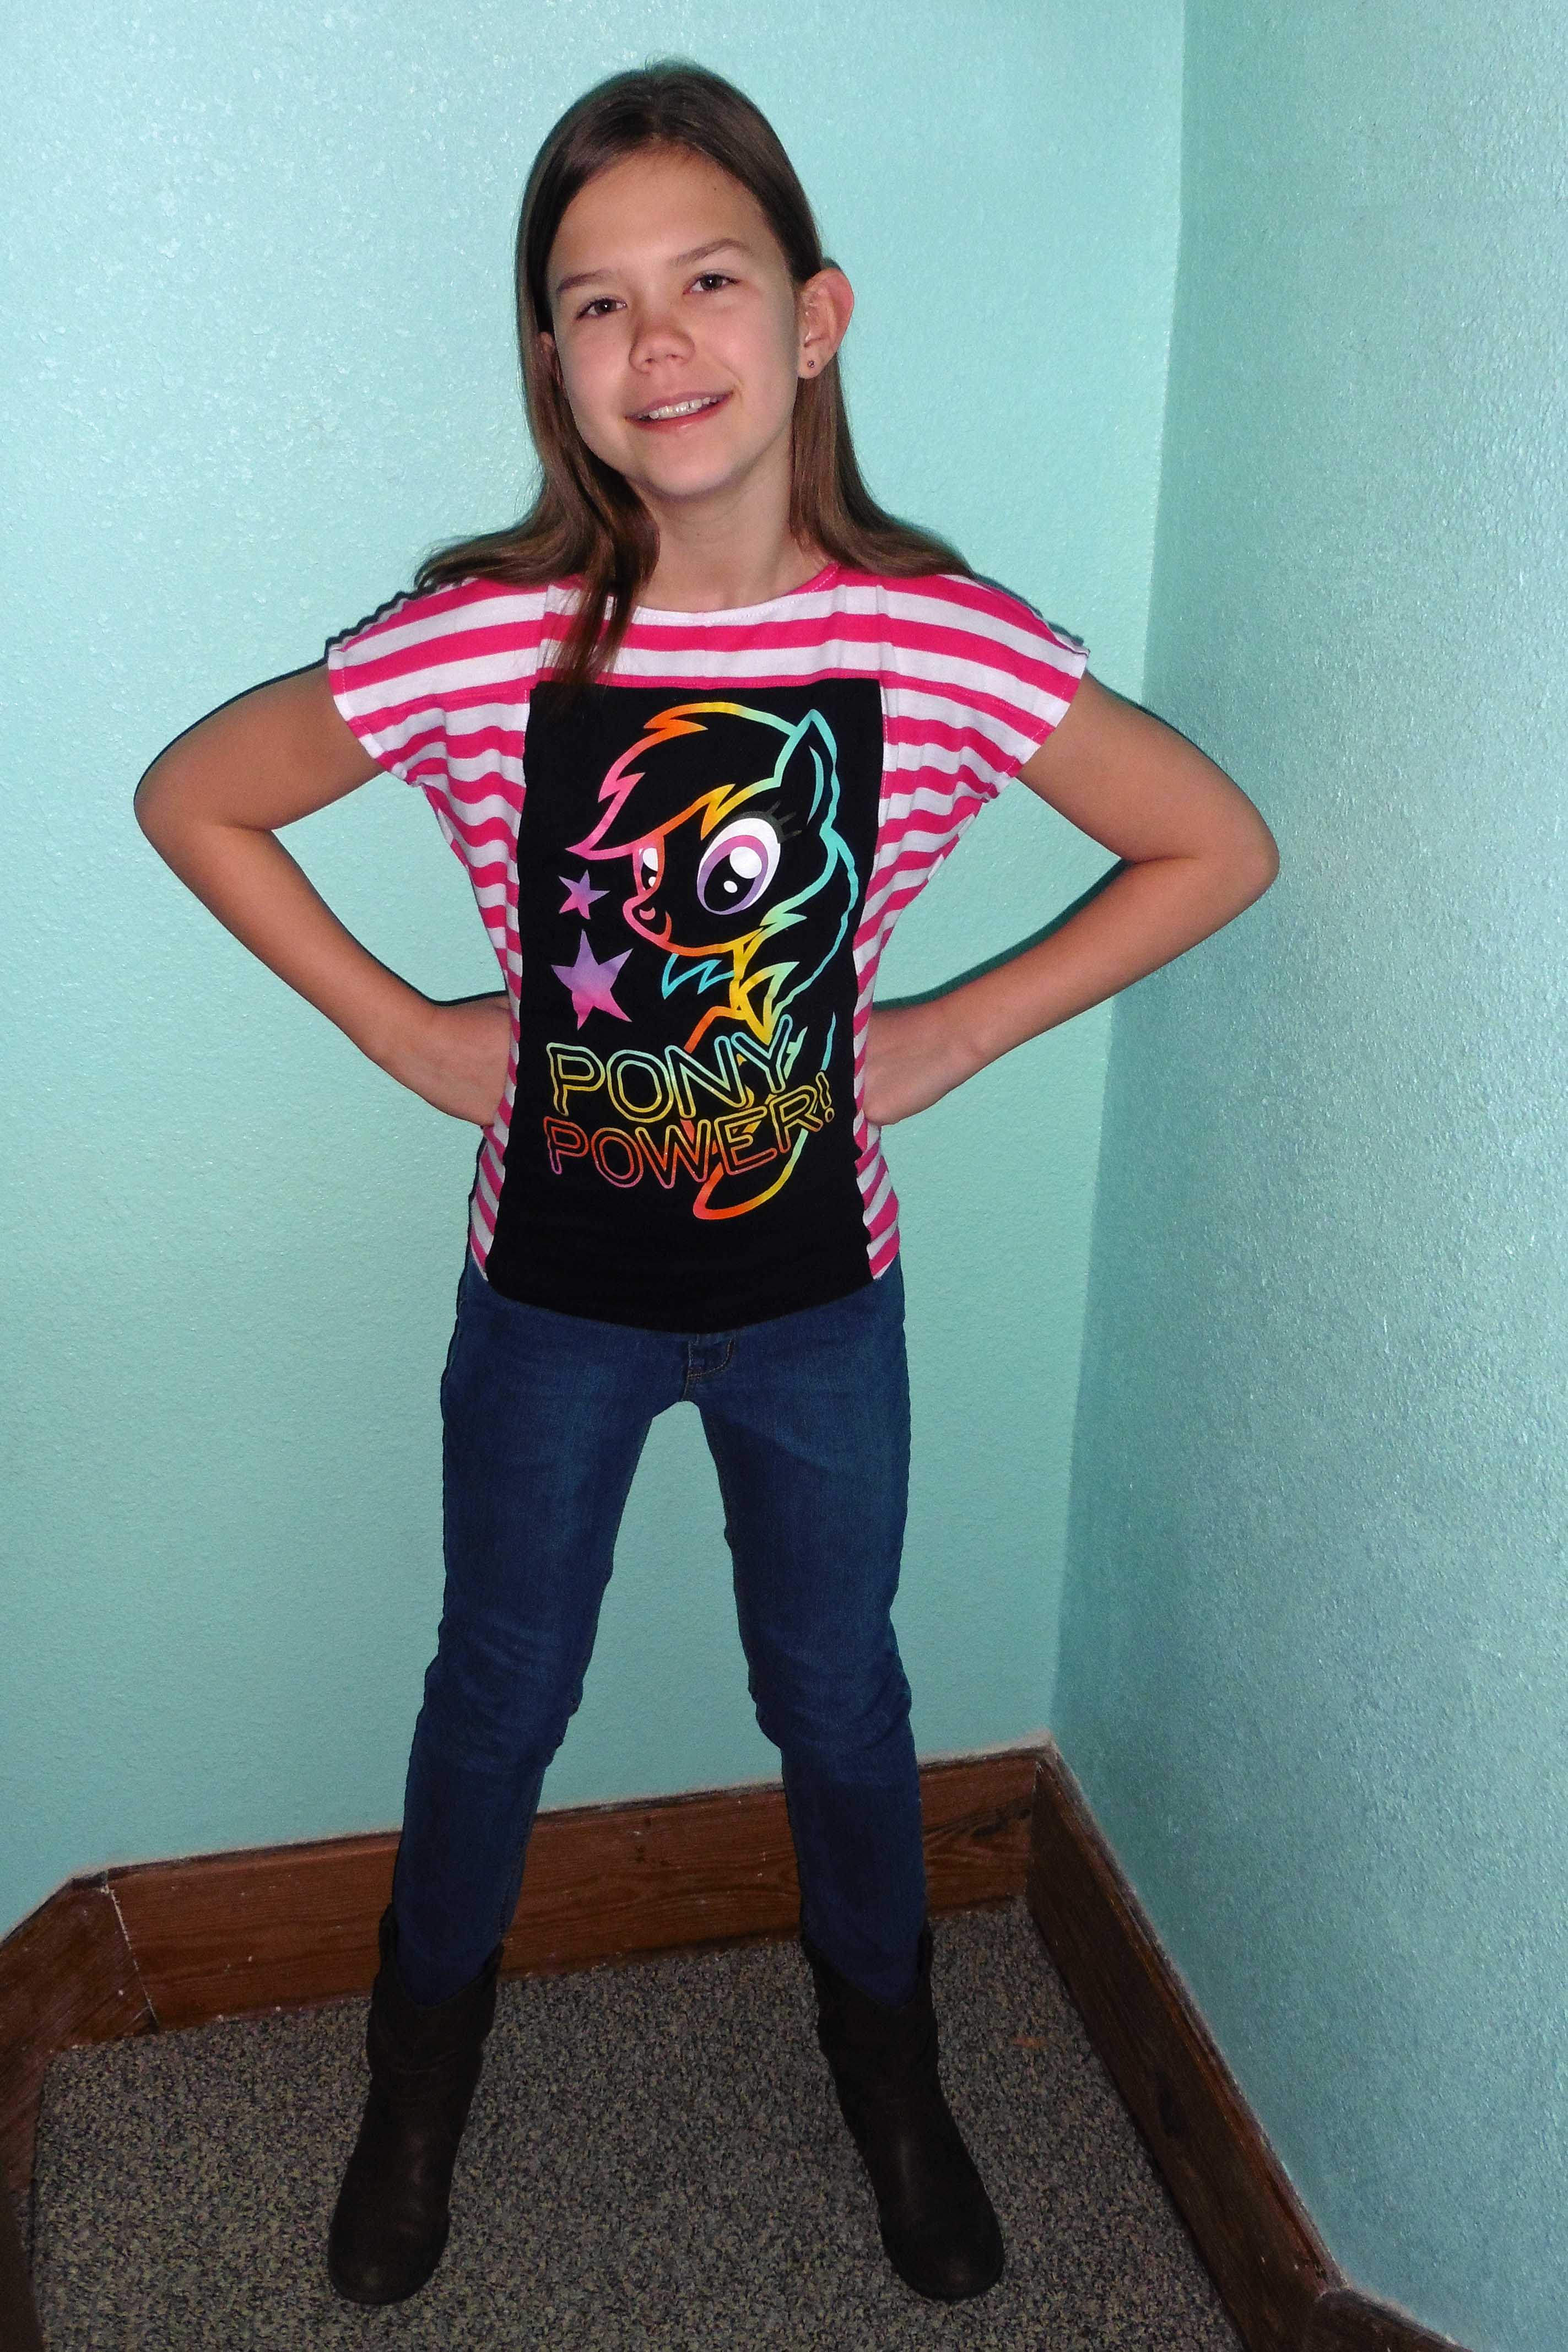
To begin, just like last time, I cut the front off the original shirt and squared up the sides into a rectangle (although you could just as easily use a fabric panel). I didn’t photograph this step since it would look much the same as the first step of my last post. 😉 (Also, sorry in advance for the yucky “sewing after dark” photos … that’s what happens when I wait until kids are in bed and then photograph it on my daughter before sunrise. Haha)
You will also need to trace a copy of the shirt pattern of your choice. I’m using Carlie’s Dolman Top and choosing to piece only the front, so I traced a copy of the front pattern piece in my daughter’s size.
Next, you’ll have to measure and do a little math to decide where to slice your pattern.
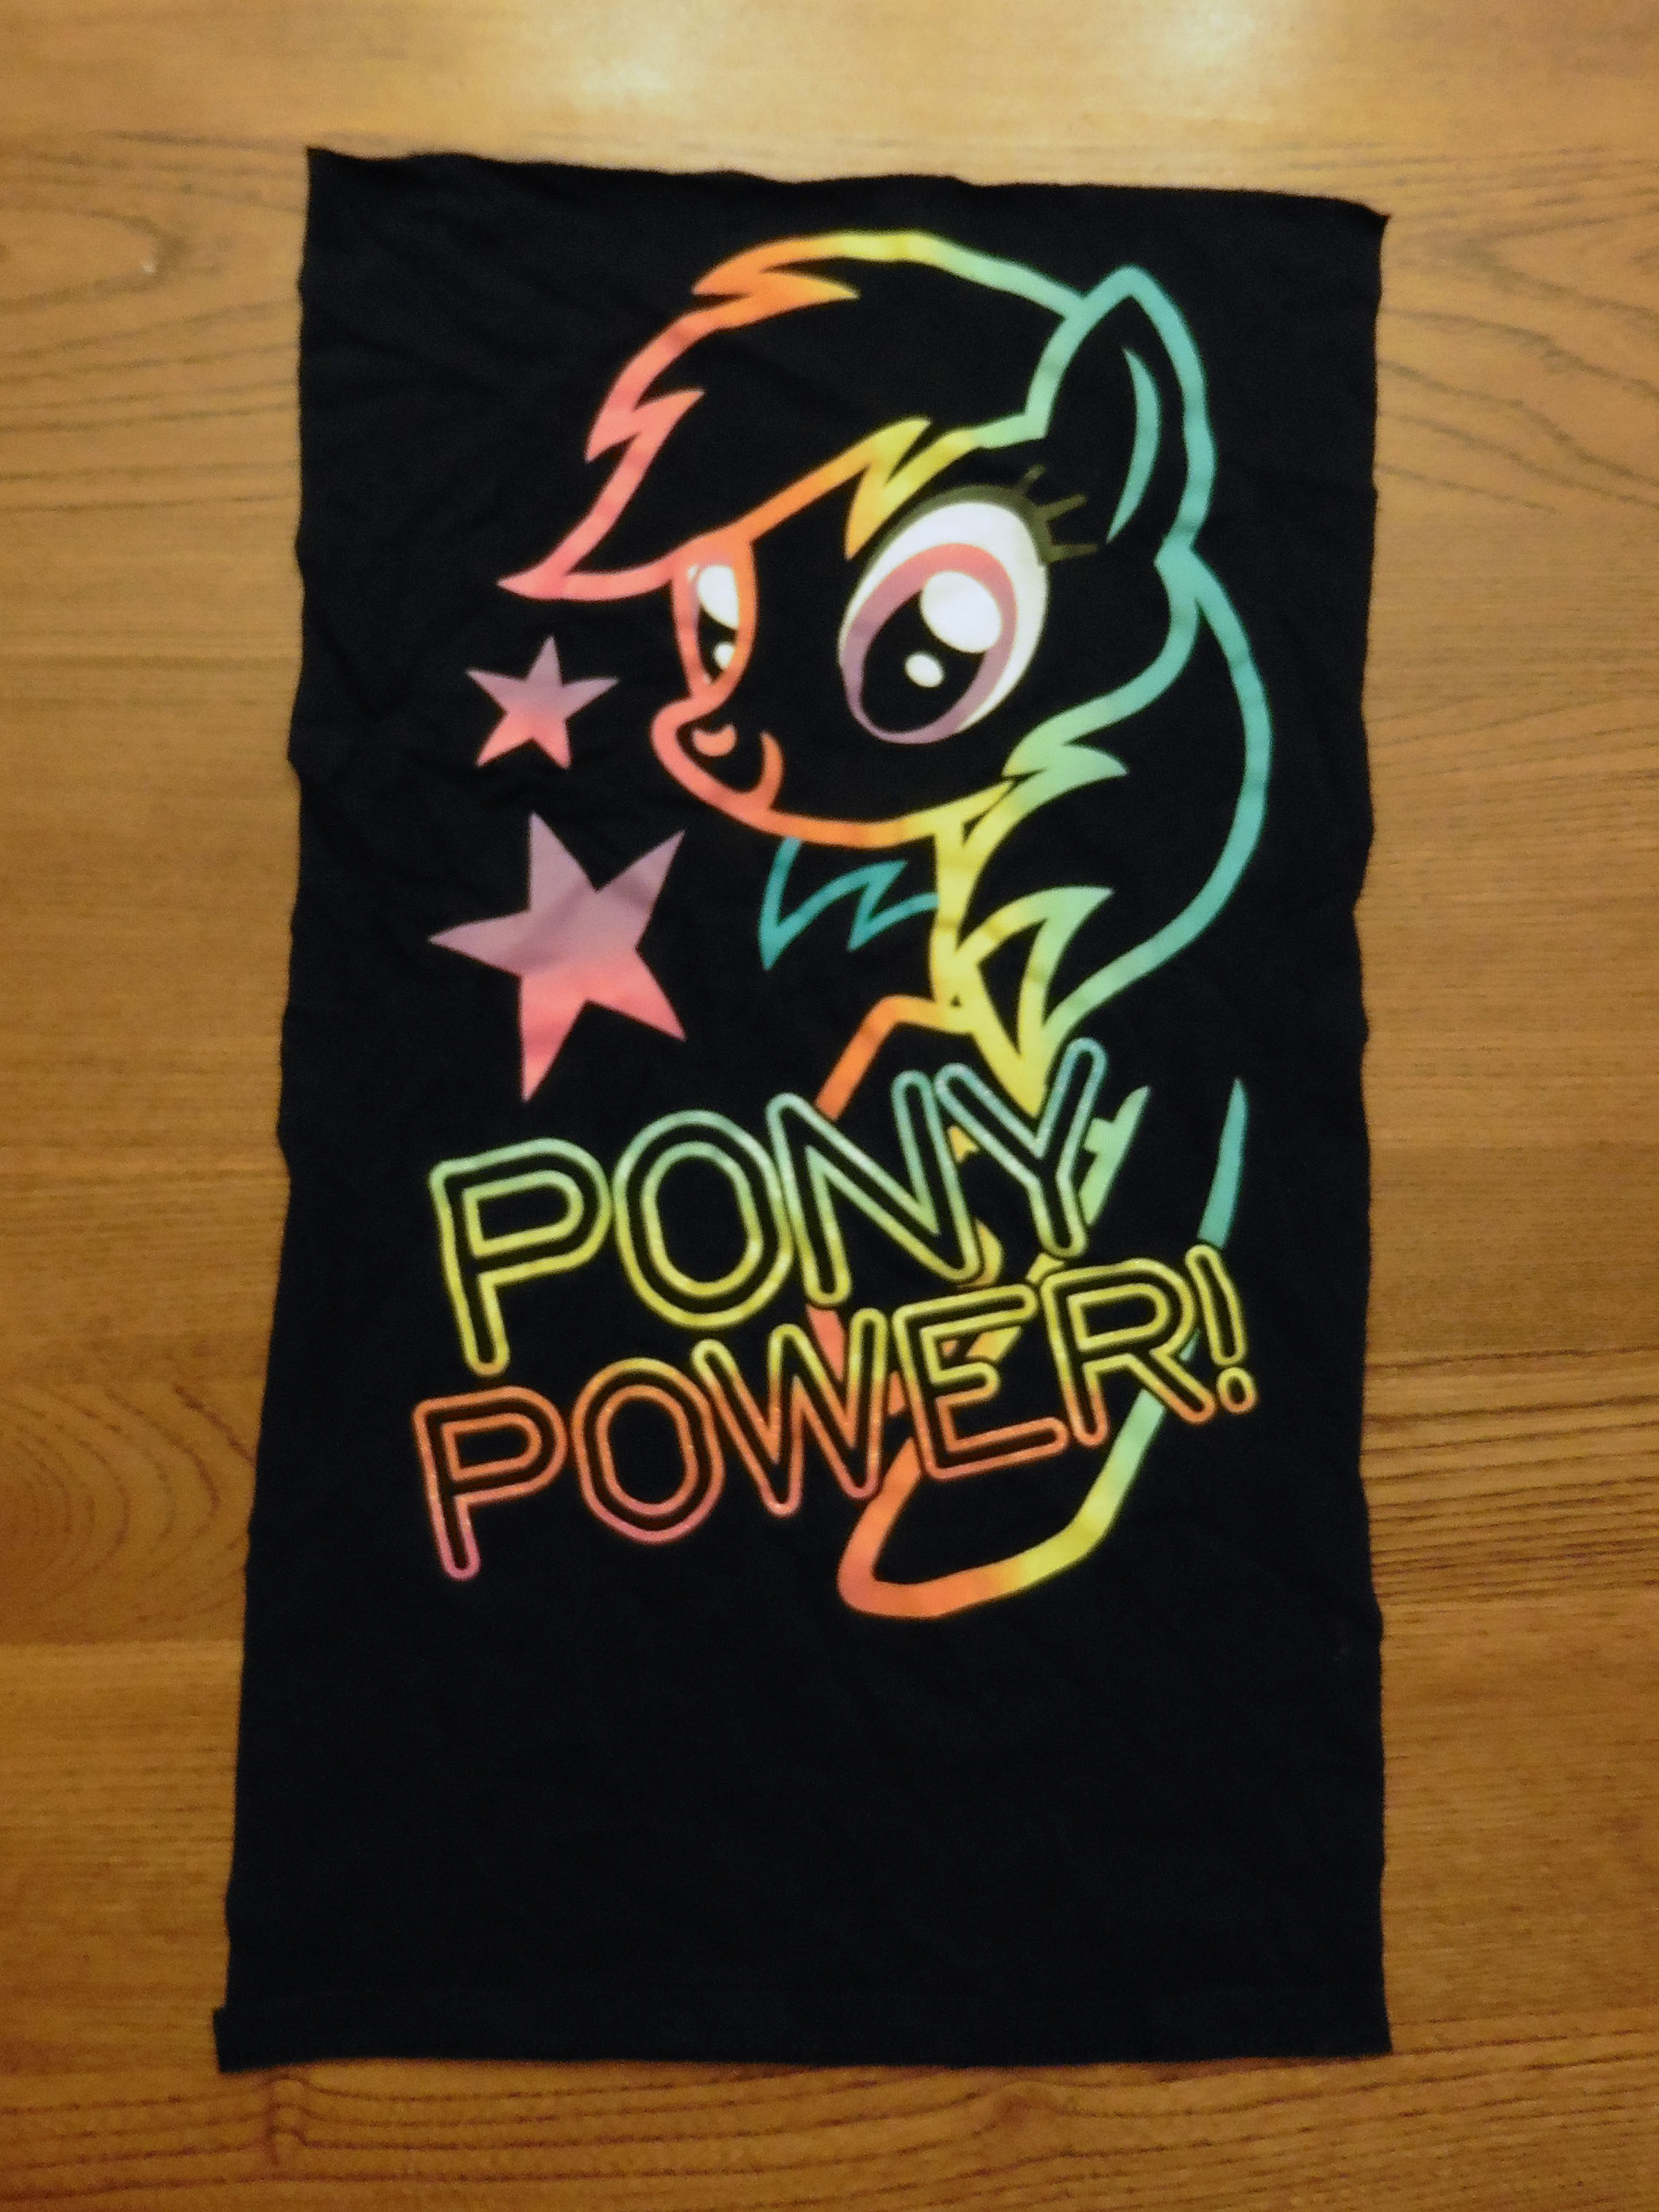
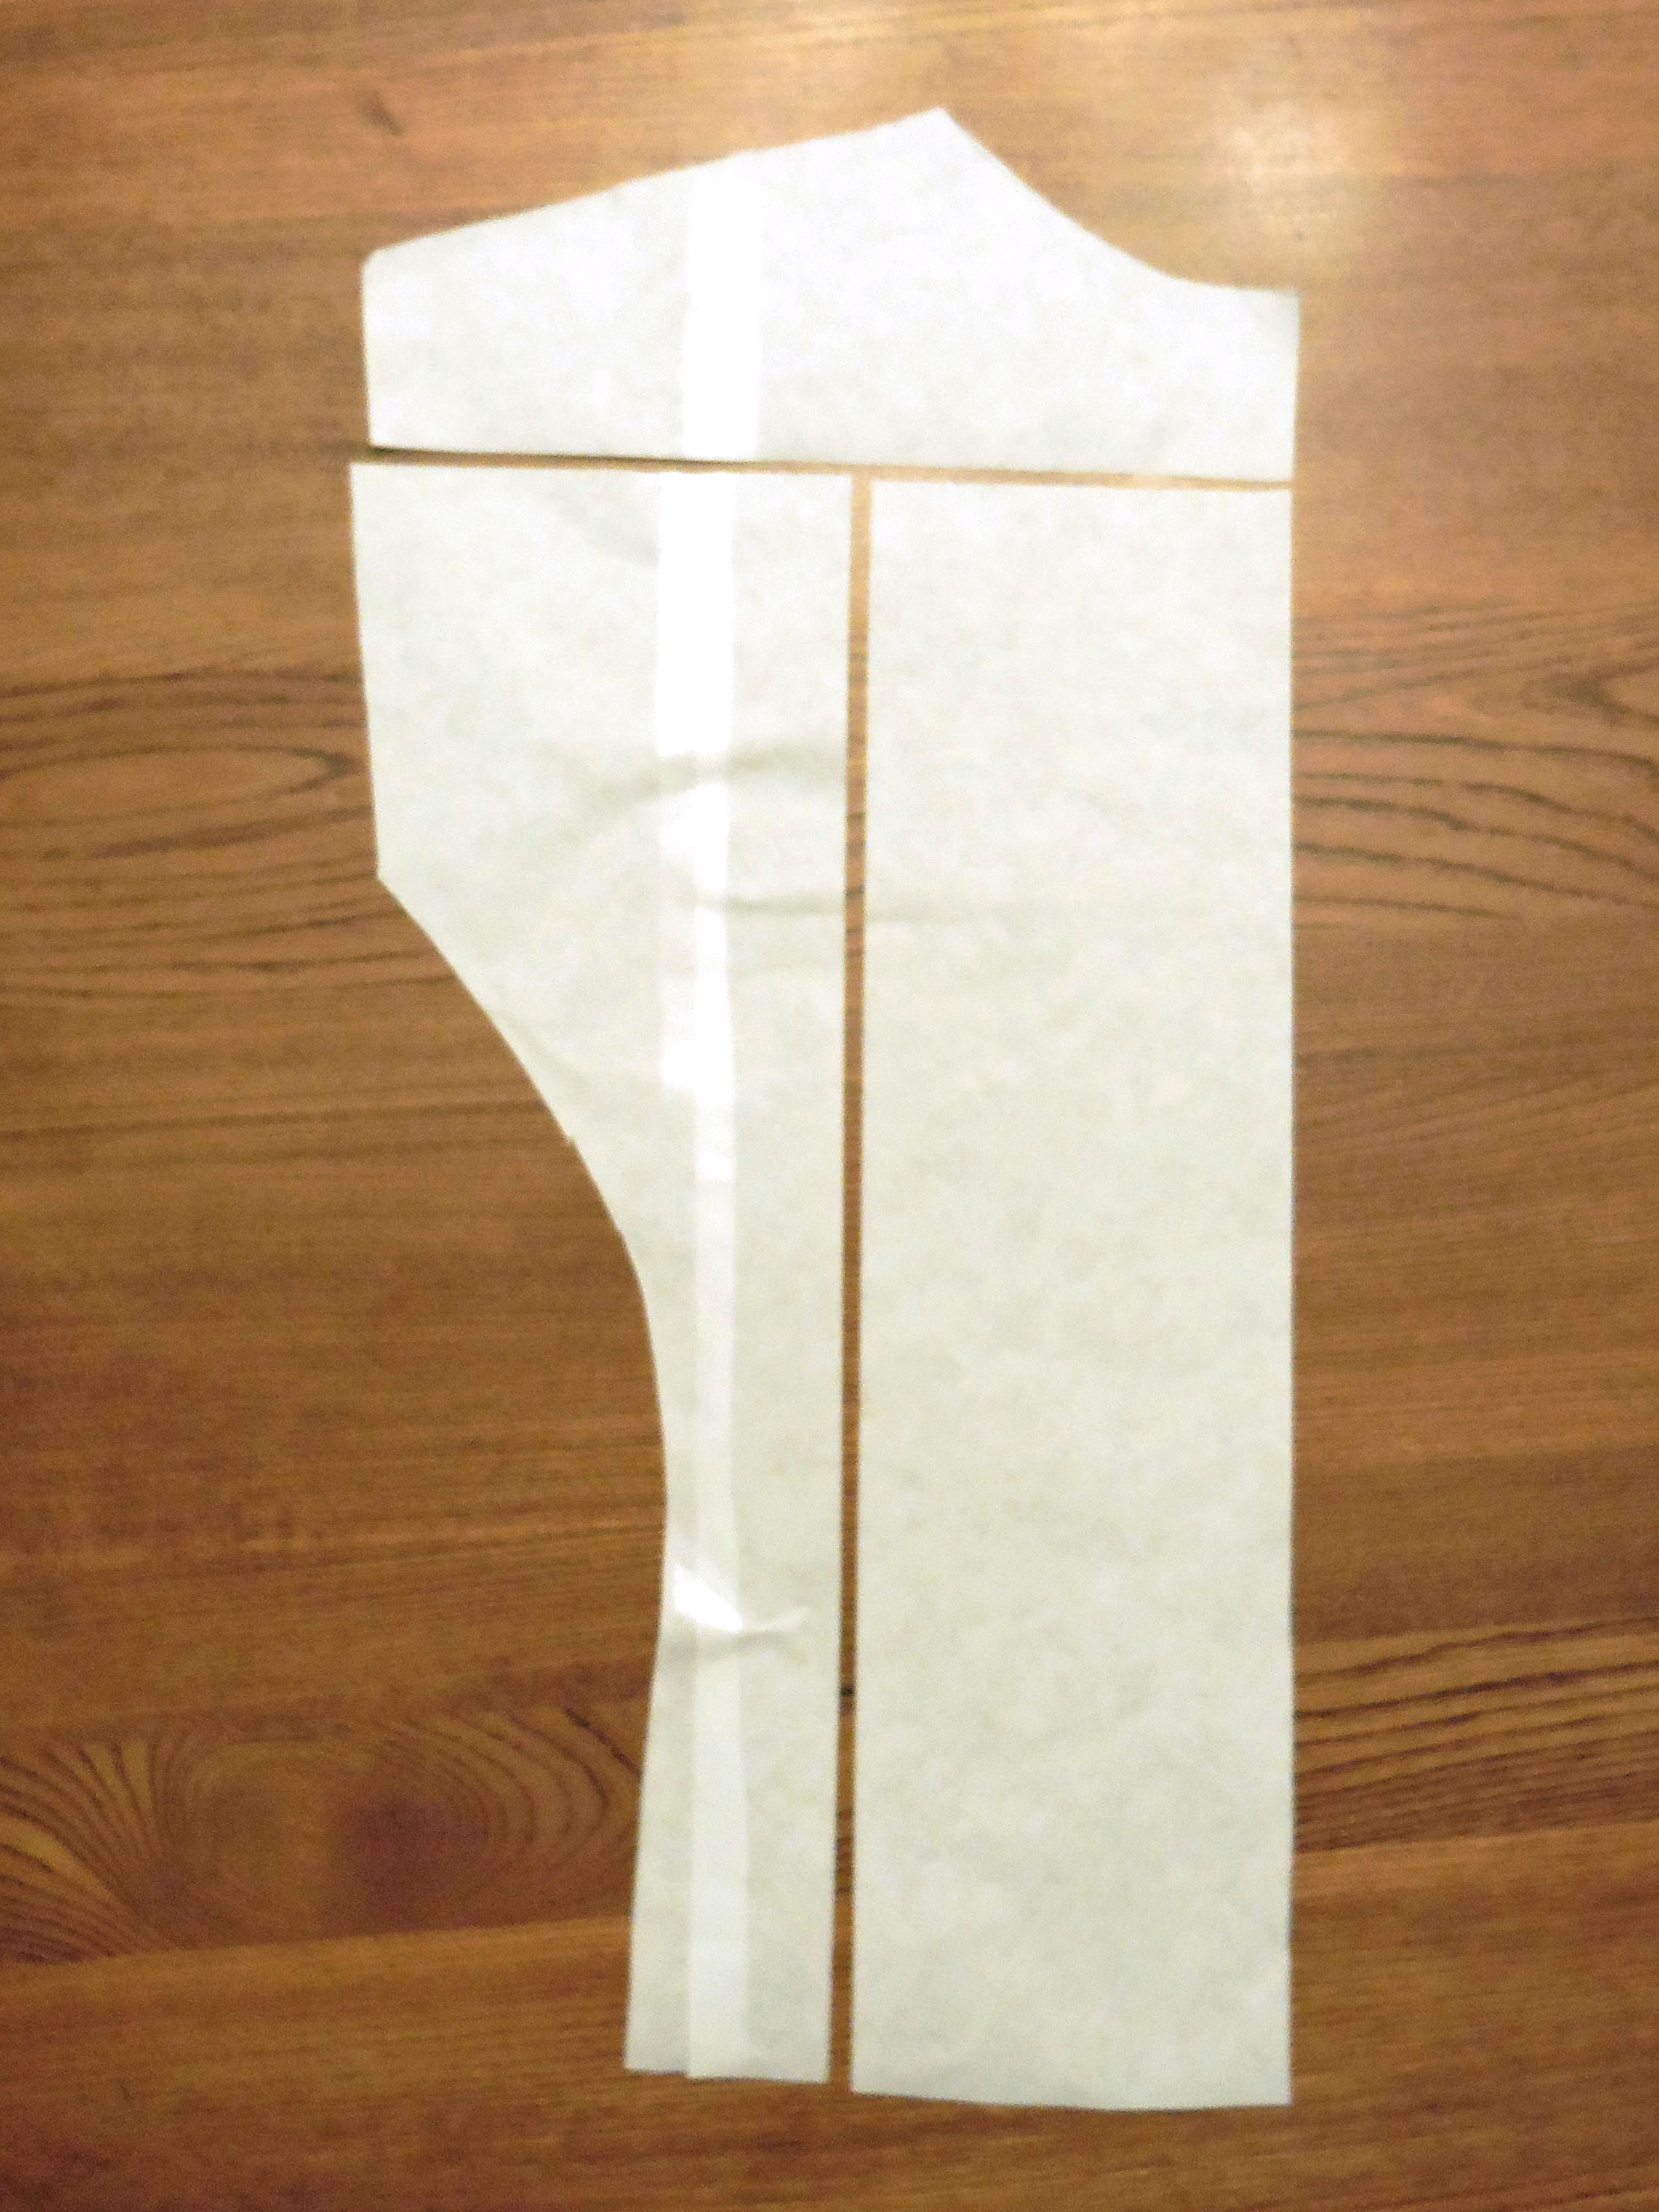
First, measure the size of your panel (mine was 18.625″ tall by 10.5″ wide). To determine where to cut your pattern, you’ll need to subtract your seam allowances. In my case, seam allowances are 3/8″ (which, in decimal form is 0.375″). Since I’m choosing to line my panel up with the bottom of the pattern, I subtracted 0.375″ just once from the height, measured up from the bottom and cut the pattern horizontally so the resulting bottom piece is 18.25″ tall.
**If your panel is going to be higher on your pattern, you’ll need to subtract the seam allowance twice and then make a second horizontal cut to be able to add a seam to the panel’s bottom.
If your pattern is meant to be cut on the fold like Carlie’s Dolman Top, take the width of your panel and subtract the seam allowance twice (for the seams on each side of the panel), then divide by 2. For my example, I took 10.5″ – 0.375″ – 0.375″ = 9.75″ and dividing that by 2 leaves 4.875″ as the width for cutting the pattern vertically. Measure that distance from the “fold” edge of your pattern and cut your new bottom piece vertically, parallel to that edge (see the above picture to help visualize this step).
** If your pattern is not meant to be cut on the fold, you will not divide by 2. You will instead need to make two vertical cuts.
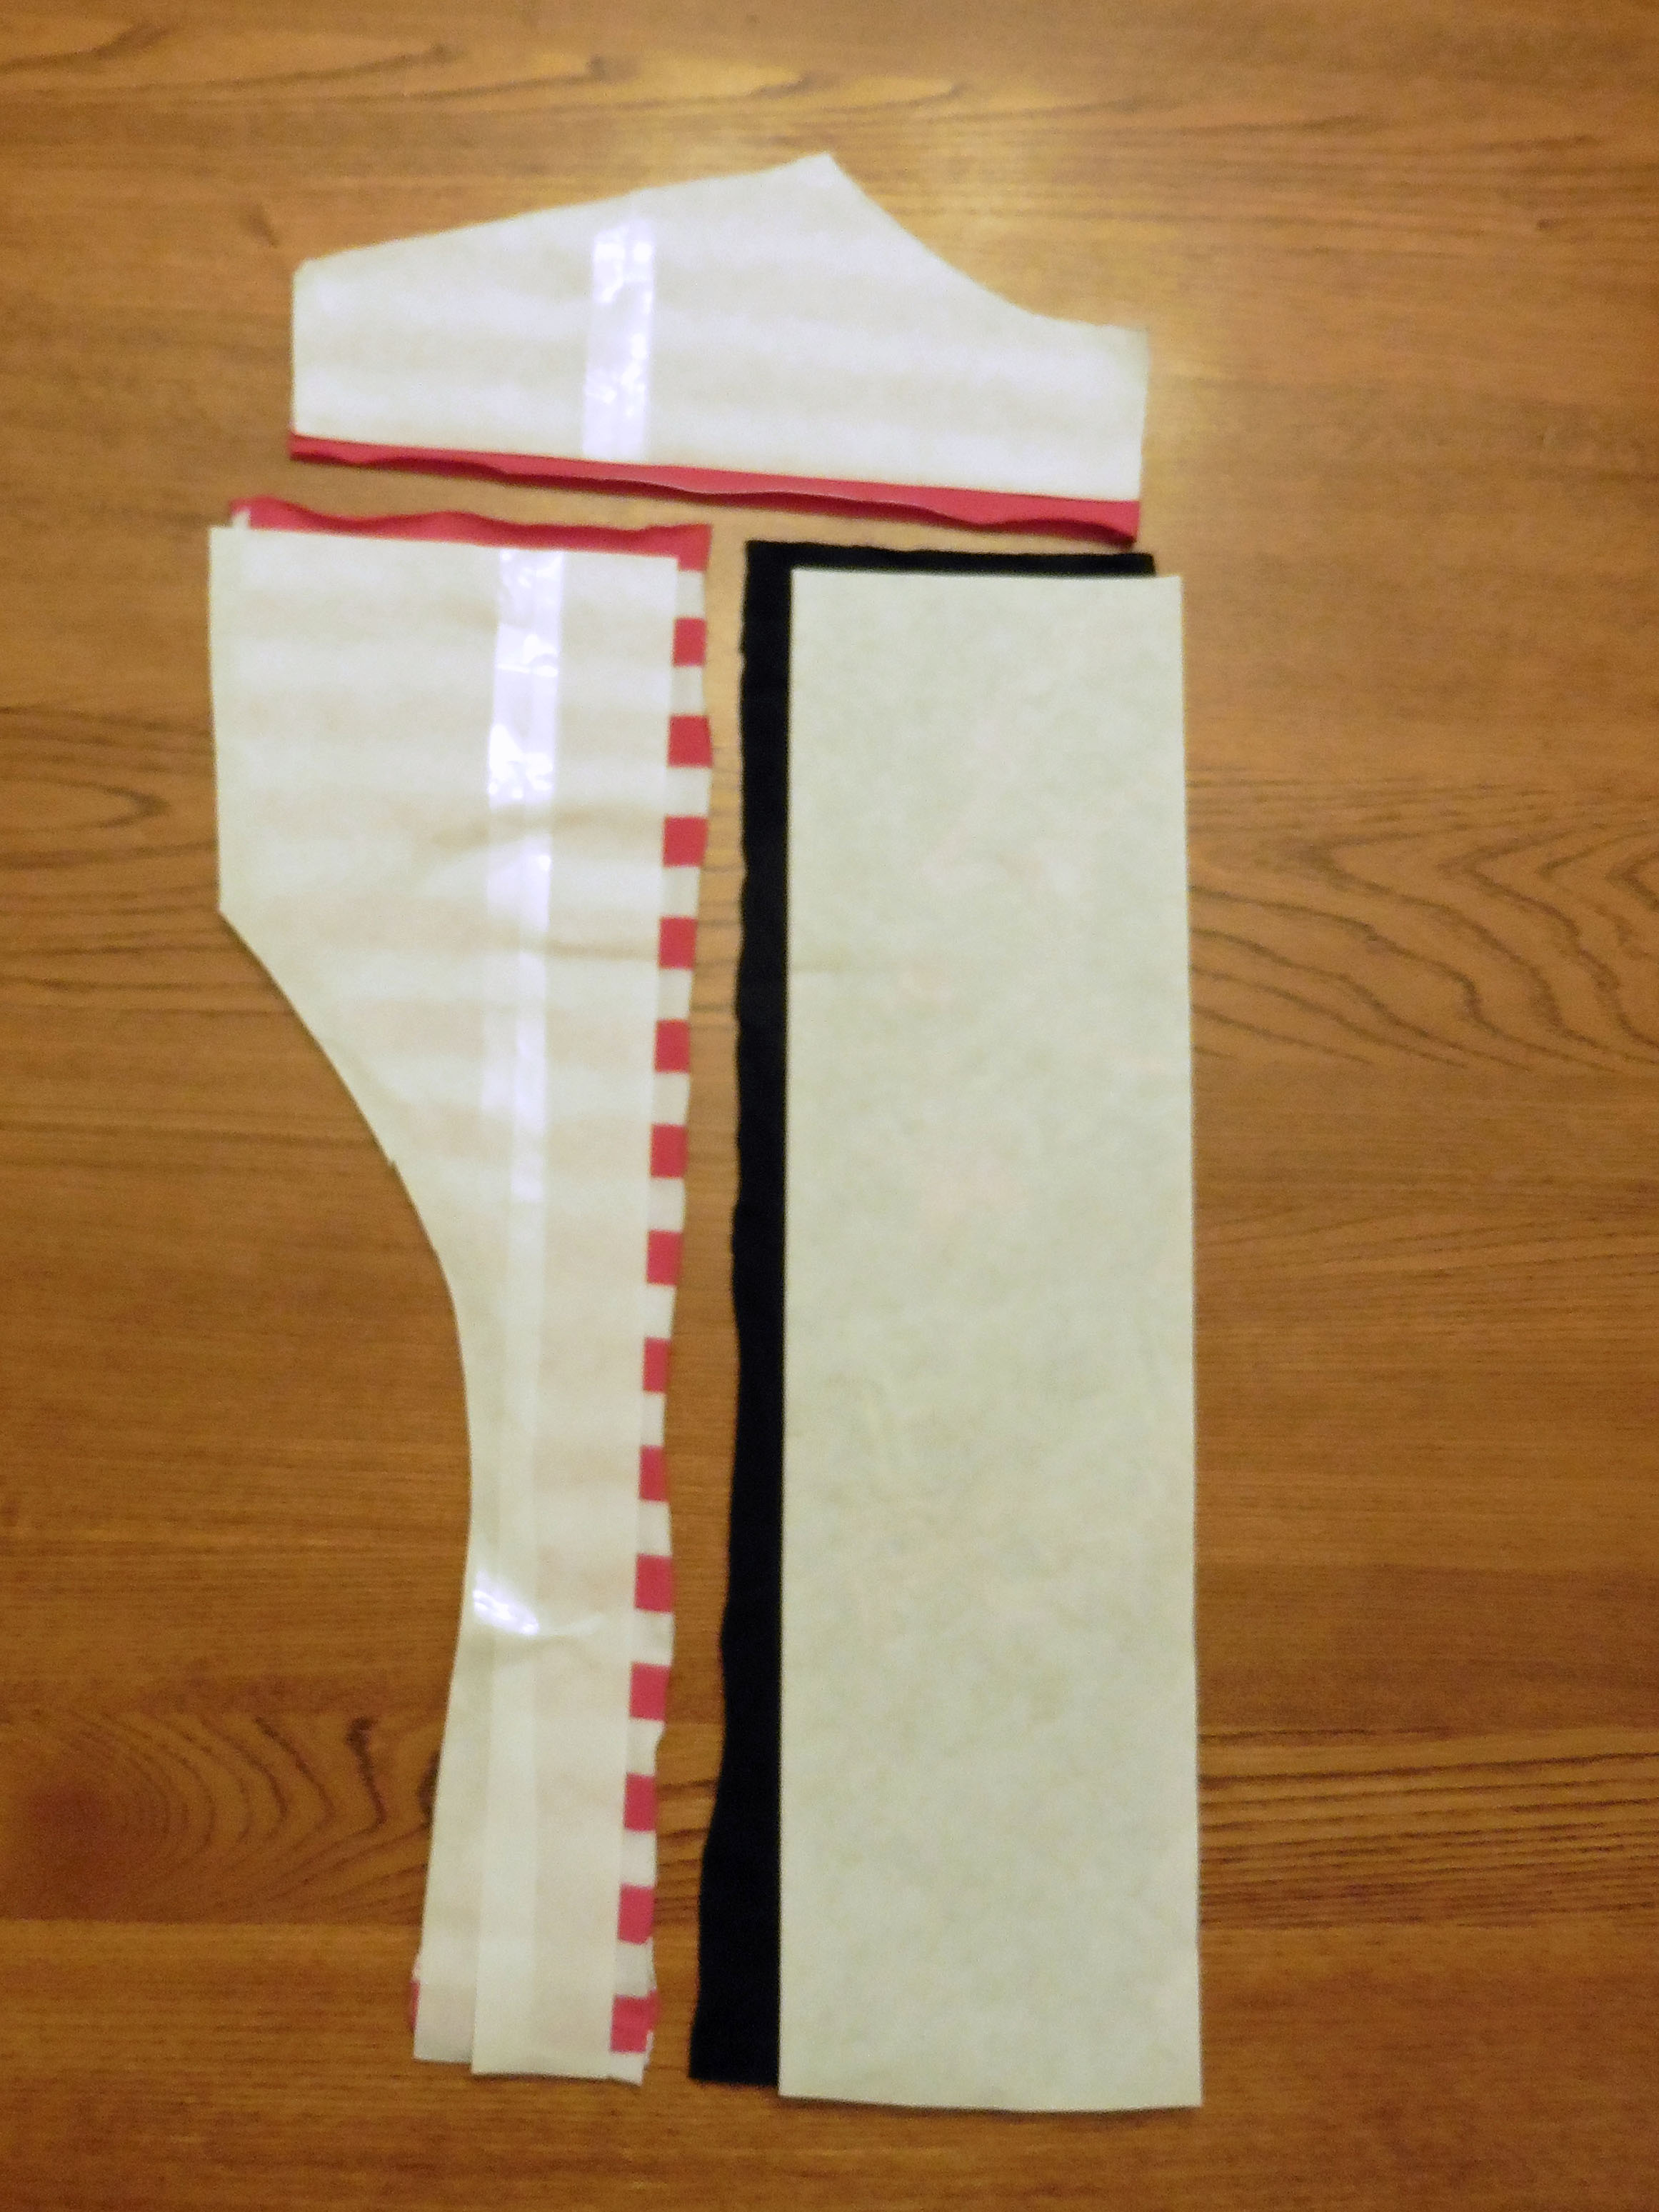
Once you’ve sliced your pattern in the appropriate spots, you have a choice. You can either use the sliced pattern to cut your fabric, remembering to add back your seam allowances along the sliced edges like I did above. Or you can retrace the pattern pieces with the seam allowance added to the sliced edges so you won’t have to “add” them when cutting your fabric (I recommend this if you plan to make more upcycles with the same size of panel). Since I cut up a shirt for my panel and likely won’t have the exact same size again, I just used my ruler to add my 3/8″ seam allowance on those edges (and I folded my panel and slipped it under that piece to show how yours should fit, though I apparently didn’t line it up very well for the picture).
Once all your fabric pieces are cut, you can sew them right sides together to create your new shirt front. I did the vertical seams before the horizontal seam. I pressed the seam allowances to the striped side and topstitched to help them lay nicely.

Don’t forget to cut out your new shirt’s back and any other pieces needed for your chosen pattern (my striped fabric kept rolling and would not lay flat for pictures 😛 ). Because I was using a t-shirt and the striped fabric is a clearanced maxi dress that I picked up, I re-used the original hems to save myself the trouble of either hemming or banding the bottom (that’s also why you can see a seam down the center back if you look carefully).
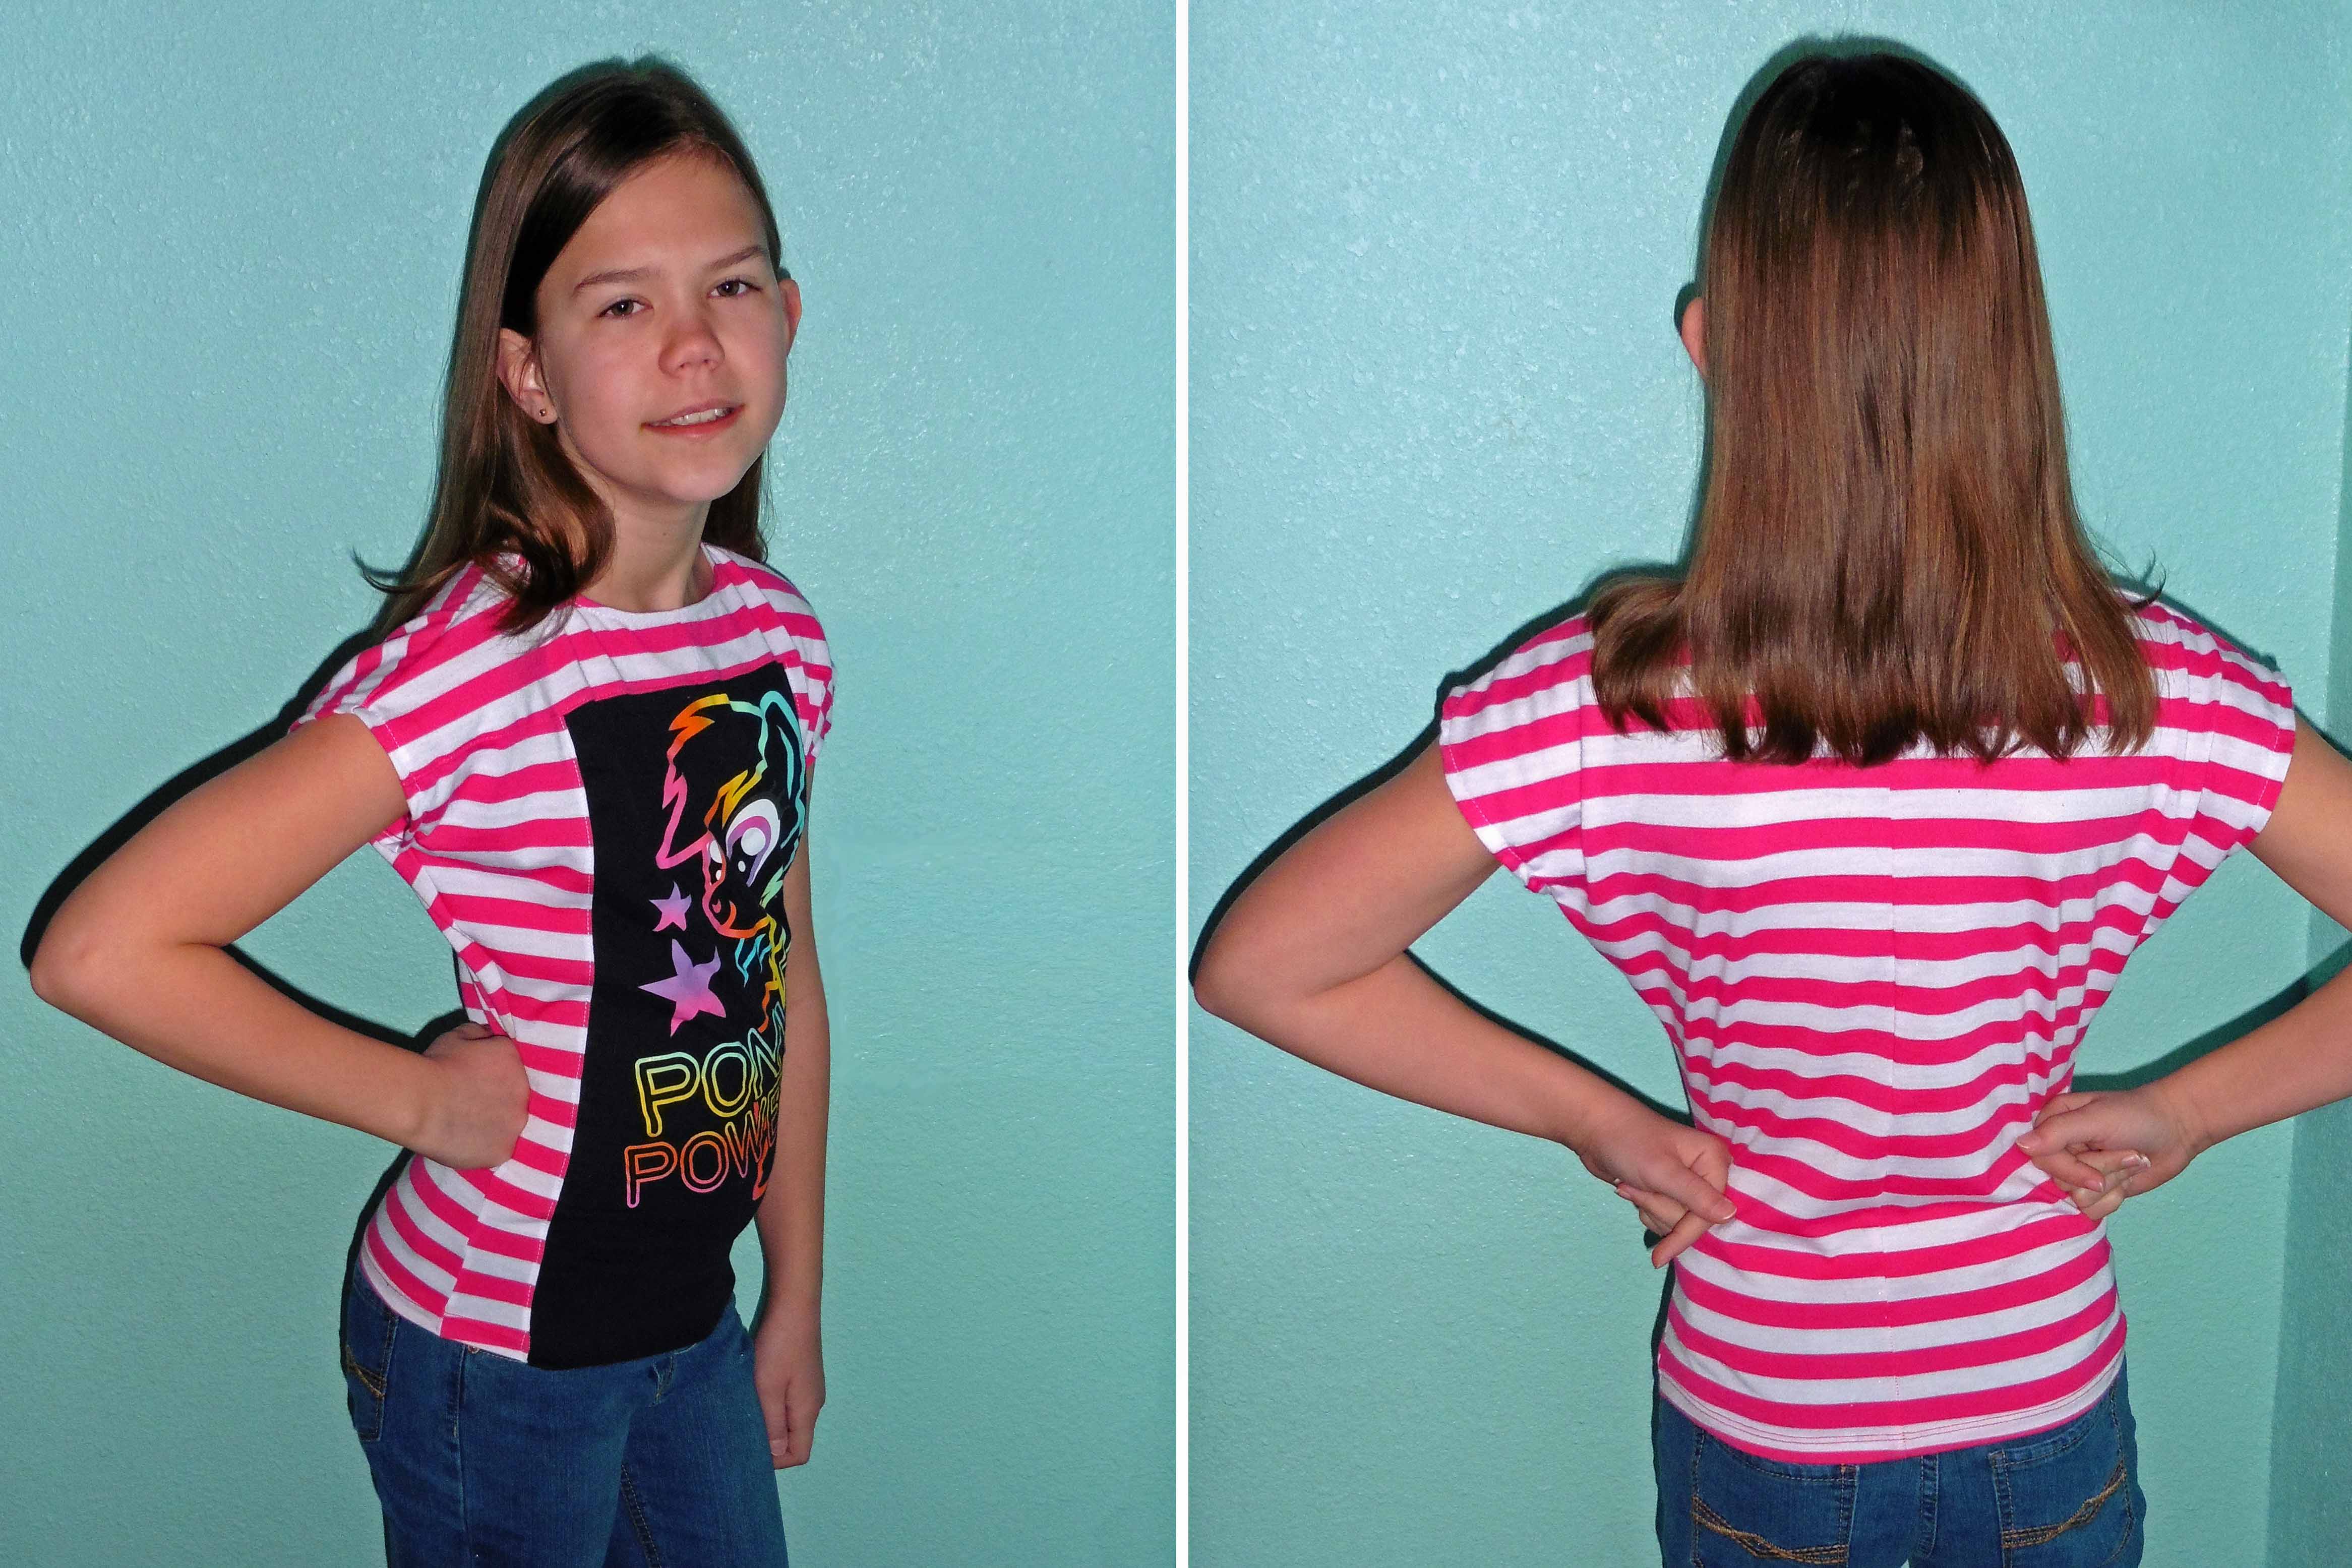
Finish construction as per your pattern and enjoy your new shirt! I love how easy it is to transform a plain t-shirt or a cute panel into a one-of-a-kind top!
If you try your hand at upcycling store-bought into handmade, we’d love to see your result. Join EYMM’s facebook group Everything Your Mama Made & More! to share and to see other creations using EYMM patterns.
Happy Sewing!! ~ Joelle
One Response
T-shirt Surgery: The Grown Up Version | Everything Your Mama Made & More
[…] t-shirt surgery to make my girls some upcycled Carlie’s Dolman Tops last week (see here and here), I got to thinking about a pieced-together Kymy’s Dolman for myself. I looked through my […]