I love seeing what my customers make with their patterns! When Lydia from My 3 Little Kiwi’s showed off her tops we BOTH loved them, lol. Then she started experimenting. When she showed off her split shoulder version I asked if she wanted to a guest post and share ;). Dolman tops, as well as other flowy tops, are currently very trendy and this season these peek-a-boo split shoulders are popping up everywhere as well. So check out this tutorial on how to modify your own Kymy’s Dolman. I have a feeling that it would also work well on the women’s Asymmetrical Drape Top.
Kymy’s Dolman Top & Tunic
Split Sleeve Tutorial
Guest Post By Lydia of My 3 Little Kiwi’s
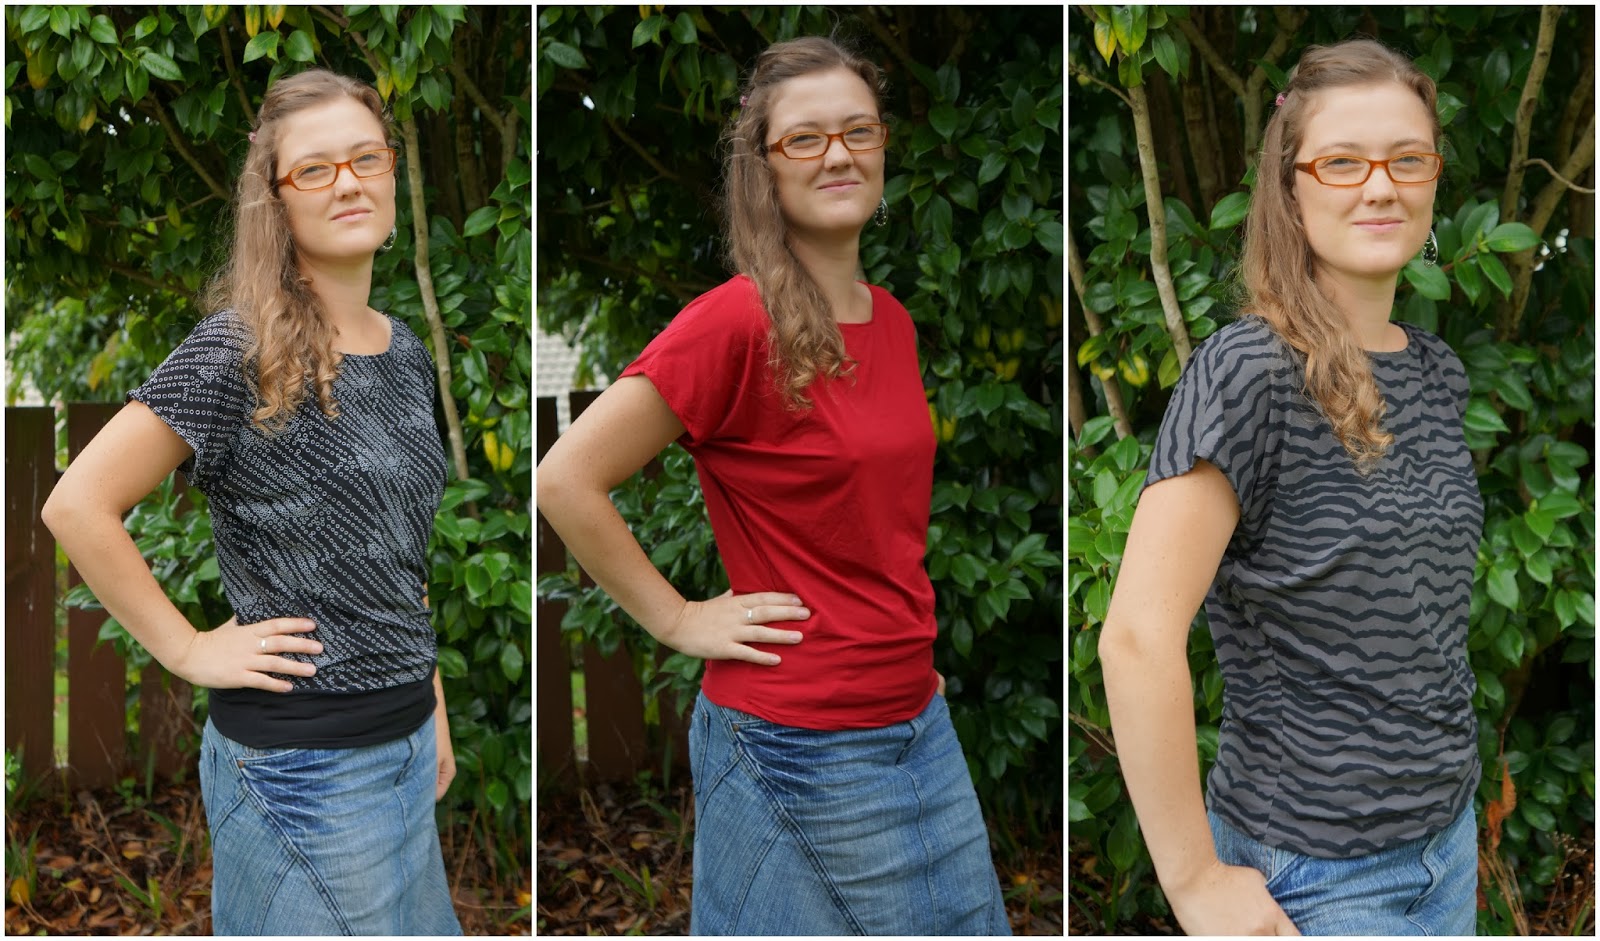
I have recently become OBSESSED with the Kymy’s Dolman Top by Everything Your Mama Made. It has a huge size range, from XS – 5x plus a bonus of maternity.
I love how it has transformed me from a frumpy mummy to a stylish mummy within a matter of days. I now have 5 of these tops (sewn over 2 nights) and I’m not planning to stop…I will continue to make them till my whole wardrobe is full of them.
So as soon as I got this pattern, I made myself 2 and then had an idea for making a split sleeve. My first attempt wasn’t too much of a success I cut off some of the sleeve to create a rounded shape and this didn’t sit as well. I also hemmed the split BEFORE I joined it at the bottom, which also didn’t work very well.
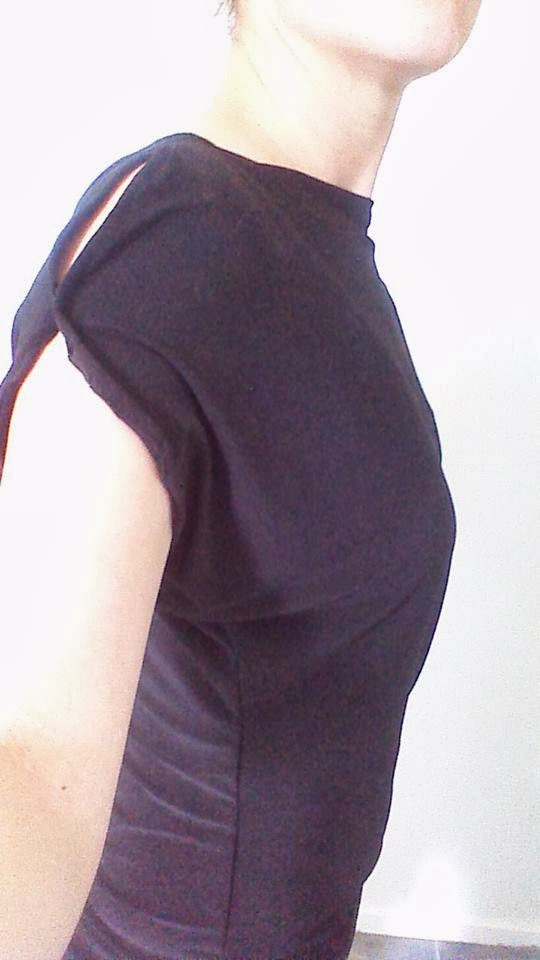
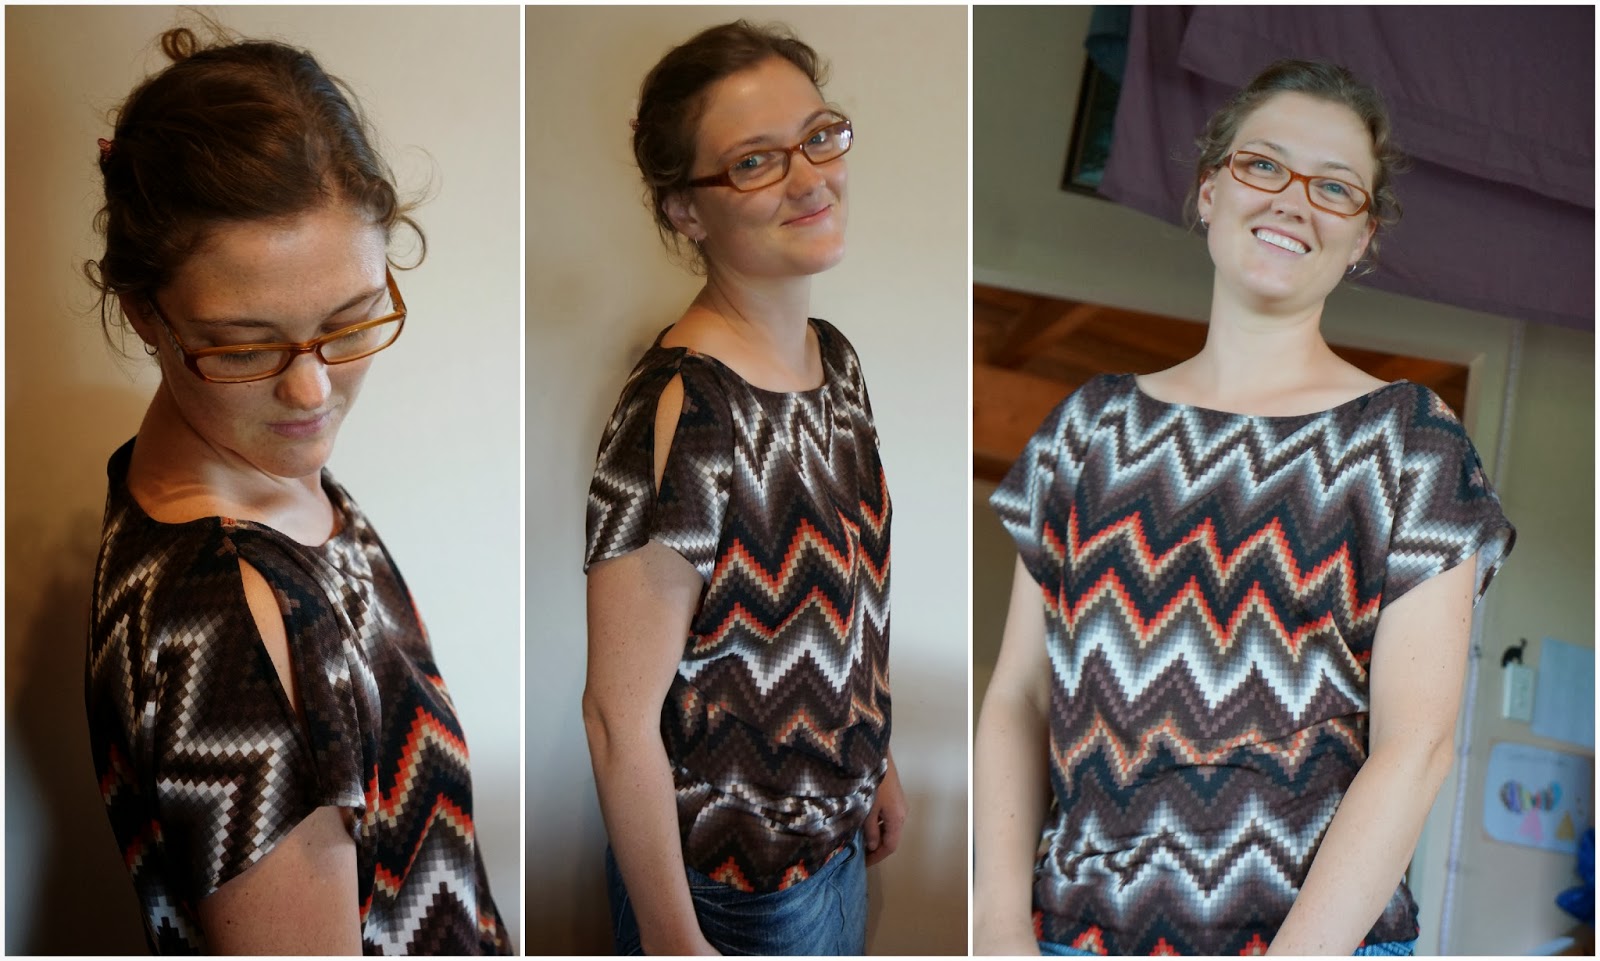
Right… So I made another one to try out another way of doing the split (so simple when you think about it), this one is for my sister, for her birthday. I found this really neat fabric at Morelands and knew it would look great on her straight away. (My hubby doesn’t really like it, his first words were “70’s!) anyway, I’m so glad I have a wee bit left as I love the colours on me too, and I will make me one with a band so tough luck if he doesn’t like it 🙂
So lets get on to how to make this very cute split sleeve, I assure you it is super simple.
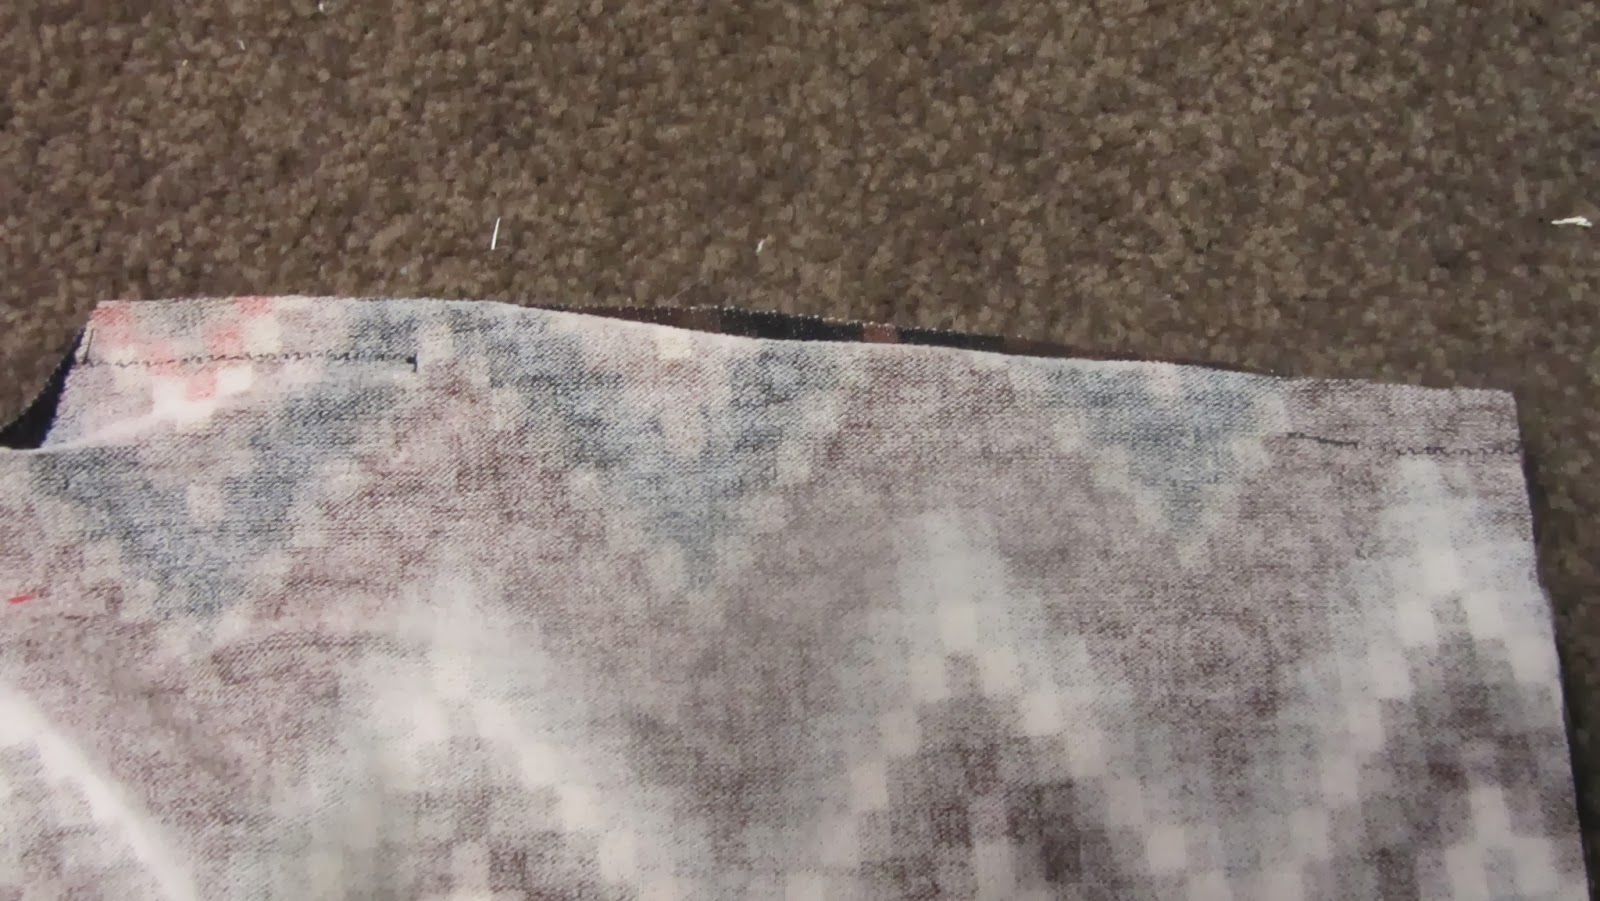
When you sew your shoulder seams do not sew along the whole length.
Measure 2″ from the neck line and put a pin.
Now measure 1 1/2″ from the armhole and place a pin.
SEW ONLY FROM THE EDGE TO THE PINS.
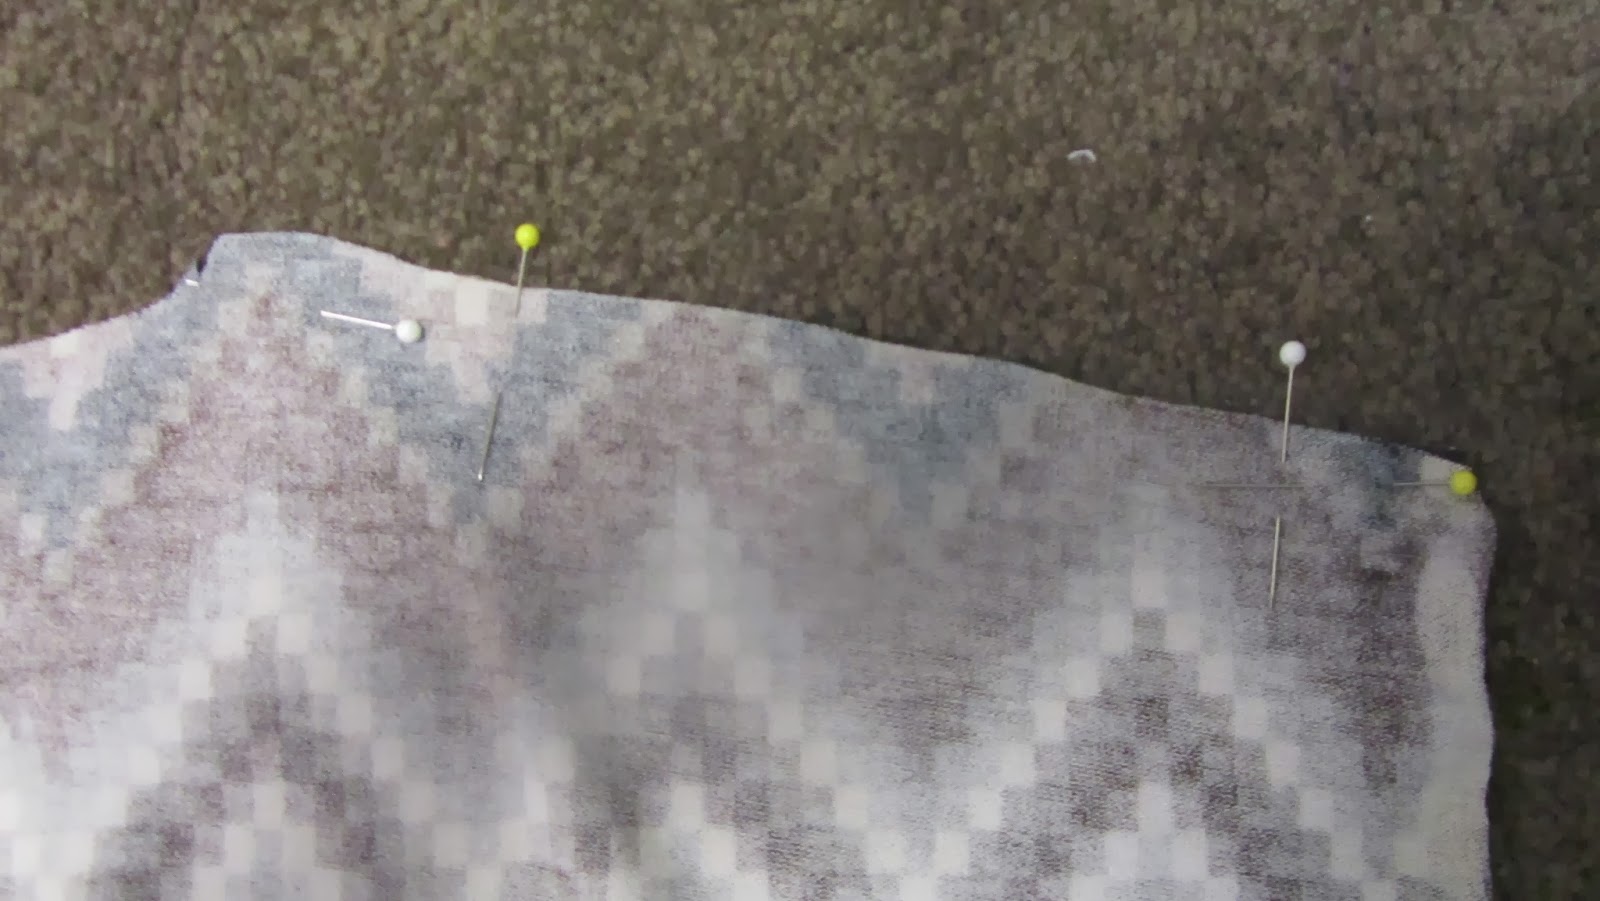
It will now look like this.
Press the seam open like this and topstitch down both sides 1/8″ from the folded edge/seam.
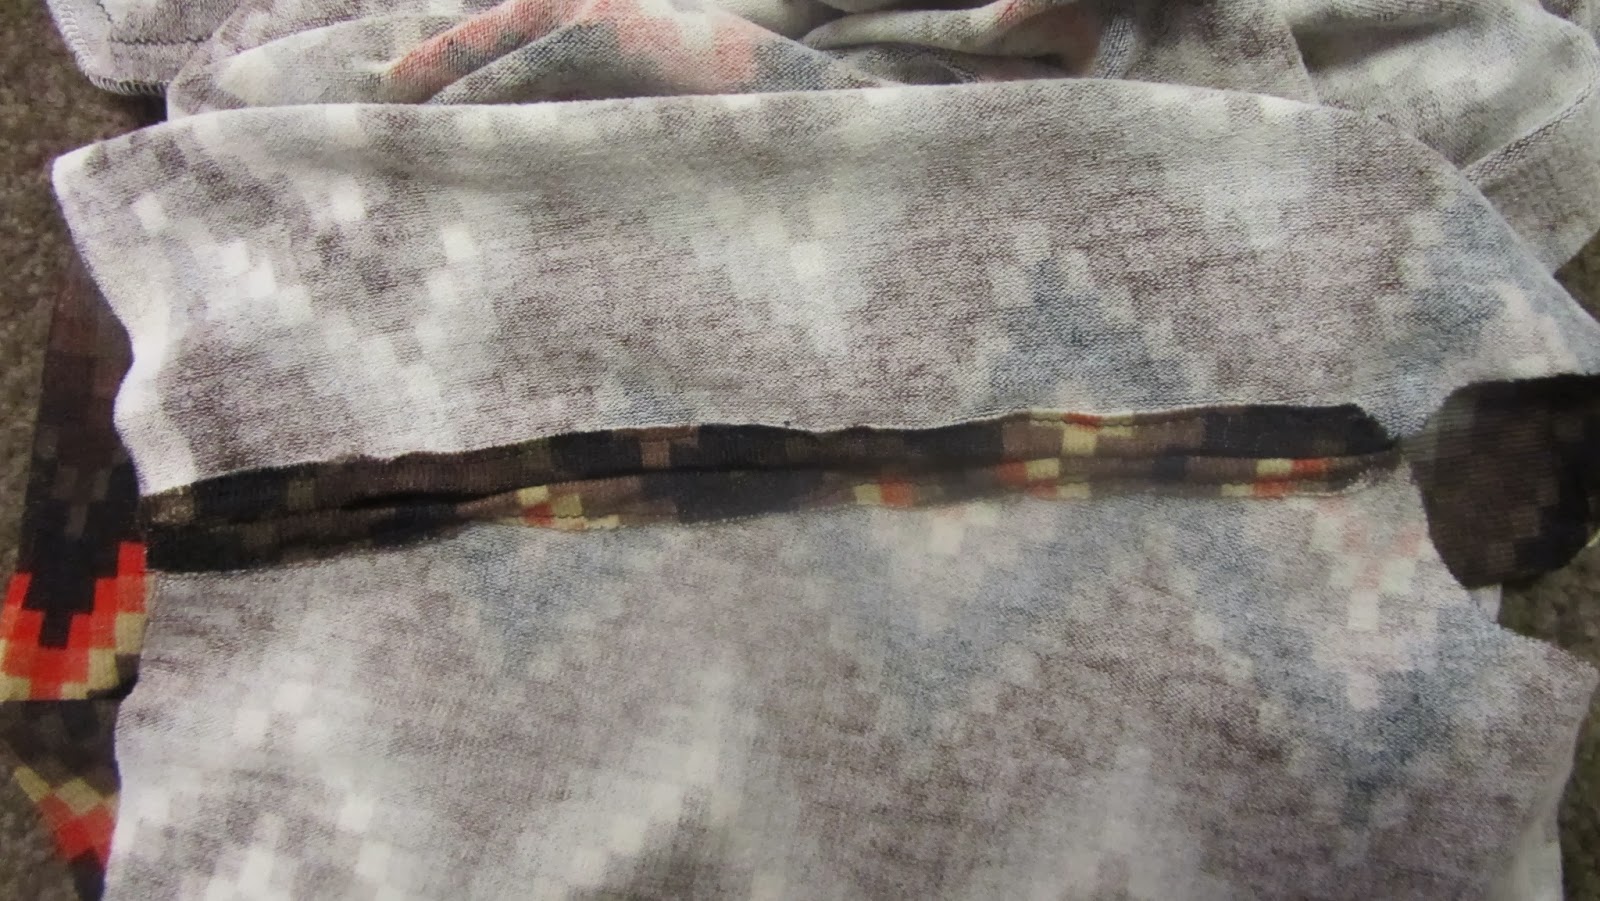
It will now look like this.
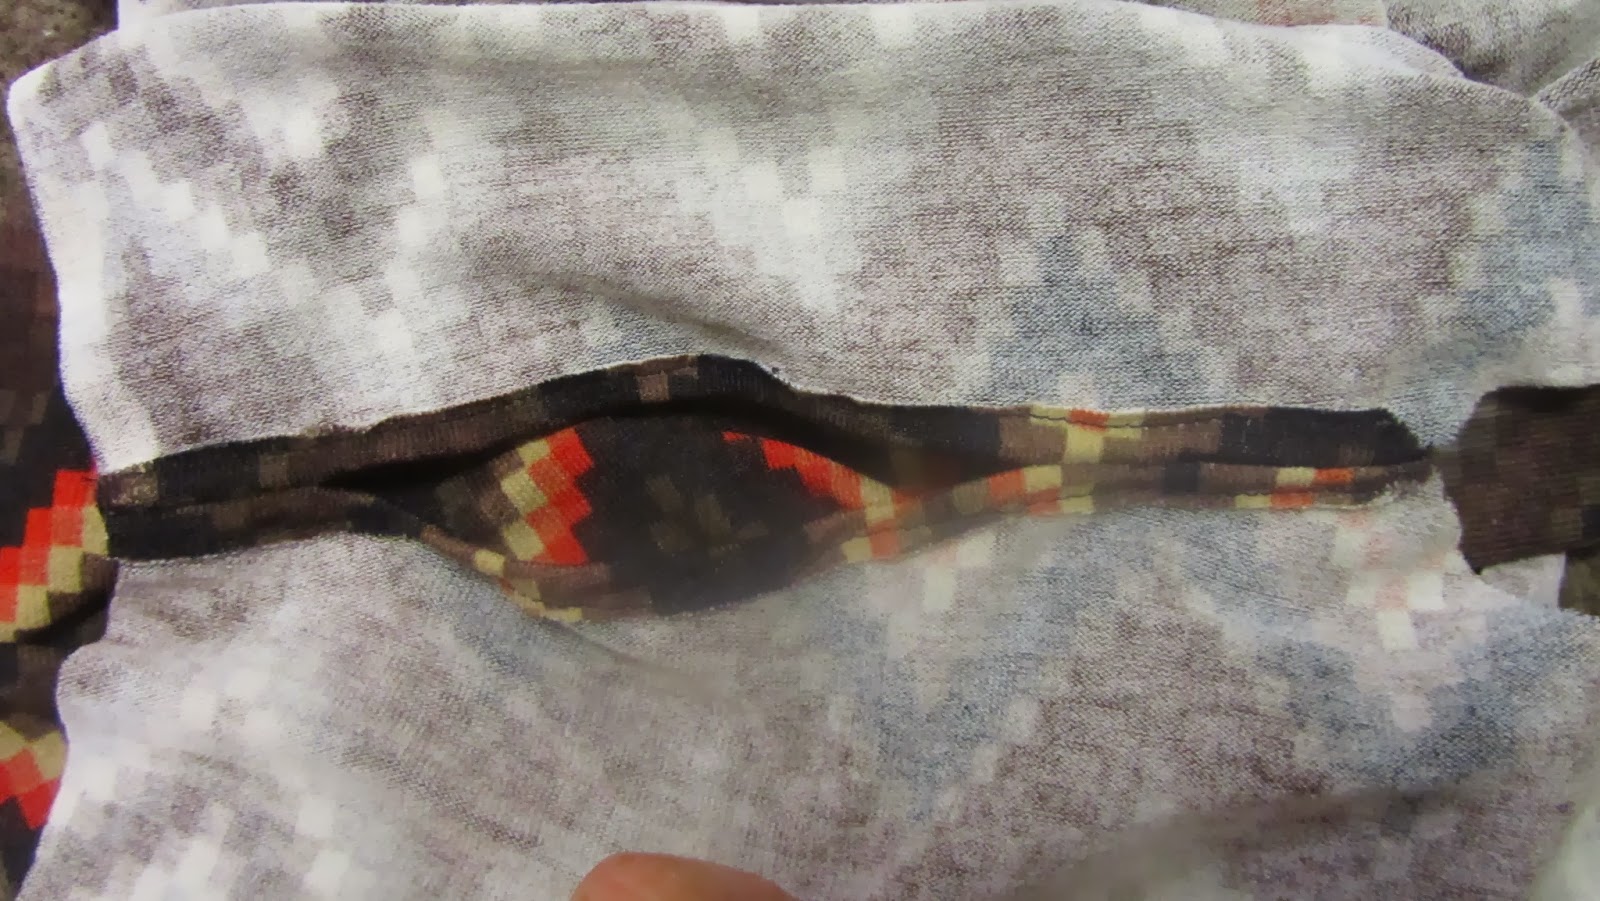
Now carry on with the rest of the tutorial. Now that was simple wasn’t it?
I hope you have as much fun making these tops as I have. My next idea is to lengthen to a dress…watch this space.
5 Responses
Prince
I don’t even know how I finished up here,
however I believed this submit was once great.
I don’t recognize who you are however definitely you are going to a well-known blogger
if you aren’t already. Cheers!
Collector’s edition Star Wars pinball
It’s remarkable in favor of me to have a site, which is valuable for my experience.
thanks admin
New Holland tractors for sale
Great post! We are linking to this particularly great content on our website.
Keep up the great writing.
nootropic powder Nefiracetam
Thank you for the good writeup. It in fact was a
amusement account it. Look advanced to more added agreeable from
you! However, how can we communicate?
Raw steroids for sale
A person essentially lend a hand to make critically posts I
might state. That is the first time I frequented your web
page and to this point? I amazed with the analysis you made
to create this particular publish incredible.
Magnificent activity!