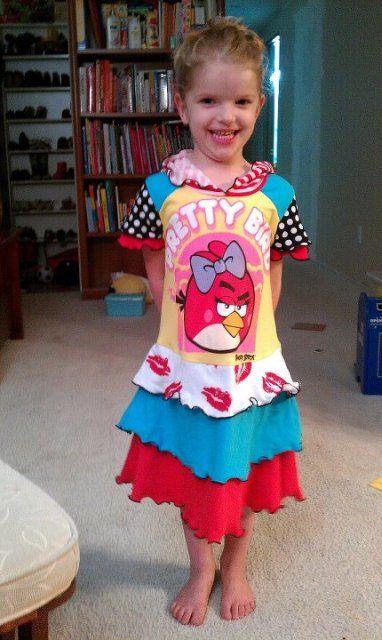
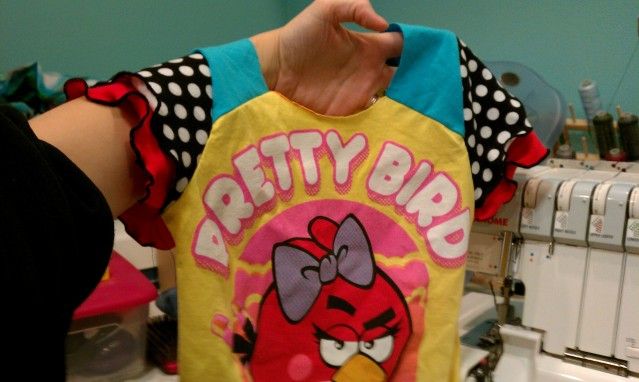
Upcycled dresses, hoodies & pants are currently very popular but can easily cost an arm and a leg. There is good reason for that, well made garments take time to make & decent knits are not cheap. I have started making some for the twins & just love how they have been turning out! Apparently so have others because we get a ton of compliments when ever they wear them. If you follow me on Facebook you may have seen these dresses back in May when I made them, but things have been crazy around here and I finally have time to sit & post a tutorial of sorts with all the pictures I took! If you REALLY don’t want to try this method Lil’ Blue Boo sell’s patterns for upcycling, but honestly the sizing is all over the map so you are going to have to mess with them too after paying $10-$12 and printing out a ton of pages. For reference I used the Farbenmix Olivia knit under dress as my base pattern.
This isn’t a perfect tutorial by any means, you have to find a knit dress or hoodie pattern that you like to start & then you have to kind of wing it to cut it apart & make it work with the vision in your head. That being said I will give you the basics of how it’s done as well as how to sew it all together!
SUPPLIES:
Graphic tee big enough to cut into bodice piece (pre-washed & dried!)
Coordinating knit t-shirts or knit fabric (I can’t tell you how much because it really varies!) again pre-washed & dried!
Knit Dress, Hoodie or Pants Pattern
Tracing or Parchment Paper
2 big pens or regular pencils & a rubber band for tracing your pattern
Ruler
Ball Point or Stretch needle for your machine
Chalk Wheel or washable marker for tracing your pieces onto the fabric
Scissors
Coordinating thread
CREATING YOUR PATTERN:
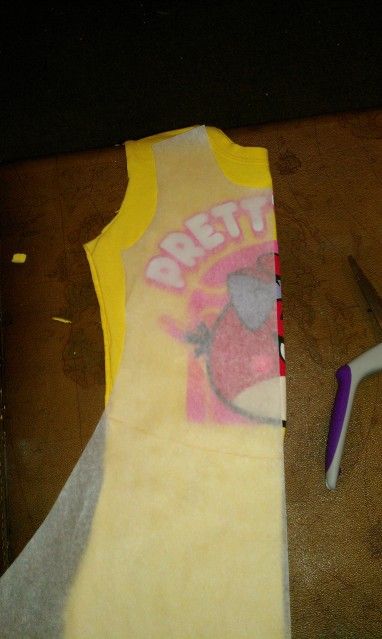
Unfortunately I did not take many pictures of this! The gist of it is you want to trace your original pattern pieces. Then cut them apart into a couple pieces…I cut my dress into a bodice piece & skirt piece. Then I retraced my ‘new’ pieces and using 2 pencils rubber banded together added 1/4″ seam allowances to any of the places I had cut. You can see here I laid if over my graphic tee & marked with a red marker & ruler where I wanted to cut it apart.
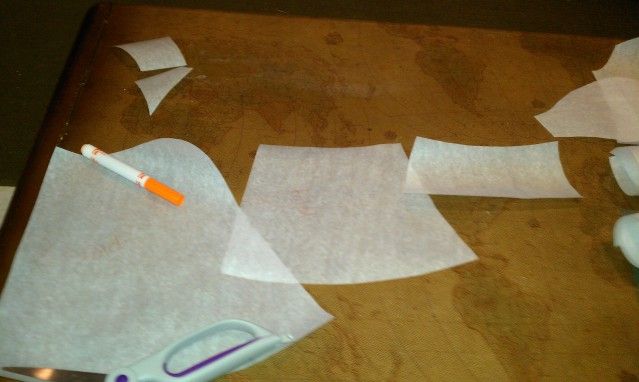
Then for the skirt & sleeves I cut the original skirt into 3 sections (I used a ruler t0 mark evenly across & played connect the dots) and traced the smallest top layer again adding the seam allowances to where I had cut. Then I taped the top & middle pieces together & traced my middle layer again adding the seam allowances to where I had cut In the end I had 3 new skirt pieces like below. I did a similar thing with the sleeves, I traced 2 copies of the original sleeve & then cut off 1″ to make the upper layer shorter.
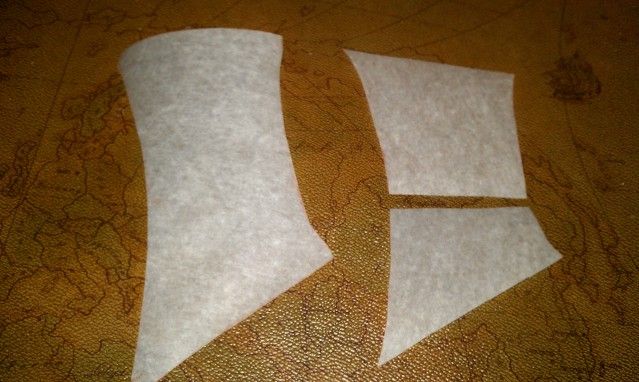
Now because of the size of my graphic t-shirt I did my shoulder pieces differently. You can do 2 things… cut off a piece on both the front & back & just re-trace adding the seam allowance to where you cut OR cut off the original seam allowance, tape together & retrace and add new seam allowance to the sides that you cut off the bodice making one piece… either way works! Once just has one more seam to sew in the end.
DESIGNING YOUR DRESS:
This is where it’s just a matter of taste & style! Some people like simple others like lots of contrast. First pull out the fabrics that you like & coordinate with the design you have in mind…

NOTE: All knit fabric is NOT created equally, some is thick, some is thin, some stretches a little, some stretches a lot! Thinner knits are great for layered areas where there will be more then 2 pieces of fabric sewn together… if you choose 3 thick fabrics for the layers the weight will pull on the bodice & can cause the seam to fall apart. I have had no issues when using med. or light weight knits. Thicker knits are ideal for bodices & support a lot of the dresses/garments weight. For collars & hoods you want a fabric with good stretch AND recovery so it is easy to get on, but doesn’t stay stretched out. There is a lot of trial & error here, but this gives you an idea of where to start.
Lay fabrics or clothing to recycle/upcycle side by side & decide what you like best for which pieces and trace & cut out everything! Scraps are great for this but make sure you cut in the right direction… you want the stretch to go across/around the body, not up & down!
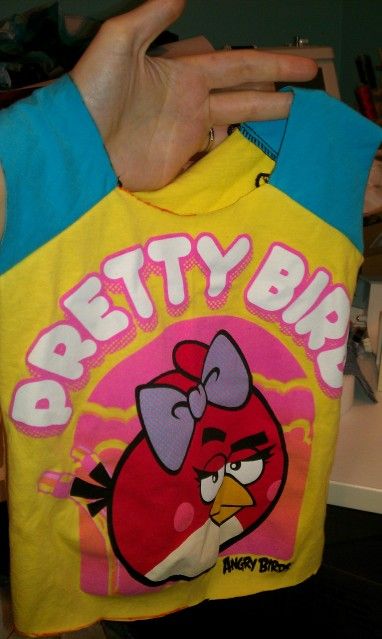
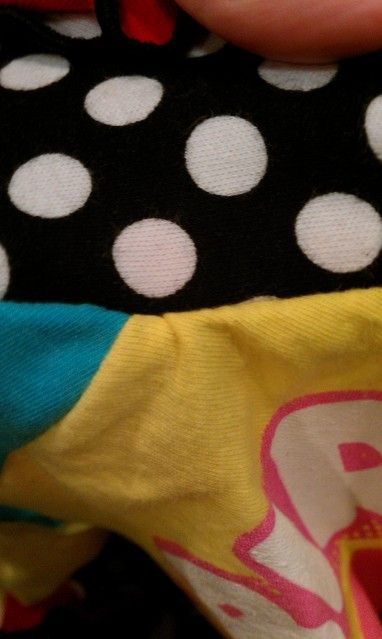
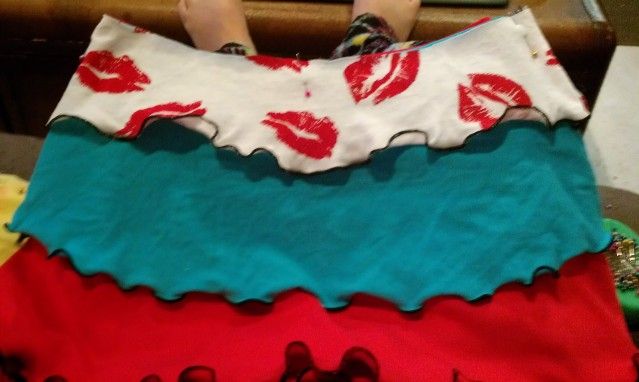
After you cut everything out lay it all out to make sure it’s what you had envisioned!

SEWING YOUR GARMENT:
This is going to very based on what you are sewing (dress, shirt, pants) but the basics are you are going to sew it back together! A few things though that are the same with any knit garments are…
~Use a ball point or stretch needle in both regular & serger machines!!!
~Use a stretch stitch or long narrow zigzag. If you don’t your seams won’t have stretch will likely break. I prefer a stretch stitch over zigzag. Also I assemble my clothes with my sewing machine & finish the seams with the serger. Sergers are GREAT for finishing seams & sewing seams with low stress but I find clothing holds up much better if sewn together with a proper stretch stitch on a sewing machine.
~Guide the fabric but DON’T push or pull the fabric! Let the machine do the work, otherwise it stretches the fabric leaving you with wonky stretched out seams.
This video shows you what it looks like to use the triple stretch stitch… notice that the needle moves fast & the fabric goes back and forth before going forward? That’s what it’s supposed to do! Also notice how I am simply guiding it with one hand, but letting the machine pull the fabric on it’s own?
Triple Straight Stretch Stitch & Sewing with Knits Video
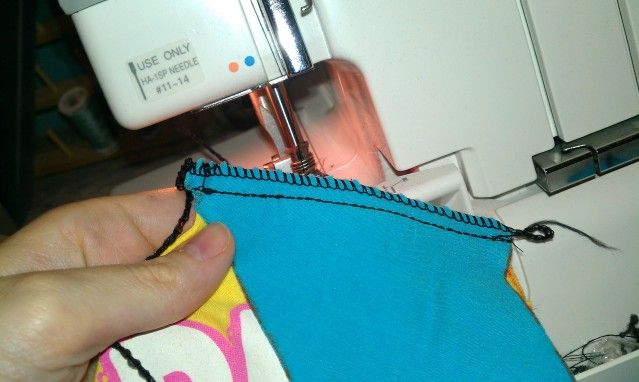
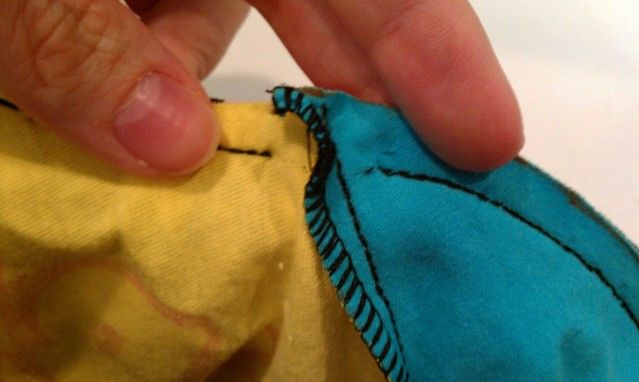
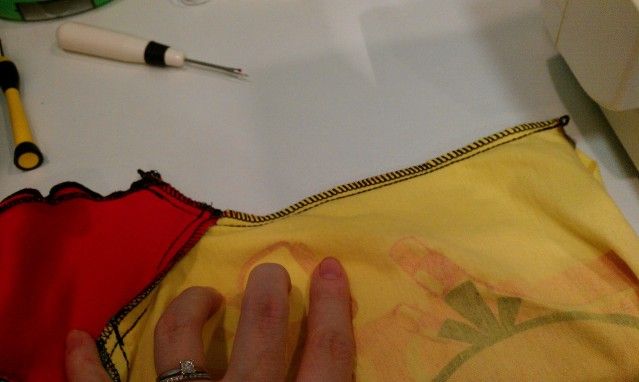
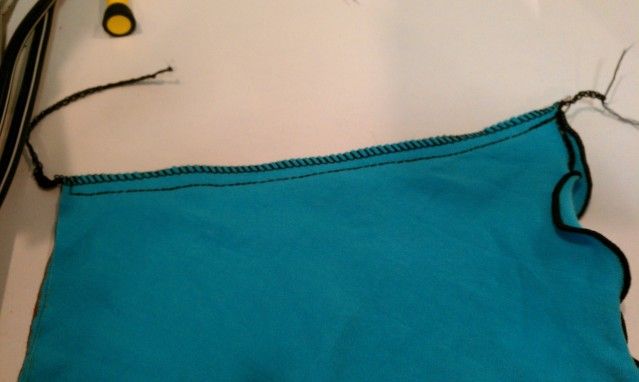
You can actually leave knit seams raw but I prefer to finish them, you can do with with a serger or a zig zag stitch on your regular machine. This is what my finished seams look like…
Once you have your machines ready it’s time to get started!
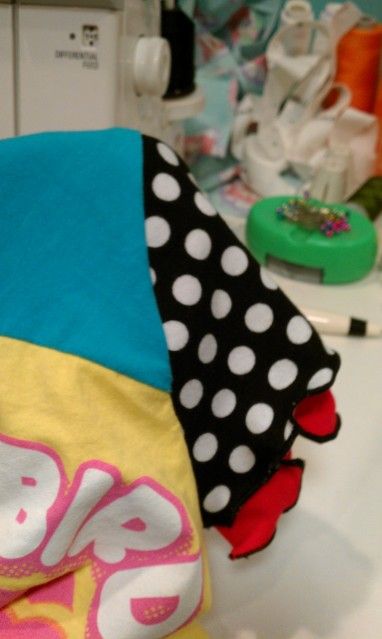
I start by hemming all the edges that would be finished edges. For this dress that means the bottom edge of all 3 skirt layers and both sleeve layers! I prefer to do a rolled hem on my serger but you can also to a regular narrow hem on your sewing machine. You may choose to hem the skirts last, but I highly recommend doing the sleeves first if you can. With the rolled hem I simply prefer to do it first & match them up when sewing the seams because it is easier & looks nice. Since I did a rolled hem on my serger I pulled as I went to make it a ‘lettuce edge’ you can get a similar effect on a regular sewing machine with a zig zag.
Here is a great tutorial for doing a lettuce edge/hem on a regular sewing machine. http://fromanigloo.blogspot.com/2011/02/lettuce-edge-with-your-sewing-machine.html I can’t find a good photo/video tutorial for a serger, but it’s the same idea is the tutorial above in regards to stretching as you serge. You just want to use the rolled hem feature on your machine & turn your differential (controls the feed dogs) down as low as it will go.

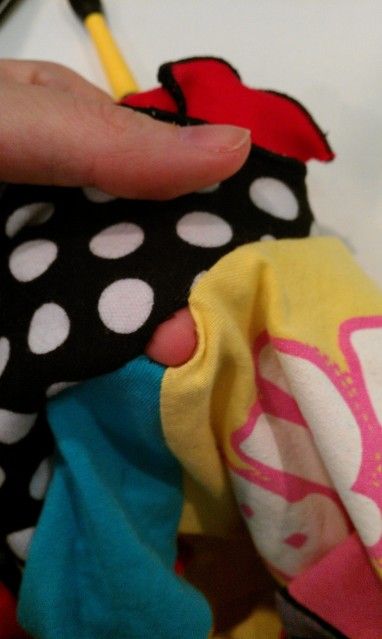
Next it’s time to assemble the bodice! I started by sewing my shoulder pieces to my front & back bodices. If you do 2 piece shoulder pieces you will sew them onto the rest of the bodice & then with right sides together sew the front & back bodice together. You should end up with something similar to this.
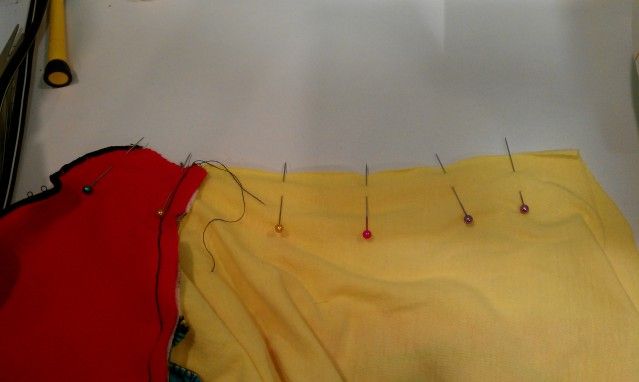
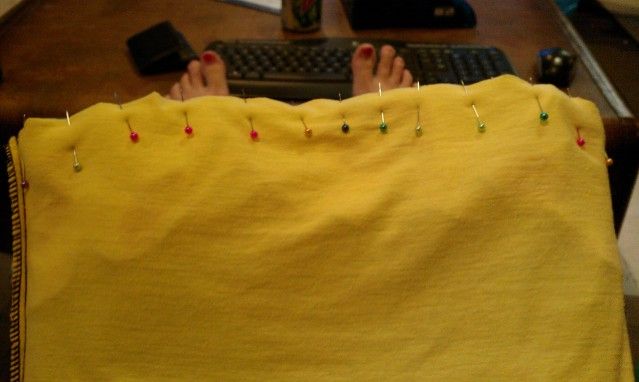
Next up is the sleeves! I prefer to sew my sleeves on in the flat, it is easier for me. To do this with right sides together (stack your 2 sleeves first if doing layers) using lots of pins carefully match up & pin the sleeves to the bodice. You can baste the 2 sleeves together first, but I don’t bother.
Once you have it pinned well sew it in place removing the pins as you go!
Flip it over so you are looking at the right sides & inspect your seam. If you notice any puckers now is the time to fix them! As tiny as this may seem this is one of the things that really makes a difference in the quality of a garment. This was a perfect example…
Using a good seam ripper carefully rip out the stitches in that area releasing the pucker.
Lay the fabric smooth & re-pin the hole and sew it shut removing the pucker.
Repeat with the other side & then I highly recommend topstitching the seam down with a stretch stitch, especially if doing more then 1 layer. When you are done you should have something like this…
Next making sure to line up the hem on the sleeves & the arm pit with right sides together (inside out) carefully pin from the sleeve hem down to the bottom edge of the bodice. Then sew & inspect your seams before serging or otherwise finishing the seams.
With right sides together & matching up the hem sew each layer of your skirt sew both of the side seams completing each layer one at a time
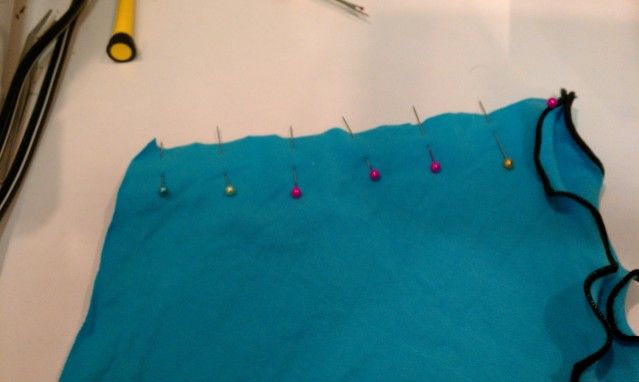
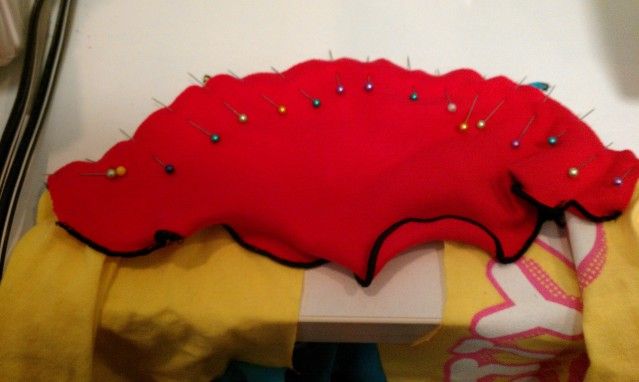
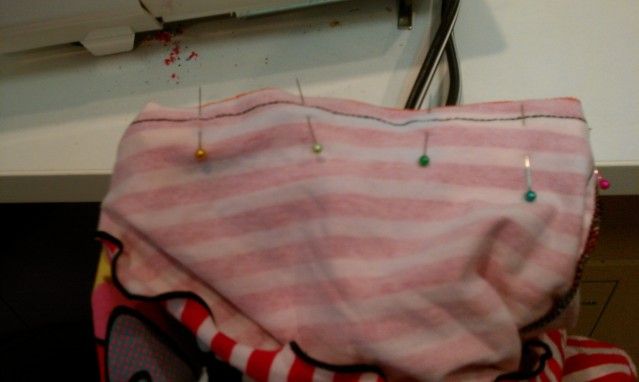
Then layer your skirts together & pin in place along the top with the top edges & side seams lining up.
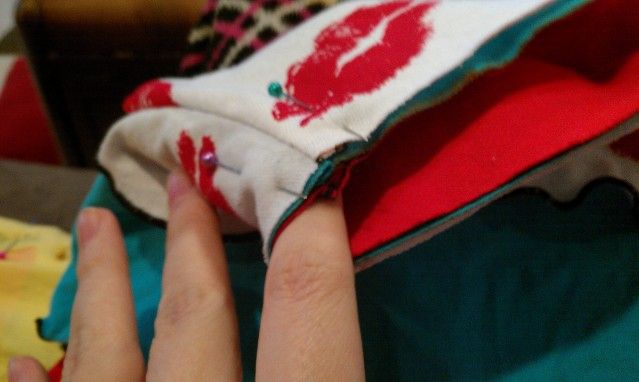
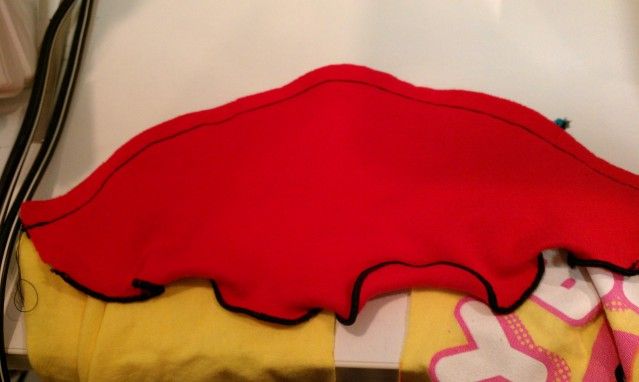
Next with right sides together line up the top edge of your skirt & bottom edge of your bodice & pin well making sure to match up the side seams & sew them in place. I highly recommend topstitching the seam down with a stretch stitch, especially if doing more then 1 layer.
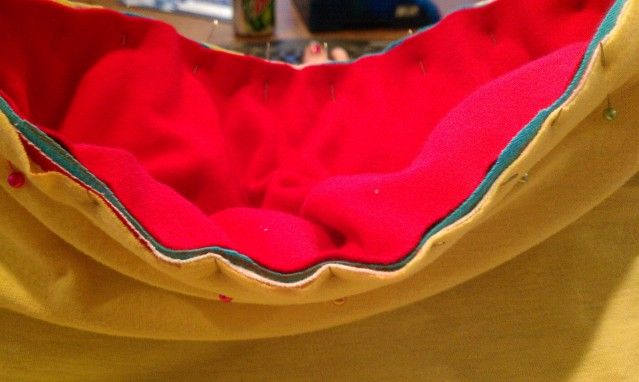
Hood or collar follow’s the same pattern sew the 2 hood pieces together or sew the ends of the collar together & fold in half… then with right sides together pin to the neck line & sew to attach! This is yet another place I highly recommend topstitching the seam down with a stretch stitch.
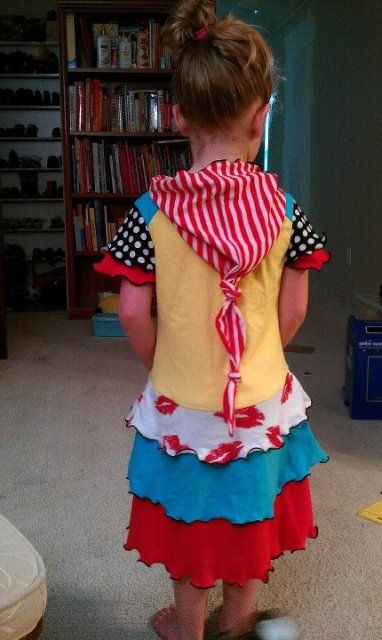
And your DONE! Time to enjoy the cuteness ;).
8 Responses
Cindy Gutowski
So cute!! And I think you have the best idea for storing shoes! On a shelf makes so much sense. We are a family of seven and I never have a good place that fits all our shoes. This idea is so perfect!! Thank you 🙂
Andrea
Thank you for this! I am going to tackle this very soon, I have sooo many shirts, just need to get over my fear of knits!
Amber
Am I crazy or is there a picture in this tut that is really not appropriate?
Kymy
I have checked multiple times and had friends and only see the proper (and appropriate pictures)? I did get a malware on my computer once that did something like that… I think my husband used a malware search and removal tool.
Tiff
Wheredo you purchase the knit with designs at? I have a really hard time finding knit other than solids. Thanks!
Kymy
I get a lot of mine from Girl Charlee! They have tons of cute knits at great prices. Just look at the weight in the description. Stuff that is 6.5-7.5oz is pretty thing & works good for top flounces but you generally want 8.5oz+ for things that will have stressed structural seams. The Laguna Knits from Robert Kaufman on fabric.com are really nice too.
Mare
Love this pattern.. What pattern did you use for the hood , it is uber awesome?
Kymy
The hood is from the Farbenmix Olivia Pattern that I used for the rest of the dress 😉