My eldest daughter loves to browse the racks when we go shopping and when she spotted this shirt she thought she HAD to have it! Problem was that it was way too short for my tall girl … this was one of the many moments that I’m glad I can sew!
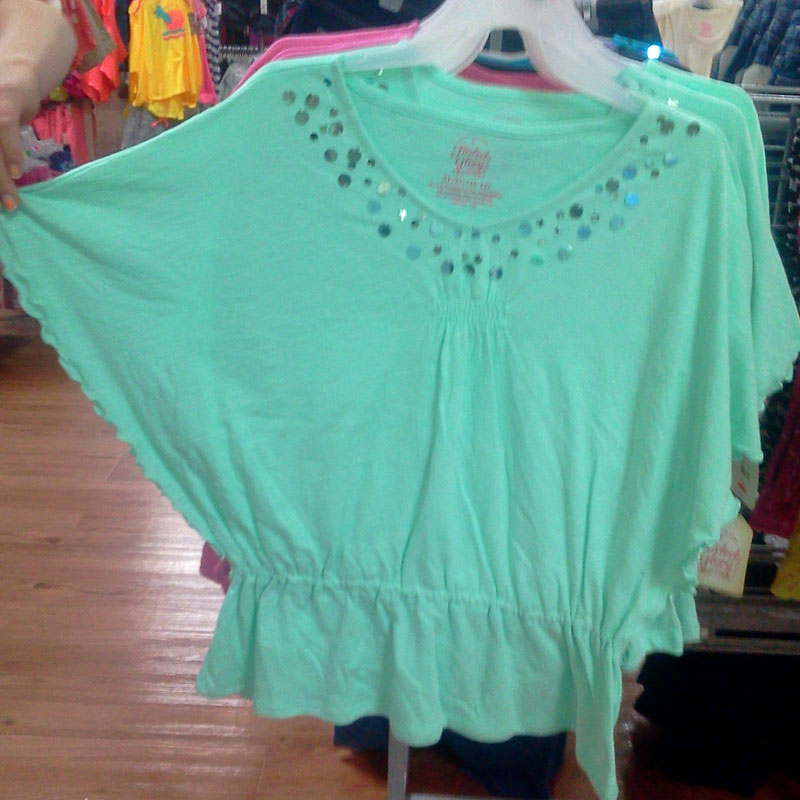
While checking it out, I thought it’d be easy to hack Rain’s Flutter Top to make one that would fit my tall, skinny daughter better than the store-bought version. I snapped a quick cell phone picture and my daughter and I started discussing what color to make it. We considered using a print fabric, but she really wanted to put some pretties around the neckline so we settled on this gorgeous plum rib knit.
Looking over the original again, I realized that to replicate this look I really only needed to add a “skirt” and elastic waistband to the original Rain’s Flutter pattern. Here’s how I went about doing just that:
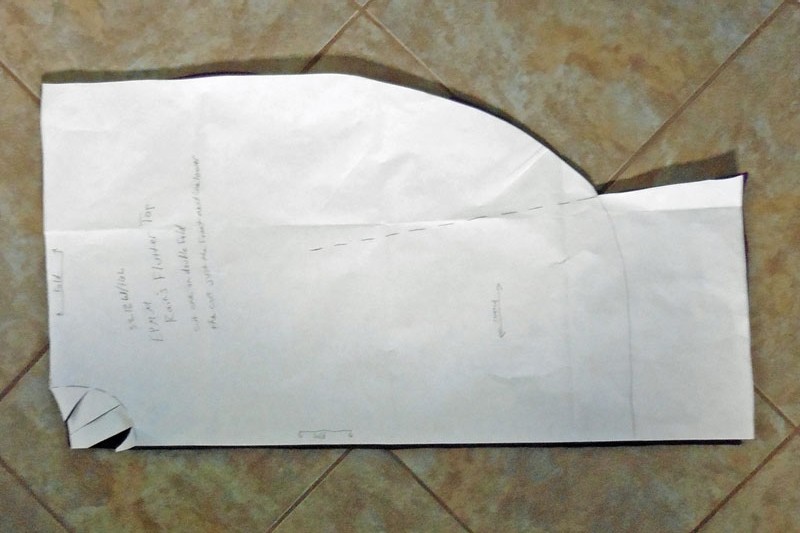
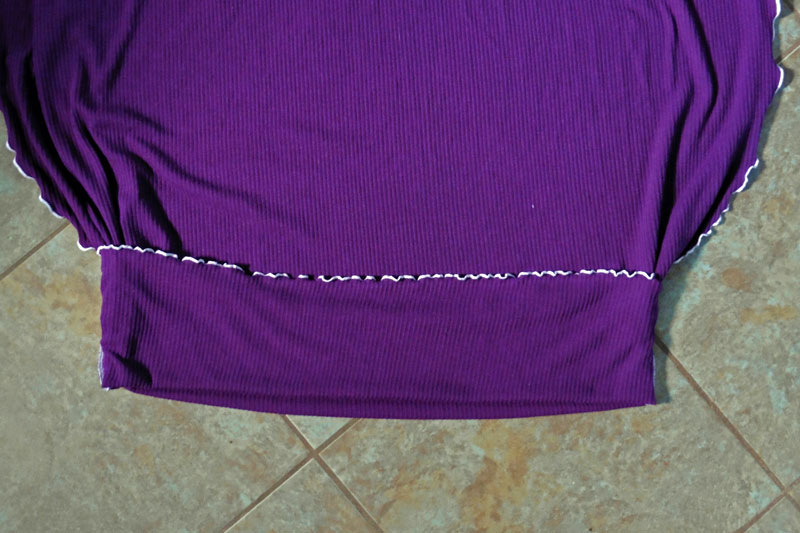
First, I traced the pattern in a size 12 with 16 length (um, did I mention she’s not quite 10 years old yet?!?). Next, I drew the pattern’s side seam line out another 5 or so inches (about 1 inch longer than desired finished “skirt”) and then drew a new bottom hem (right side of above photo) over to meet the front center fold. Then I used my newly hacked pattern piece to cut my fabric as per the pattern instructions.
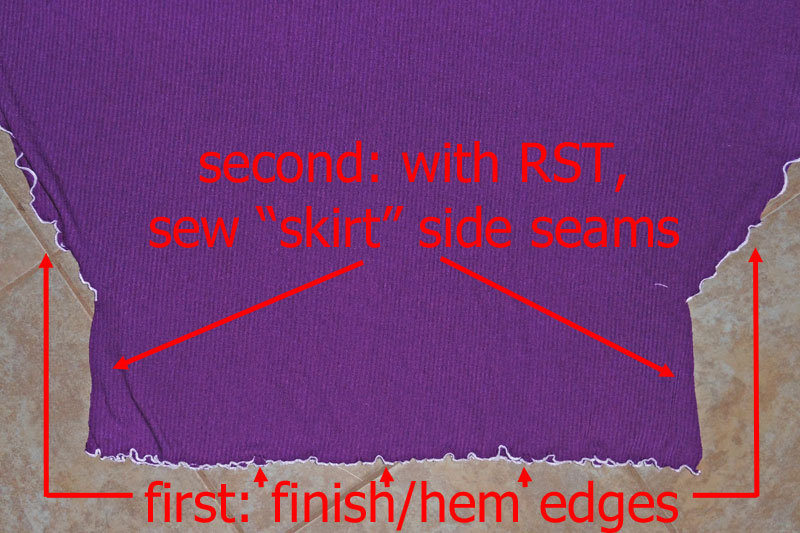
The first sewing I did was to attach the neckband. Then I used my serger to roll-hem the flutter sides/sleeves, stopping where the new “skirt” started. I also finished the new front and back bottom hems. Once those edges were finished, I folded the top with right sides together and sewed the small side seams of the new “skirt” section.
Next, I turned the whole thing right side out. Then I folded the “skirt” up so the wrong side of the skirt was showing and right side was touching the right side of the top.
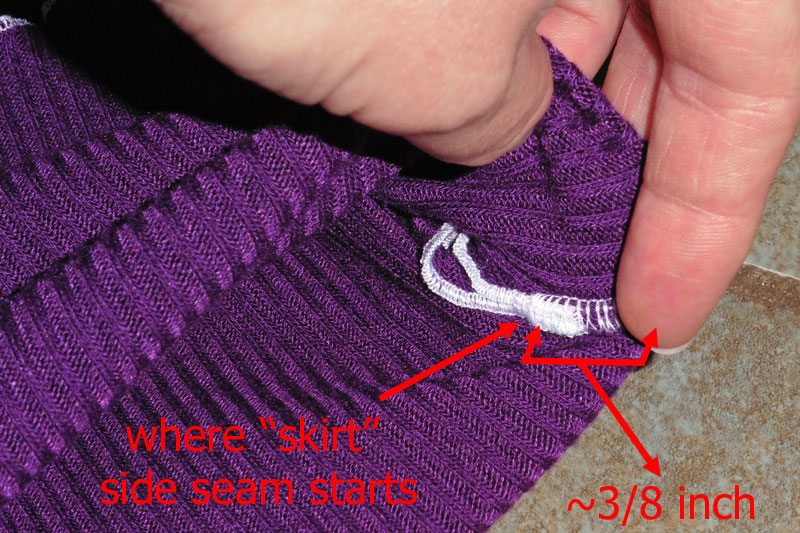
I pulled the skirt up until the folded edge was was about 3/8 inch from the top of the “skirt” side seam. I made sure it was even all the way around and then pinned well so it wouldn’t shift while I moved it to my sewing machine.
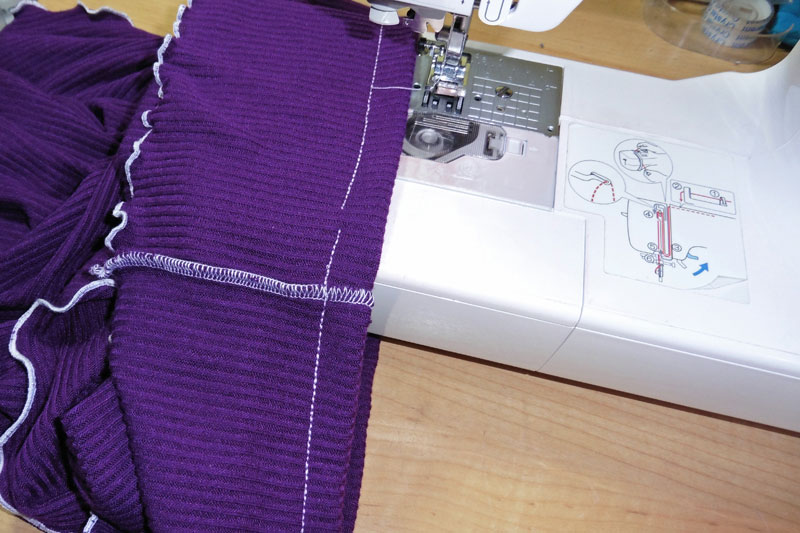
Using a stretch stitch (I prefer the triple stretch stitch, but a zigzag would also work), I sewed 3/8″ from the edge of the fold. This should line up with the top of the “skirt” side seam on both sides and will create a casing for the new elastic waistband. Leave a 1 inch gap unsewn in order to insert 1/4 inch wide elastic. After threading the elastic through with a bodkin or safety pin, sew the two ends of the elastic together and stitch the gap closed in the casing.
The last construction step is to sew the original side seams of the flutter shirt as per the pattern instructions. I highly recommend pinning or basting the lines and trying it on to check and adjust fit before sewing permanently. My skinny girl wanted the seams moved closer to her body and I sewed them up a bit higher so there was less “gap” under her arms.
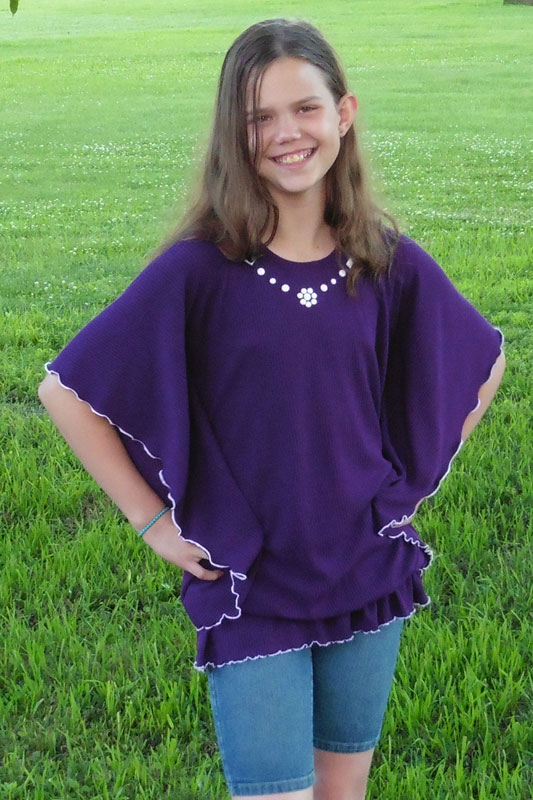
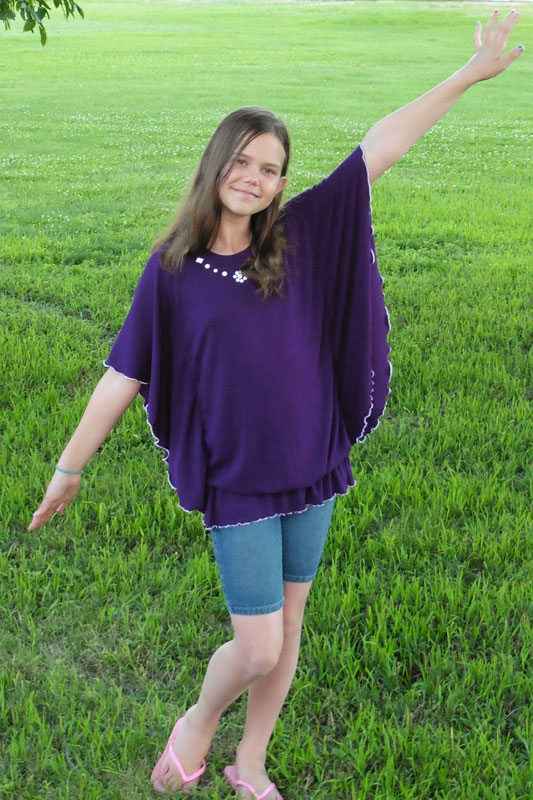
While I was sewing, my daughter dug through my stash and found these small white beads that I’d taken off a shirt I bought myself back when her sister was a new baby (yay for stashes!?!). She designed a layout for them and then insisted that I had to sew them on so they’d be even and straight. Handsewing … ugh! The things I do for the love of my children. Haha! 😉
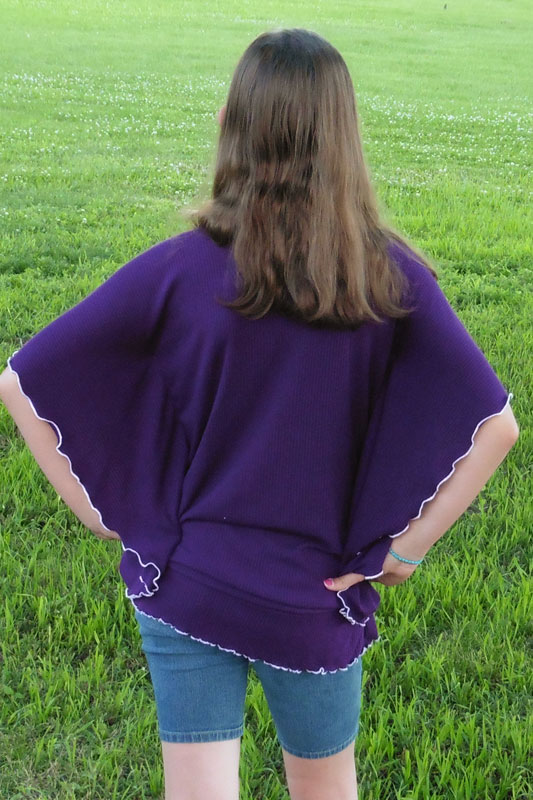
She is in love with her hacked Rain’s Flutter Top and that’s all that matters in the end! (Even if I did poke my finger with the needle about 18 times, lol)
Happy Sewing!! ~ Joelle
2 Responses
Julie
This is really cool! Good job mom. Someday your girls will realize how blessed they are/were.
Joelle
Thanks! I’m just hoping the memories of what I’ve sewn outweigh all the times I’ve “encouraged” them to go play so I can sew in peace! LOL