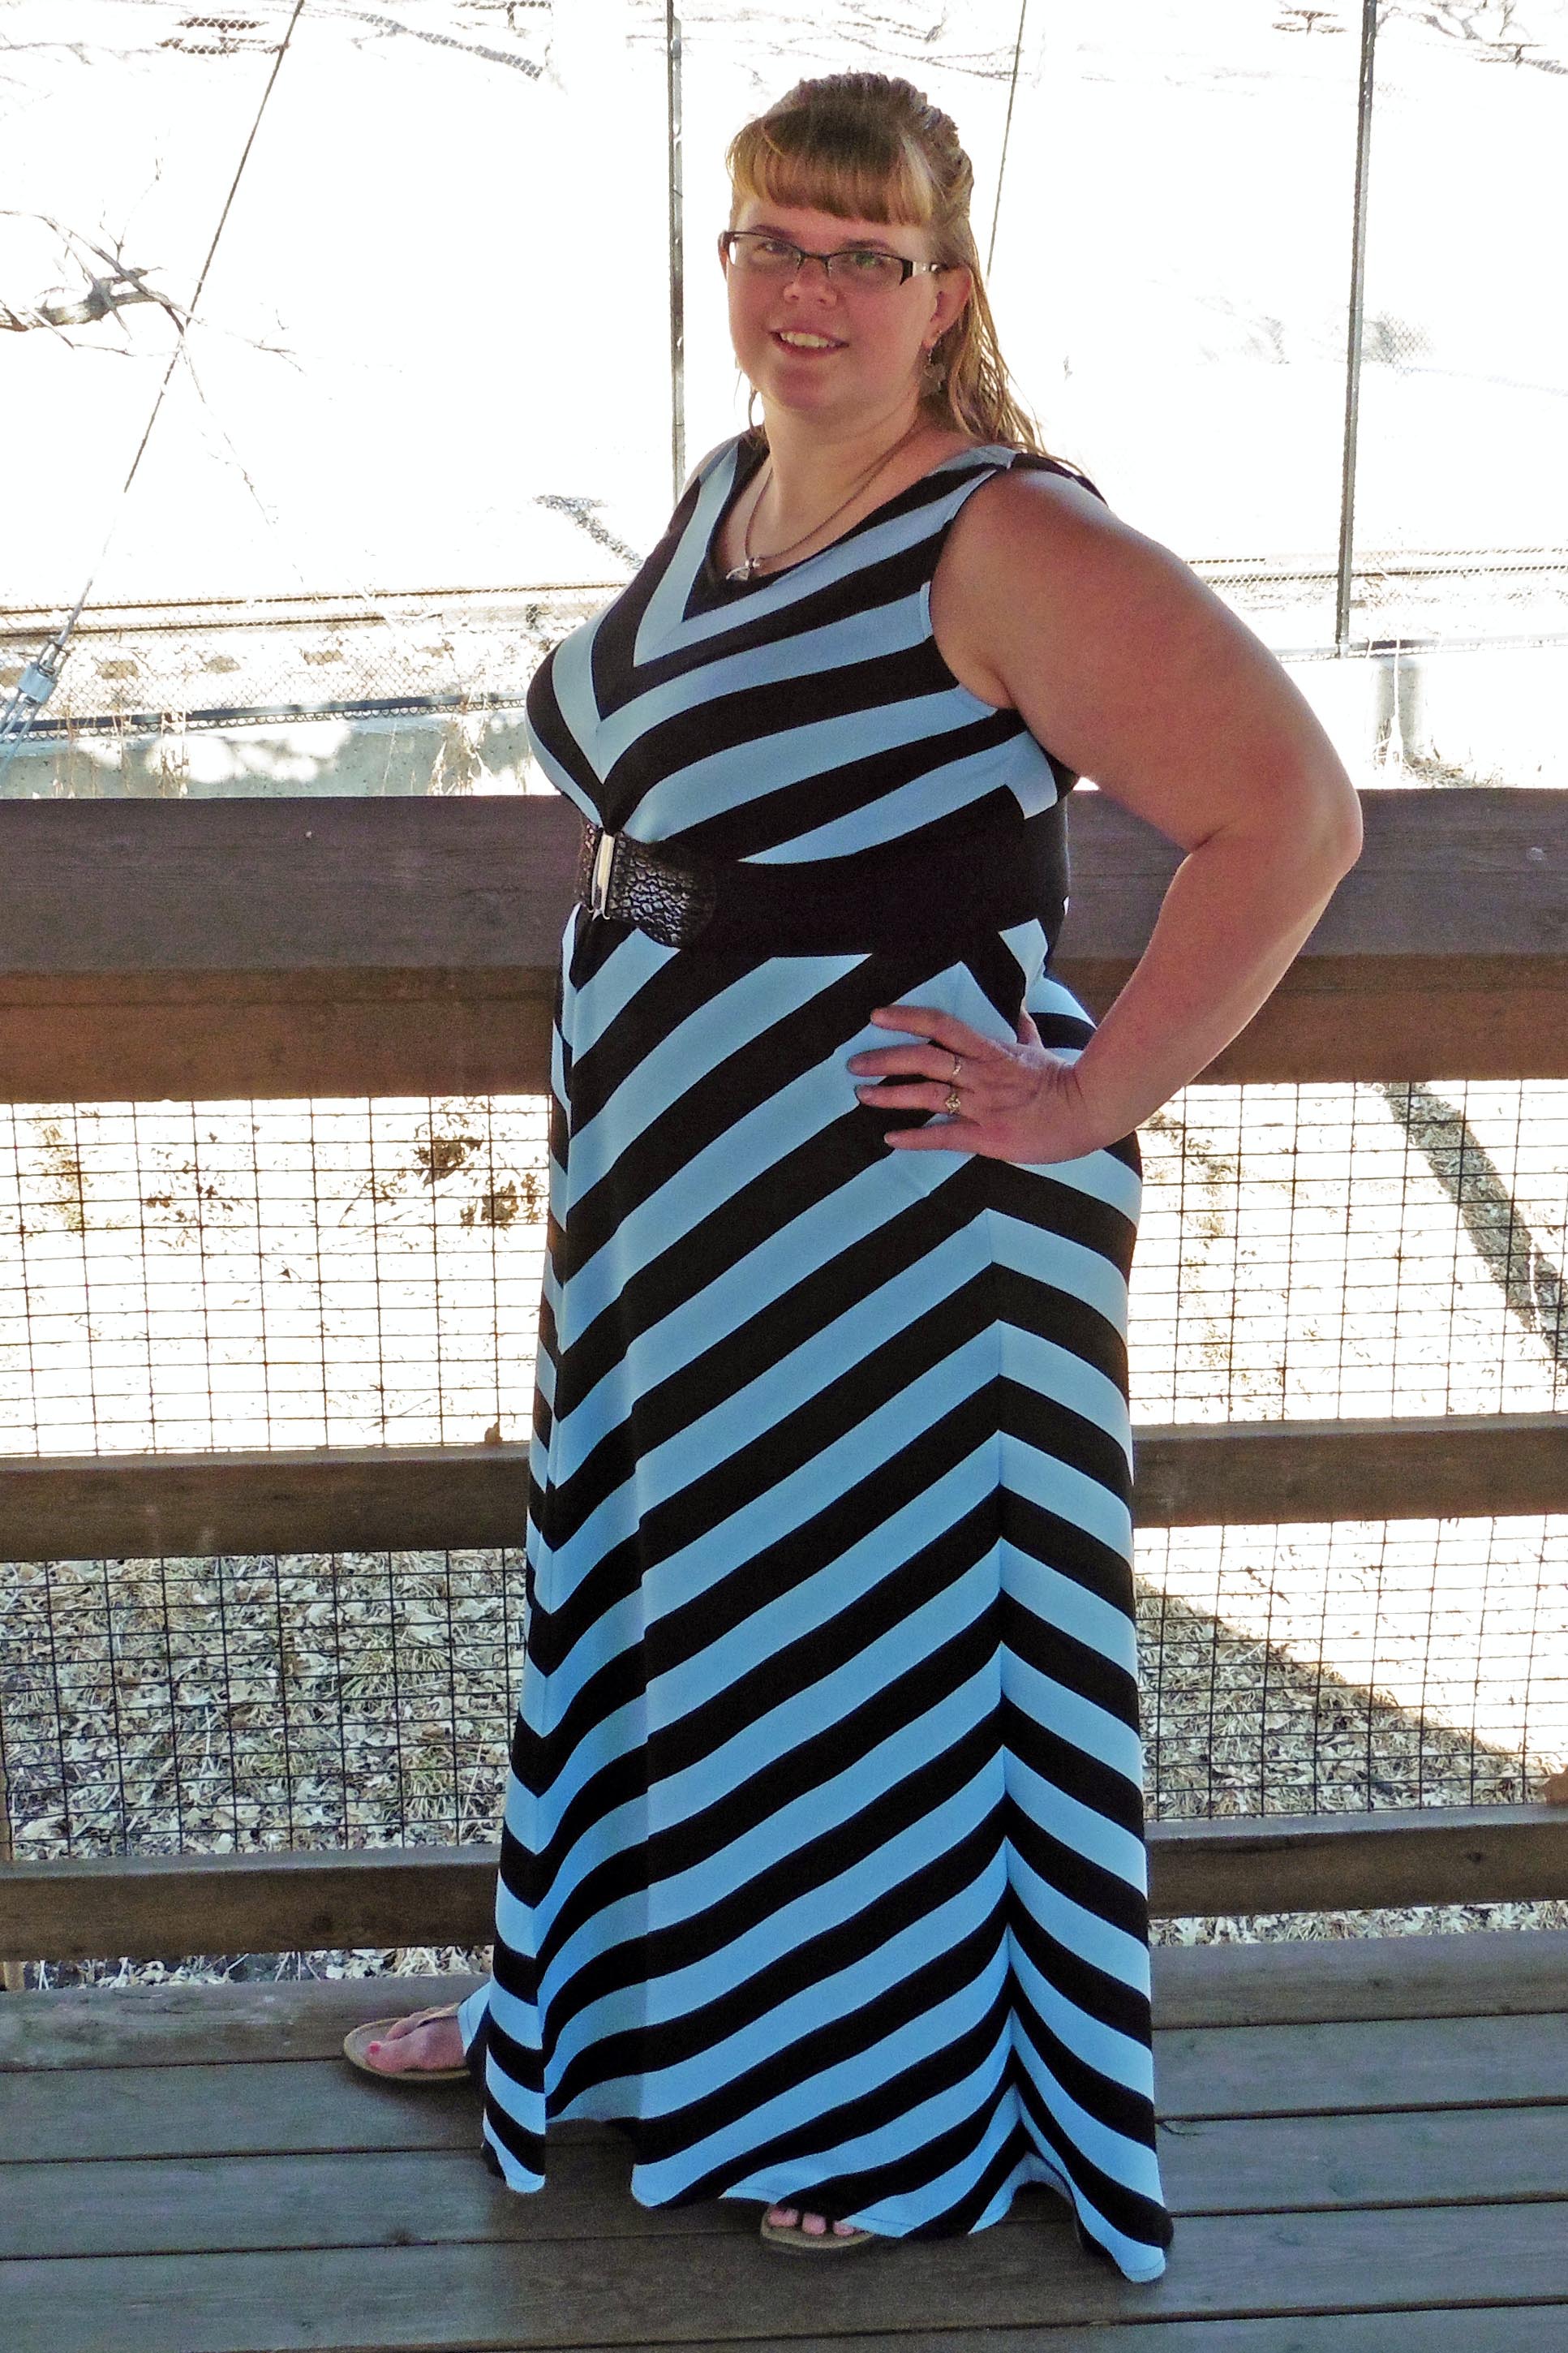
One of my favorite things to do with striped fabric is to cut my pattern out on the bias rather than on the fold to create a chevron effect. The only problem I have is that every time (EVERY. TIME.) I do it, I spend almost as much time trying to remember how as it actually takes to cut and sew the garment!
As I was gearing up to do it again this week, I figured I probably wasn’t the only one who has this memory problem. I decided that writing it out with pictures would help not only me to remember next time, but could help someone else figure out this neat trick!
I’ll start by saying that it is easier to do if your stripes are in just two colors and are all the same width, rather than being varying widths and in multiple colors. It can be done, but is a bit more of a headache to line up your pattern if the stripes vary. 😉
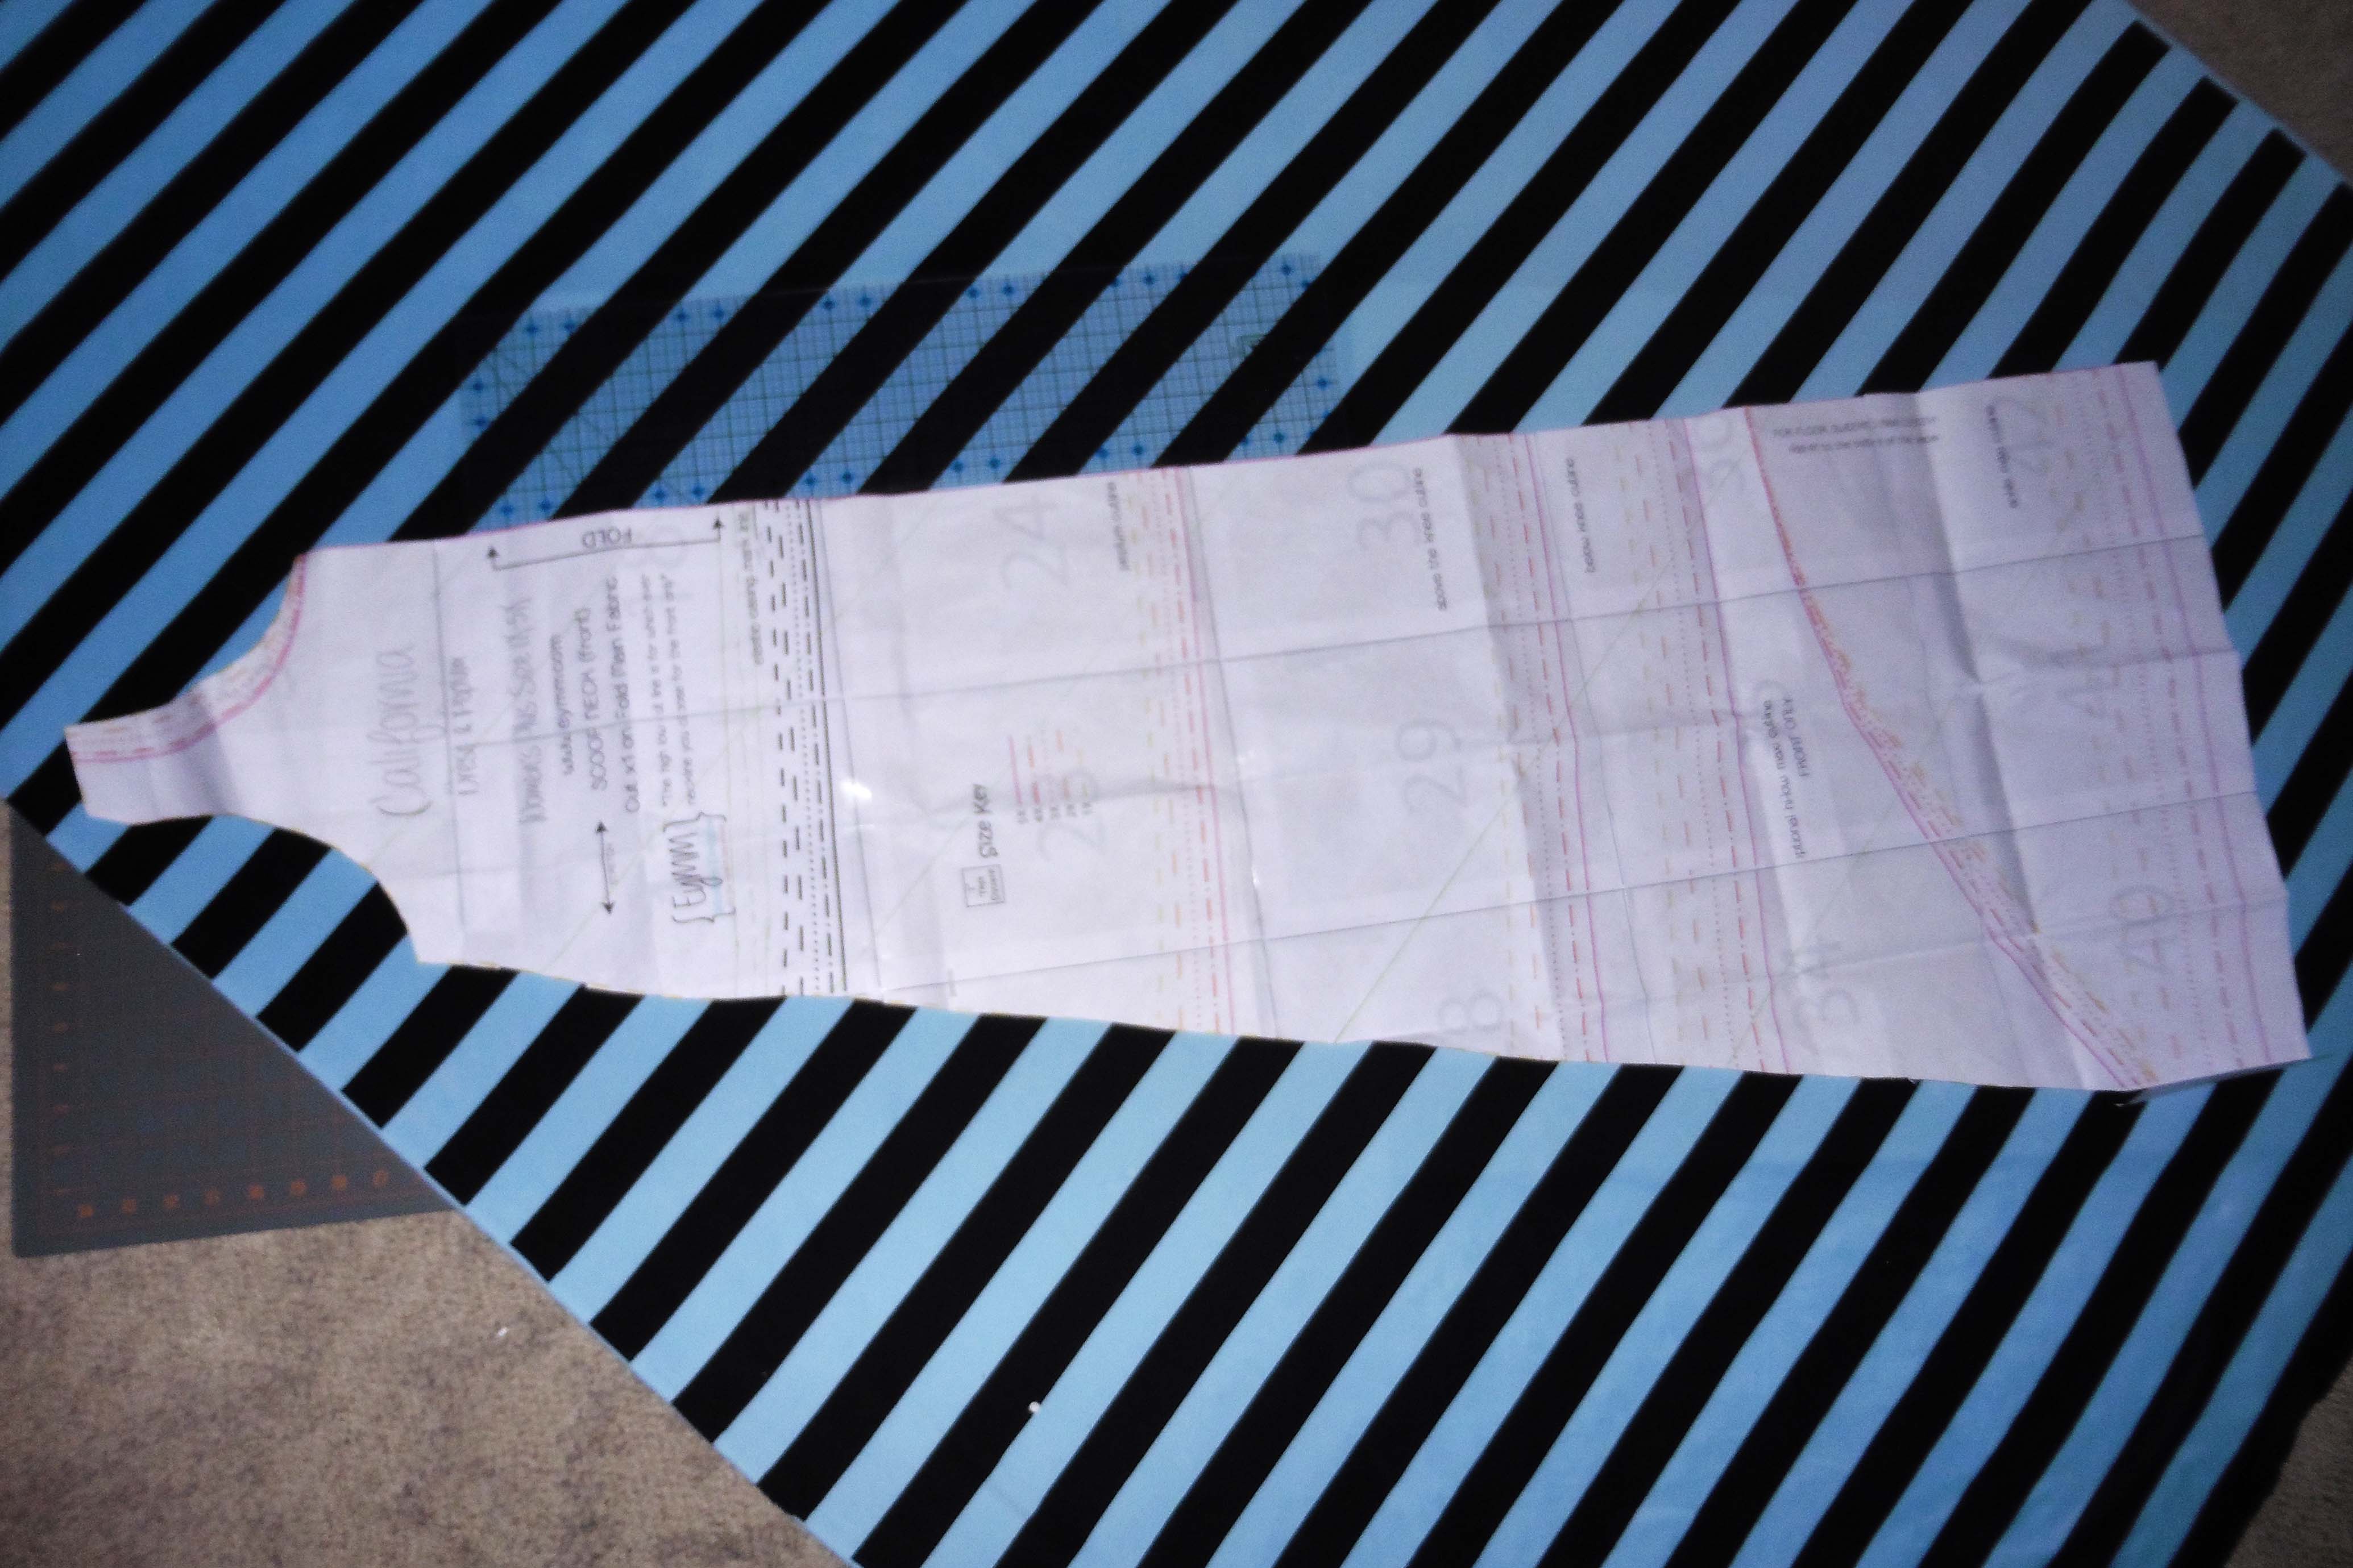
For this tutorial, I’m using the California Dress, but the method can be used for any pattern that you’d normally cut on the fold. To create the chevron, however, you won’t fold your fabric. You’ll cut out a single layer right and left and sew them together, so the stripes meet at the center seam.
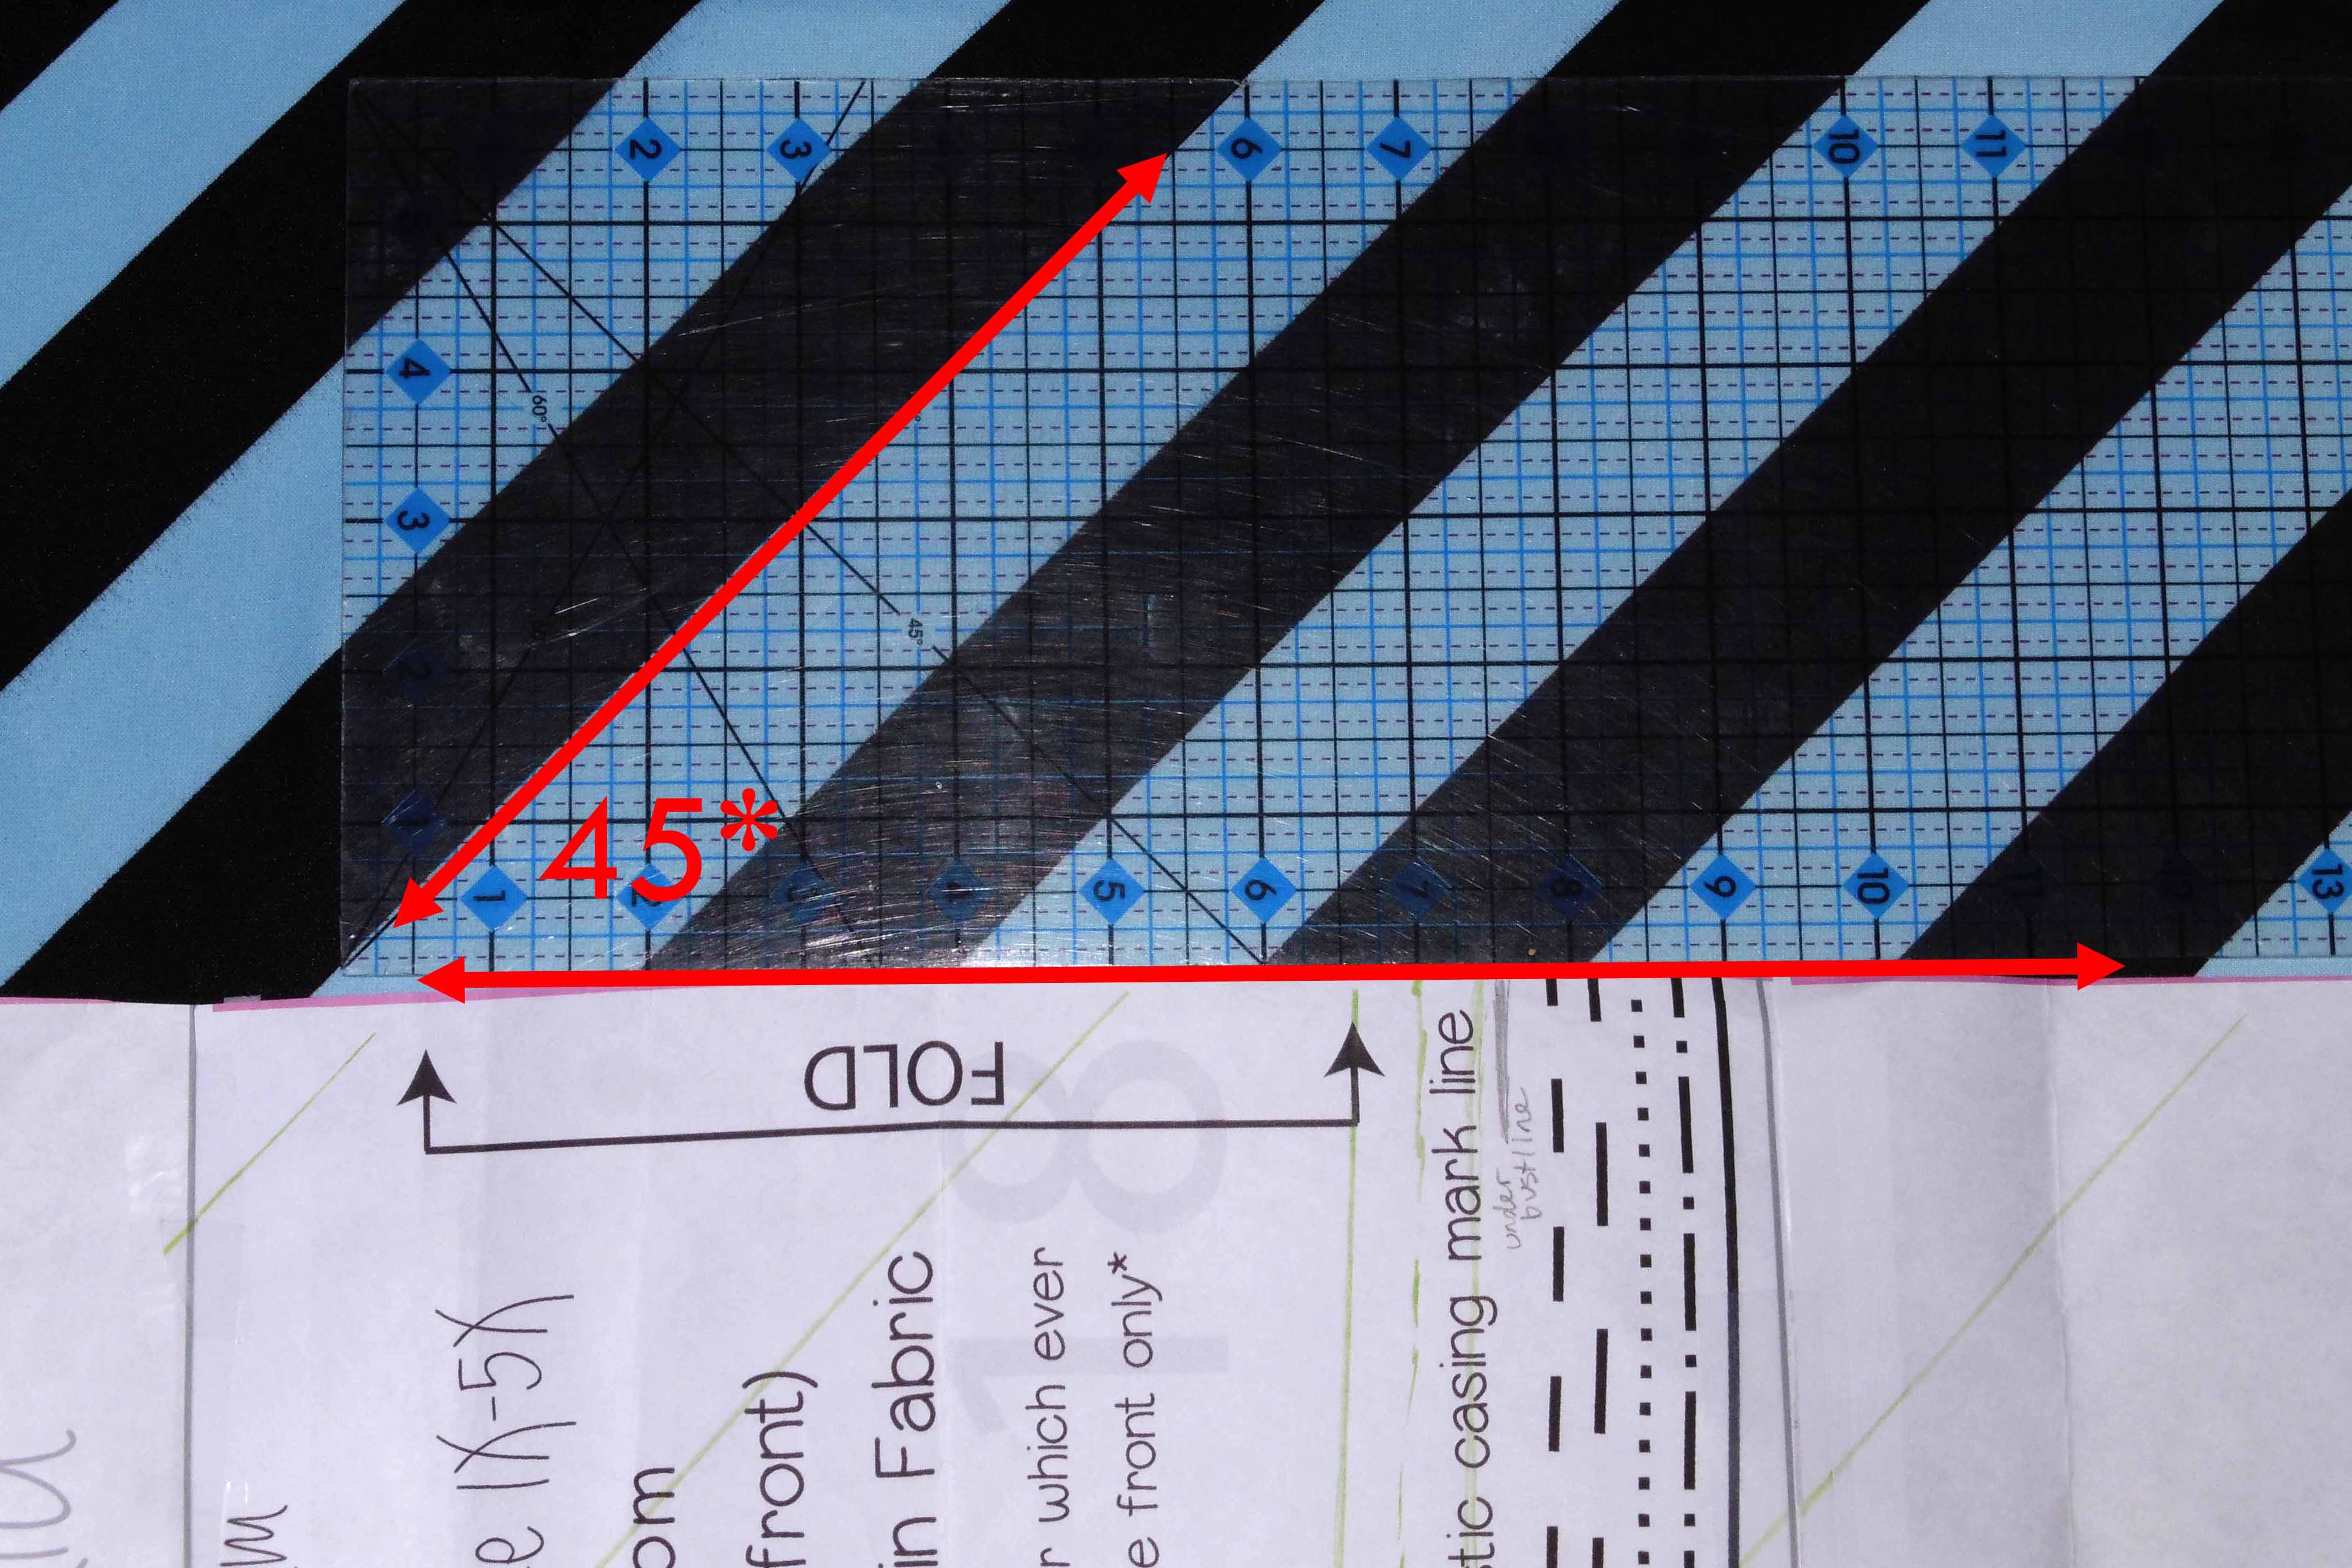
The first thing I do is spread out my fabric in a single layer and place my clear rectangular ruler with its 45 degree angle lined up with one of the stripes. I then place my pattern’s “on the fold” edge against the edge of my ruler. This puts the stripes at a 45 degree angle on the pattern piece and will result in a 90 degree chevron.
Since I’m adding a seam where the pattern is normally cut on the fold, I made sure to add a seam allowance to that edge. When cutting my fabric. I simply used my ruler to measure and cut 3/8 inch away from the “fold” edge of my pattern (in the picture above, that would be along the top edge).
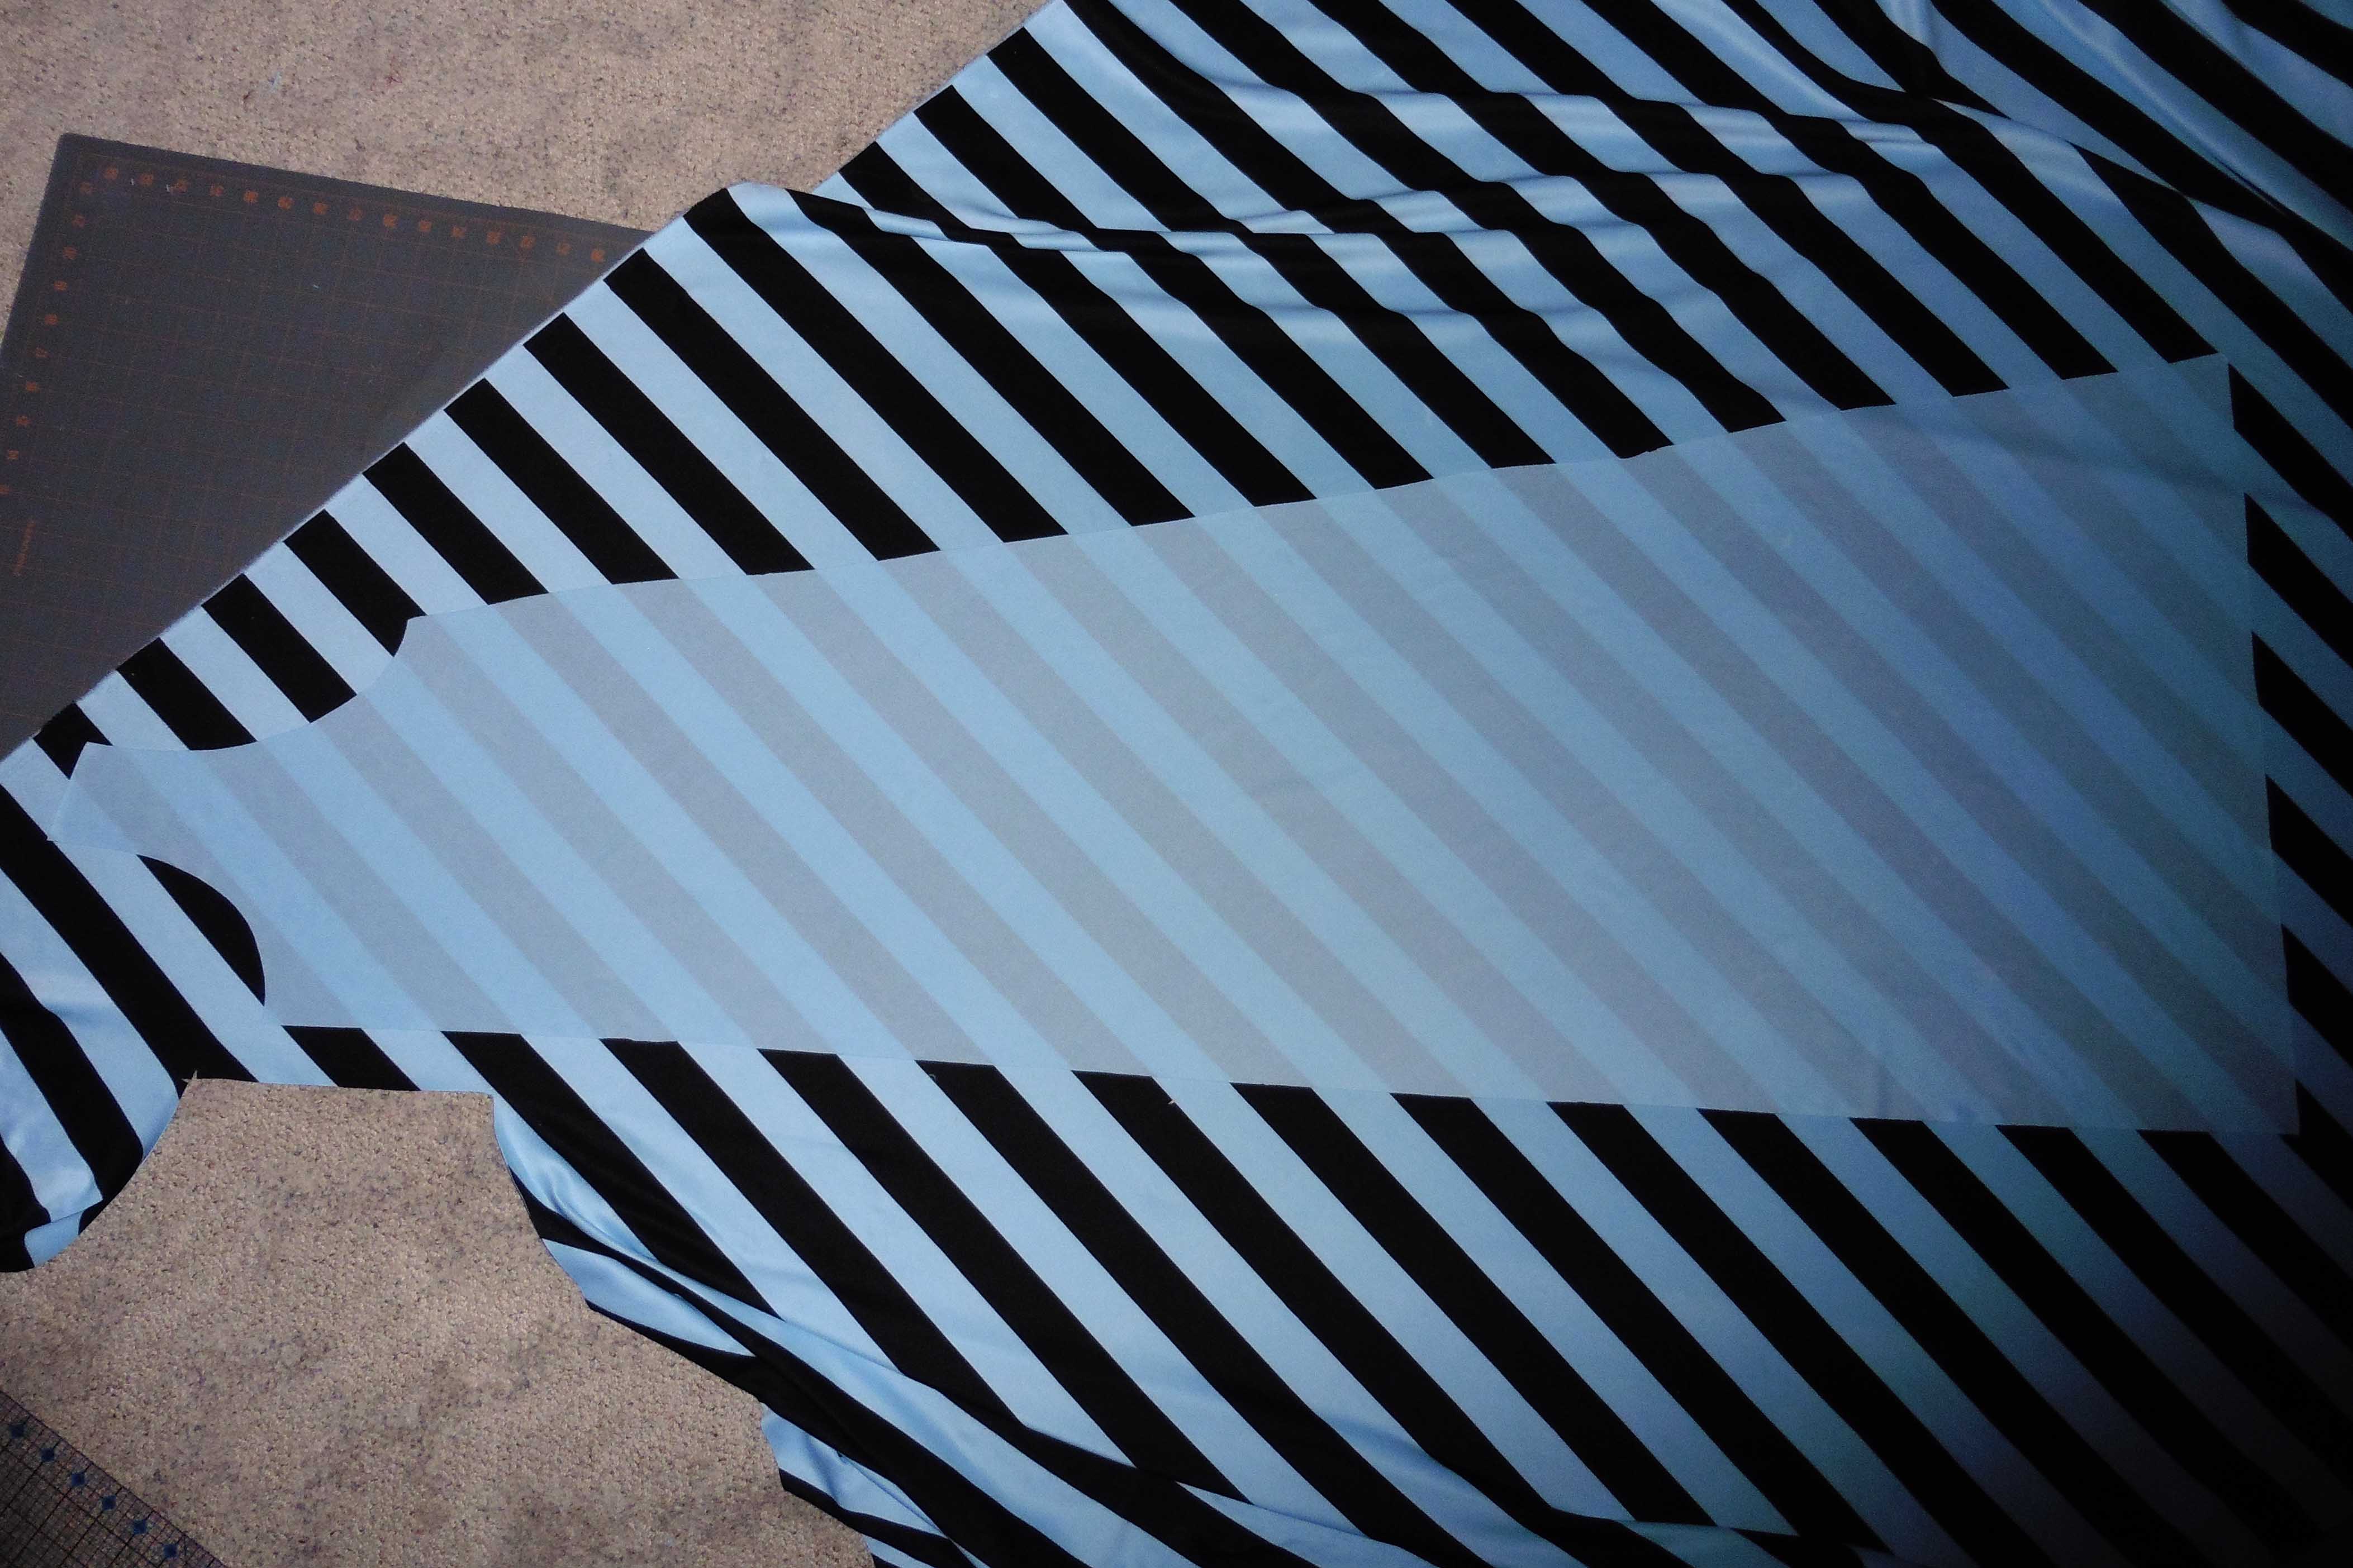
Once the first piece is cut, the second will need to be cut with the pattern piece face down on the fabric in order to get a mirror image and end up with a right and a left. To make the chevron, the stripes need to angle in opposite directions on the left and right pieces when they’re side by side (they will angle either down or up toward the center on both pieces). So, after cutting the first and turning the pattern face down, I also need to rotate it 90 degrees before cutting the second piece.
**Tip: For the chevron to point down, the stripes need to angle down toward the center seam (“fold” edge). For the chevron to point up, the stripes need to angle up toward the center.**
To make it easier on my brain, I like to set my paper pattern aside and use the first half as the “pattern” for cutting the second.
By turning it face down and matching up the stripes, I ensure that the stripes are at the exact same angle and placement on both the right and left. That means they will line up on the seams, resulting in 90 degree angles where the stripes meet.
To help explain, I’ve drawn up this little diagram to show how the pattern pieces are layed and cut on a single layer of fabric. This example is not drawn to scale and placement may vary depending on your pattern size and shape and the width of your fabric. Note that the “fold” edge of the pattern pieces are at 90 degree angles for each set of right and left. Also note that the stripe color placement at the top of the side seam is the same on each piece, ensuring the stripe colors will match up on each of the four seams (2 side and 2 center).
It is very important to double check your stripe placement before cutting your fabric or else your chevron won’t line up. Also, make sure to remember to add seam allowance to the “fold” edge or else the center seam will alter the width of your garment and the shape of the neckline.
If you want to have the chevron on the back of your garment, repeat these steps with the back pattern pieces.
After cutting your separate right and left pieces, sew them together along what was originally the “fold edge. This will create a center seam and a chevron where the angled stripes meet at that seam. Be very careful to line up the stripes so the colors match along the seam line.
Now all you have to do is follow your pattern to construct the rest of your garment. If you made a chevron on the back, be careful to match up the stripes along the side seams.
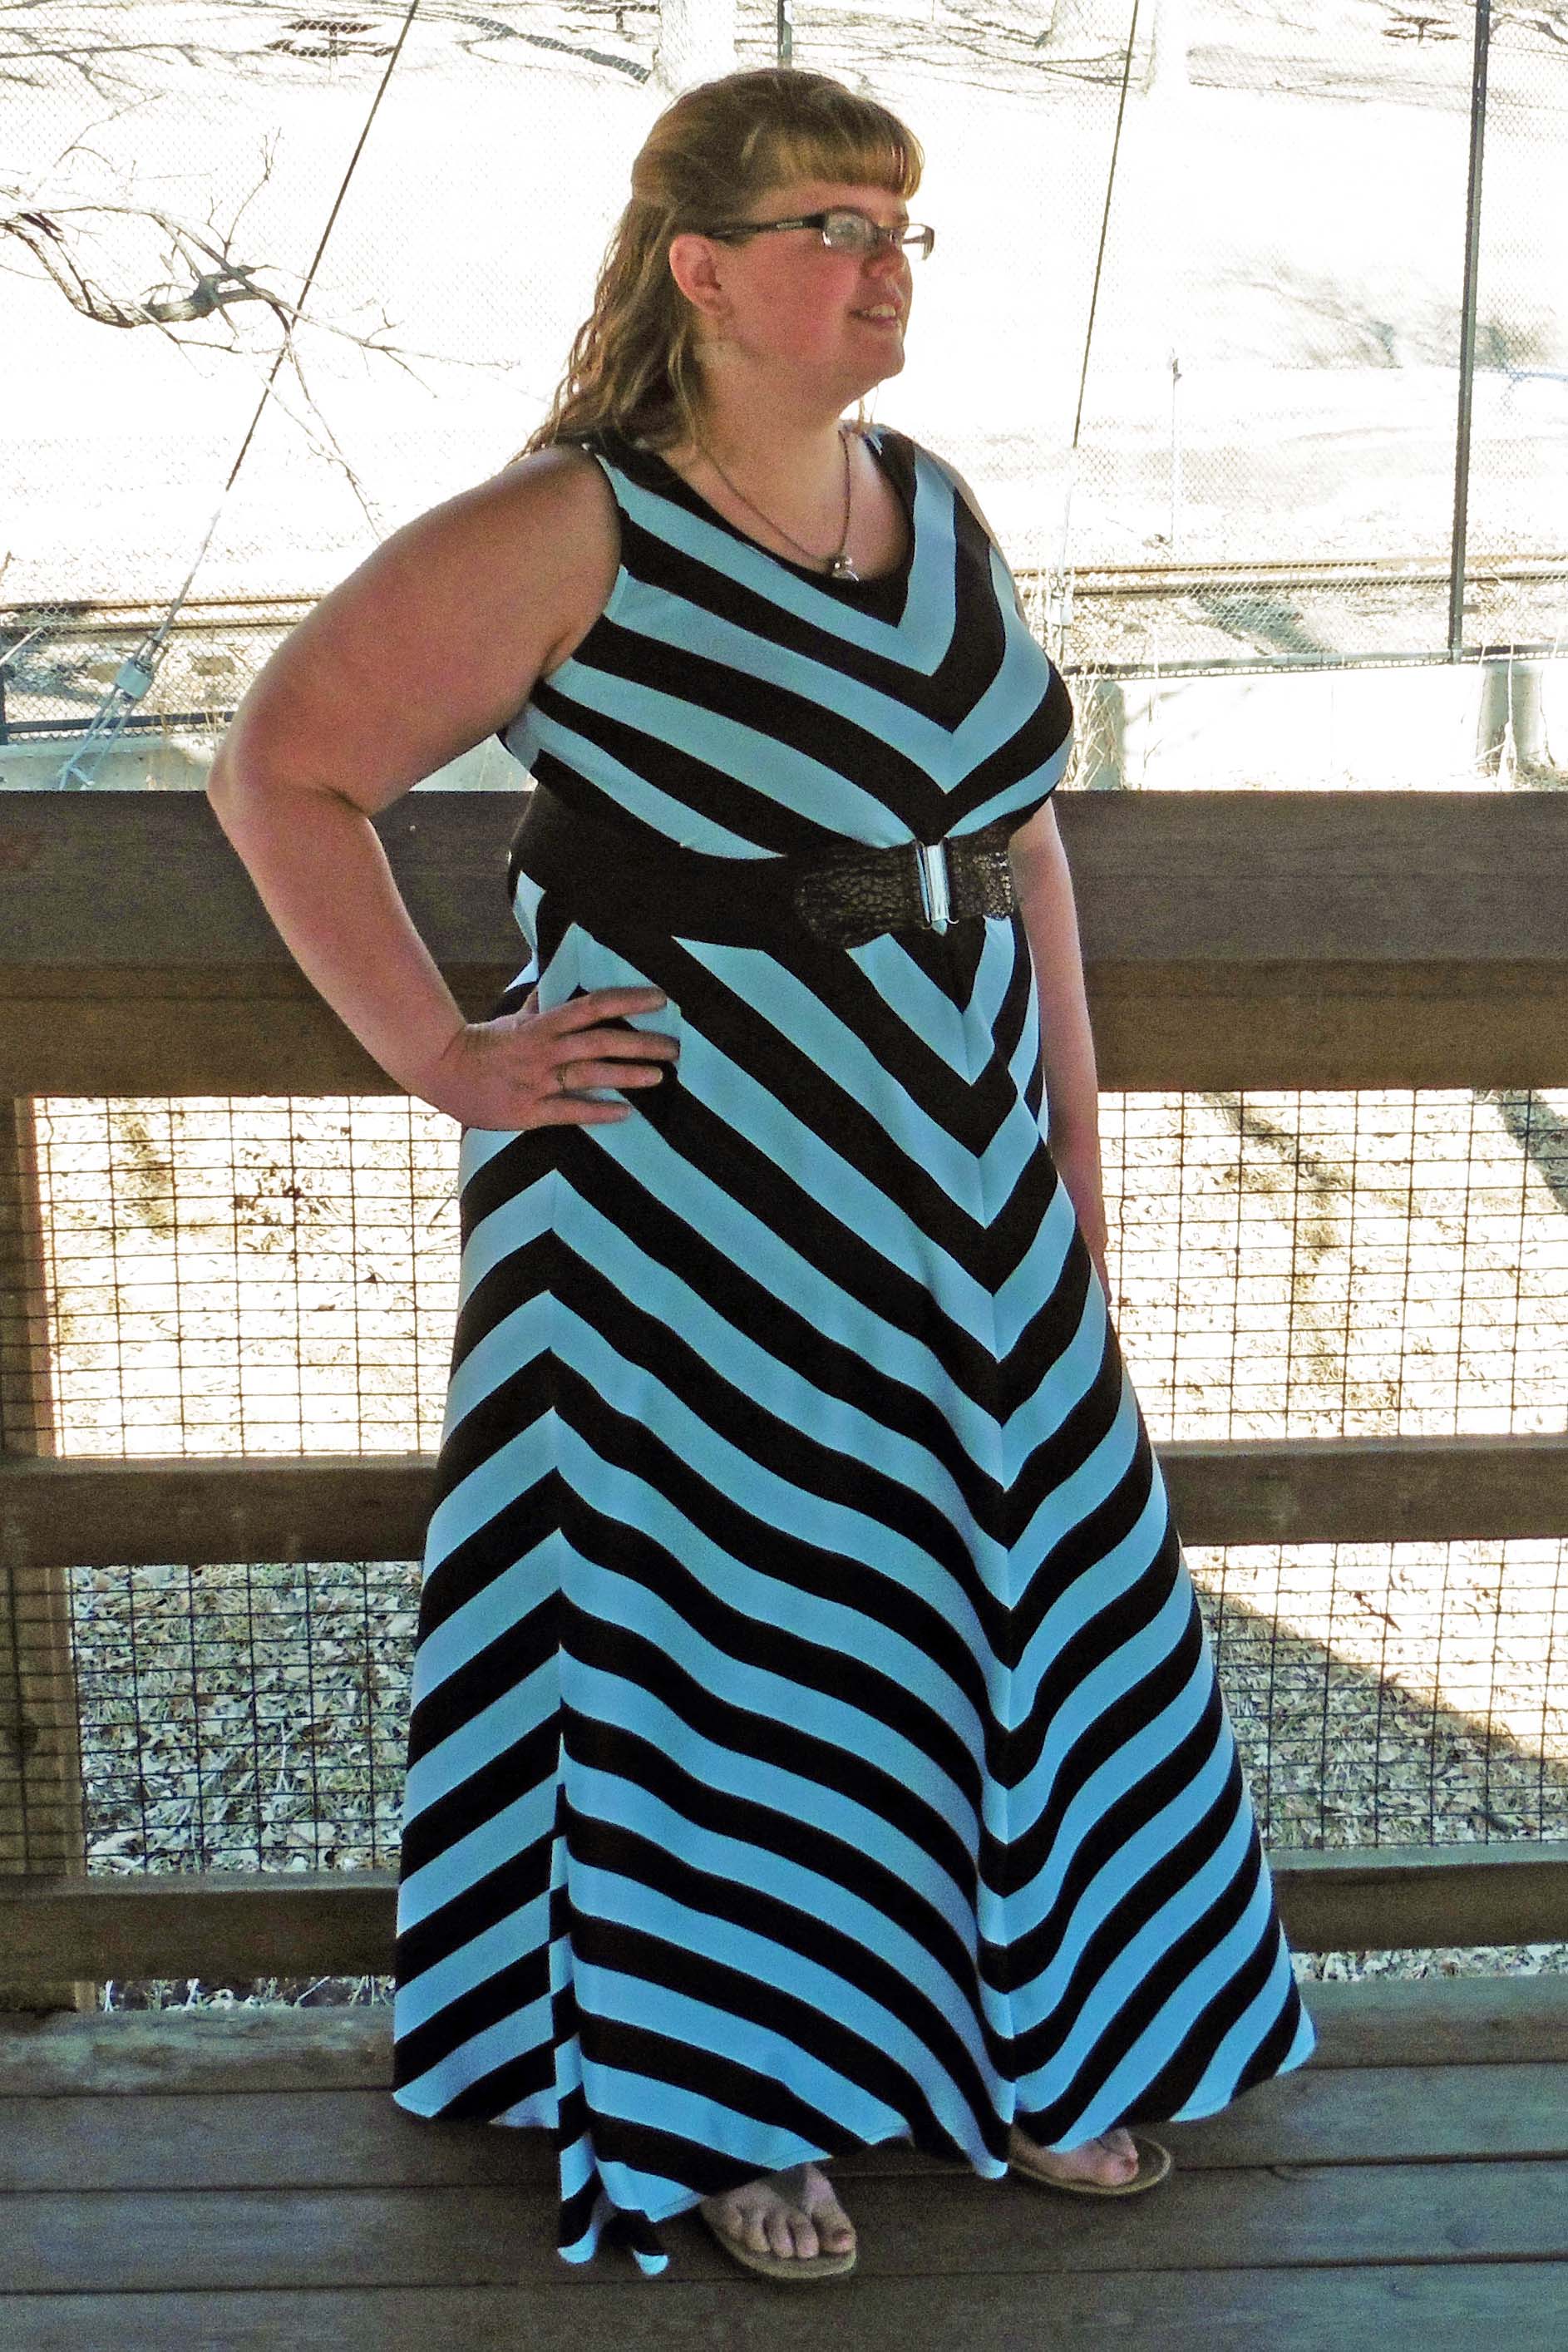
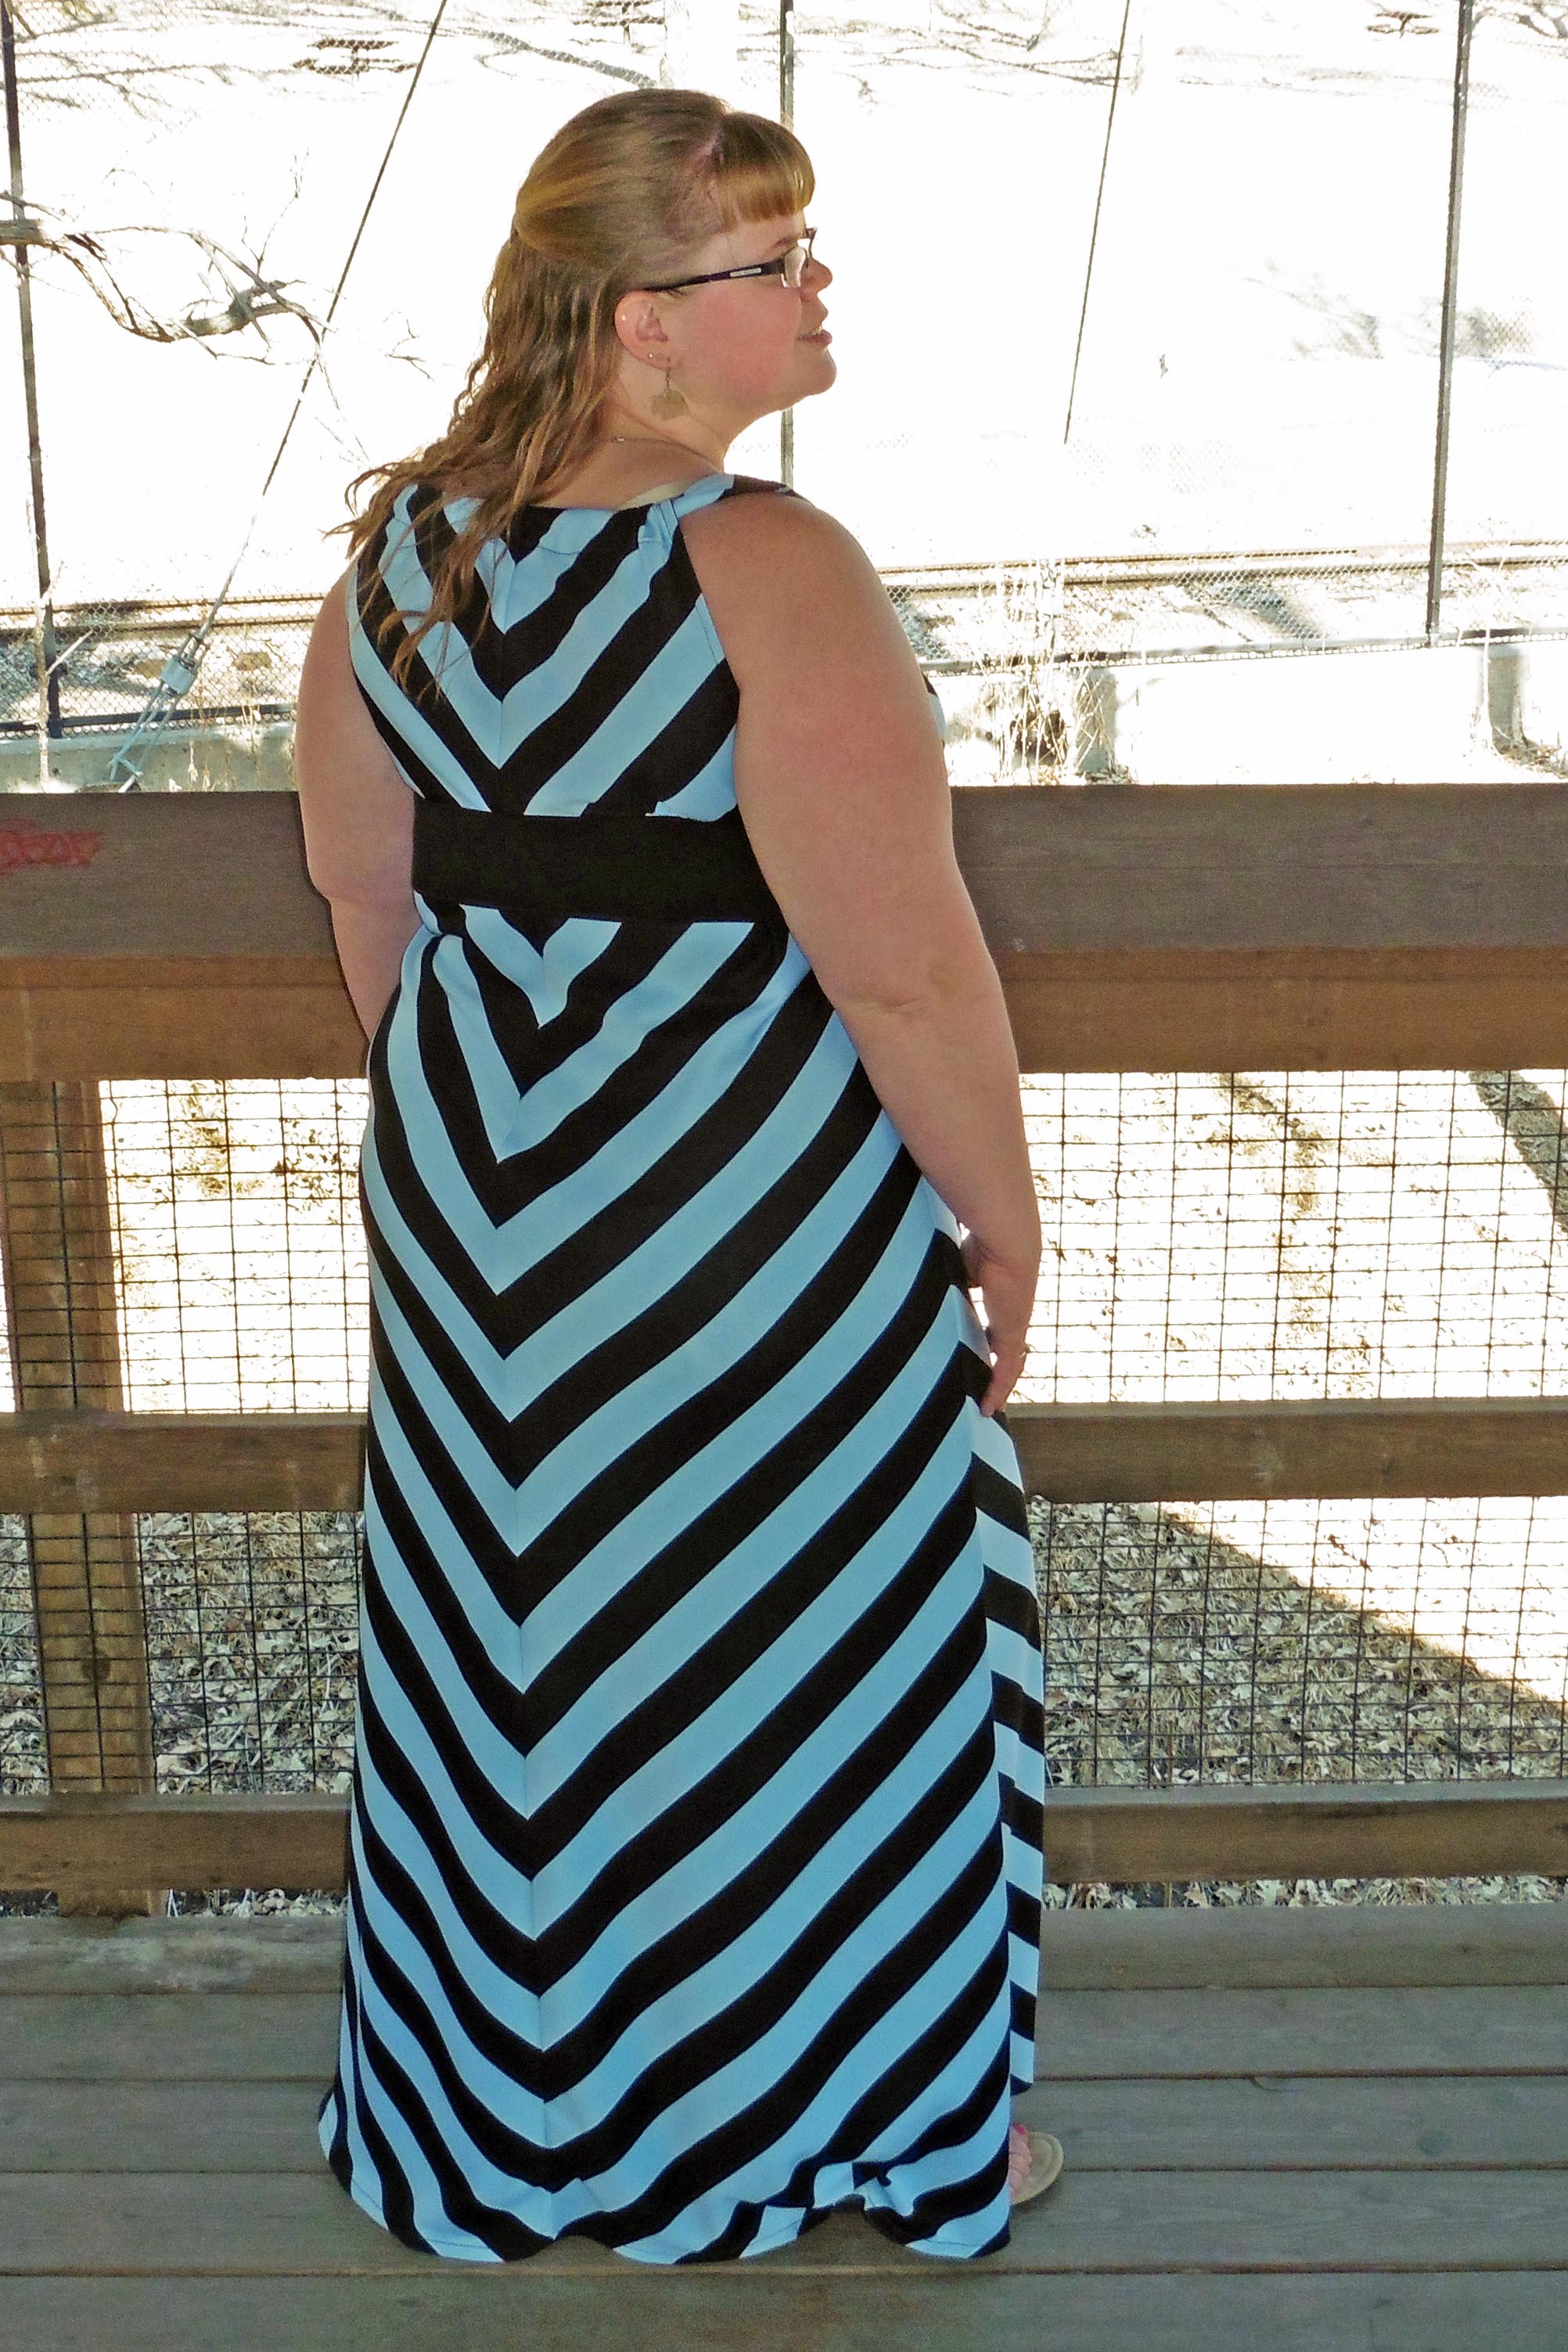
My daughter thinks it’s funny that I don’t really care for the trendy zigzag “chevron” fabric, but that I LOVE to piece together a chevron bodice or dress. She even called me on it when I commented on the fabric while wearing this dress. Haha!
Next time, maybe I will remember the pieced chevron method a little easier … but, if not, I can look back here at my own tutorial. 😉 Hopefully it helps someone else out, as well!
Happy Sewing!! ~ Joelle
9 Responses
St. Patrick’s Day California Tank Top | Everything Your Mama Made & More
[…] a simple top. I already had my California Dress & Peplum pattern at the top of the stack from last week and the week before and decided a quick tank top was in […]
Patricia
Wow. Nice. I was looking all over for this. This is simple and well explained.
You just made my work easier.. Thanks
Joelle
You’re welcome!
Dawn
Thank you so much this was a great help to me when trying to create a maxi skirt. Thank you again.
Joelle
You’re welcome! Glad it helped you! I ALWAYS have to scratch my head a lot before cutting stripes for a chevron effect. 😉
Maria
I love this! Do you remember how much fabric you needed?
Joelle
I’m sorry I didn’t measure the amount of fabric I used. I know it took a good chunk more than the pattern requirements, but I had a large cut of that fabric (yay for clearance!) and I didn’t pay attention to how much exactly it took. Sorry I can’t be of more help!
Sarah Pringle
Hi, thanks for your instructions. I cut out a rainbow fabric today to make a skirt for my dress and this came in really handy!
Joelle
So glad it was helpful. I bet your chevron rainbow skirt is gorgeous!!