Guess what? I’m back with another hack of Callie’s Nightgown & Nightshirt. This time, I added a gathered layer of chiffon, aiming for a dressier view than my cozy sweatshirt. This top is easy to dress up with heels and slacks (do we still use the term “slacks” to mean dress pants … or does that sound out of date?) … or you can pair it with jeans to dress it down.
I’ve been rolling this idea around in my head for a while now and decided now was the perfect time to go for it since Callie’s is on sale during the All Tucked In for the Holidays Blog Tour.
You can use code SNUGASABUG to save 30% when you snag your copy of Callie’s or the girl’s size Riley’s Nightgown & Sleep Shirt or the bundle (which is the best deal, since they’re already discounted), until 11:59pm PST on Dec. 11.

To make my flowy top, I started by cutting out two fronts and two backs. I made the under layer from white knit and cut it using the top of the bodice pattern, but I tapered the side seam in by about an inch below the bust for a closer fit and shortened the length to 24″ and cut straight across (I’m 5’6″ and planned to hem with a 2″ band … also, it’s tucked into my jeans in these photos). To make the gathered chiffon layer, I moved the bodice pattern piece 5″ away from the fold to make it 10″ wider to allow for gathering. I cut the raglan edge and side seam following the pattern piece and cut the length to 26.5″. The sleeves are cut exactly as the pattern is written, with the exception of added bands at the wrist because I hate sewing regular hems on knit. 😉
For this hack, I had to change the order of construction to allow for separate side seams on the two layers. I took a few pictures along the way to help illustrate how I put my top together. The first seams I sewed were side seams. I didn’t want a serged seam to be visible through the sheer fabric, so to prevent it from fraying I used french seams on the chiffon. That means I first sewed a 1/4″ seam with wrong sides together, then trimmed the seam allowance, flipped it right sides together, and sewed another 1/4″ seam. This method leaves the raw edge enclosed between the two lines of stitching.
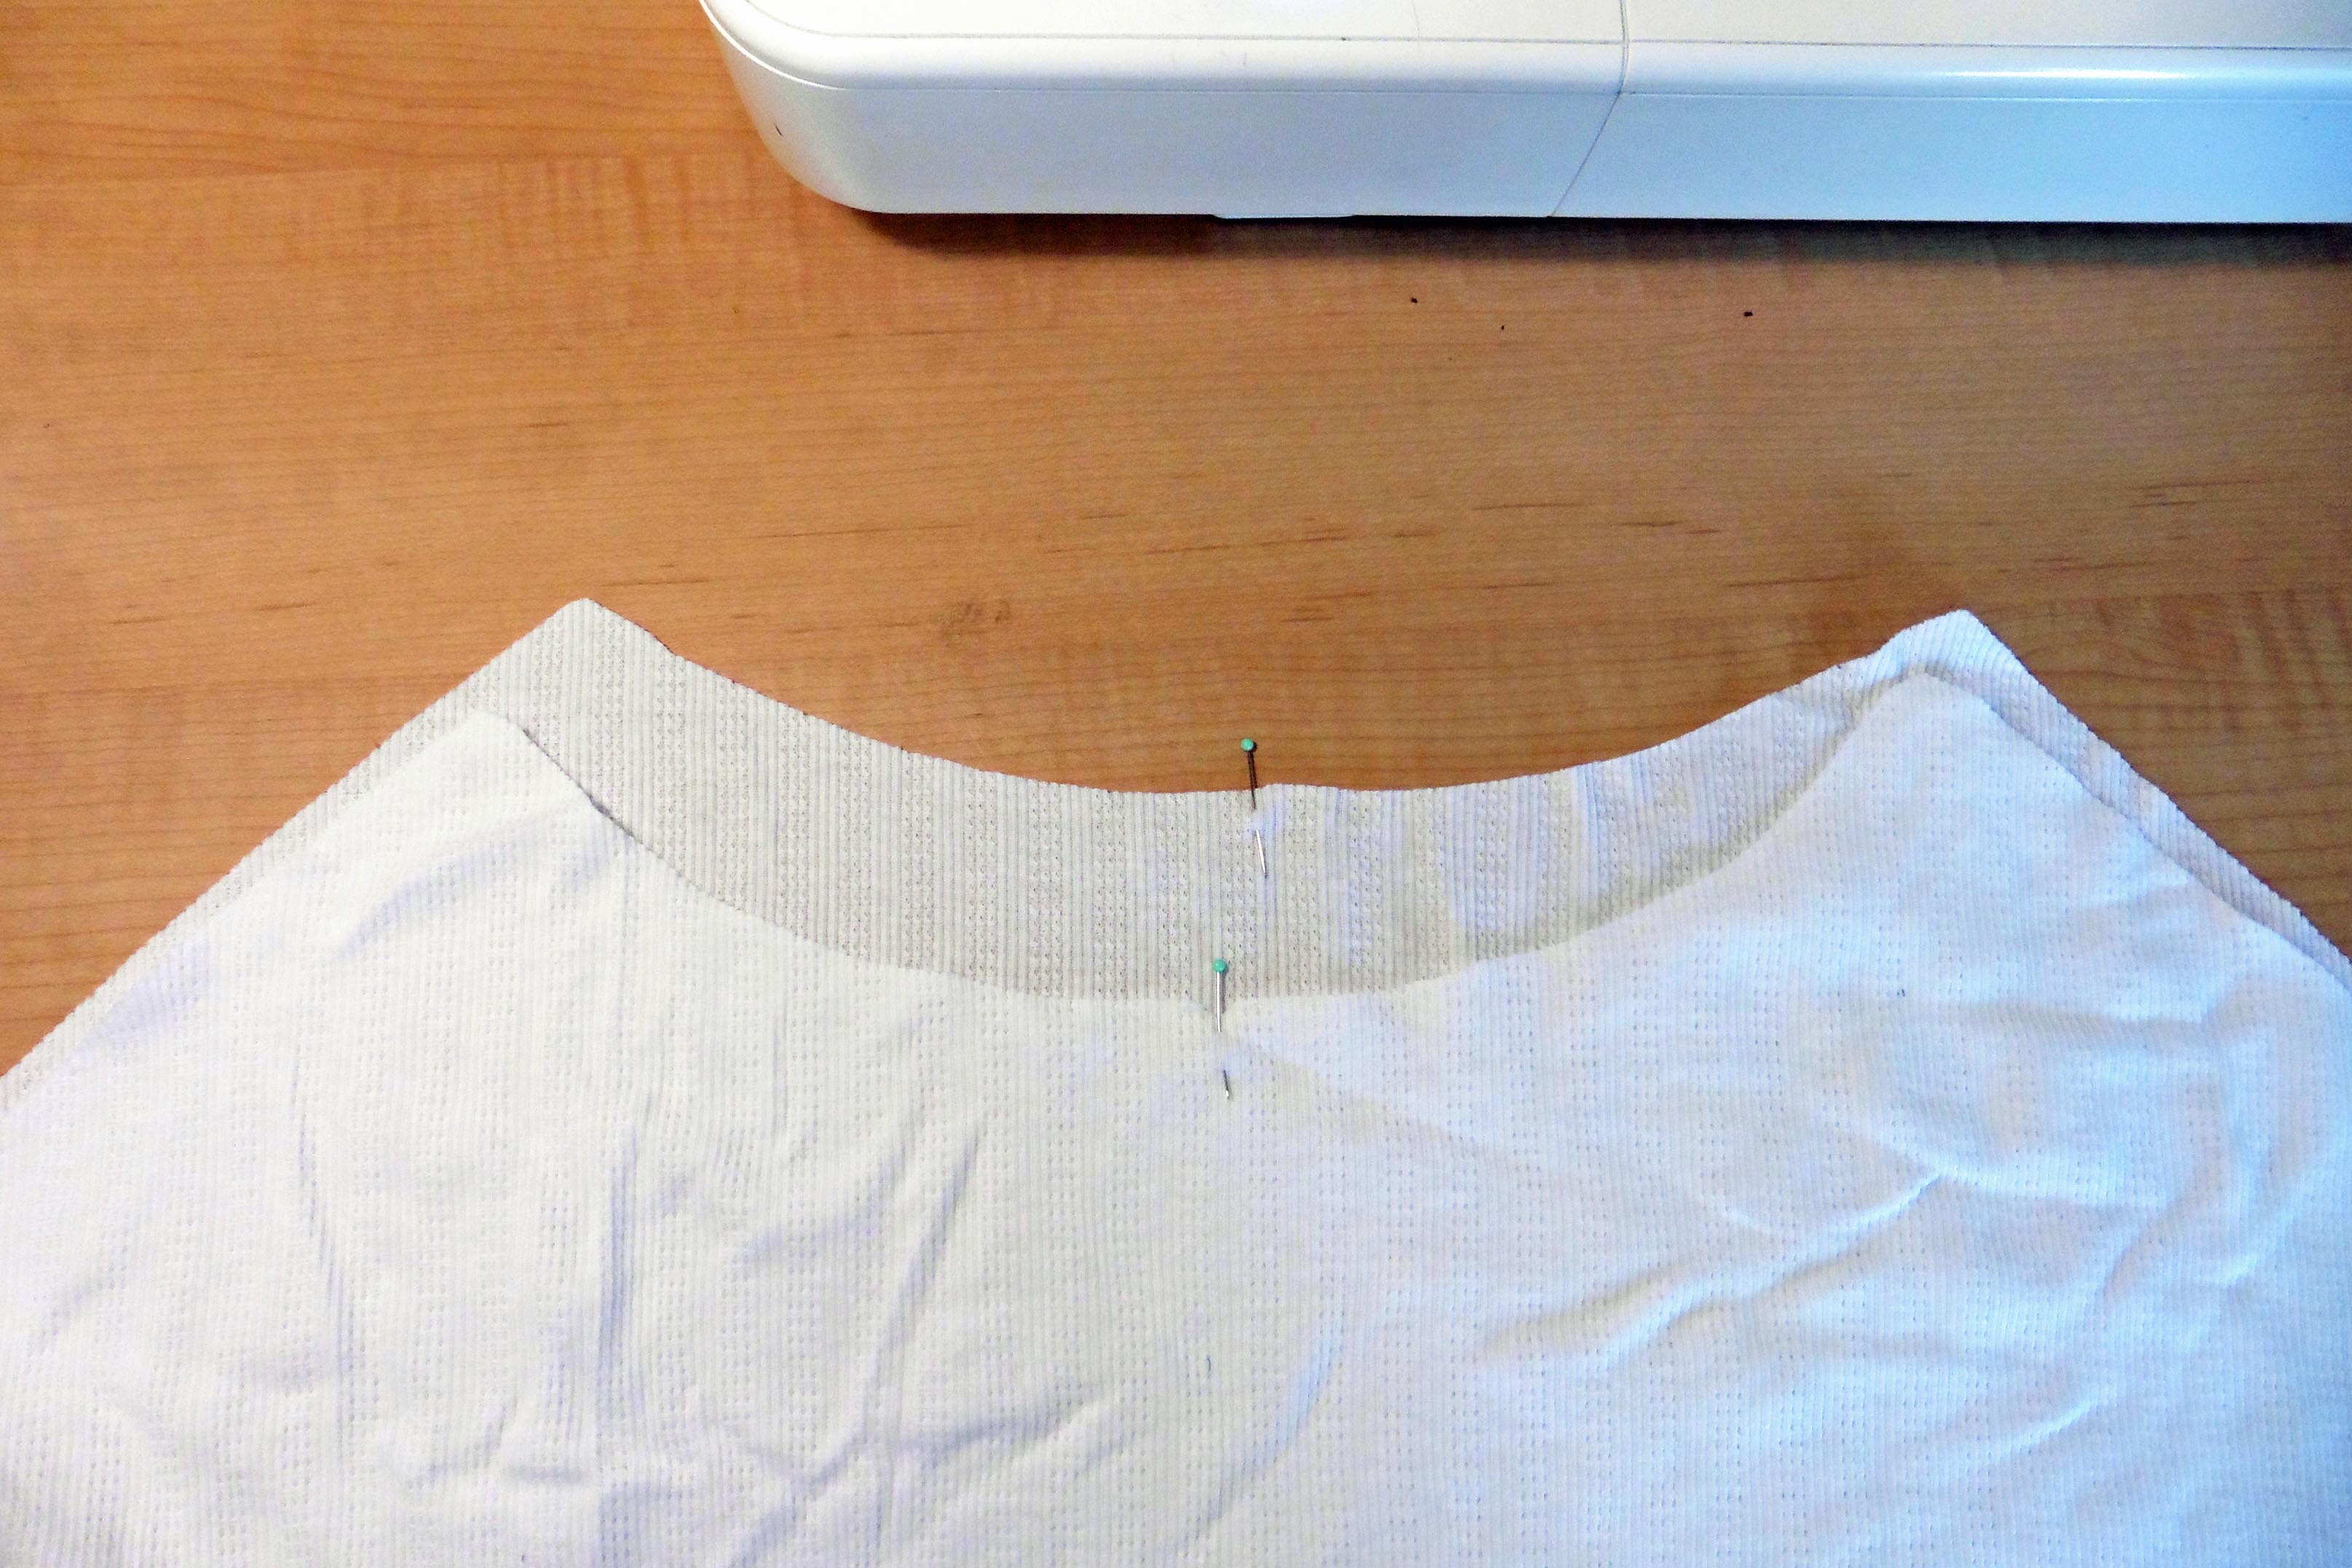
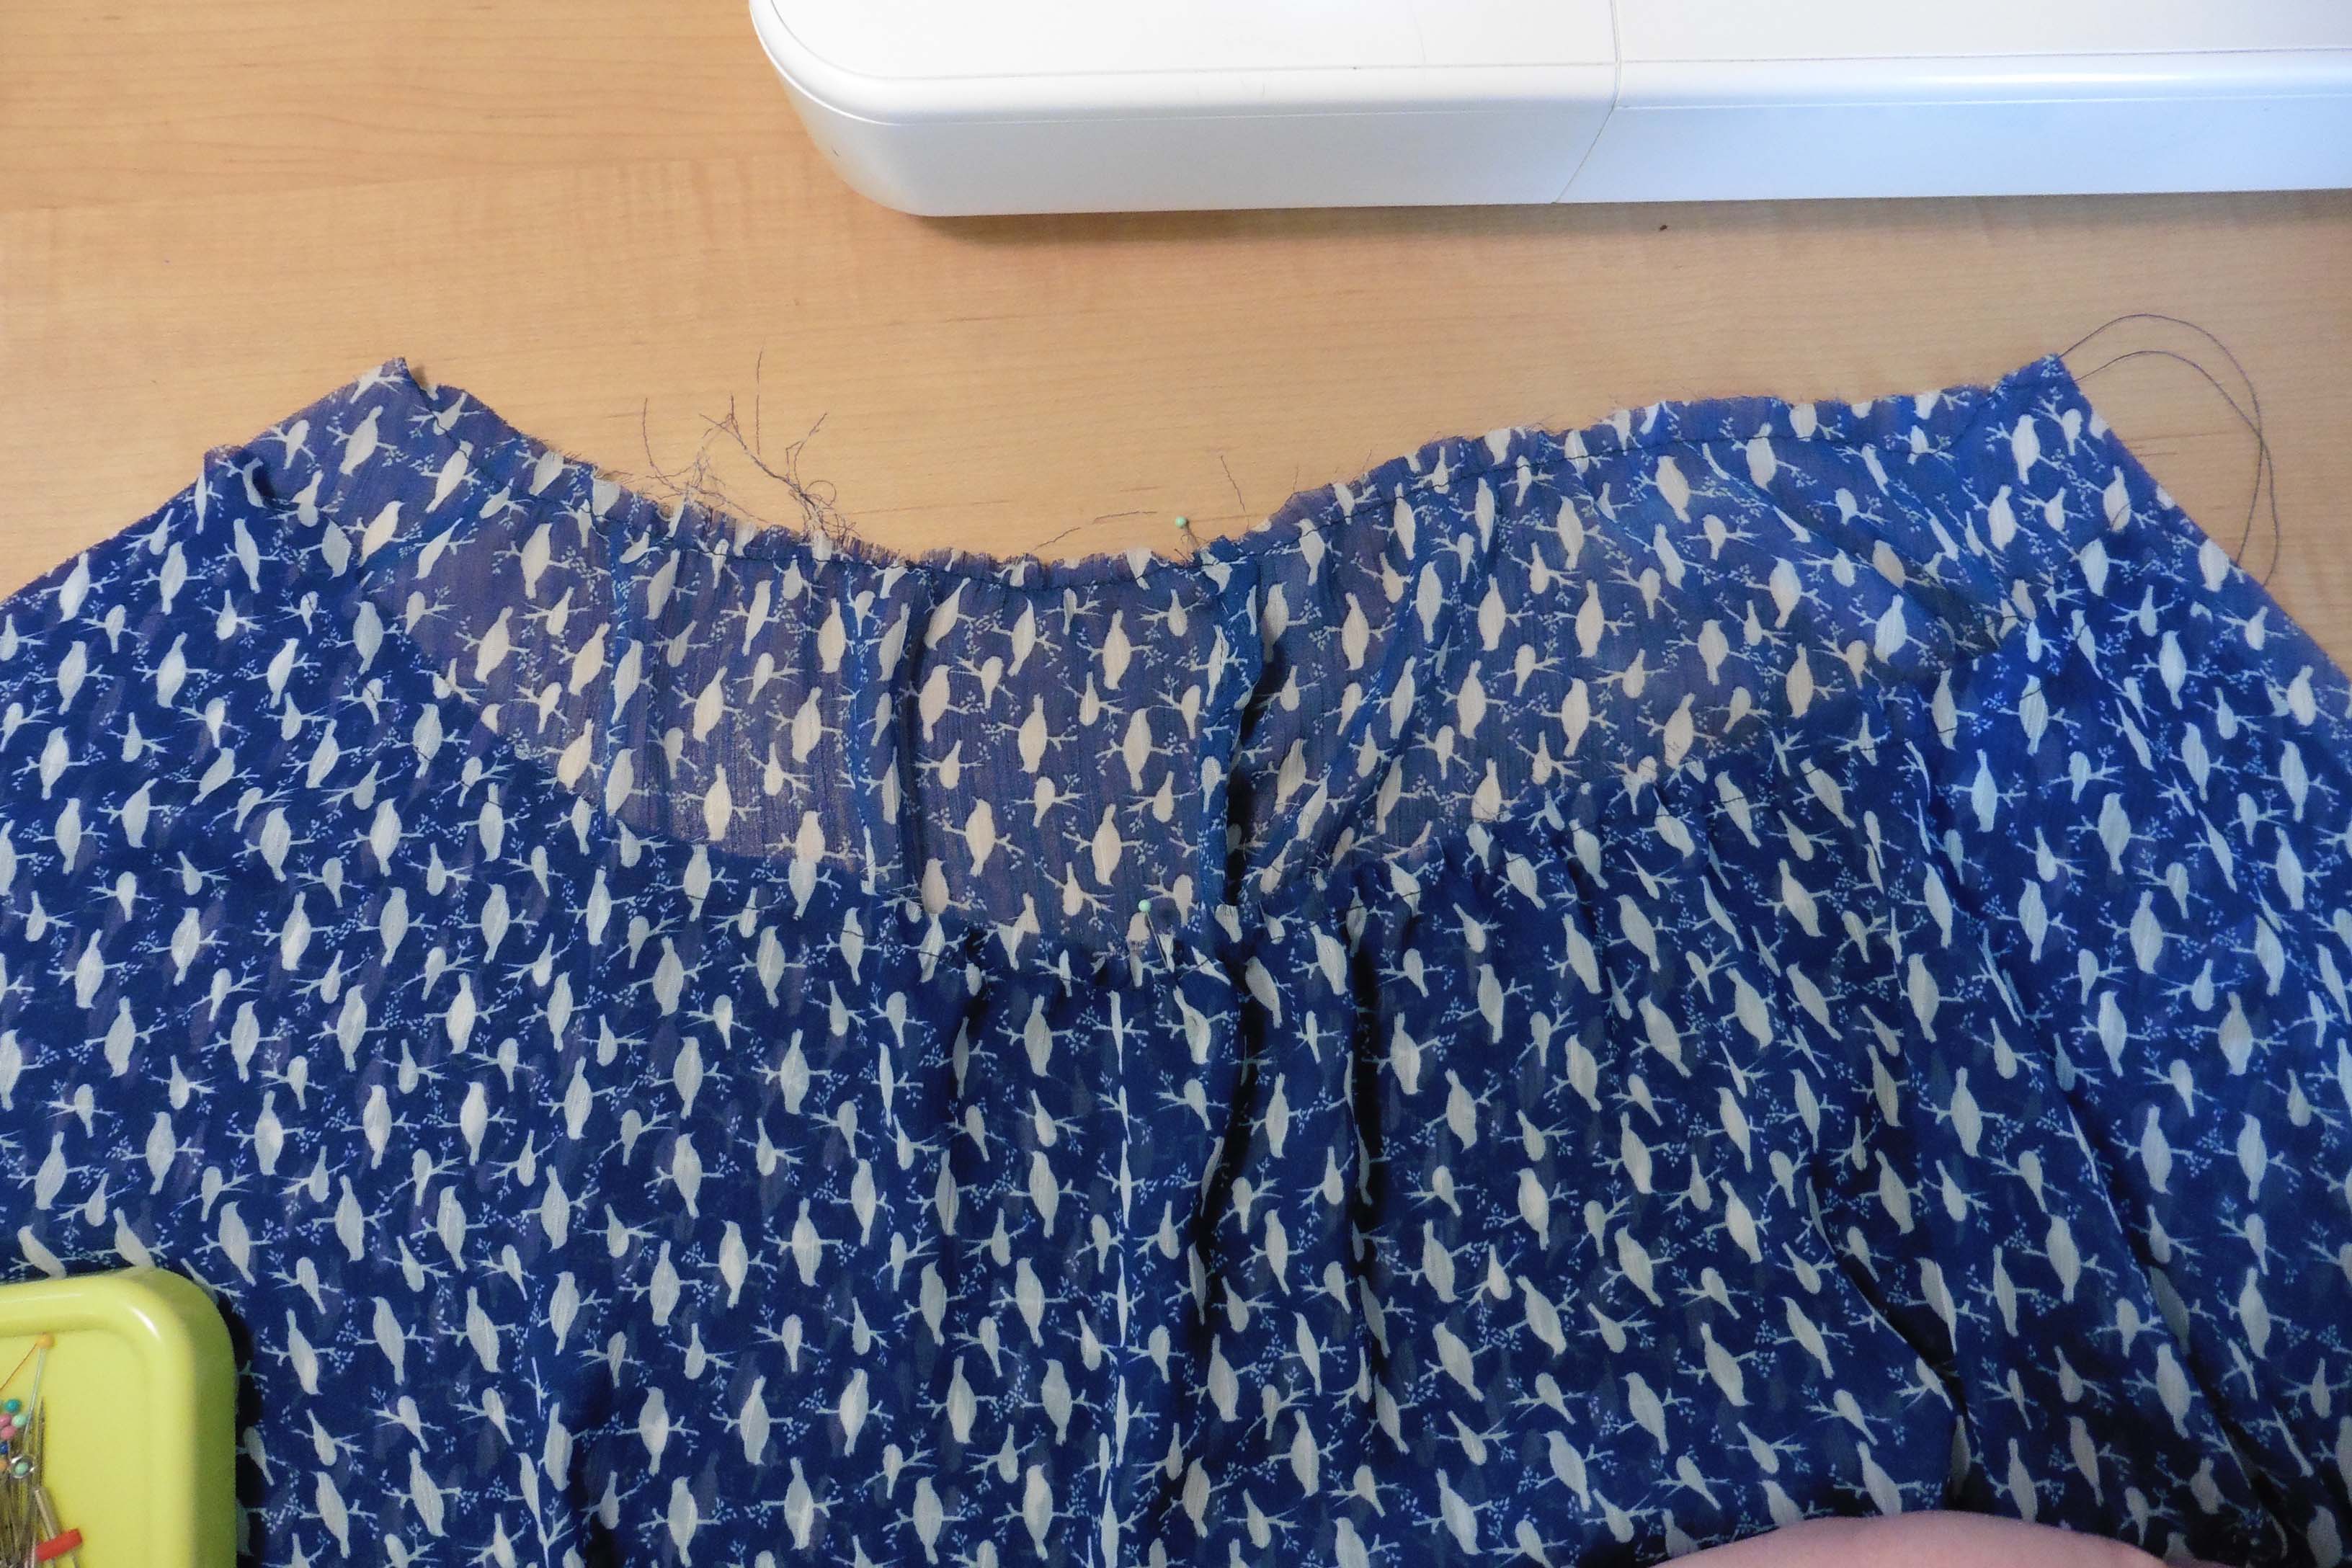
Once all the side seams were sewn, I found the center front and center back of each neckline and marked with pins. Next, I ran a line of gathering stitches (longest length of straight stitch with 3-4″ tails left at each end) along the neckline of the chiffon layer.
If you’re sure that the bodices are the correct length for you, now would be a good time to hem them each separately. I chose to add a band to my knit bodice bottom and turned up the chiffon bottom raw edge 1/2″ twice.
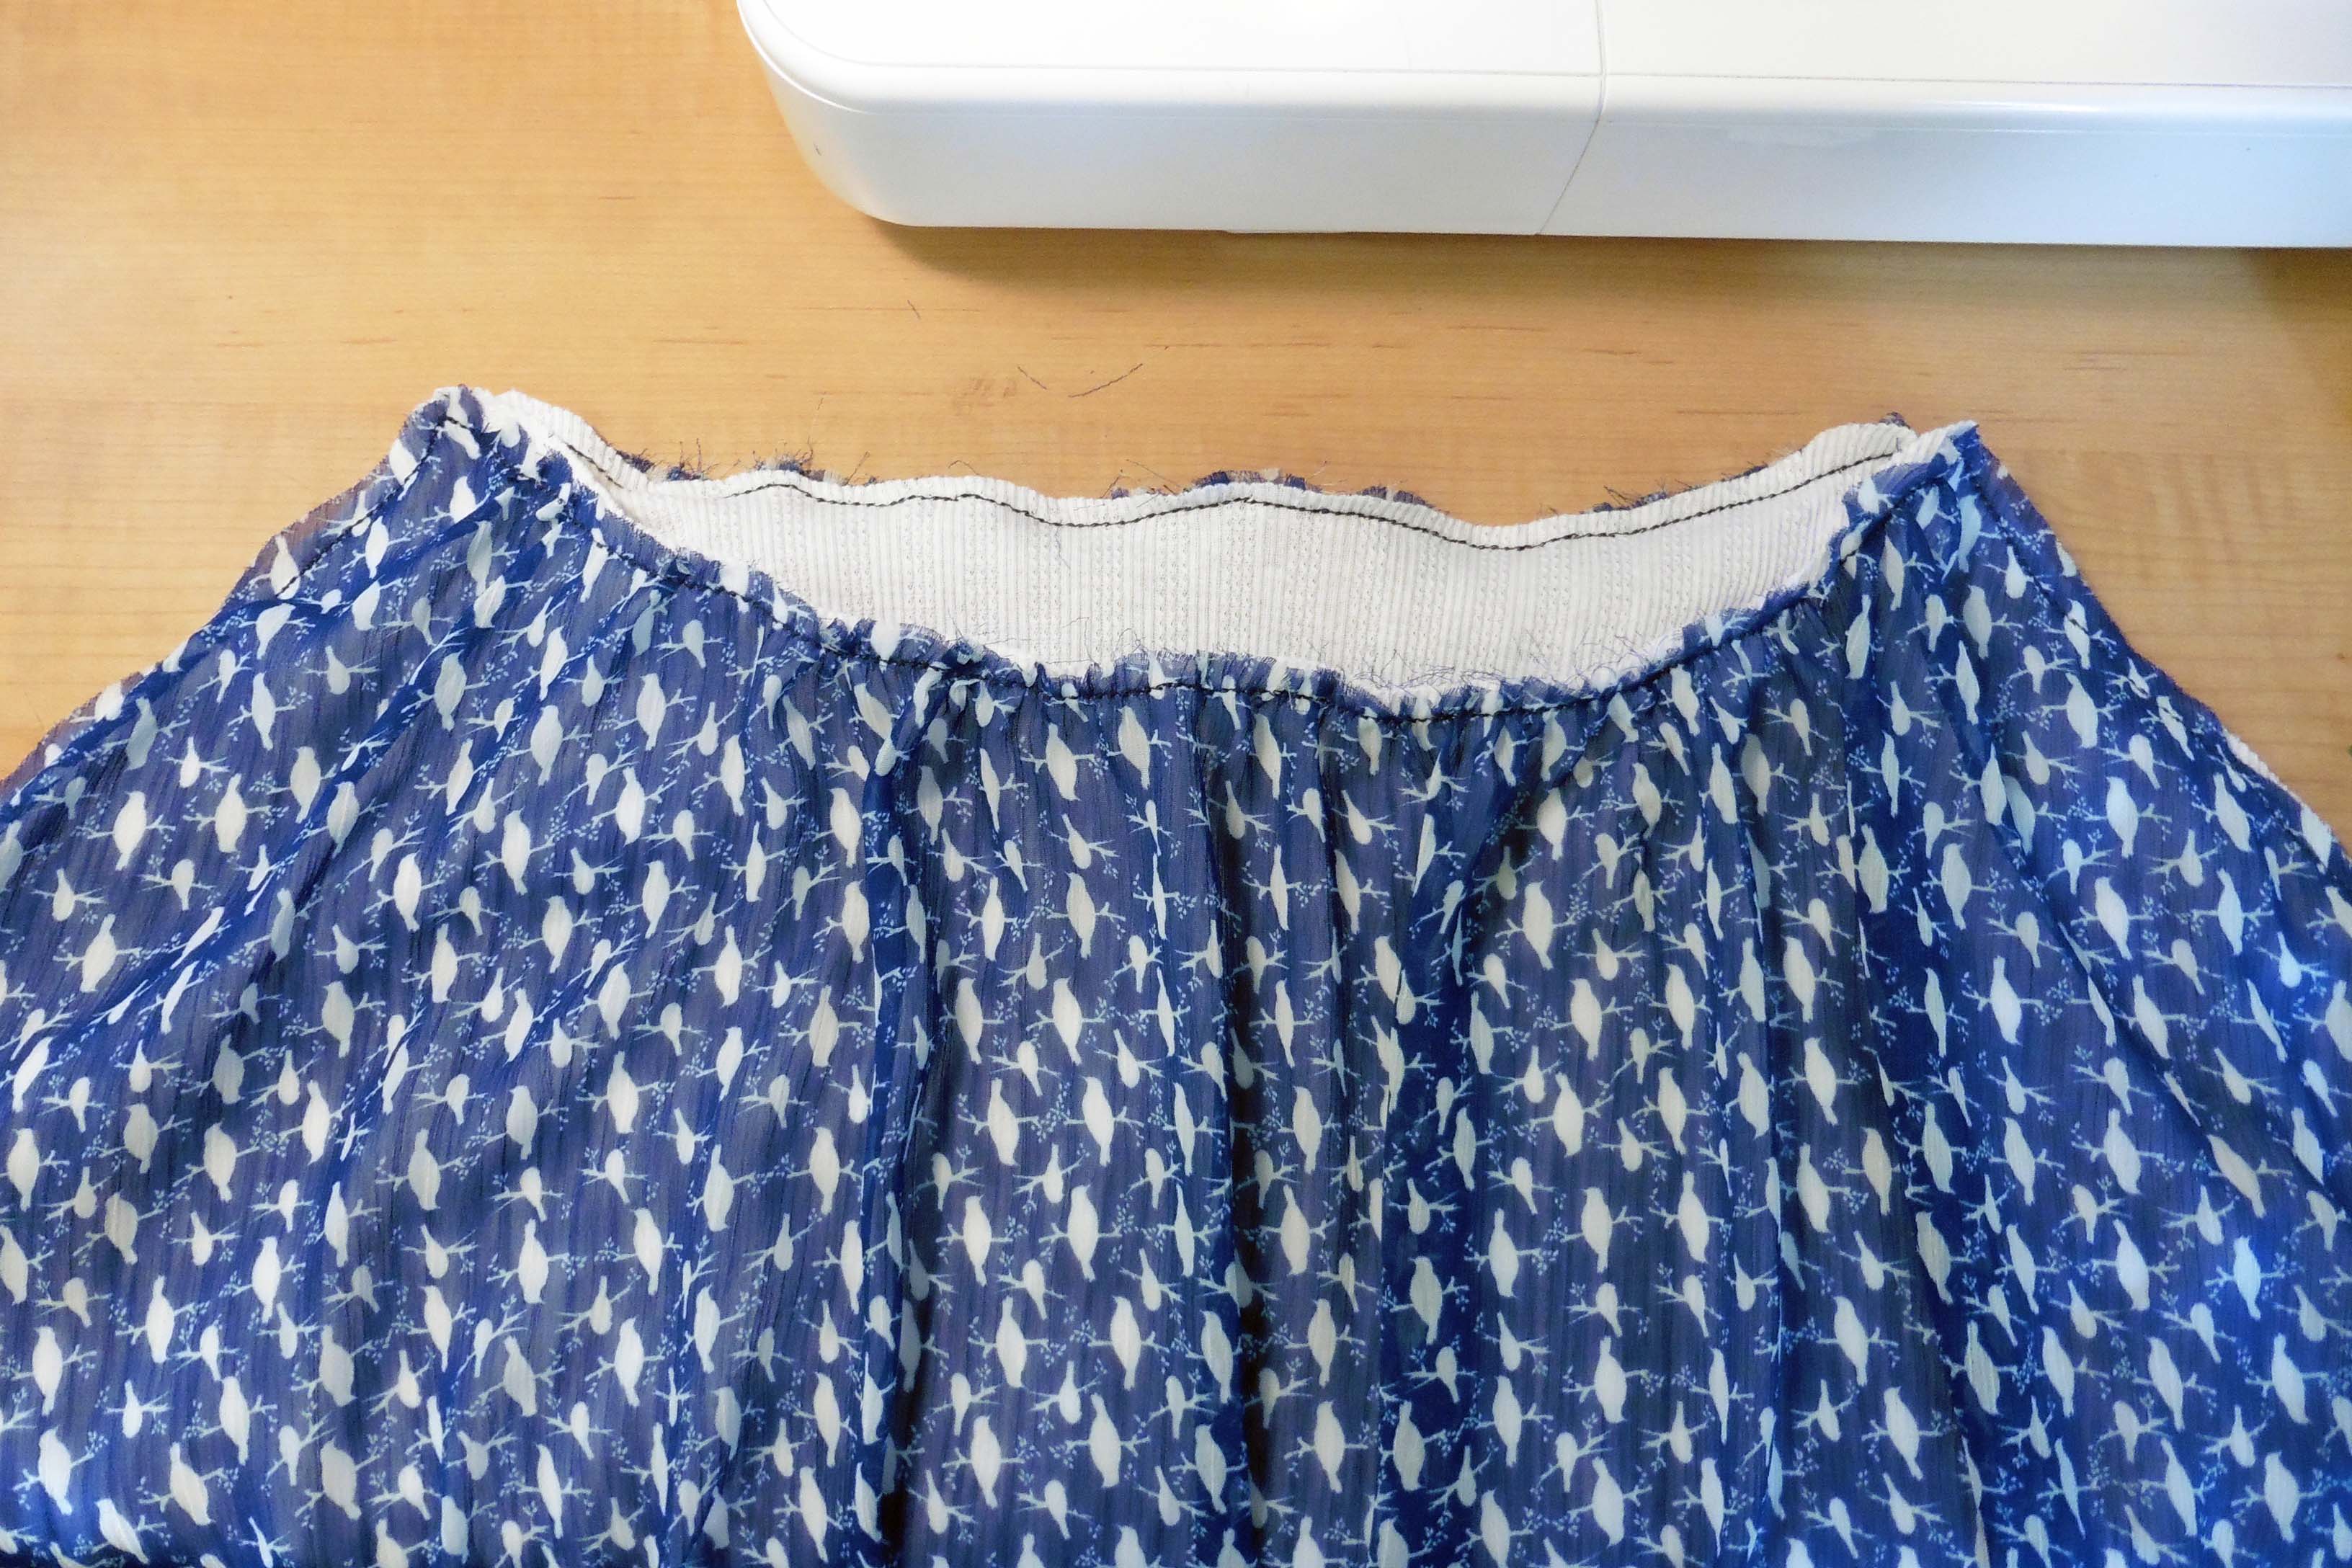
The next step is to slip the knit bodice inside the chiffon bodice (right side knit to wrong side chiffon) and match up the center pins, the neckline end points, and the tops of the side seams. Pin the two bodices together along the raglan edges and then pull the bobbin thread of the gathering stitches until the neckline of the chiffon matches the length of the knit neckline and pin the necklines, too.
Stitch/baste the bodices together with 1/4″ seam allowance, removing the pins as you go. Unpick the gathering stitches, so that the finished neckline will be able to stretch well.
** Tip: Use a stretch stitch or serger to maintain the necessart stretch of the neckline in your finished top or else use a longer straight stitch to baste them and remove the basting stitches after attaching the sleeves and neckband. I chose to use my machine’s triple-stretch stitch, so it’s stretchy but still a straight seam rather than zig zag … just my personal preference. **
Now on to the sleeves. First, fold each sleeve right sides together and stitch along the underarm seam. Hem the wrist (or you can do like I did and put a band around it). Then, we’re ready to put the sleeves on the bodice.
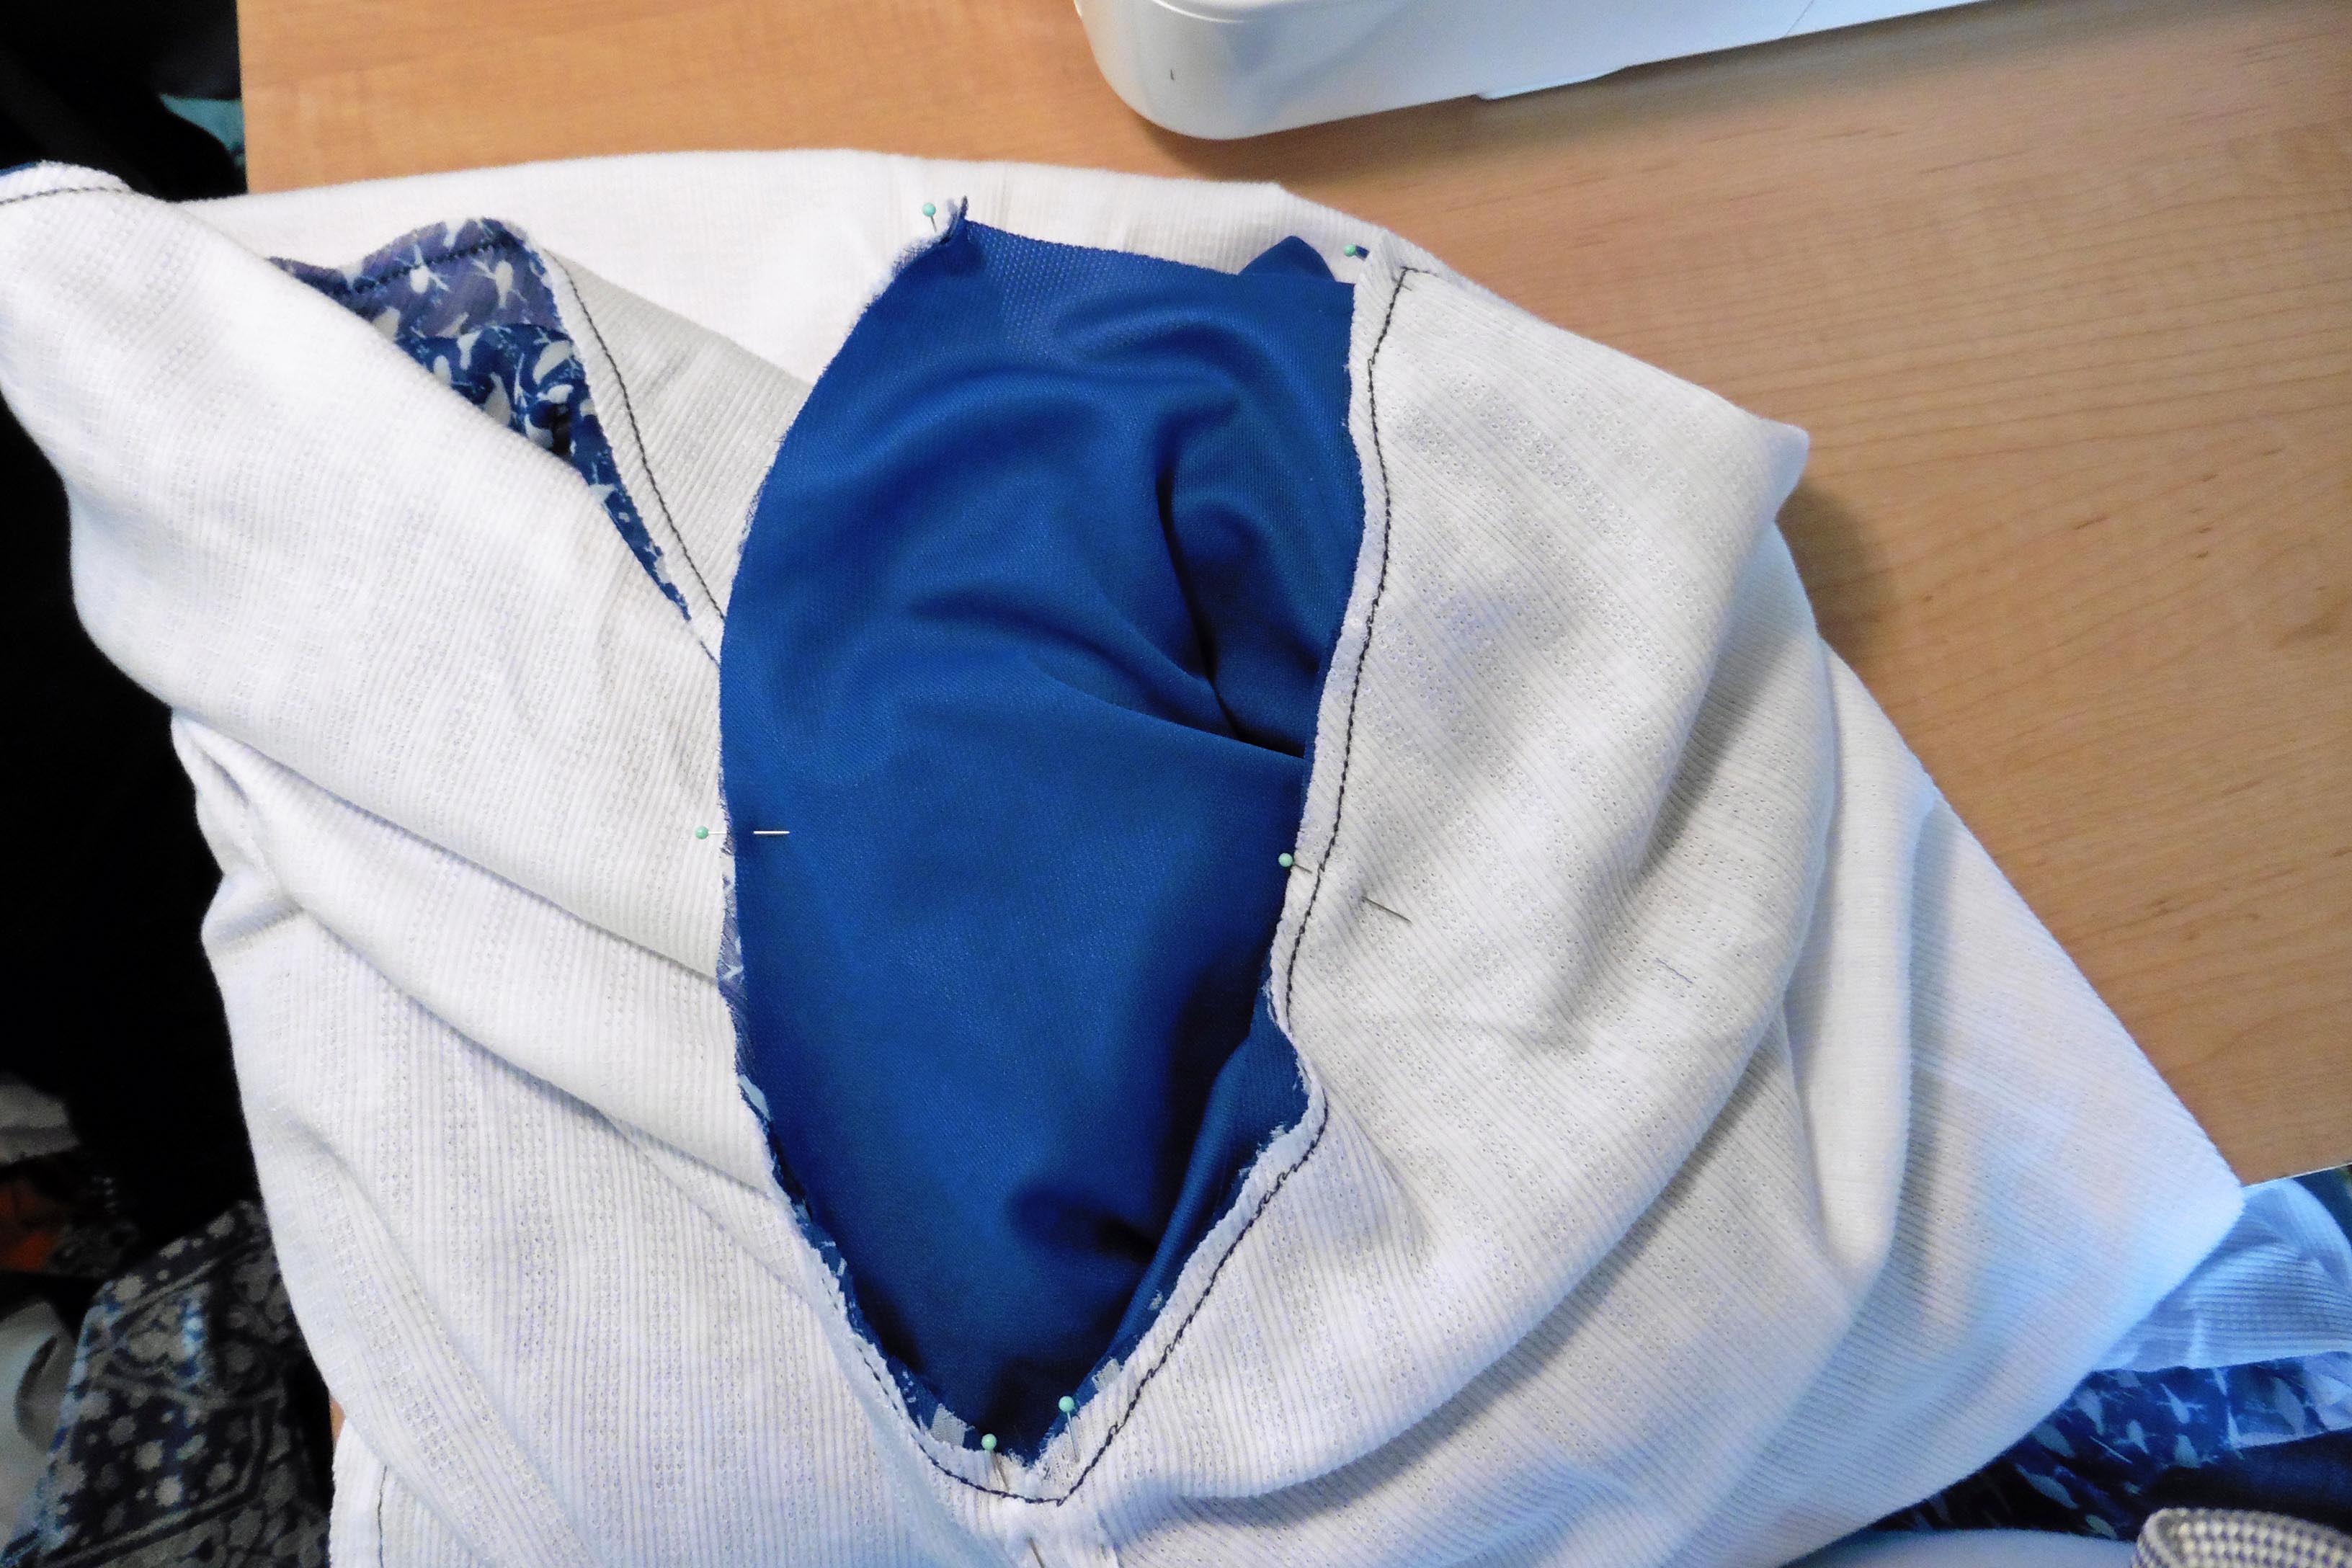
Turn the bodice inside out and the sleeves right side out. Put them together so the neckline points match and the underarm seam meets the top of the side seam. Stitch with a 3/8″ seam allowance. The seam line you see in the photo above is the 1/4″ seam holding the two bodices together. After stitching my sleeves on, I have two lines of stitching along the raglan edges of my bodice.
Now that the sleeves are attached, the shirt is constructed to the point that you can follow pattern directions to add the neckband. Remember to remove any basting stitches (if you chose to straight stitch the bodices together) before topstitching the neckband.
If you didn’t hem the bottoms before attaching your bodices together, do it now. And that’s it!
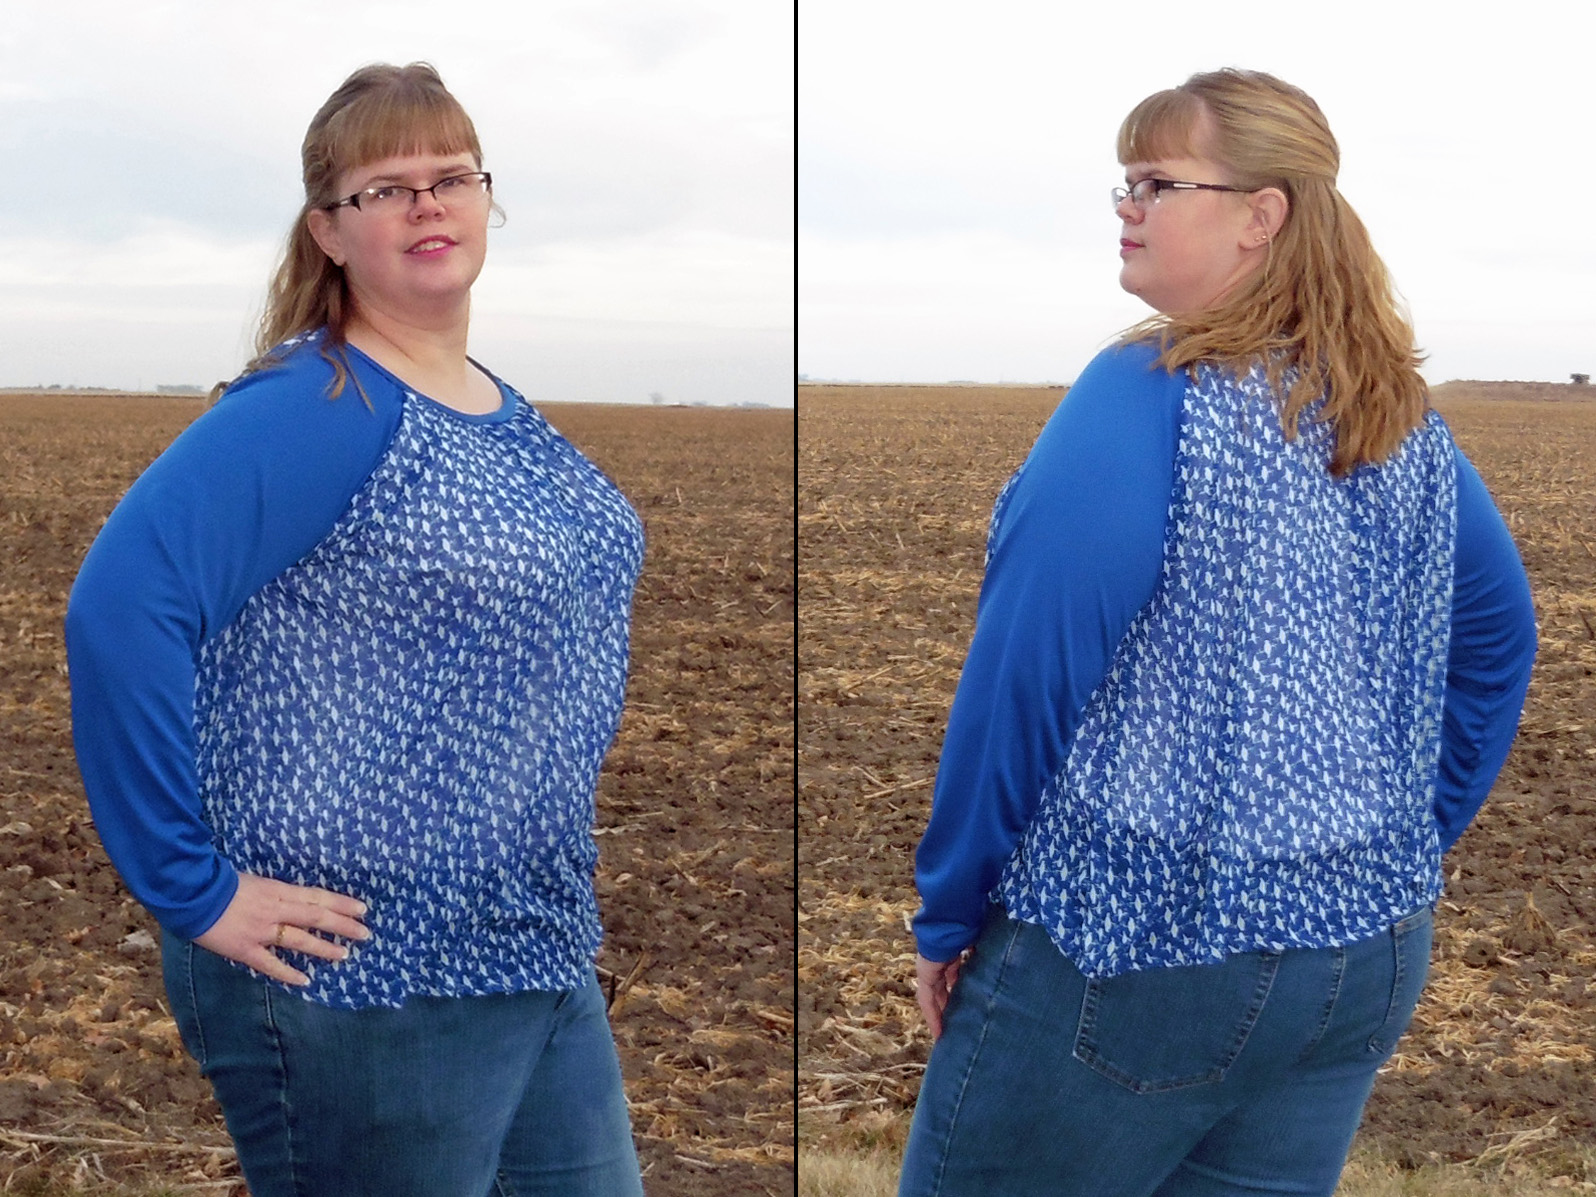
Nobody would guess my new gathered chiffon top is made from a nightgown pattern (except that now I’ve told the world, lol). I want to try this hack again, but plan to make the chiffon layer longer and wider my next go-round. This was the longest I could eek out of the fabric I had on hand. 😉
If you try this yourself, we’d love to see. You can share pictures on EYMM’s facebook page or, even better, you can join the group and see what everyone there is making with EYMM patterns!
Happy Sewing!! ~ Joelle
Leave a Reply