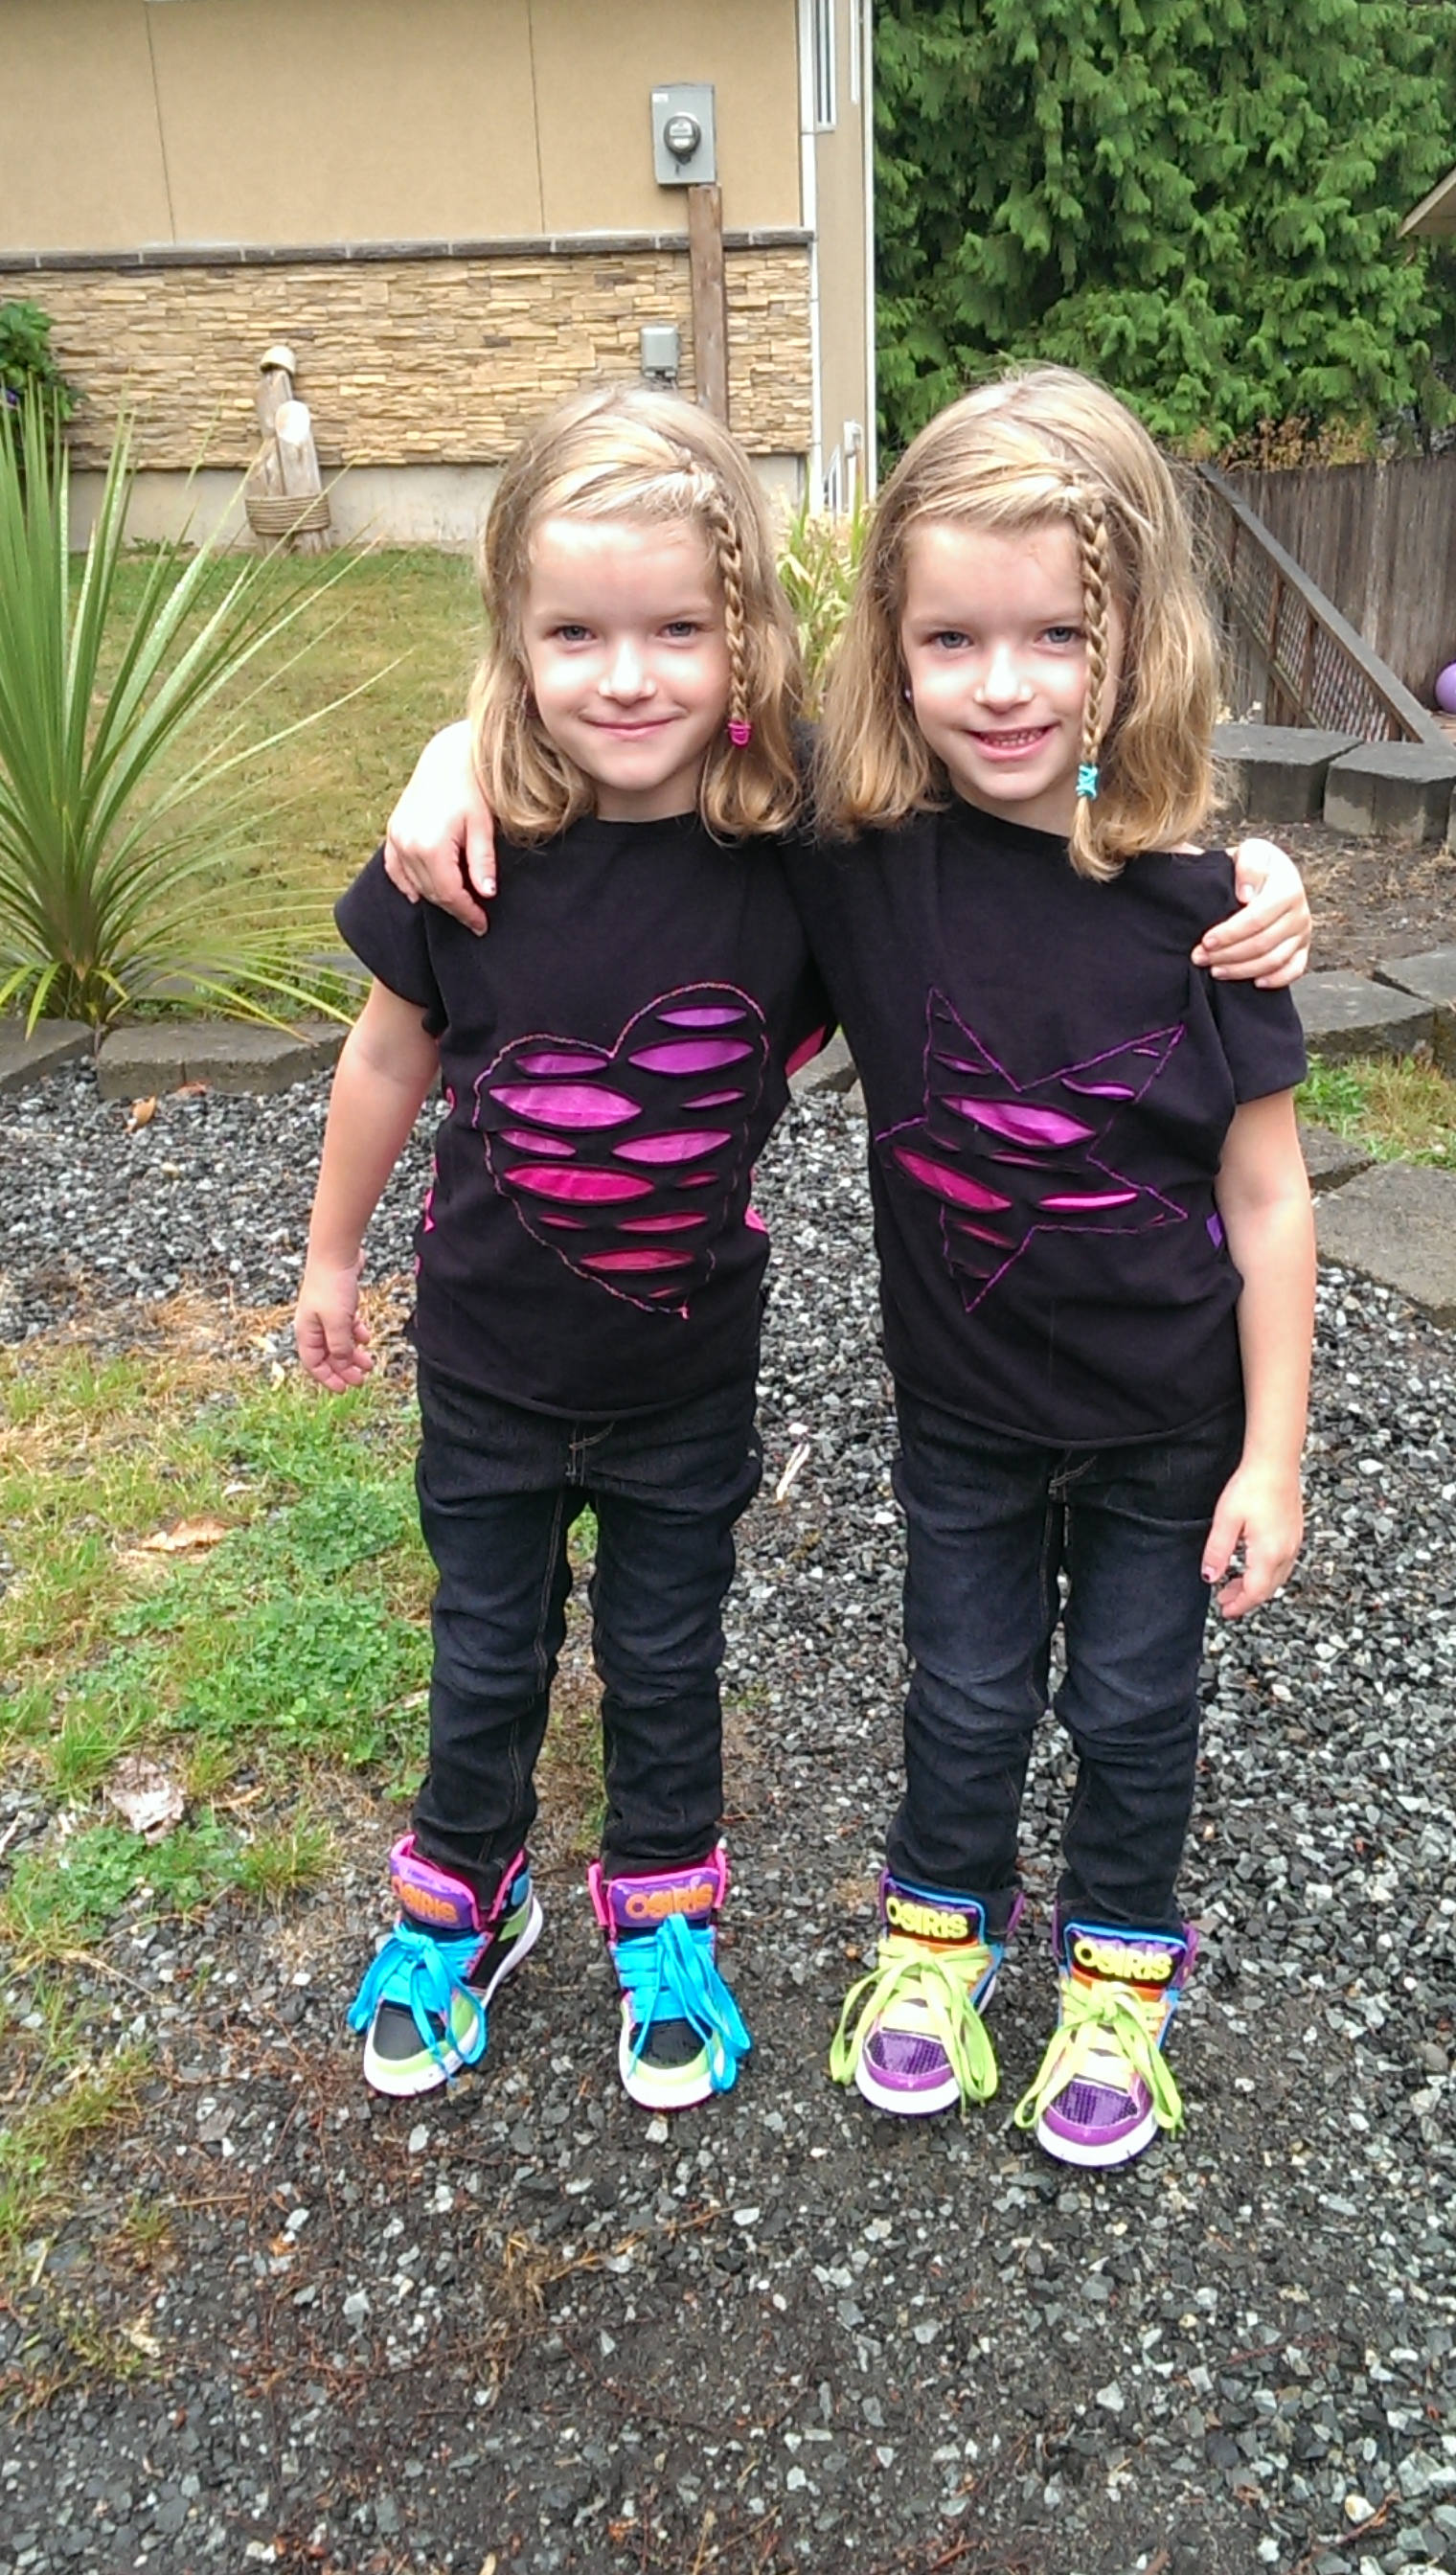
The twins were really excited this year when I told them that they could design & help make shirts for the first day of school. They got some fun and BRIGHT shoes and wanted something trendy & mama wanted it to still be modest & age appropriate. We settled on Carlie Dolman’s for our pattern and I told them about my applique idea… they thought I was a little crazy but gave me the okay so we went with it.

I have to say I LOVE how these turned out, and I am glad I took pictures while making them because people started asking for a tutorial. I have a saying ‘it’s all about the details’ whether it’s about adding or removing them, some of the littlest detail changes can give a pattern a whole new vibe!
TUTORIAL: Rockin’ Zombie ~ Distressed Reverse Applique
~JERSEY KNIT FABRIC (enough for your pattern, the raw edges should roll)
~Scrap of knit for the underside at lease 1/2″ bigger on all sides of your shape
~Pattern pieces for any knit pattern
~Rotary Cutter & or sharp scissors
~Ruler
~Marking chalk or washable marker
~Pins
~Sewing Machine
~Access to a washer & dryer
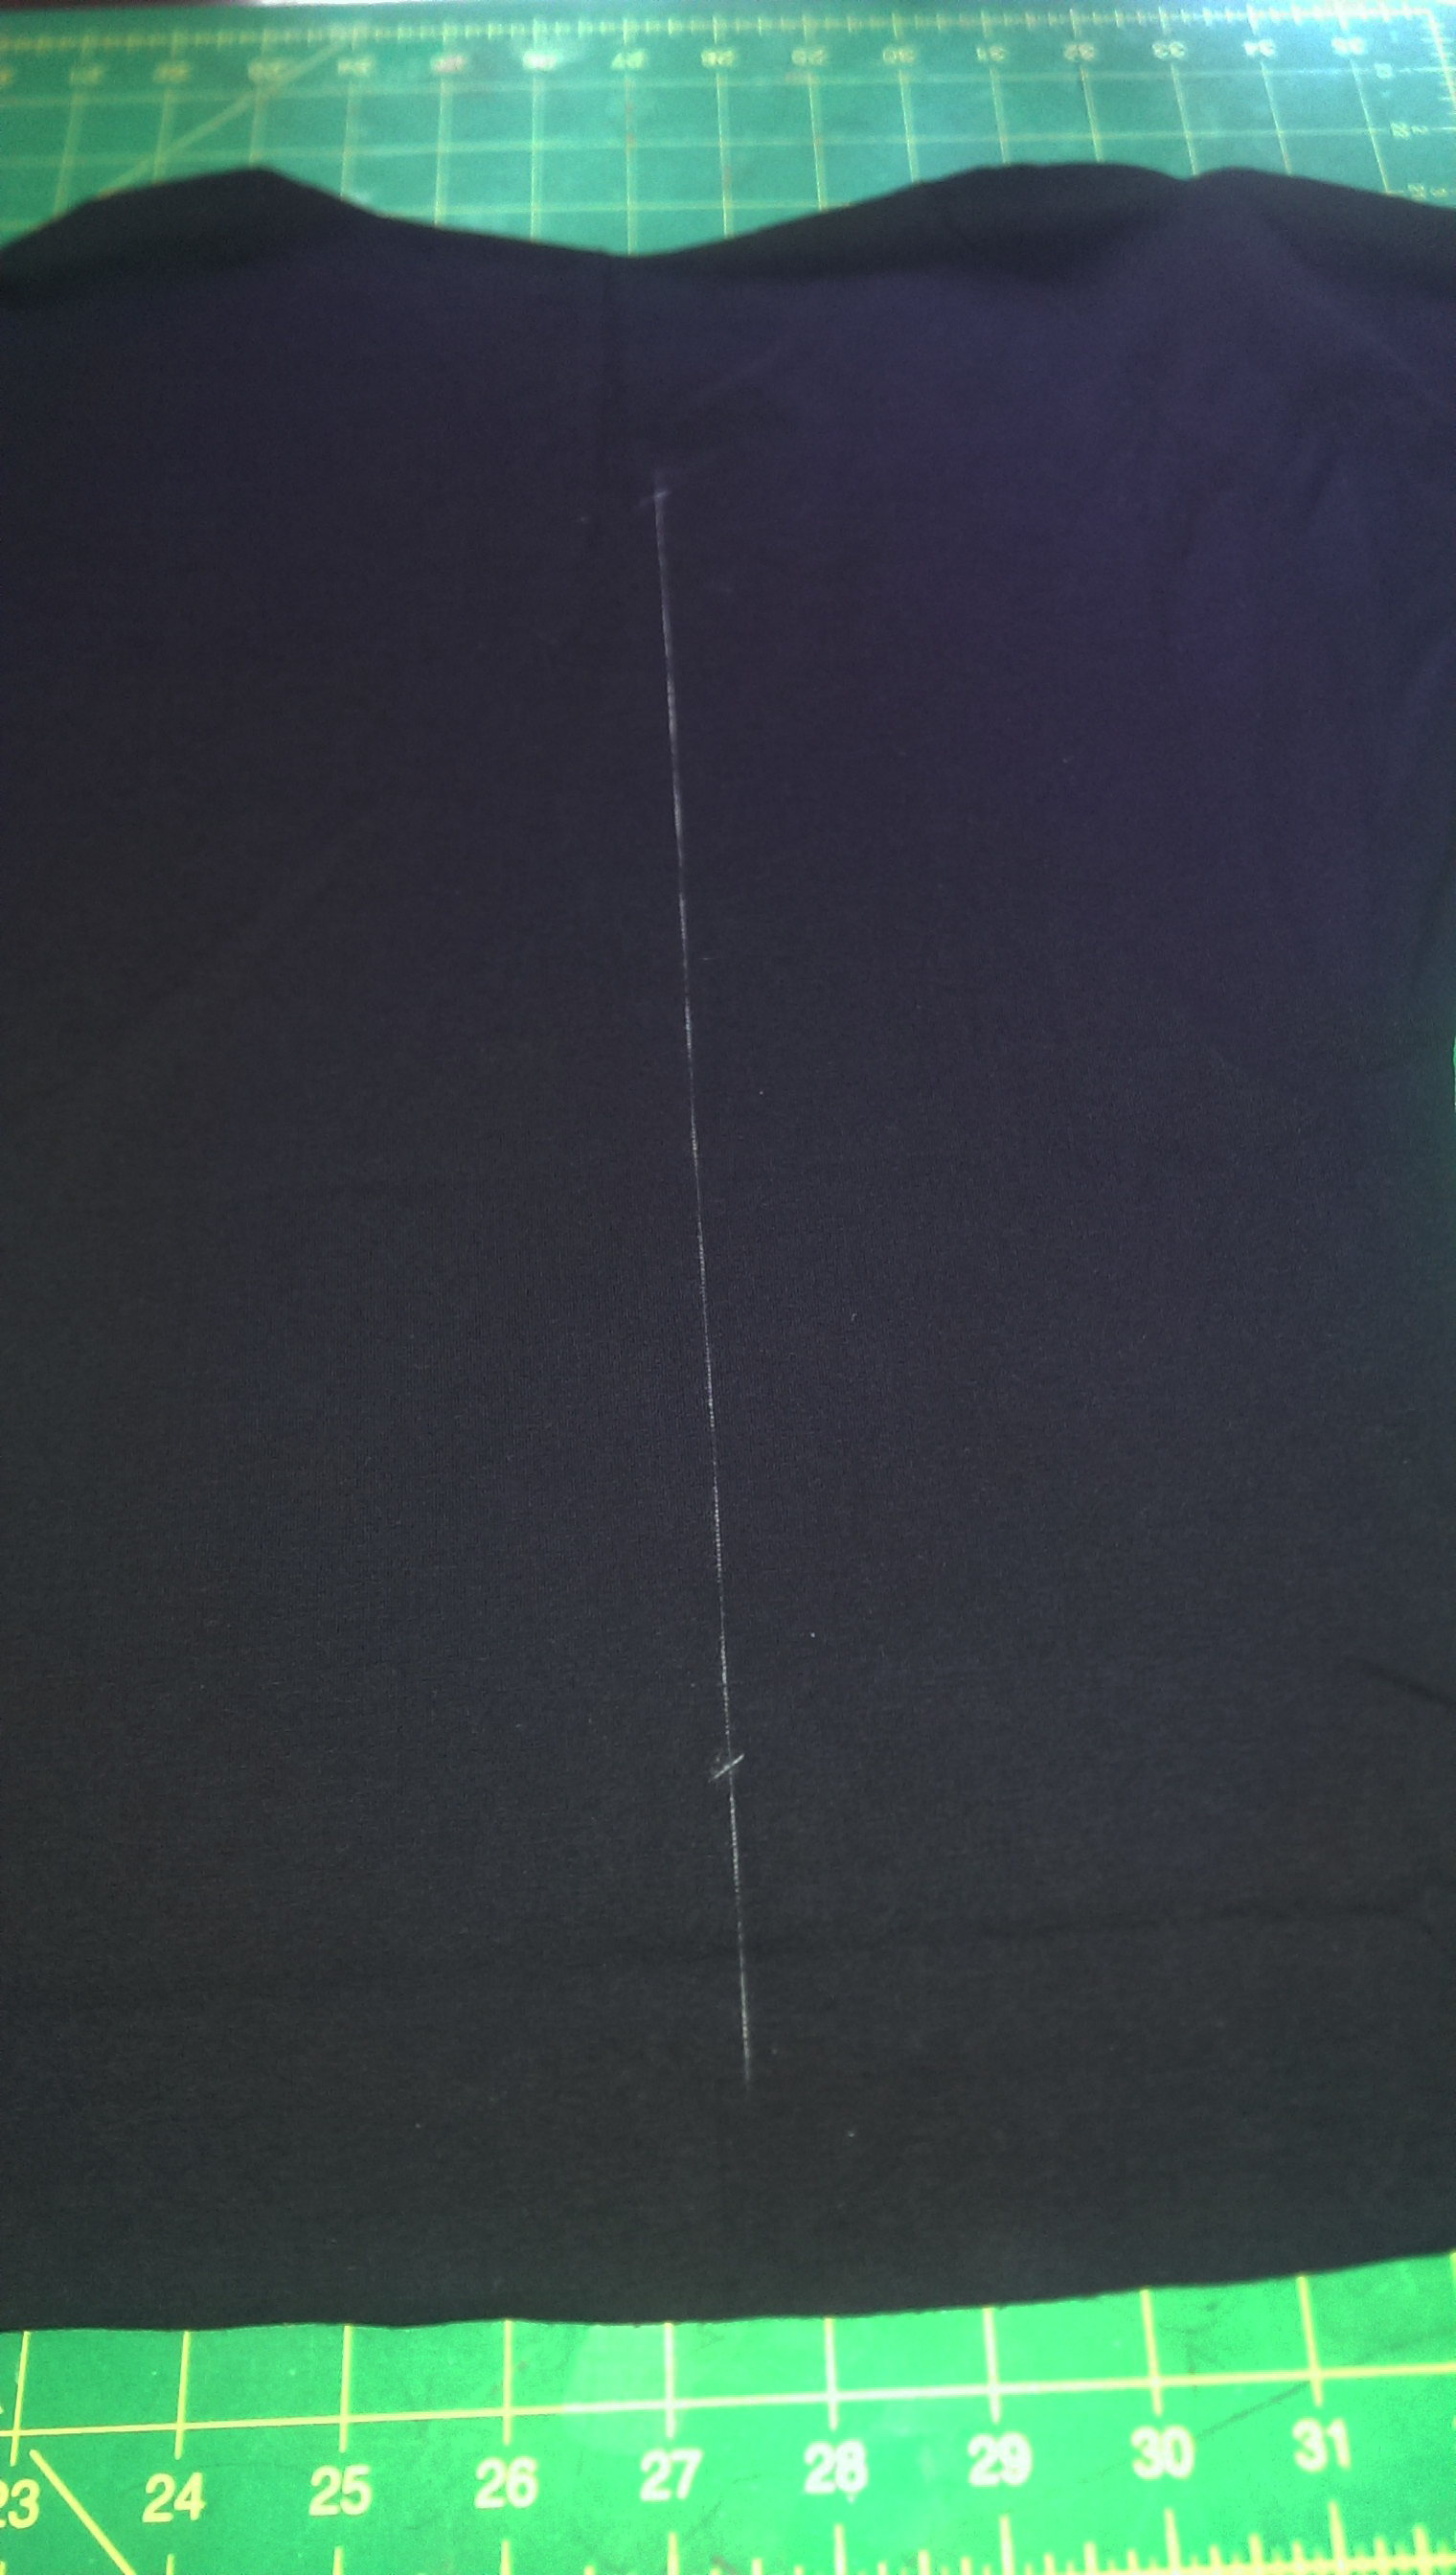
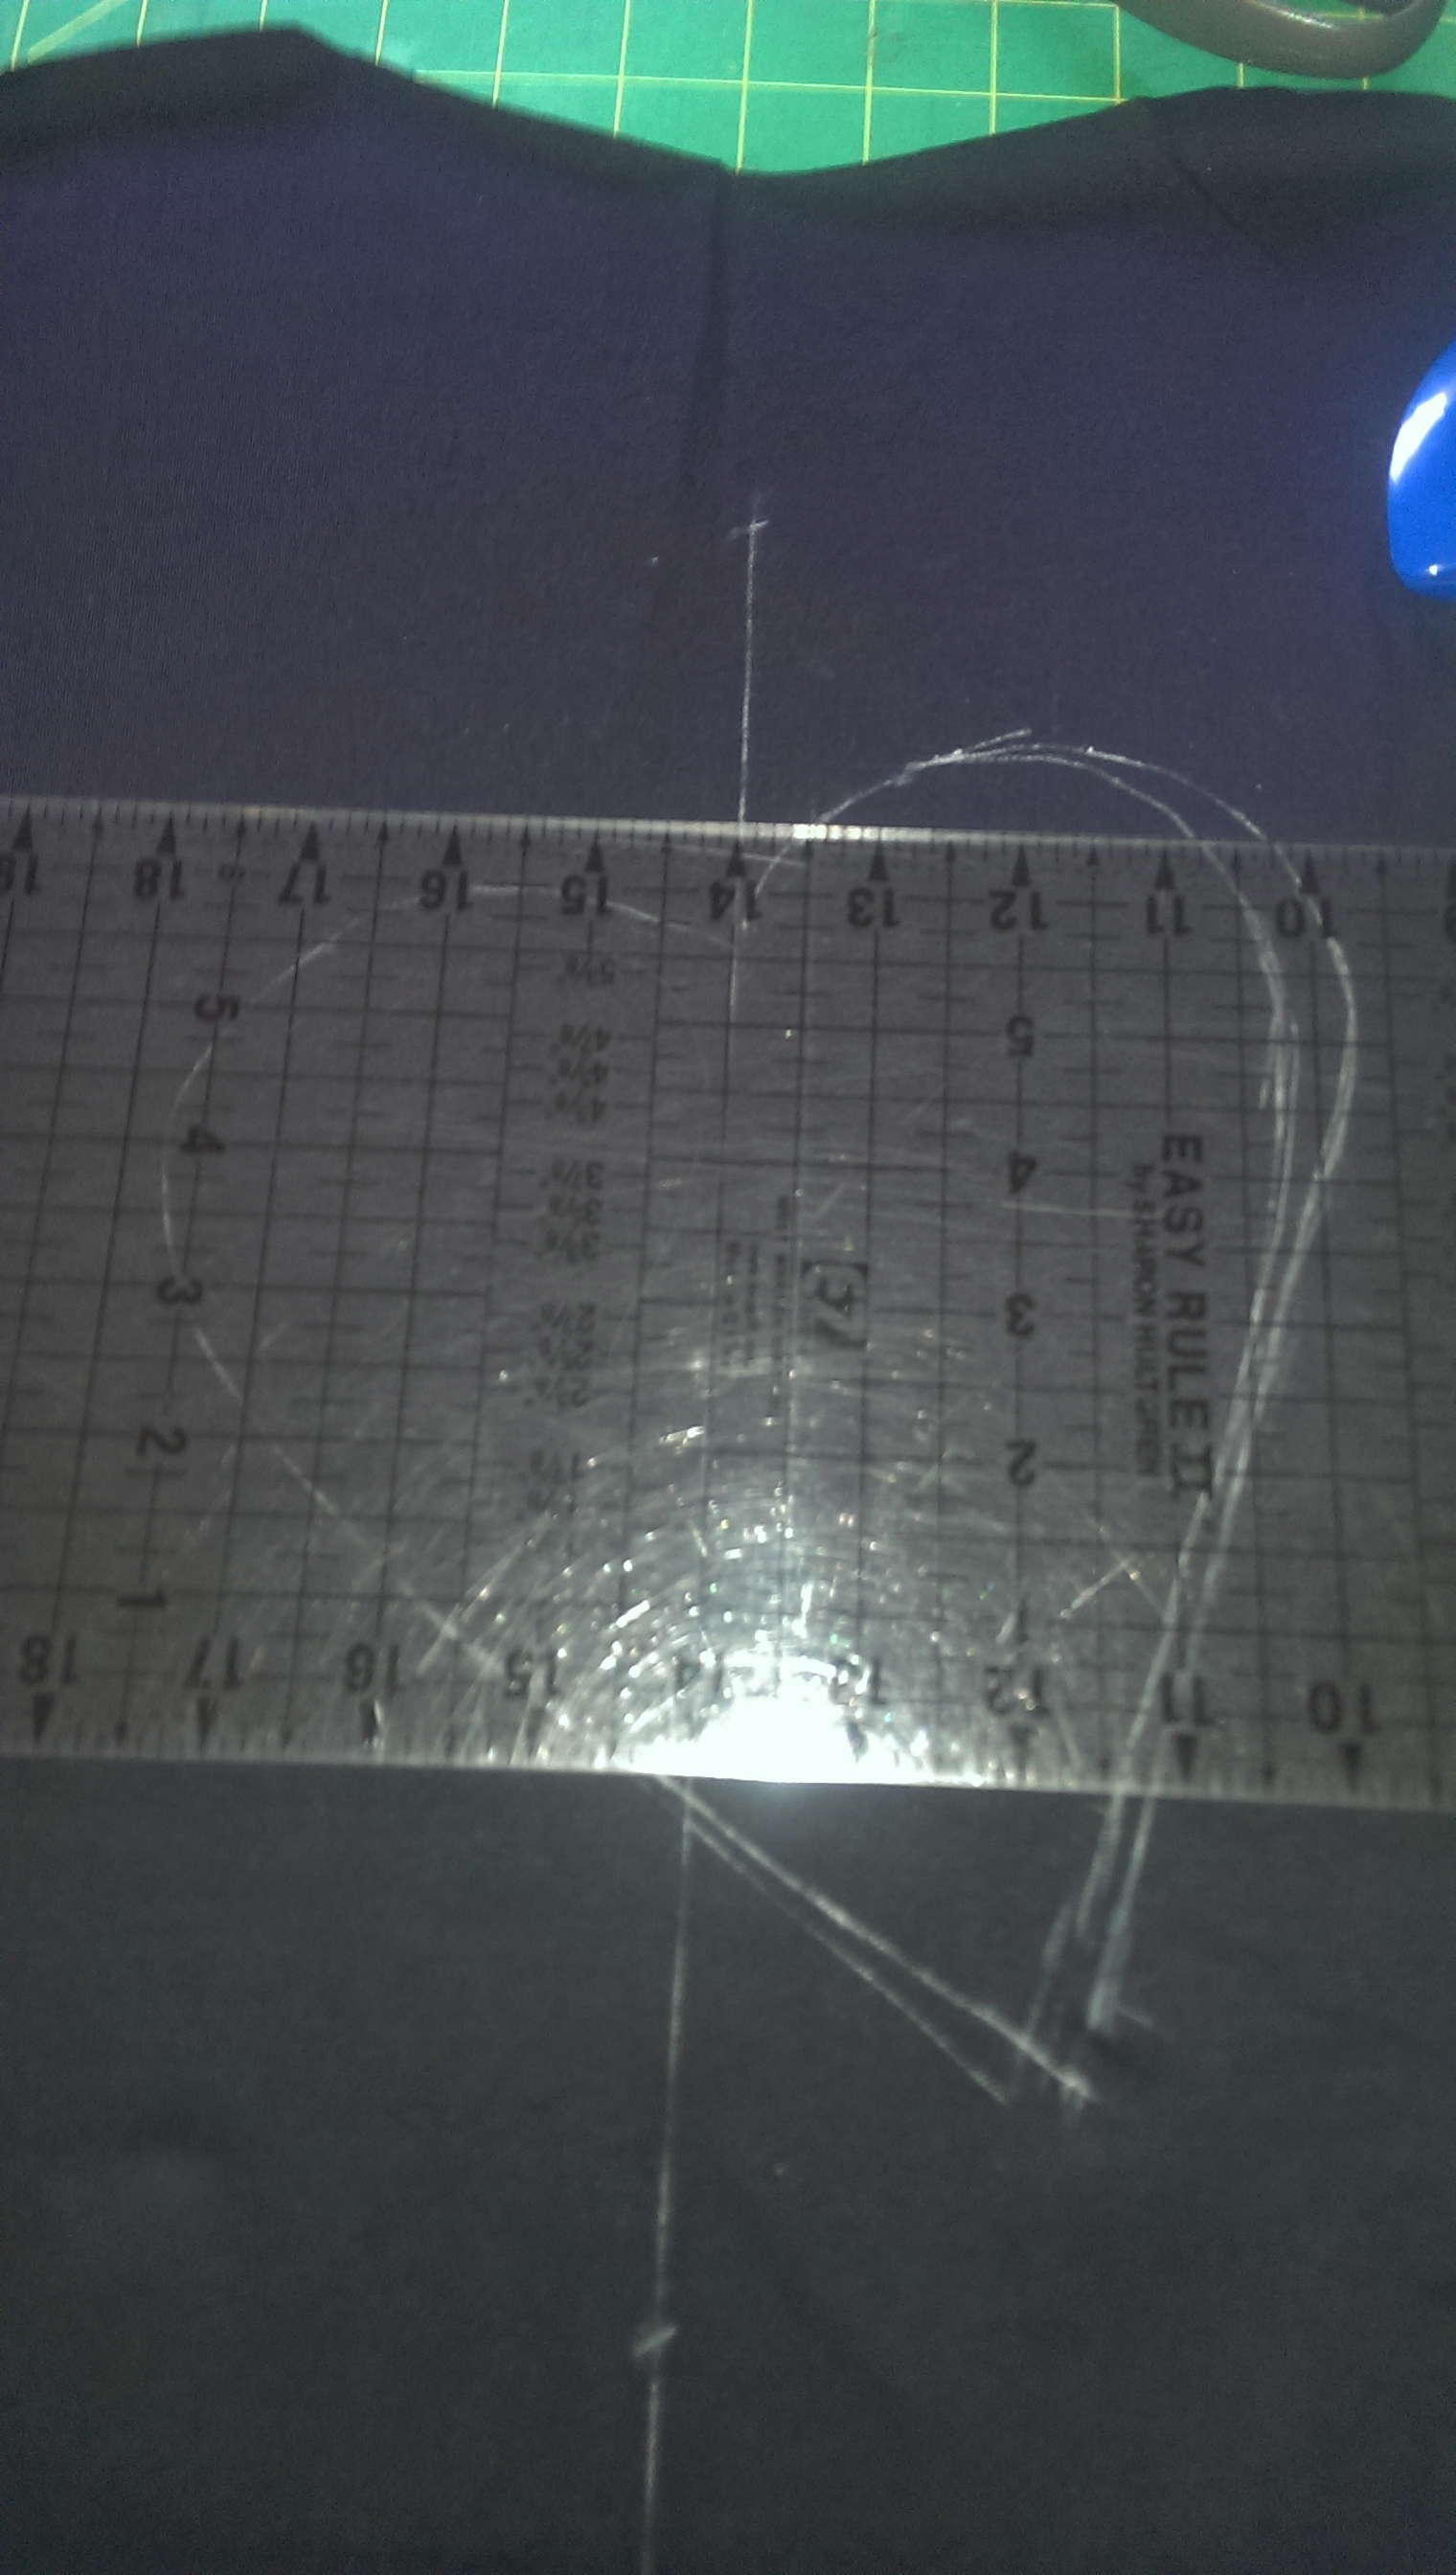
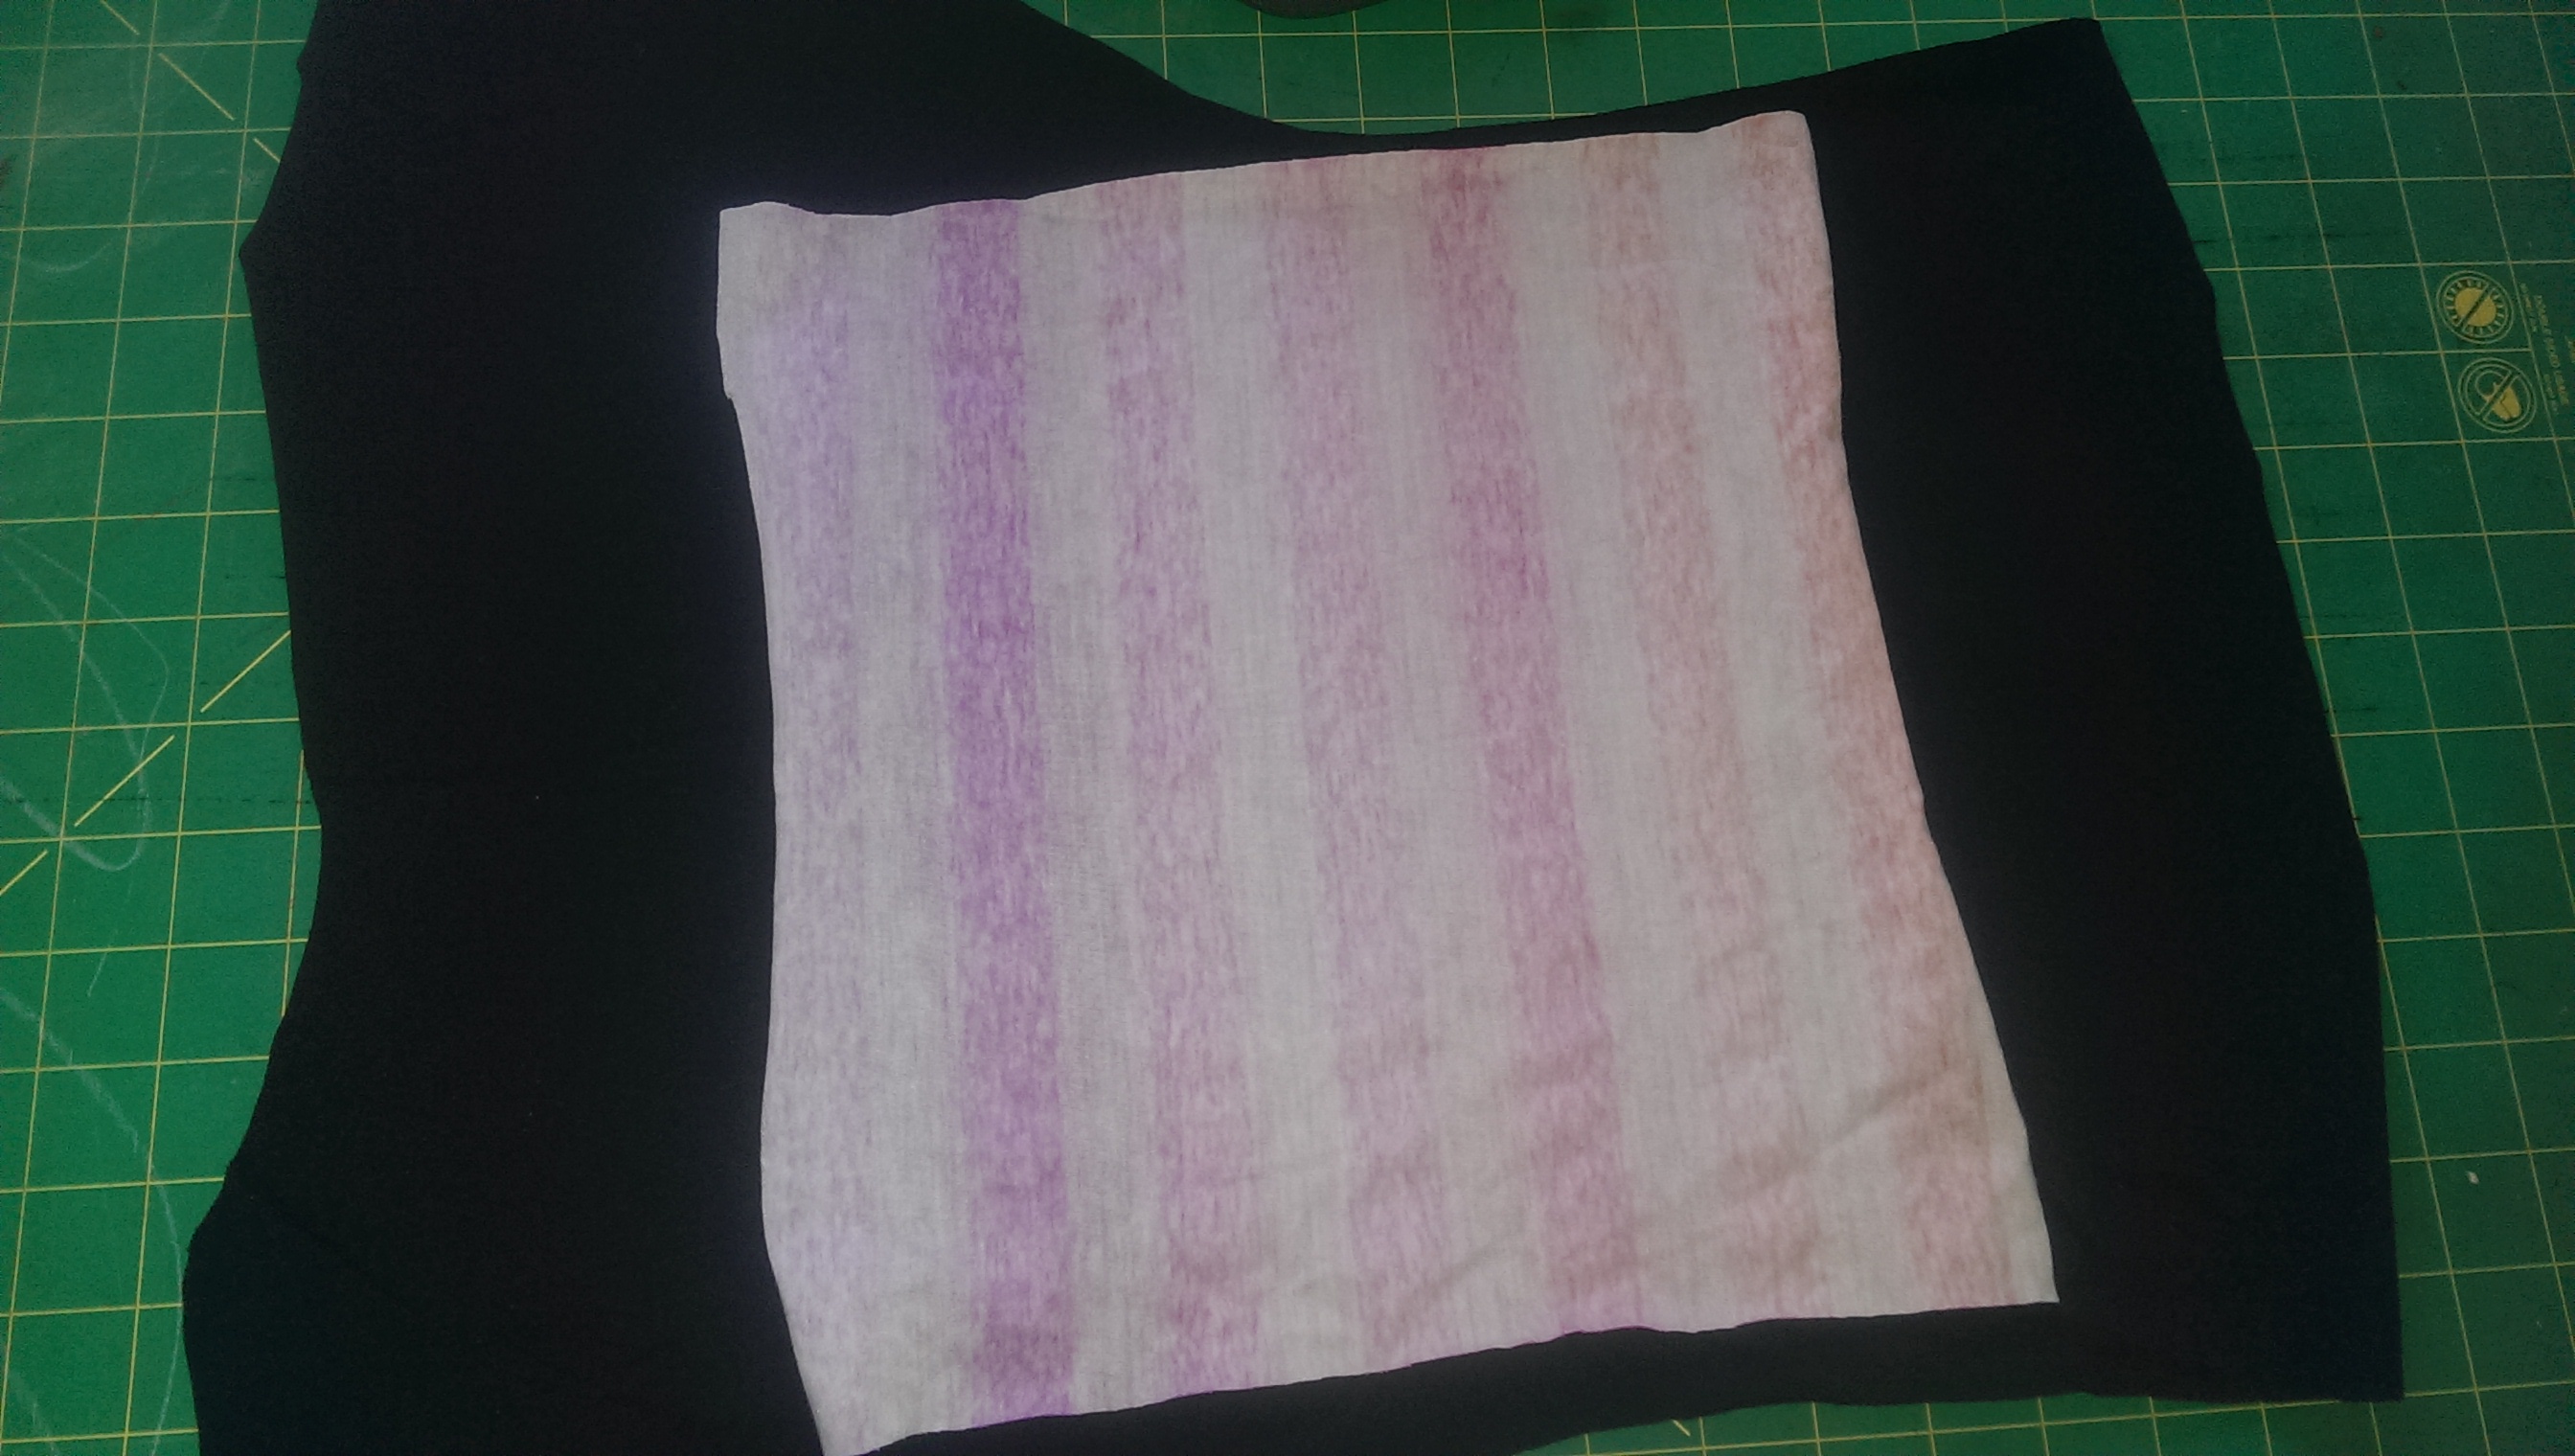
STEP 1: Cut out all your pieces according to your pattern directions making sure your jersey is cut so right side is up (otherwise it will curl in, not out). Then on the piece you are embellishing with the applique draw a line down the center with your ruler & chalk
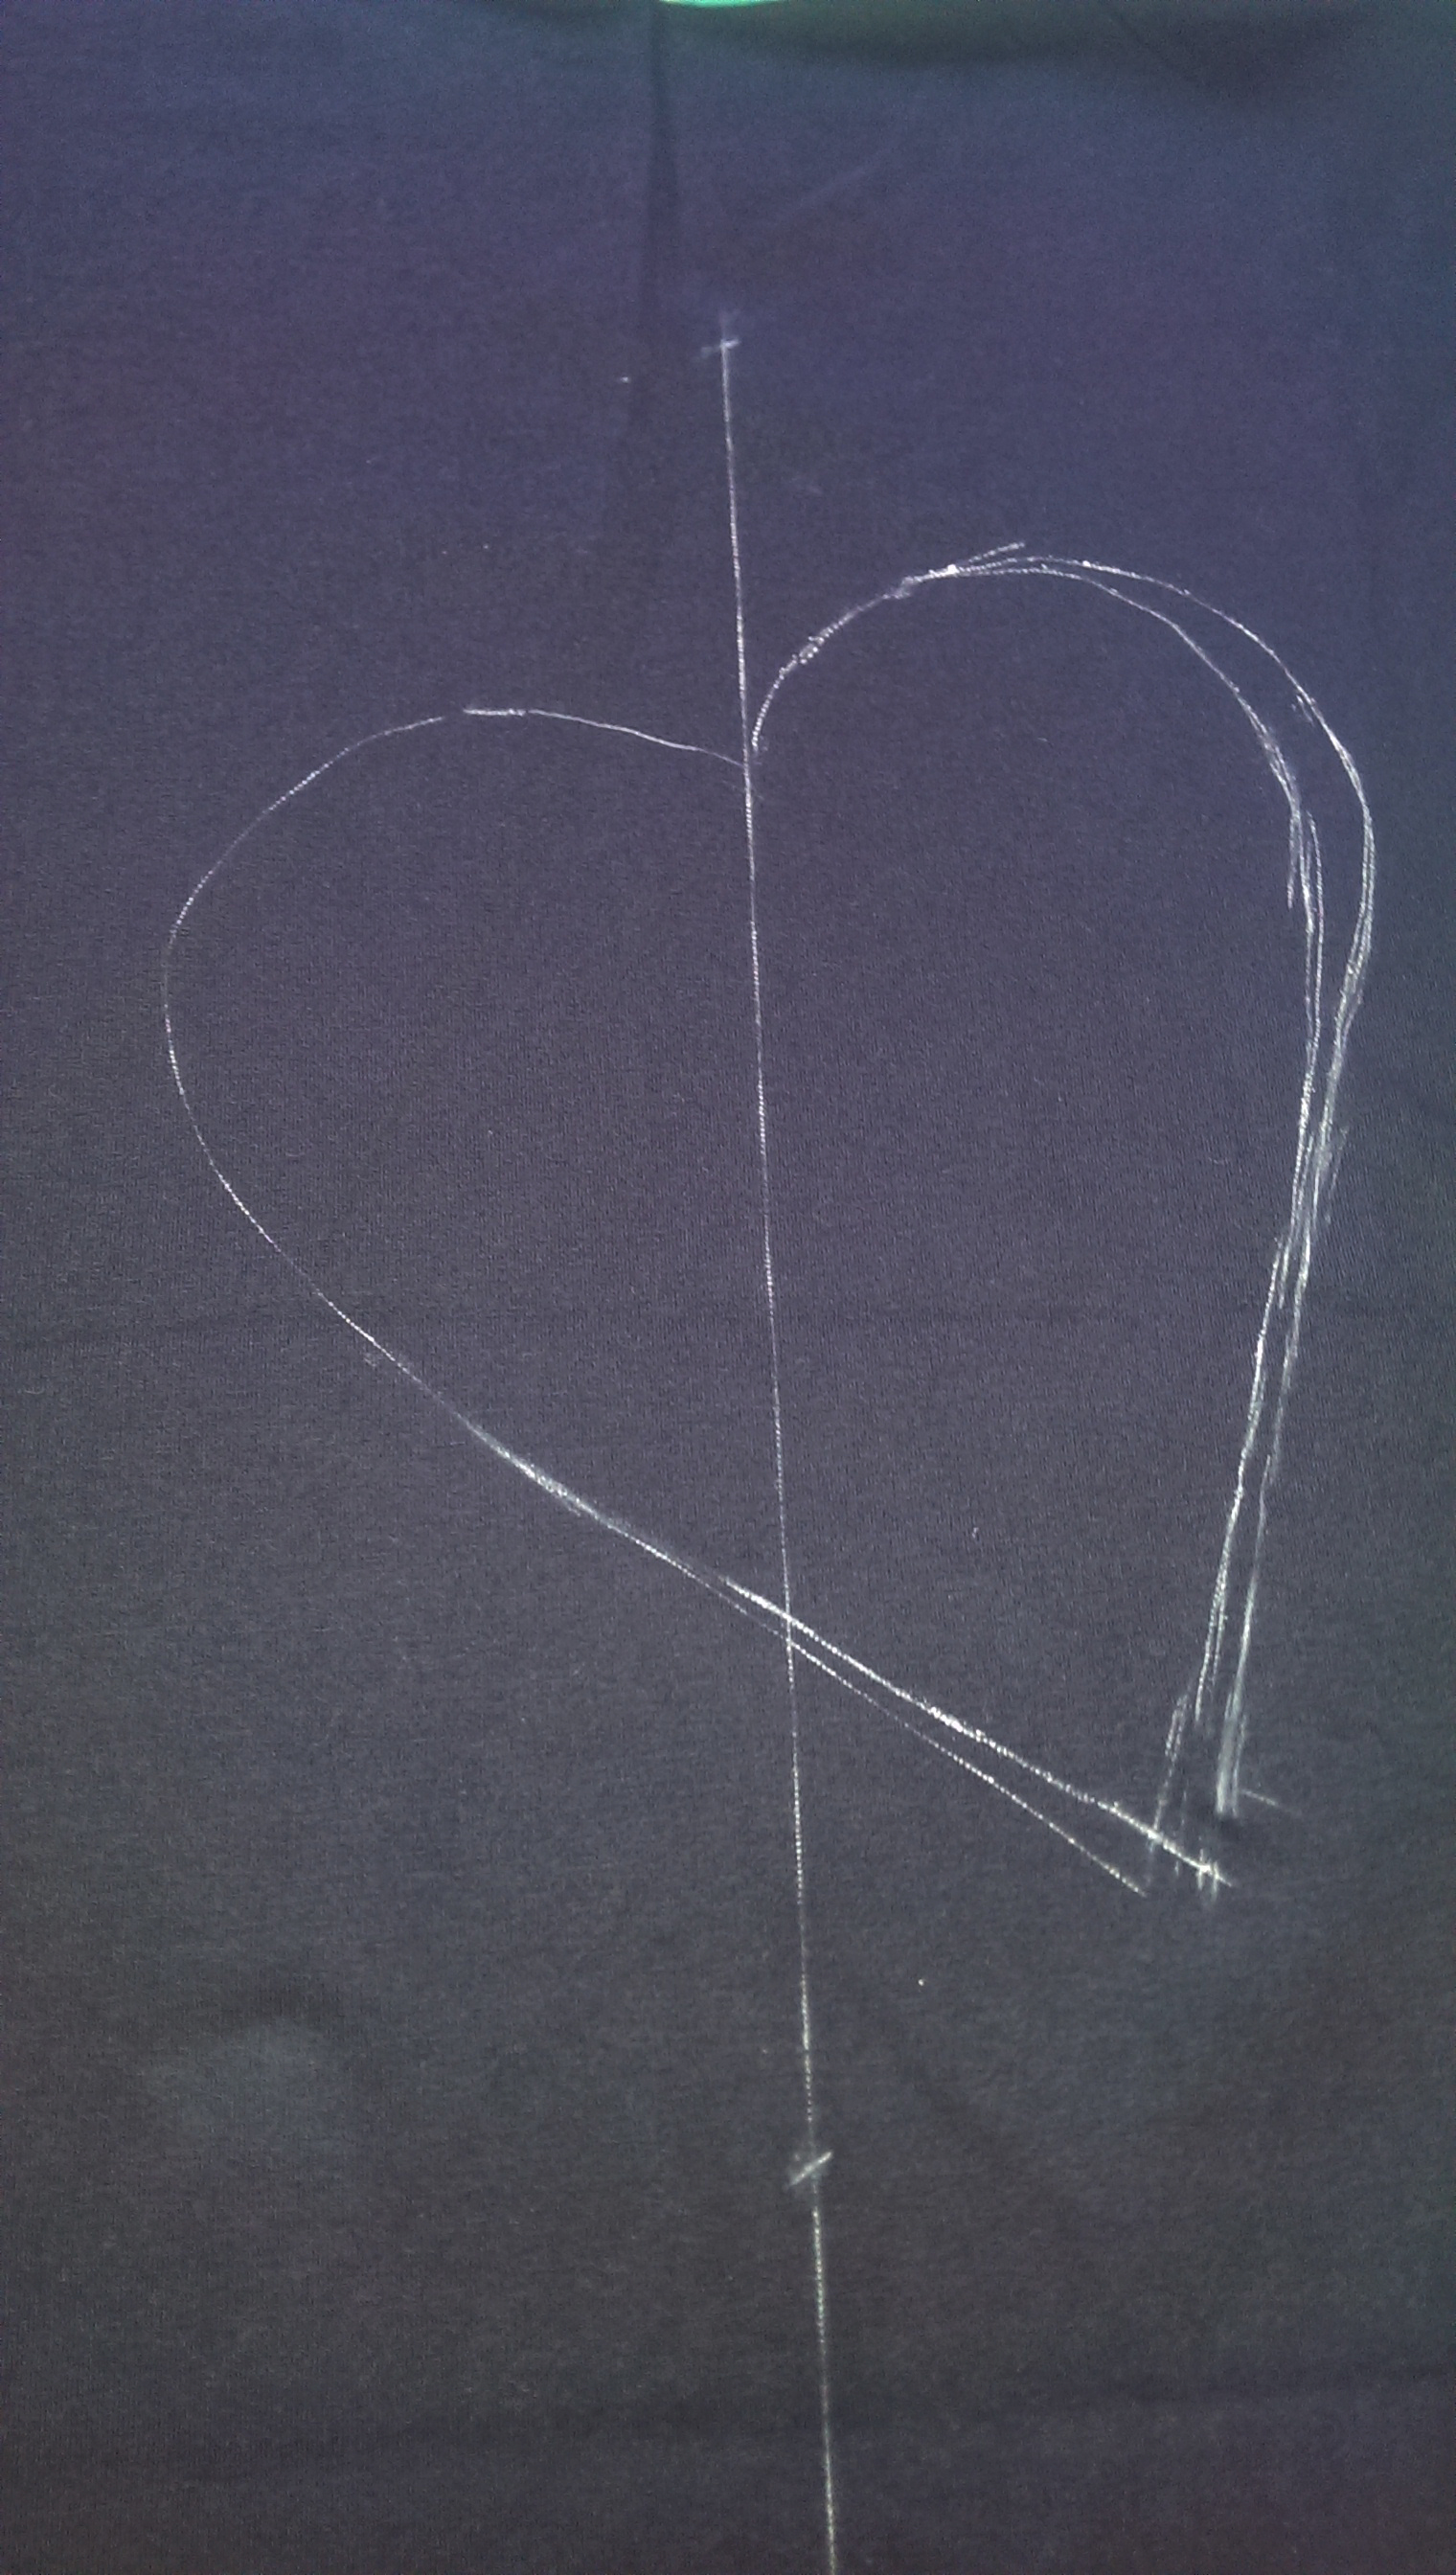
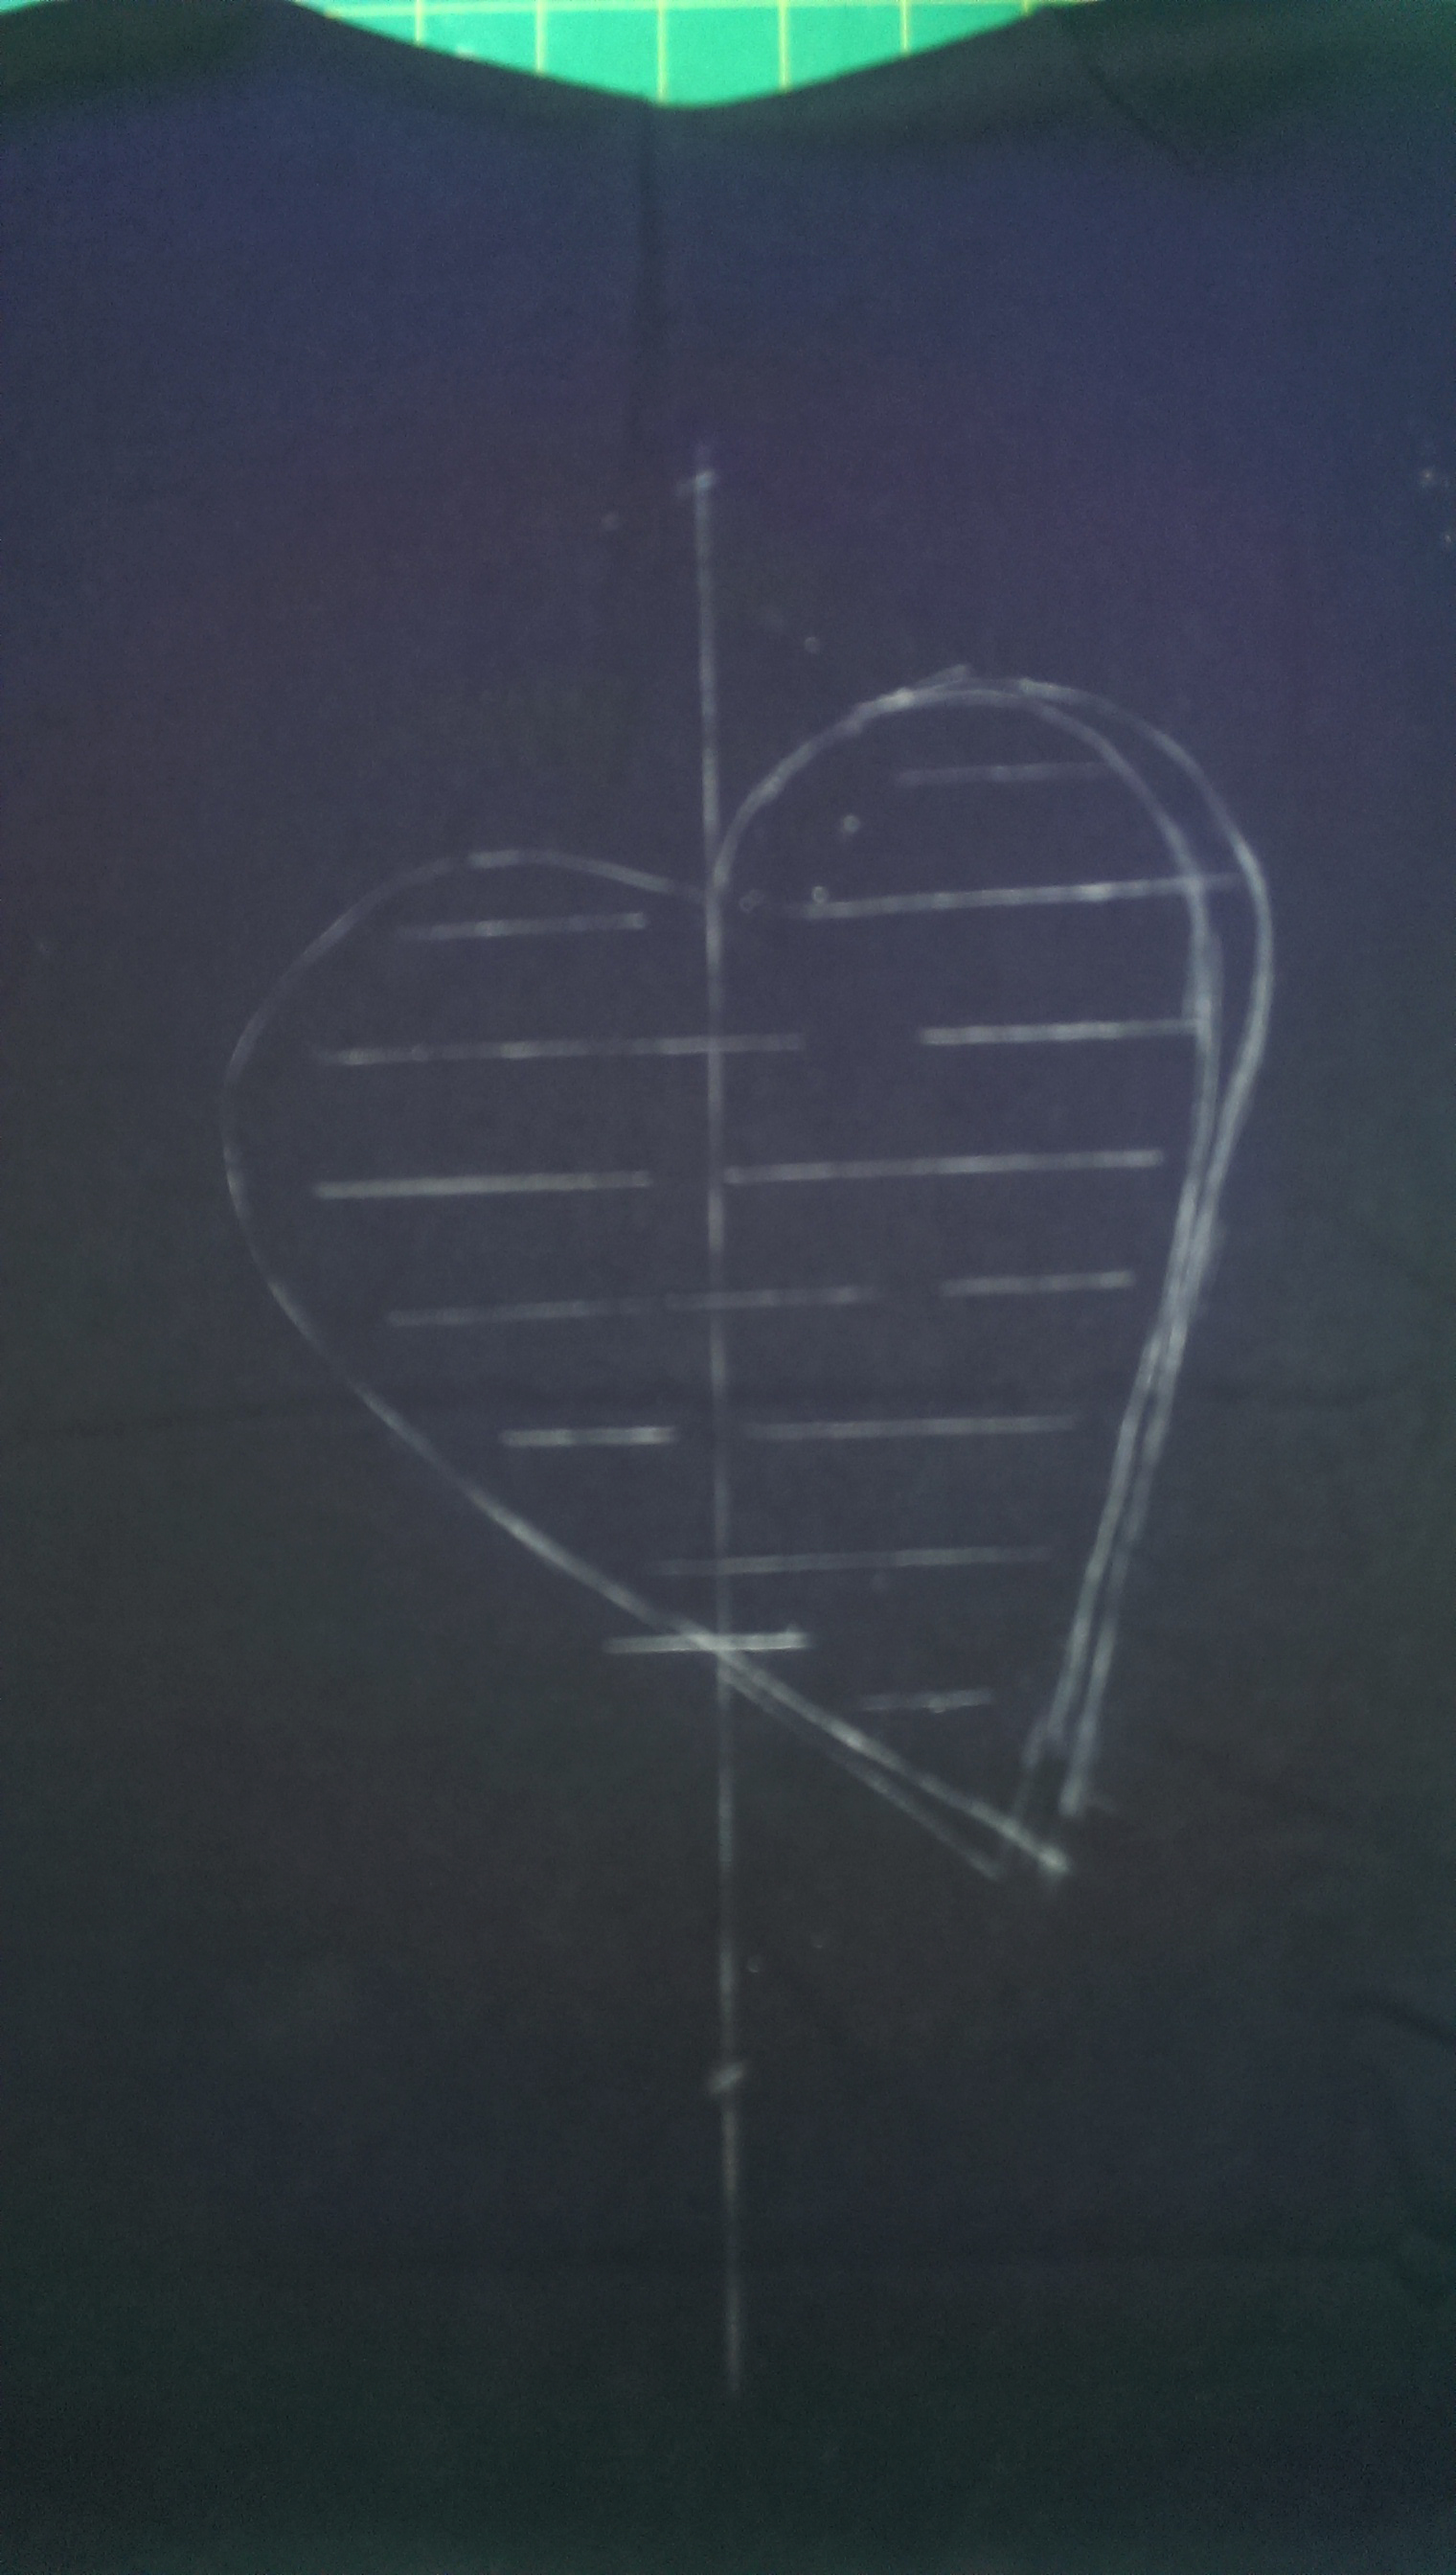
STEP 2: Freehand your shape/design on the TOP/RIGHT SIDE of the fabric (this is why we use washable)
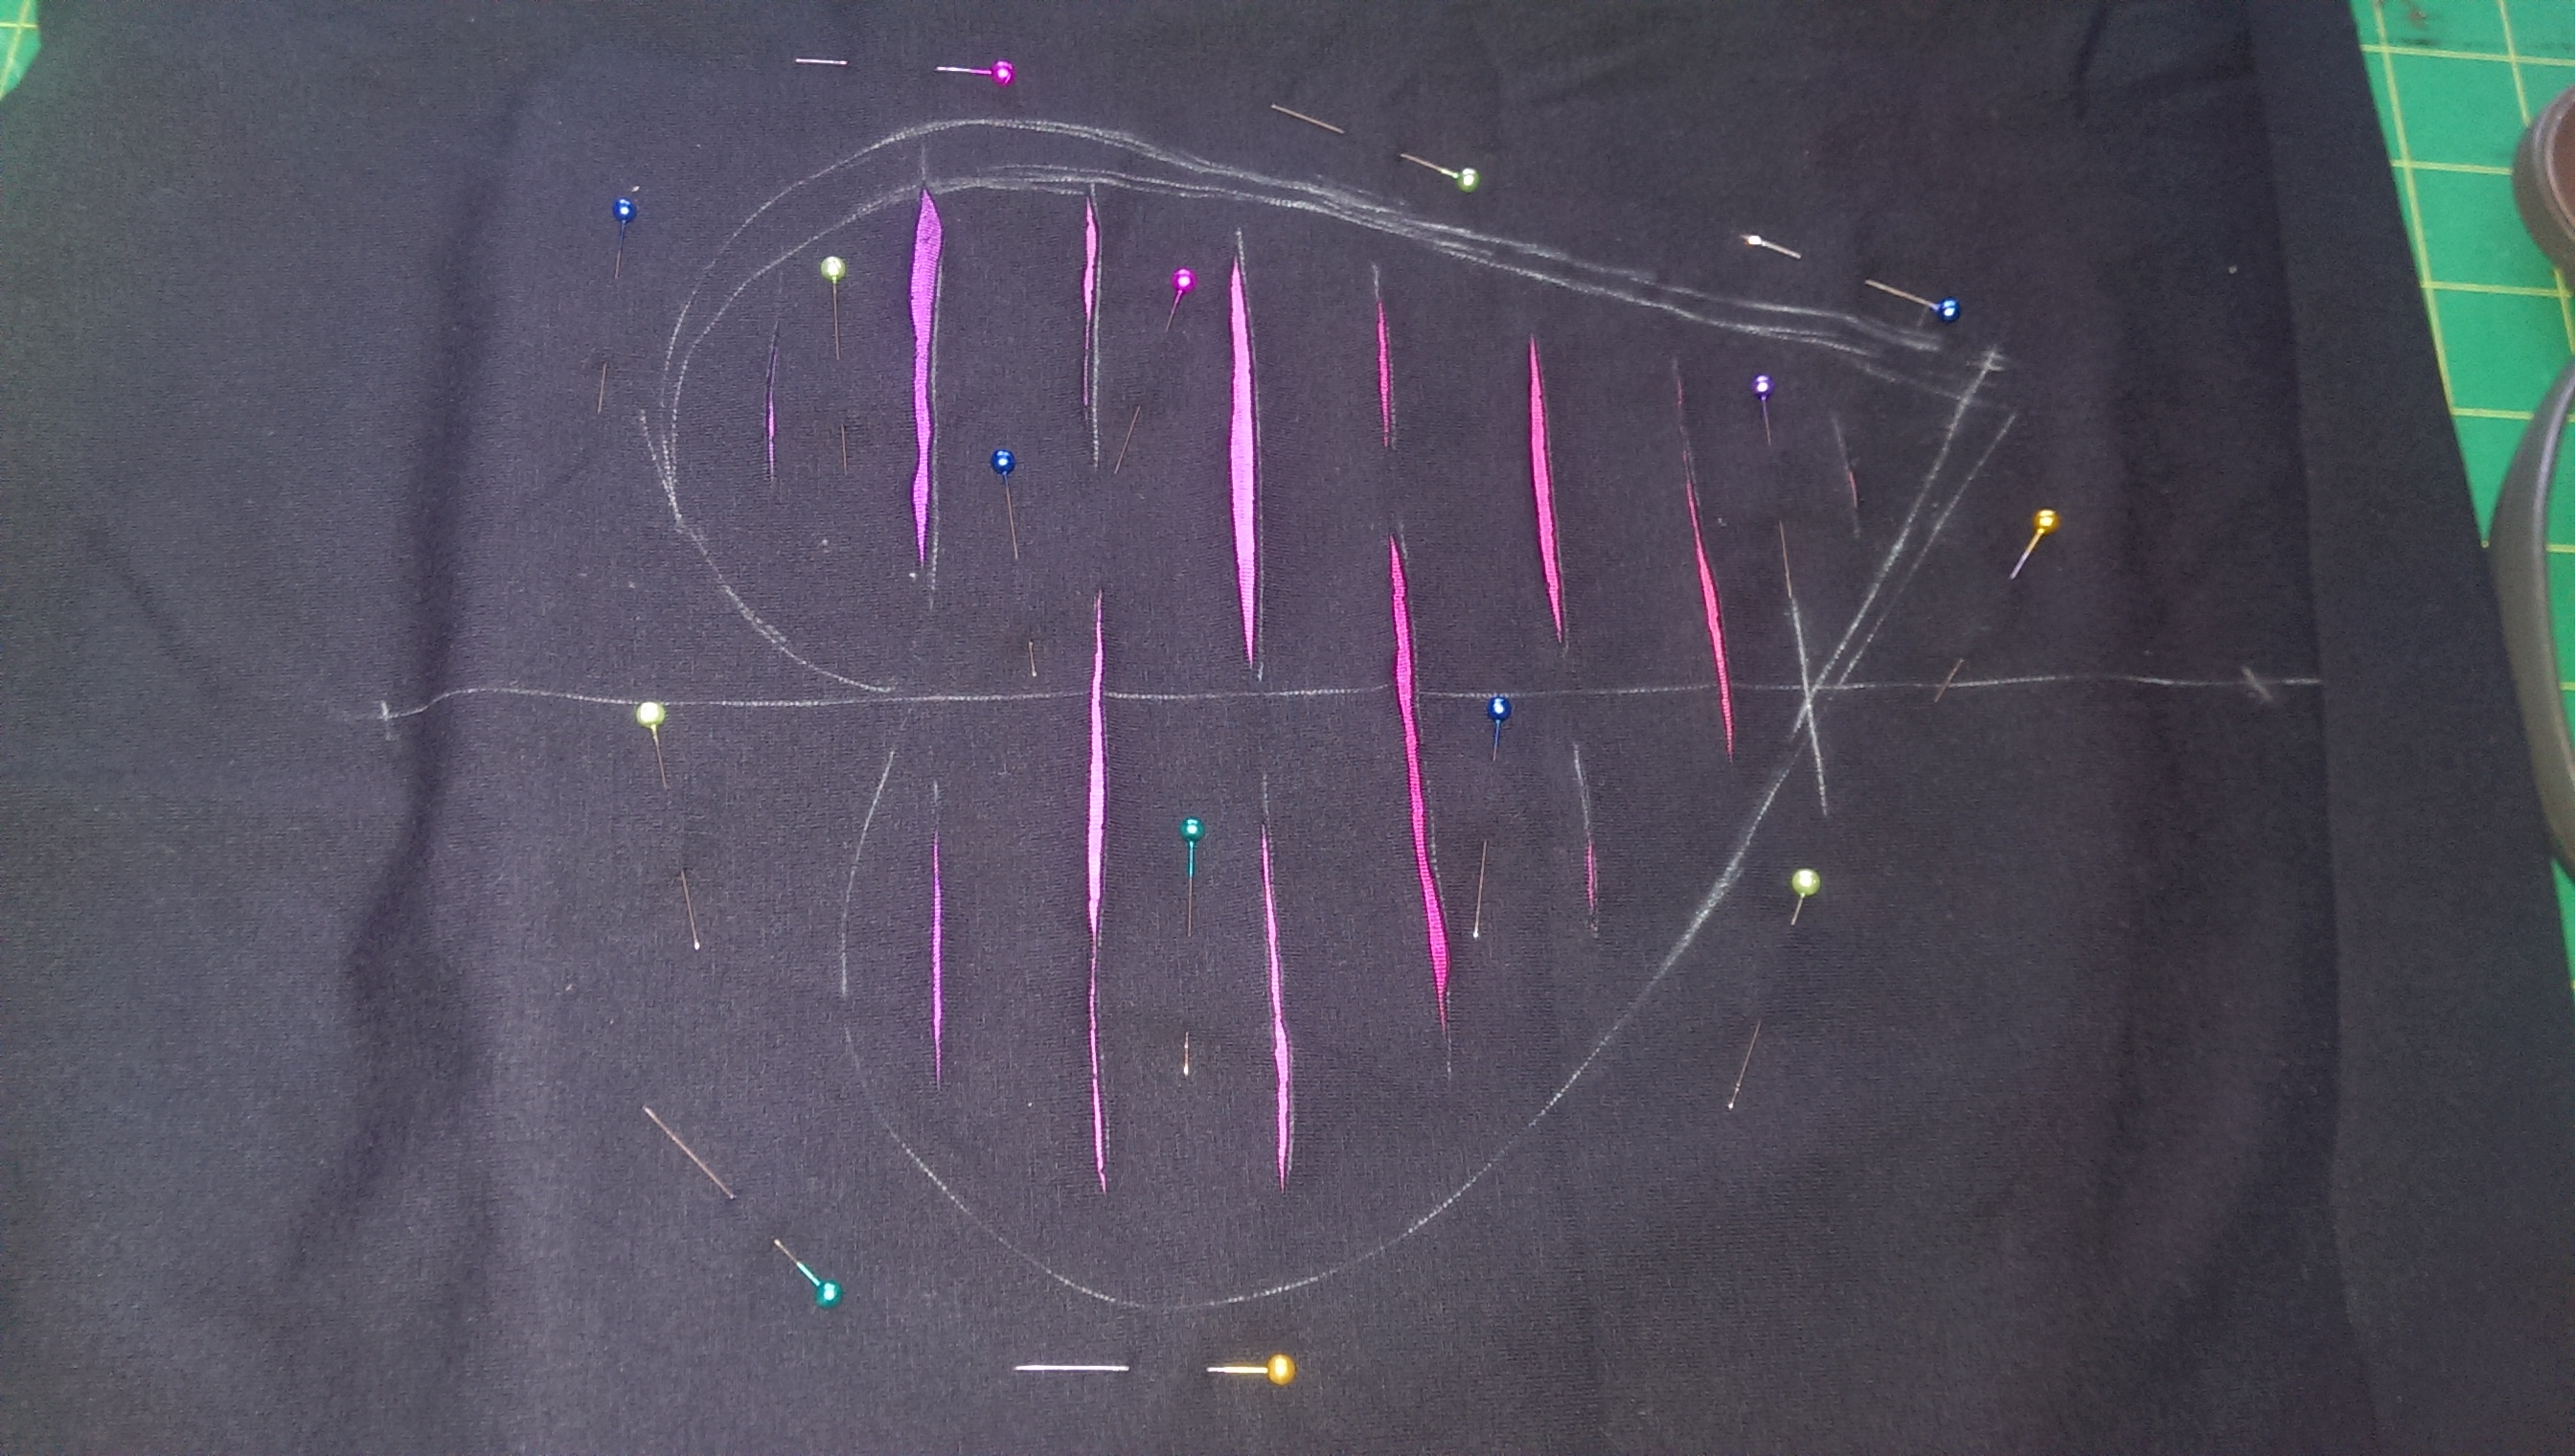
STEP 3: Line the center line up with the lines on your ruler like below to keep it straight & staggered random length chalk lines across the shape making sure to stay 1/4 inch away from your shape lines & the end of other lines.
When finished with one row move your ruler down 1″ & repeat until your shape is filled
STEP 4: Using a rotary cutter or sharp scissors cut along all the lines inside the shape (NOT the shape outline)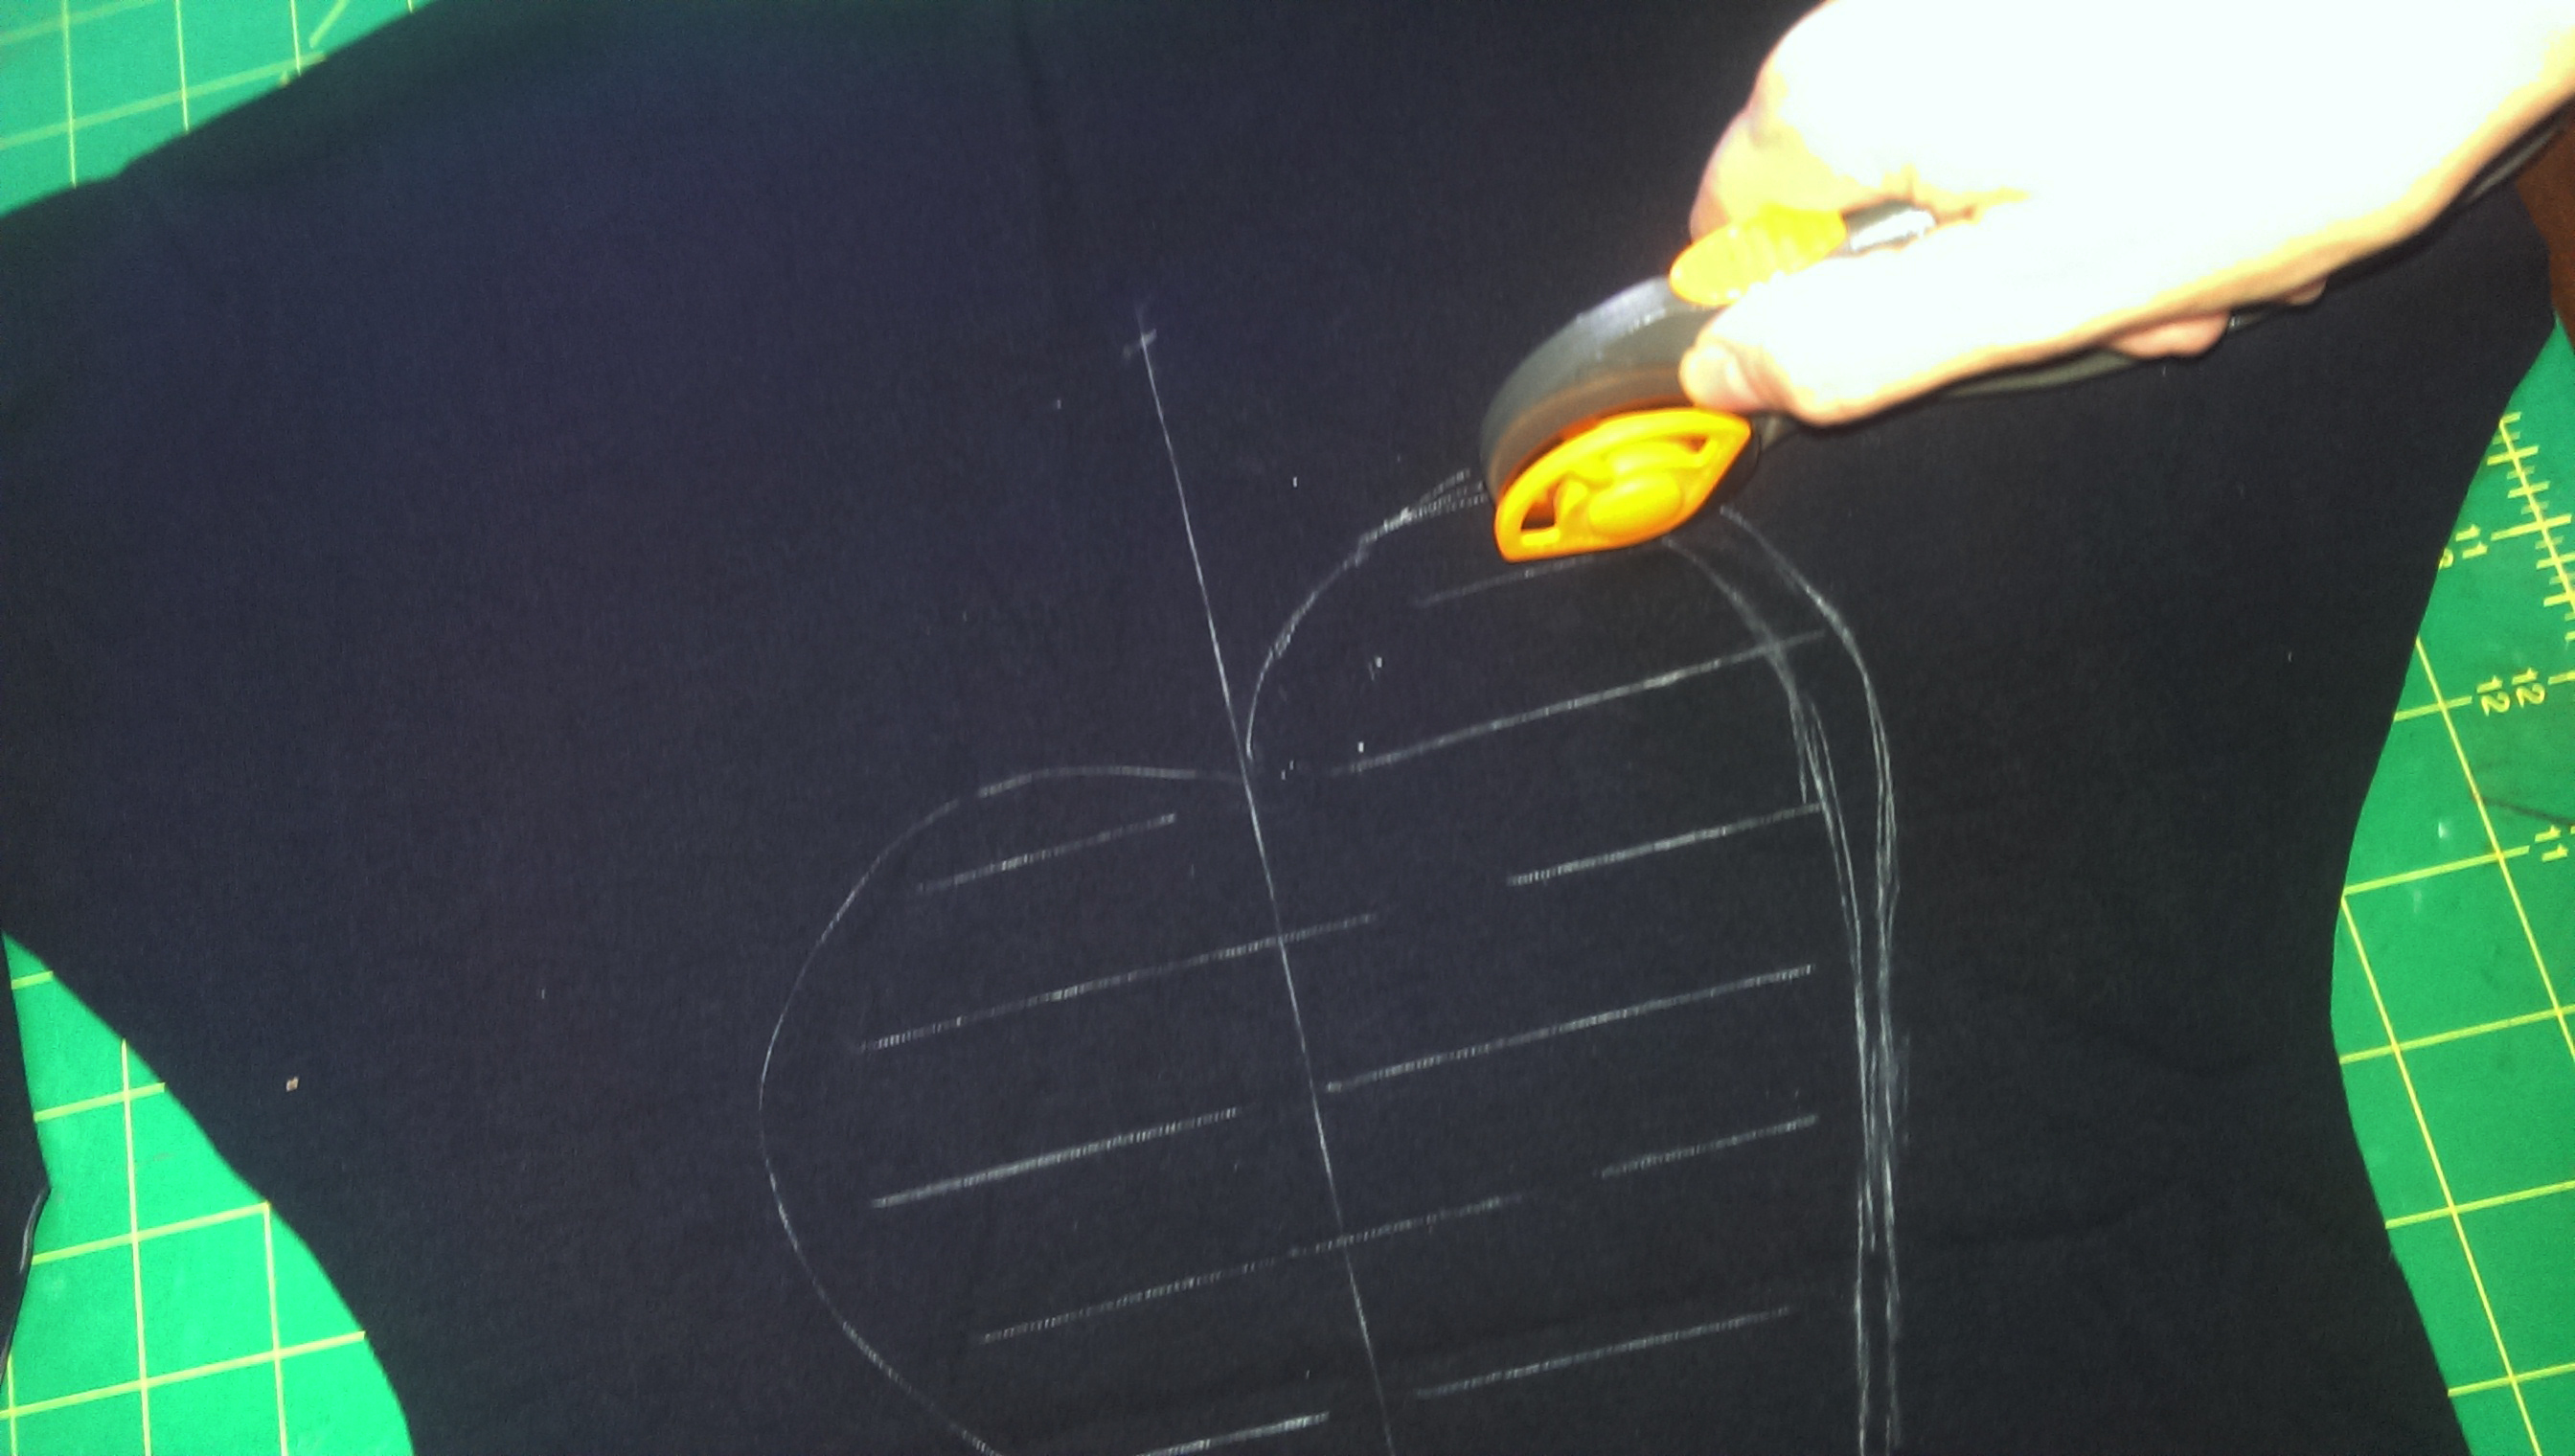
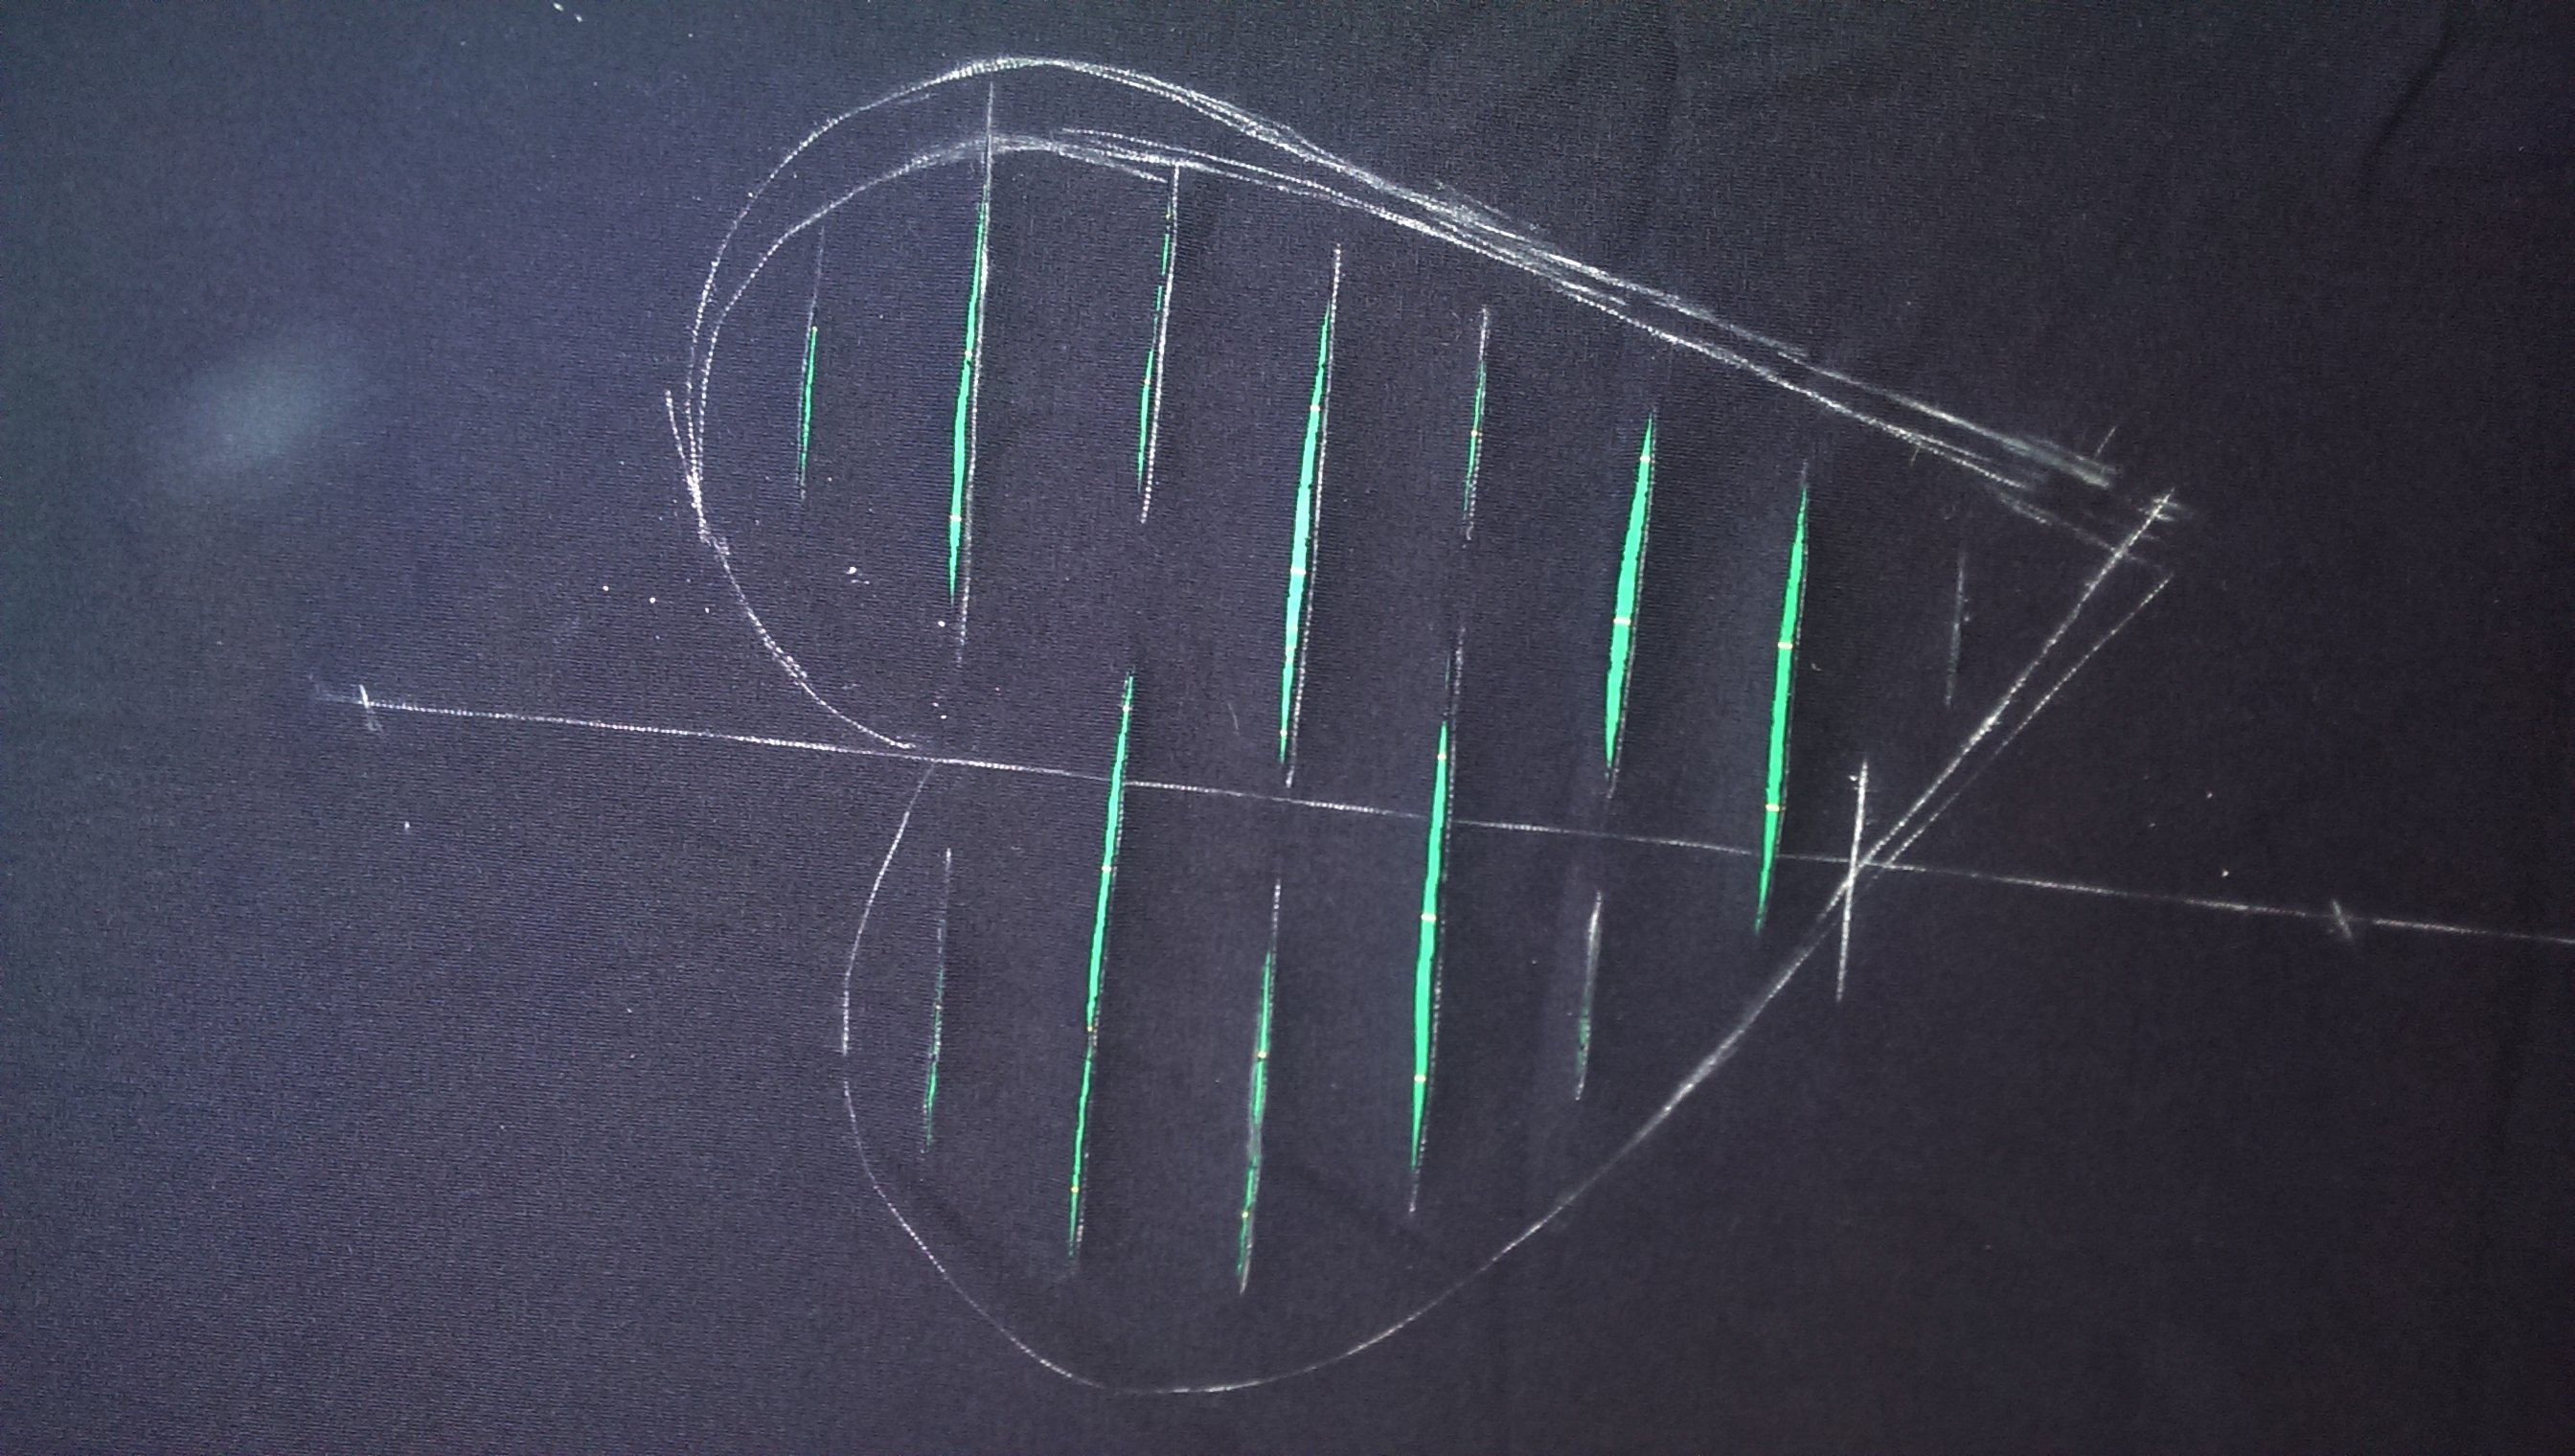
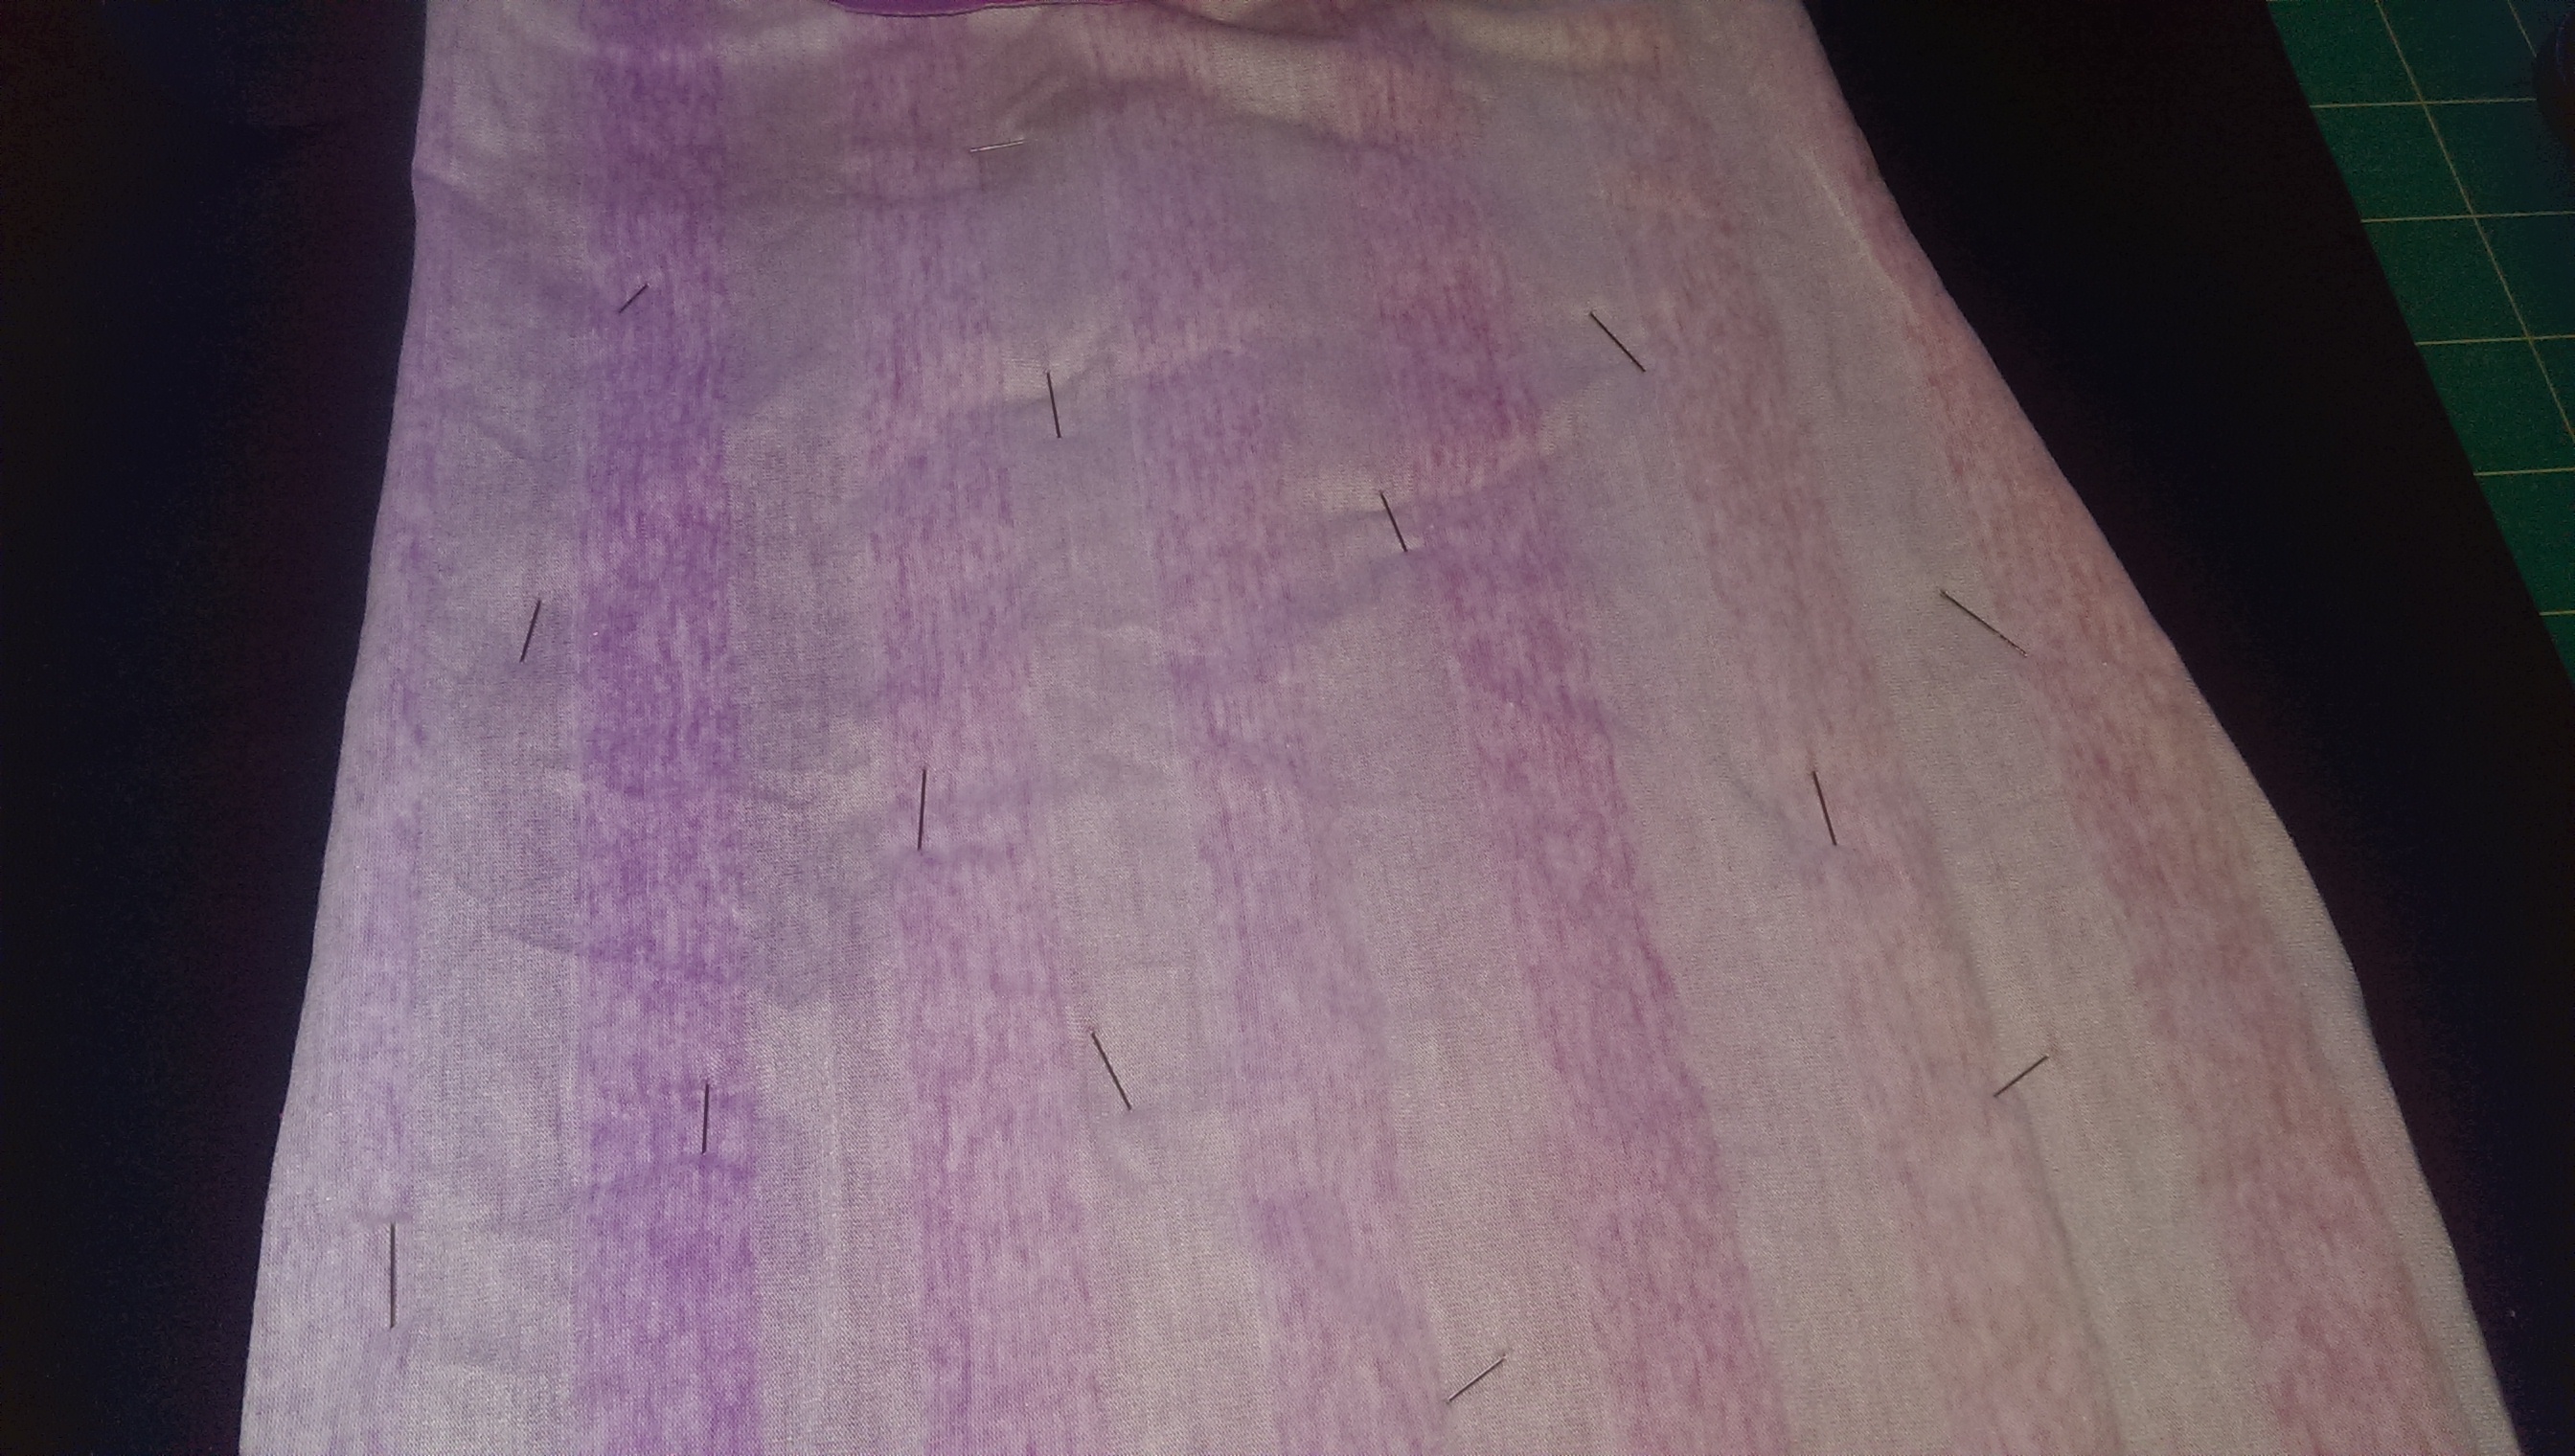
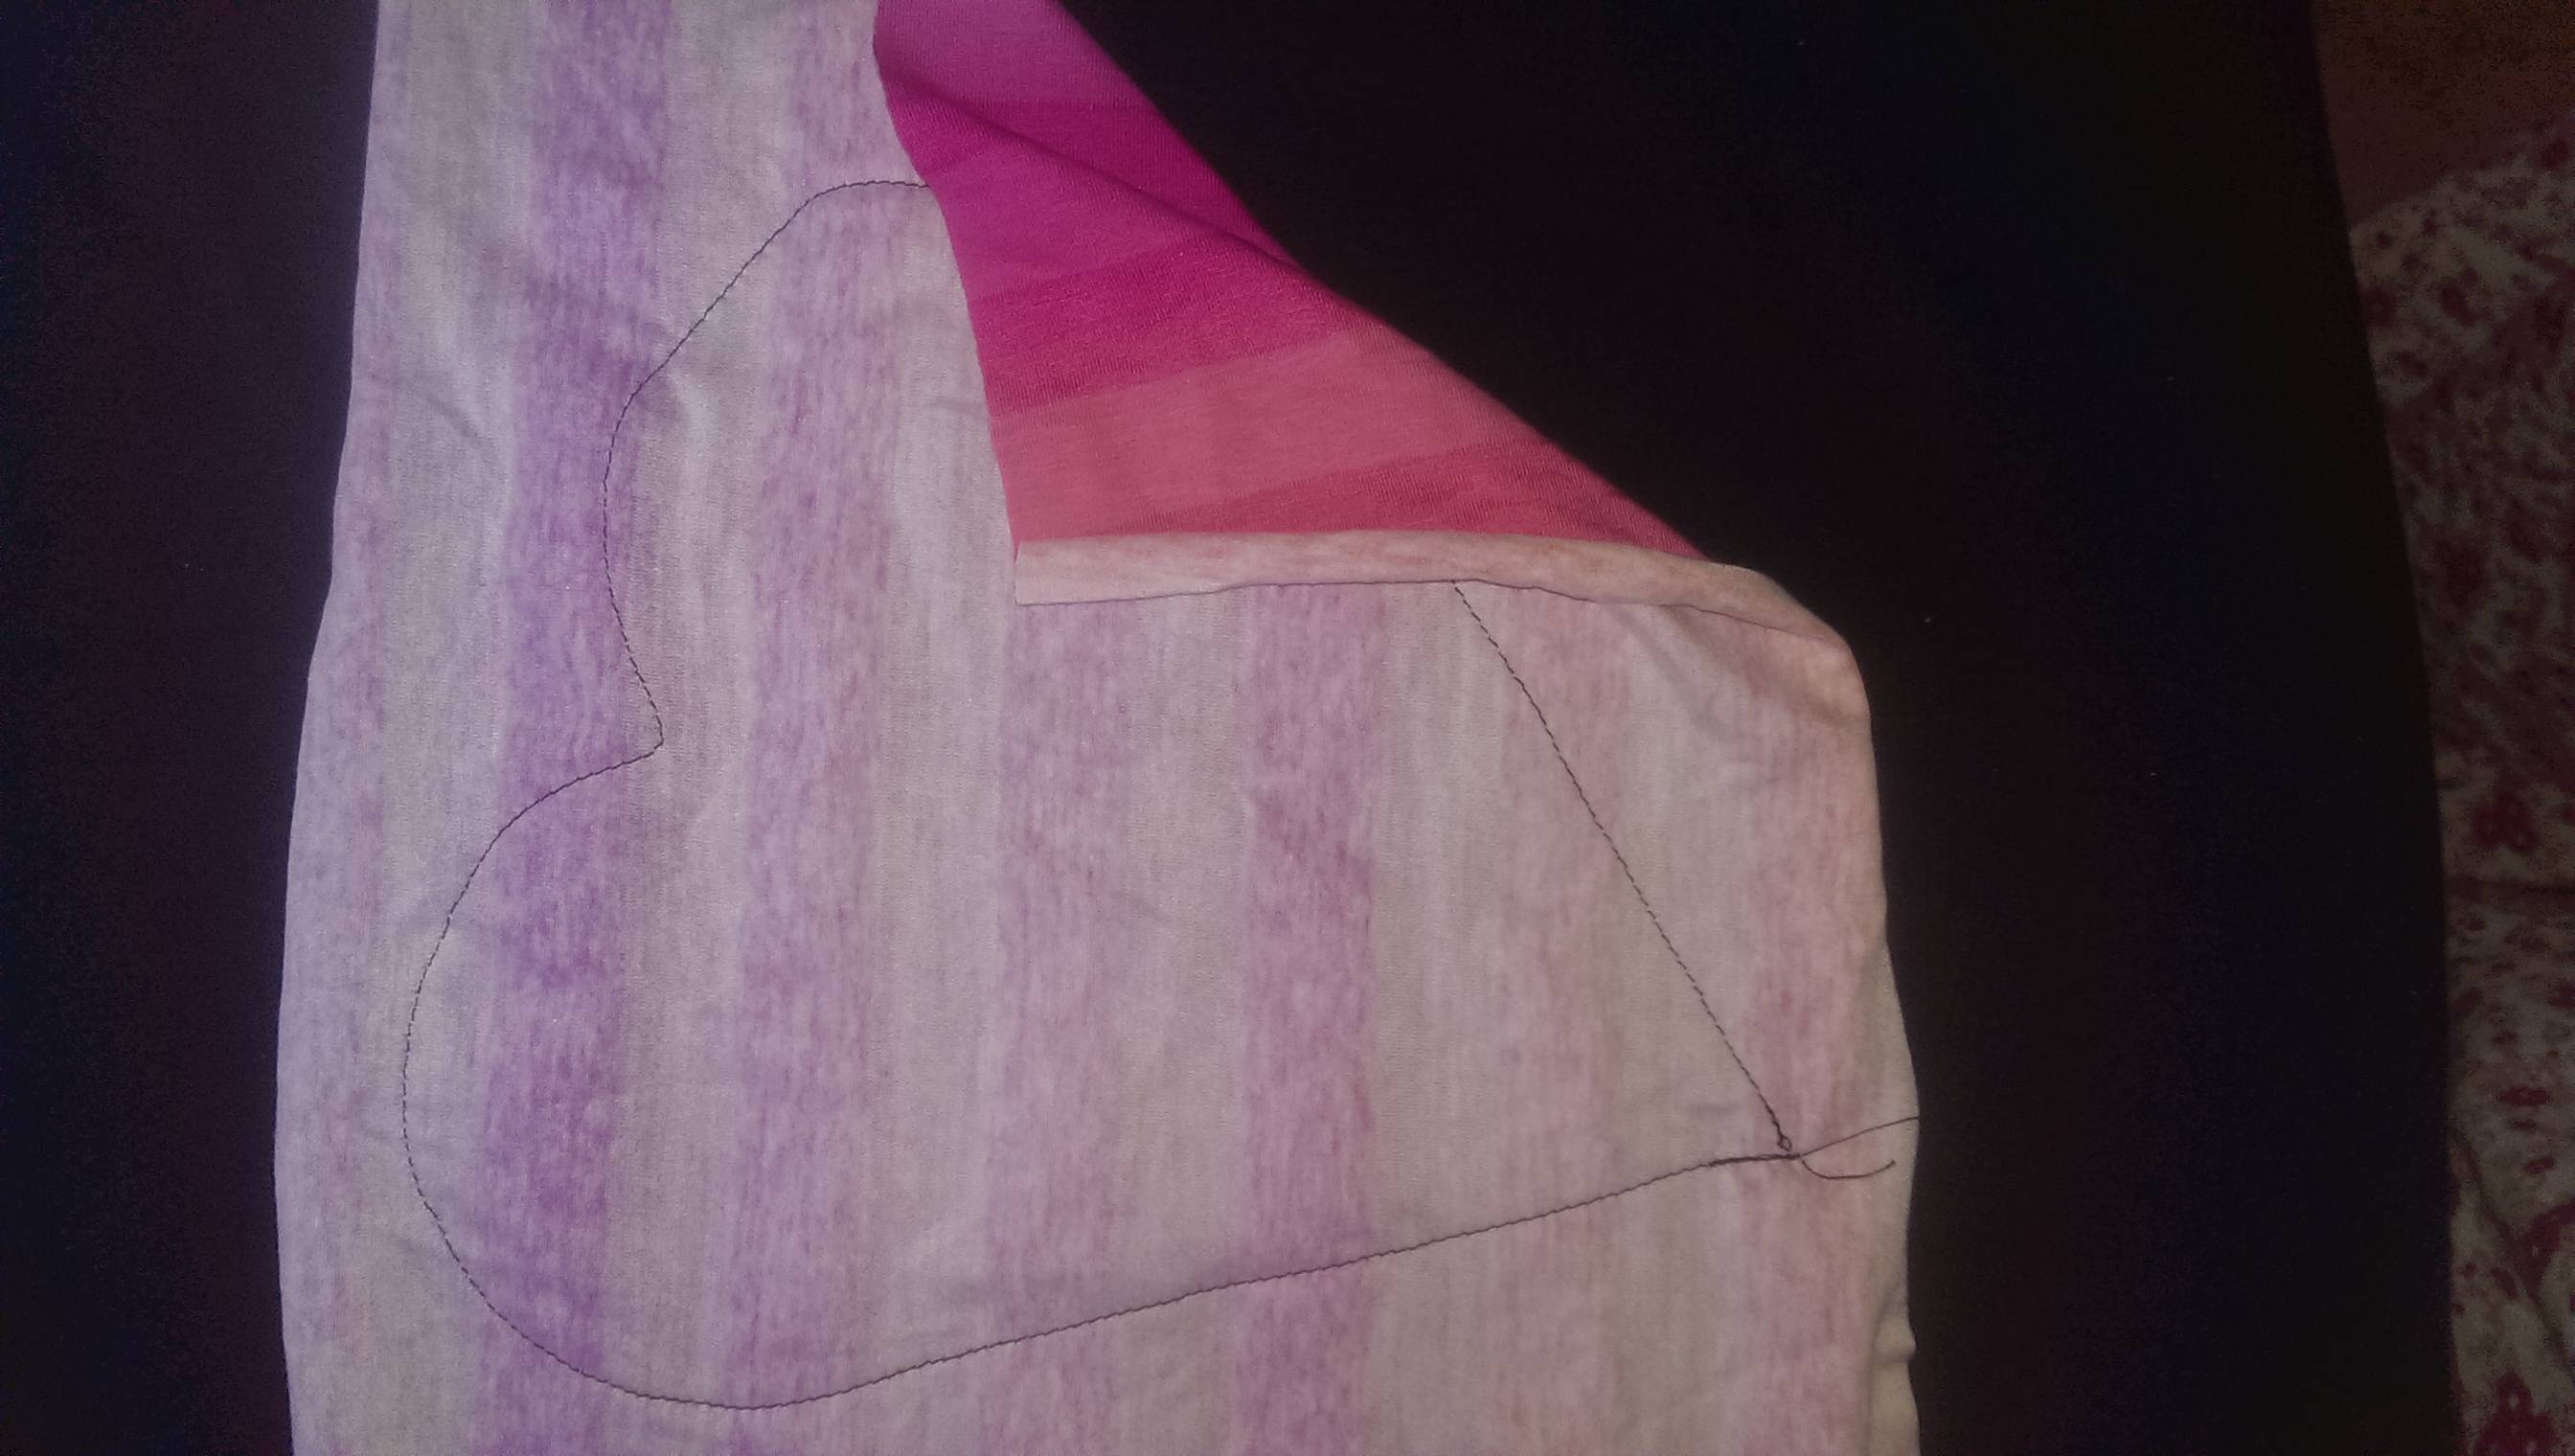
STEP 5: Lay your applique scrap RIGHT SIDE facing the main pieces WRONG SIDE. Careful flip it over, smooth it out & pin it in place well. This is important for a nice looking finished item. I even pin down the center so it doesn’t stretch as much while sewing.
STEP 6: Carefully & slowly sew your applique following your shapes lines, in the process sewing the 2 pieces together. Make sure to backstitch when starting & stopping.
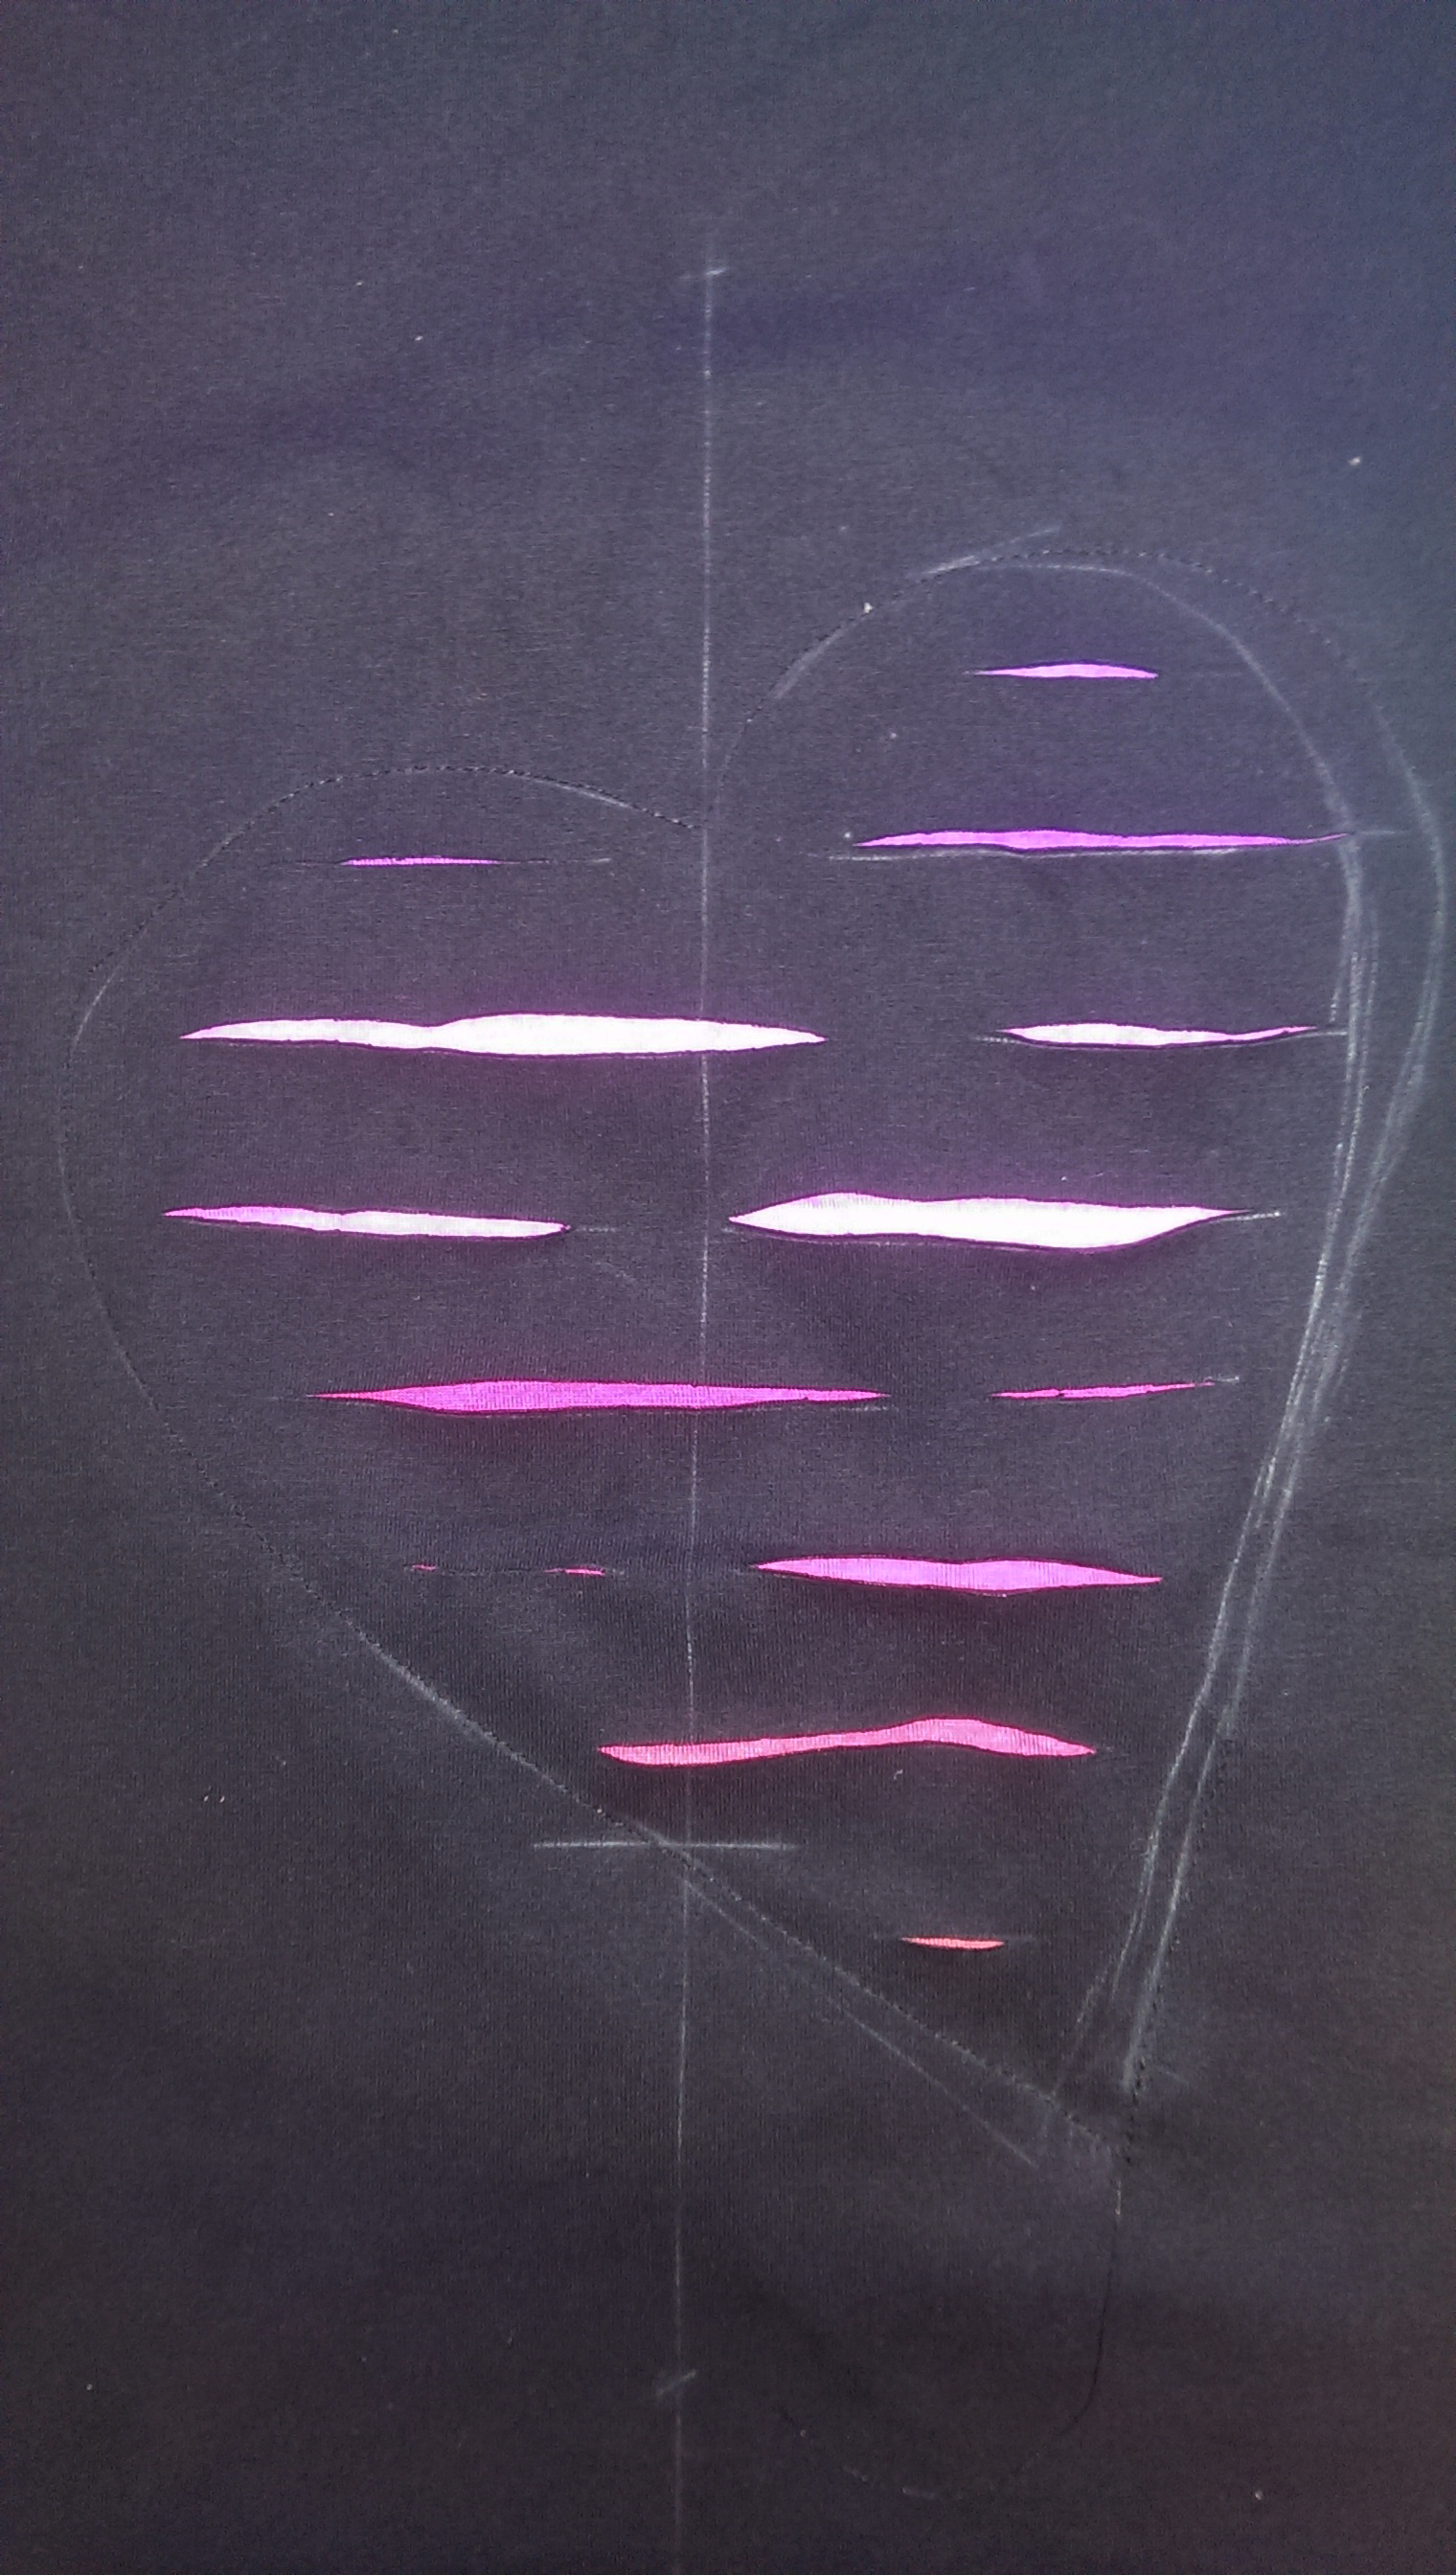
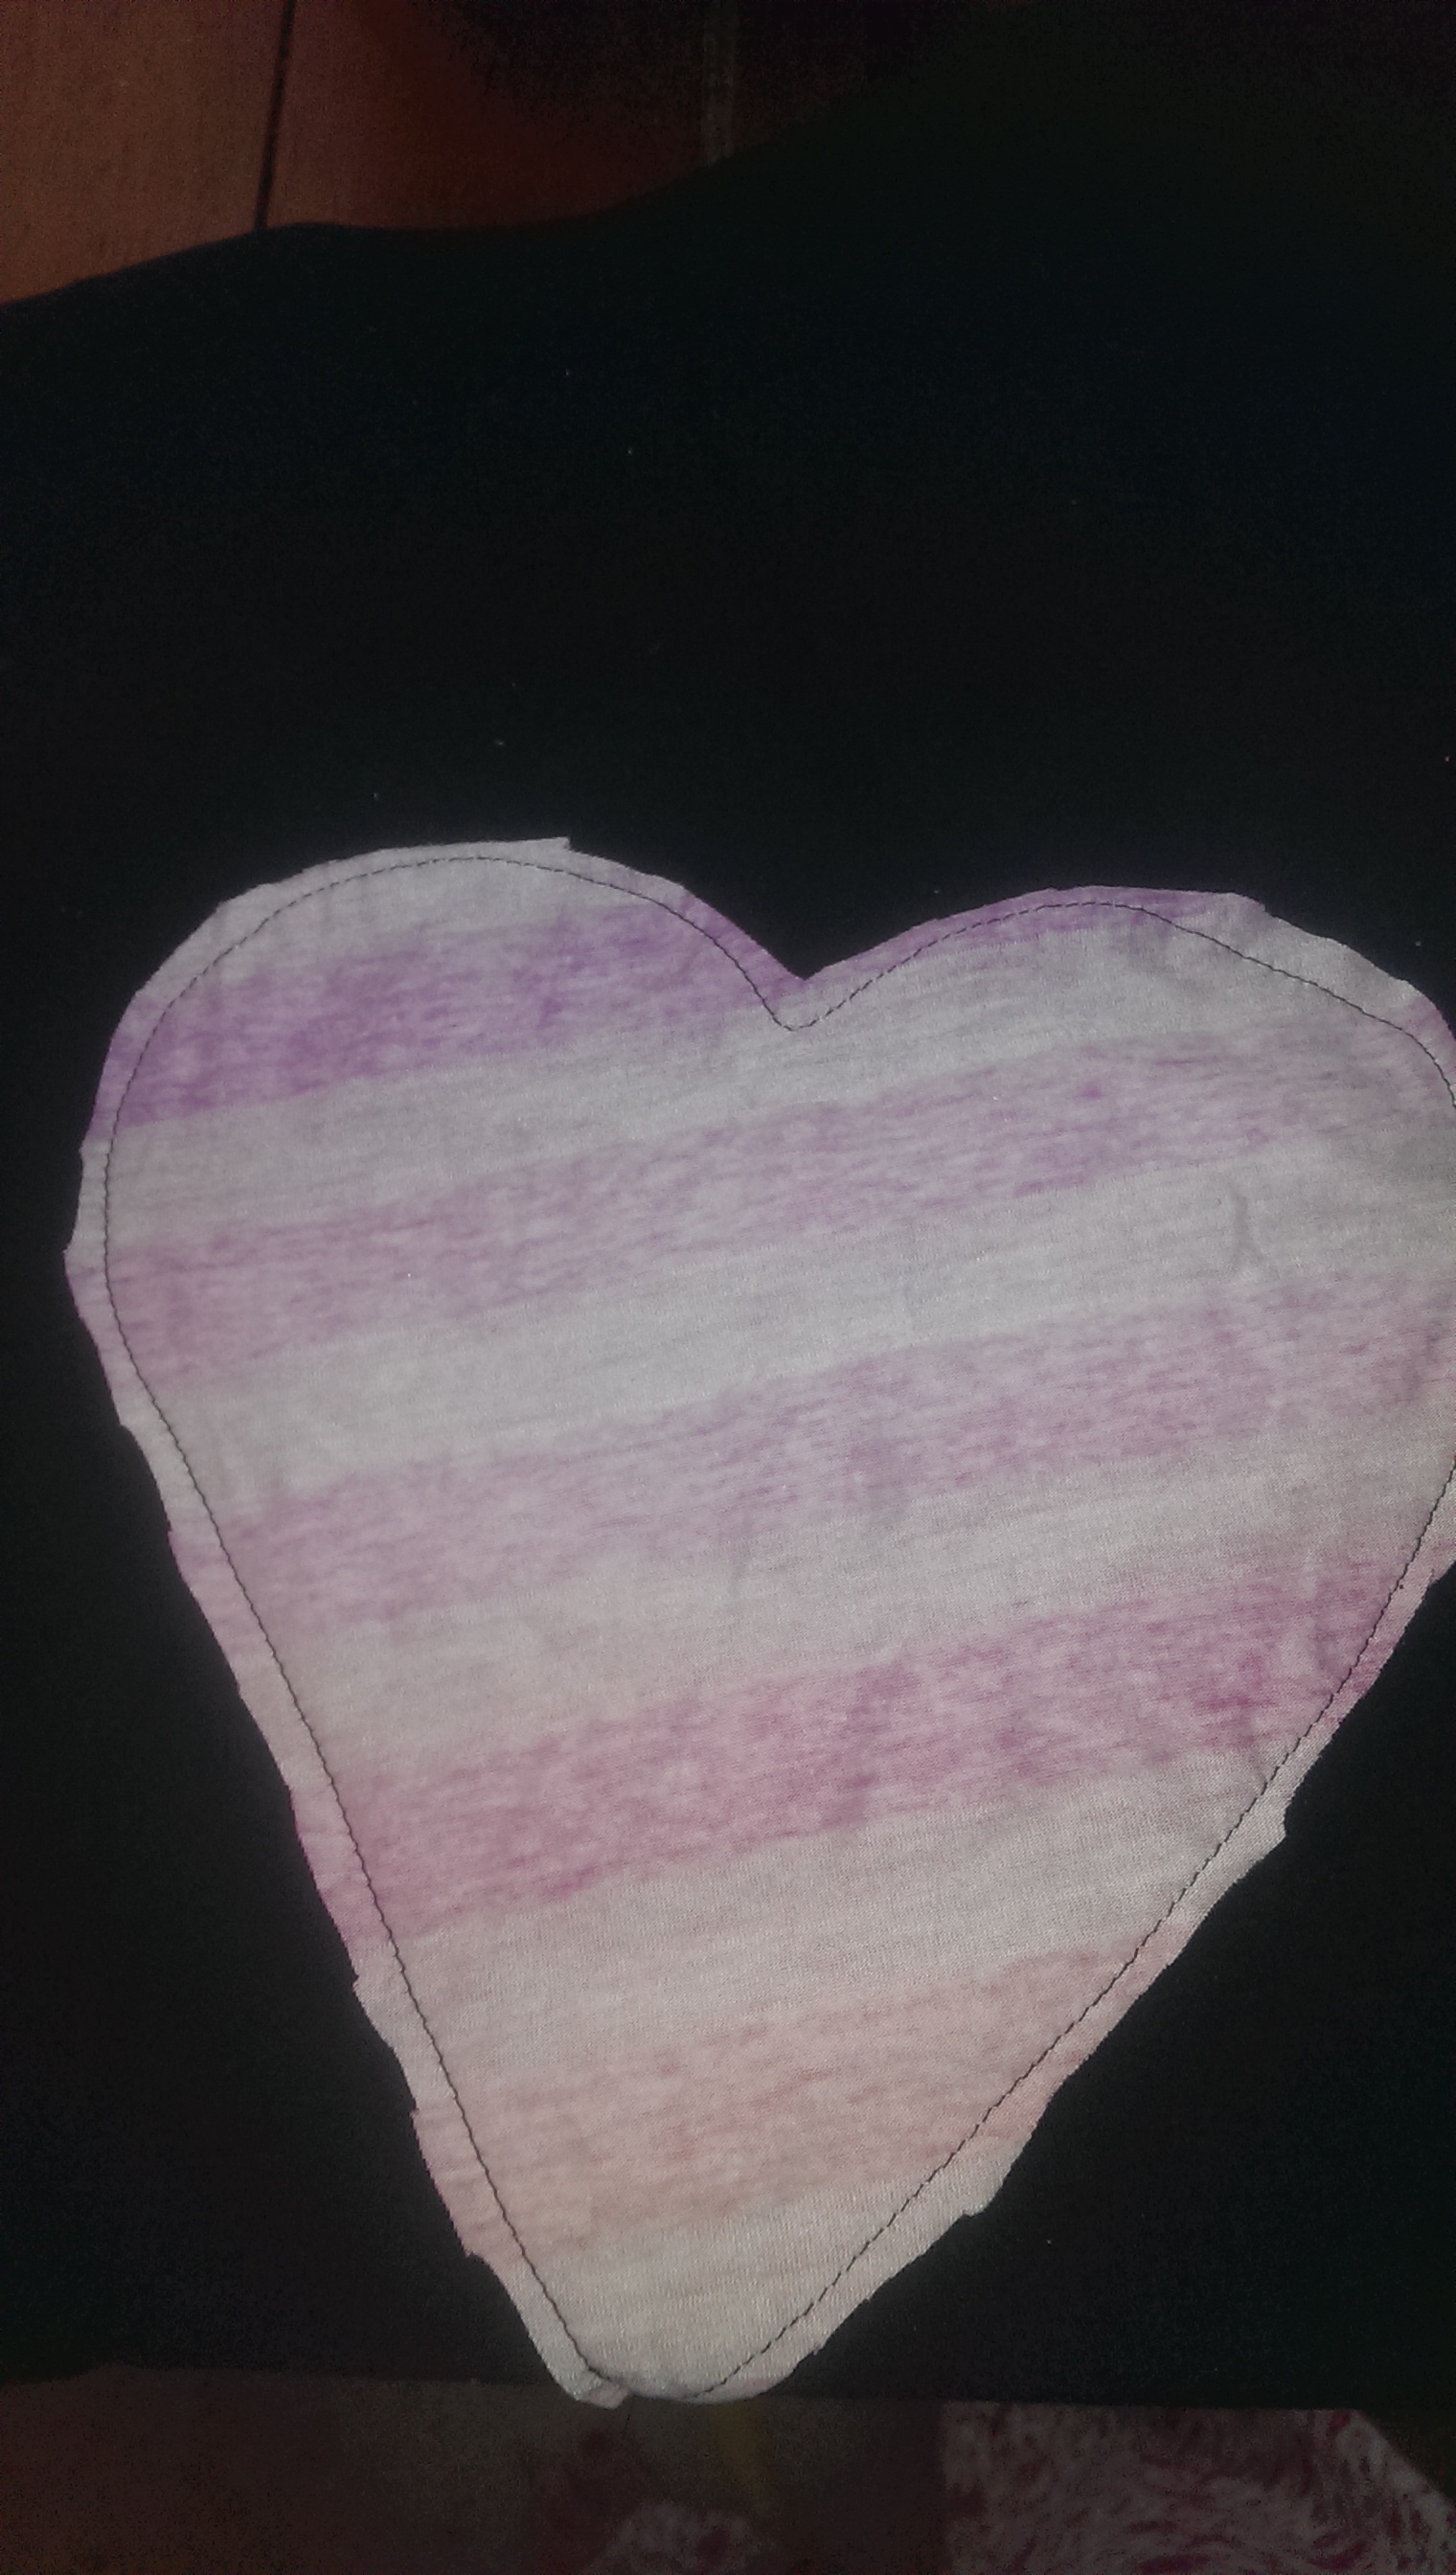
STEP 7: It’s the little things that can make the biggest difference! Now to give it the best possible look cut any slits that you think need to be a little bigger being careful not to cut your stitching. Also trim off the excess fabric on the back leaving approximately 1/4″ seam allowance.

 I also decided to go over it again with a decorative stitch in a contrasting color to give it a little more pop.
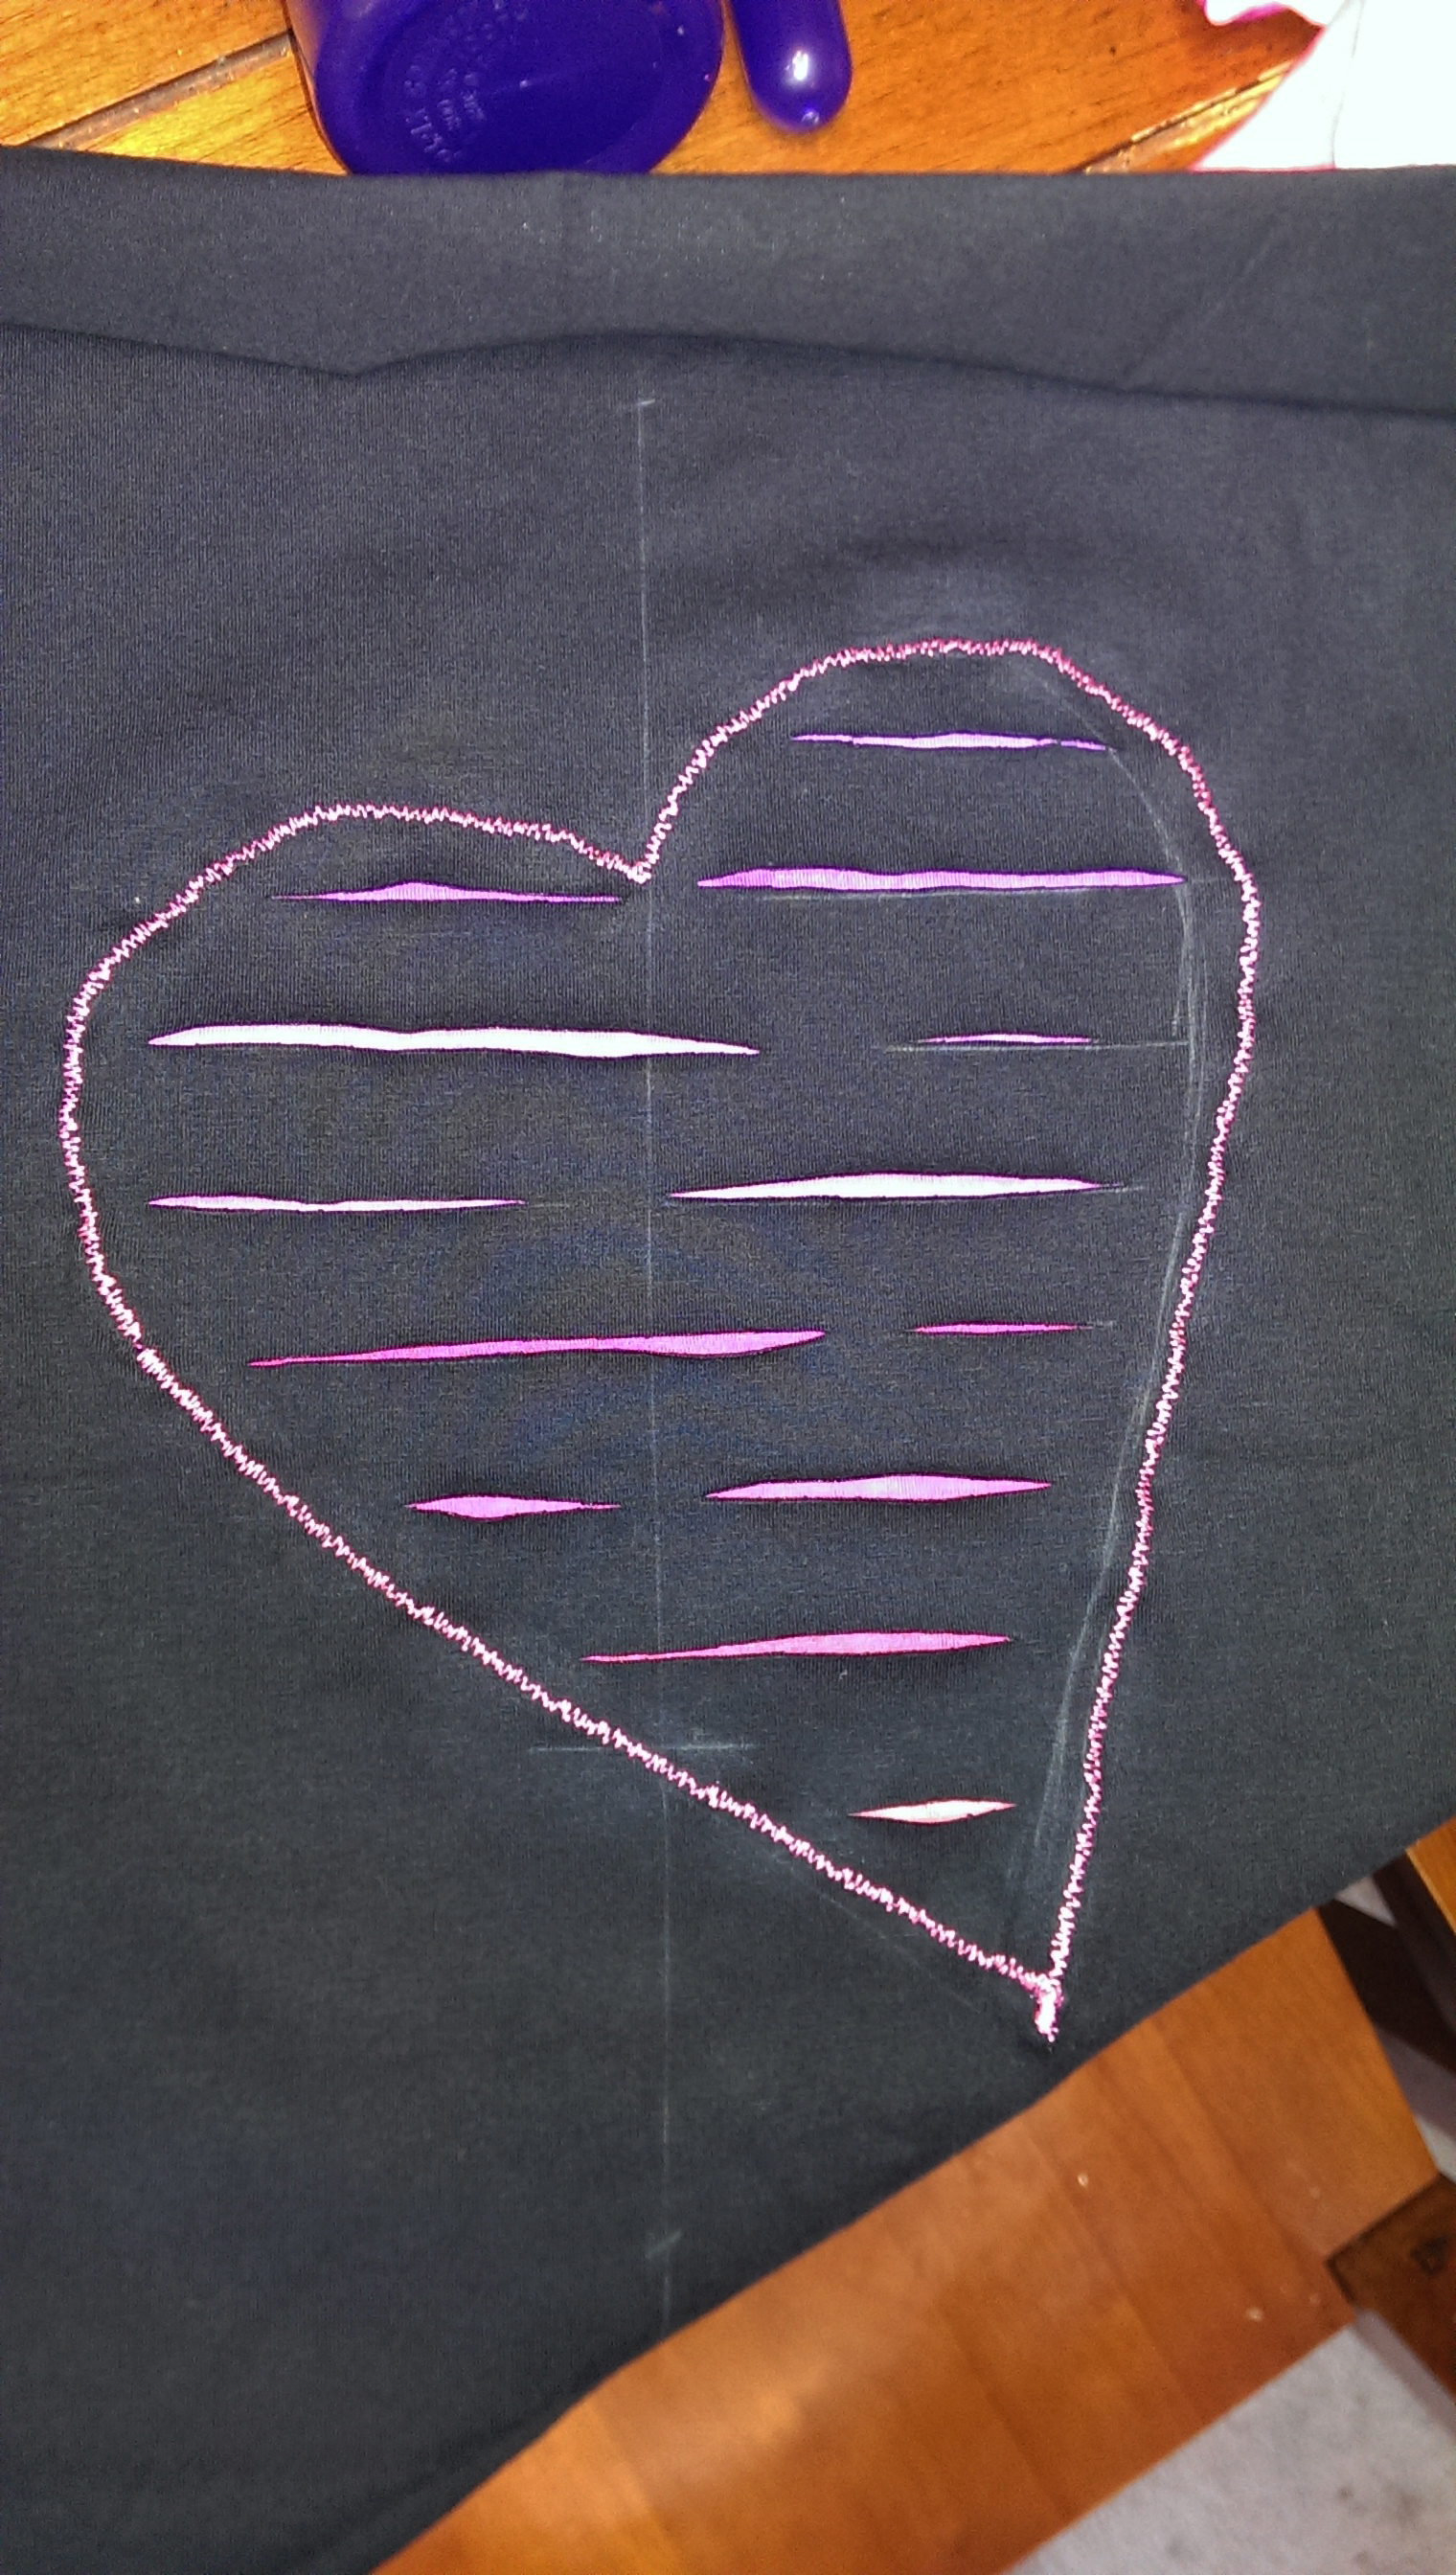
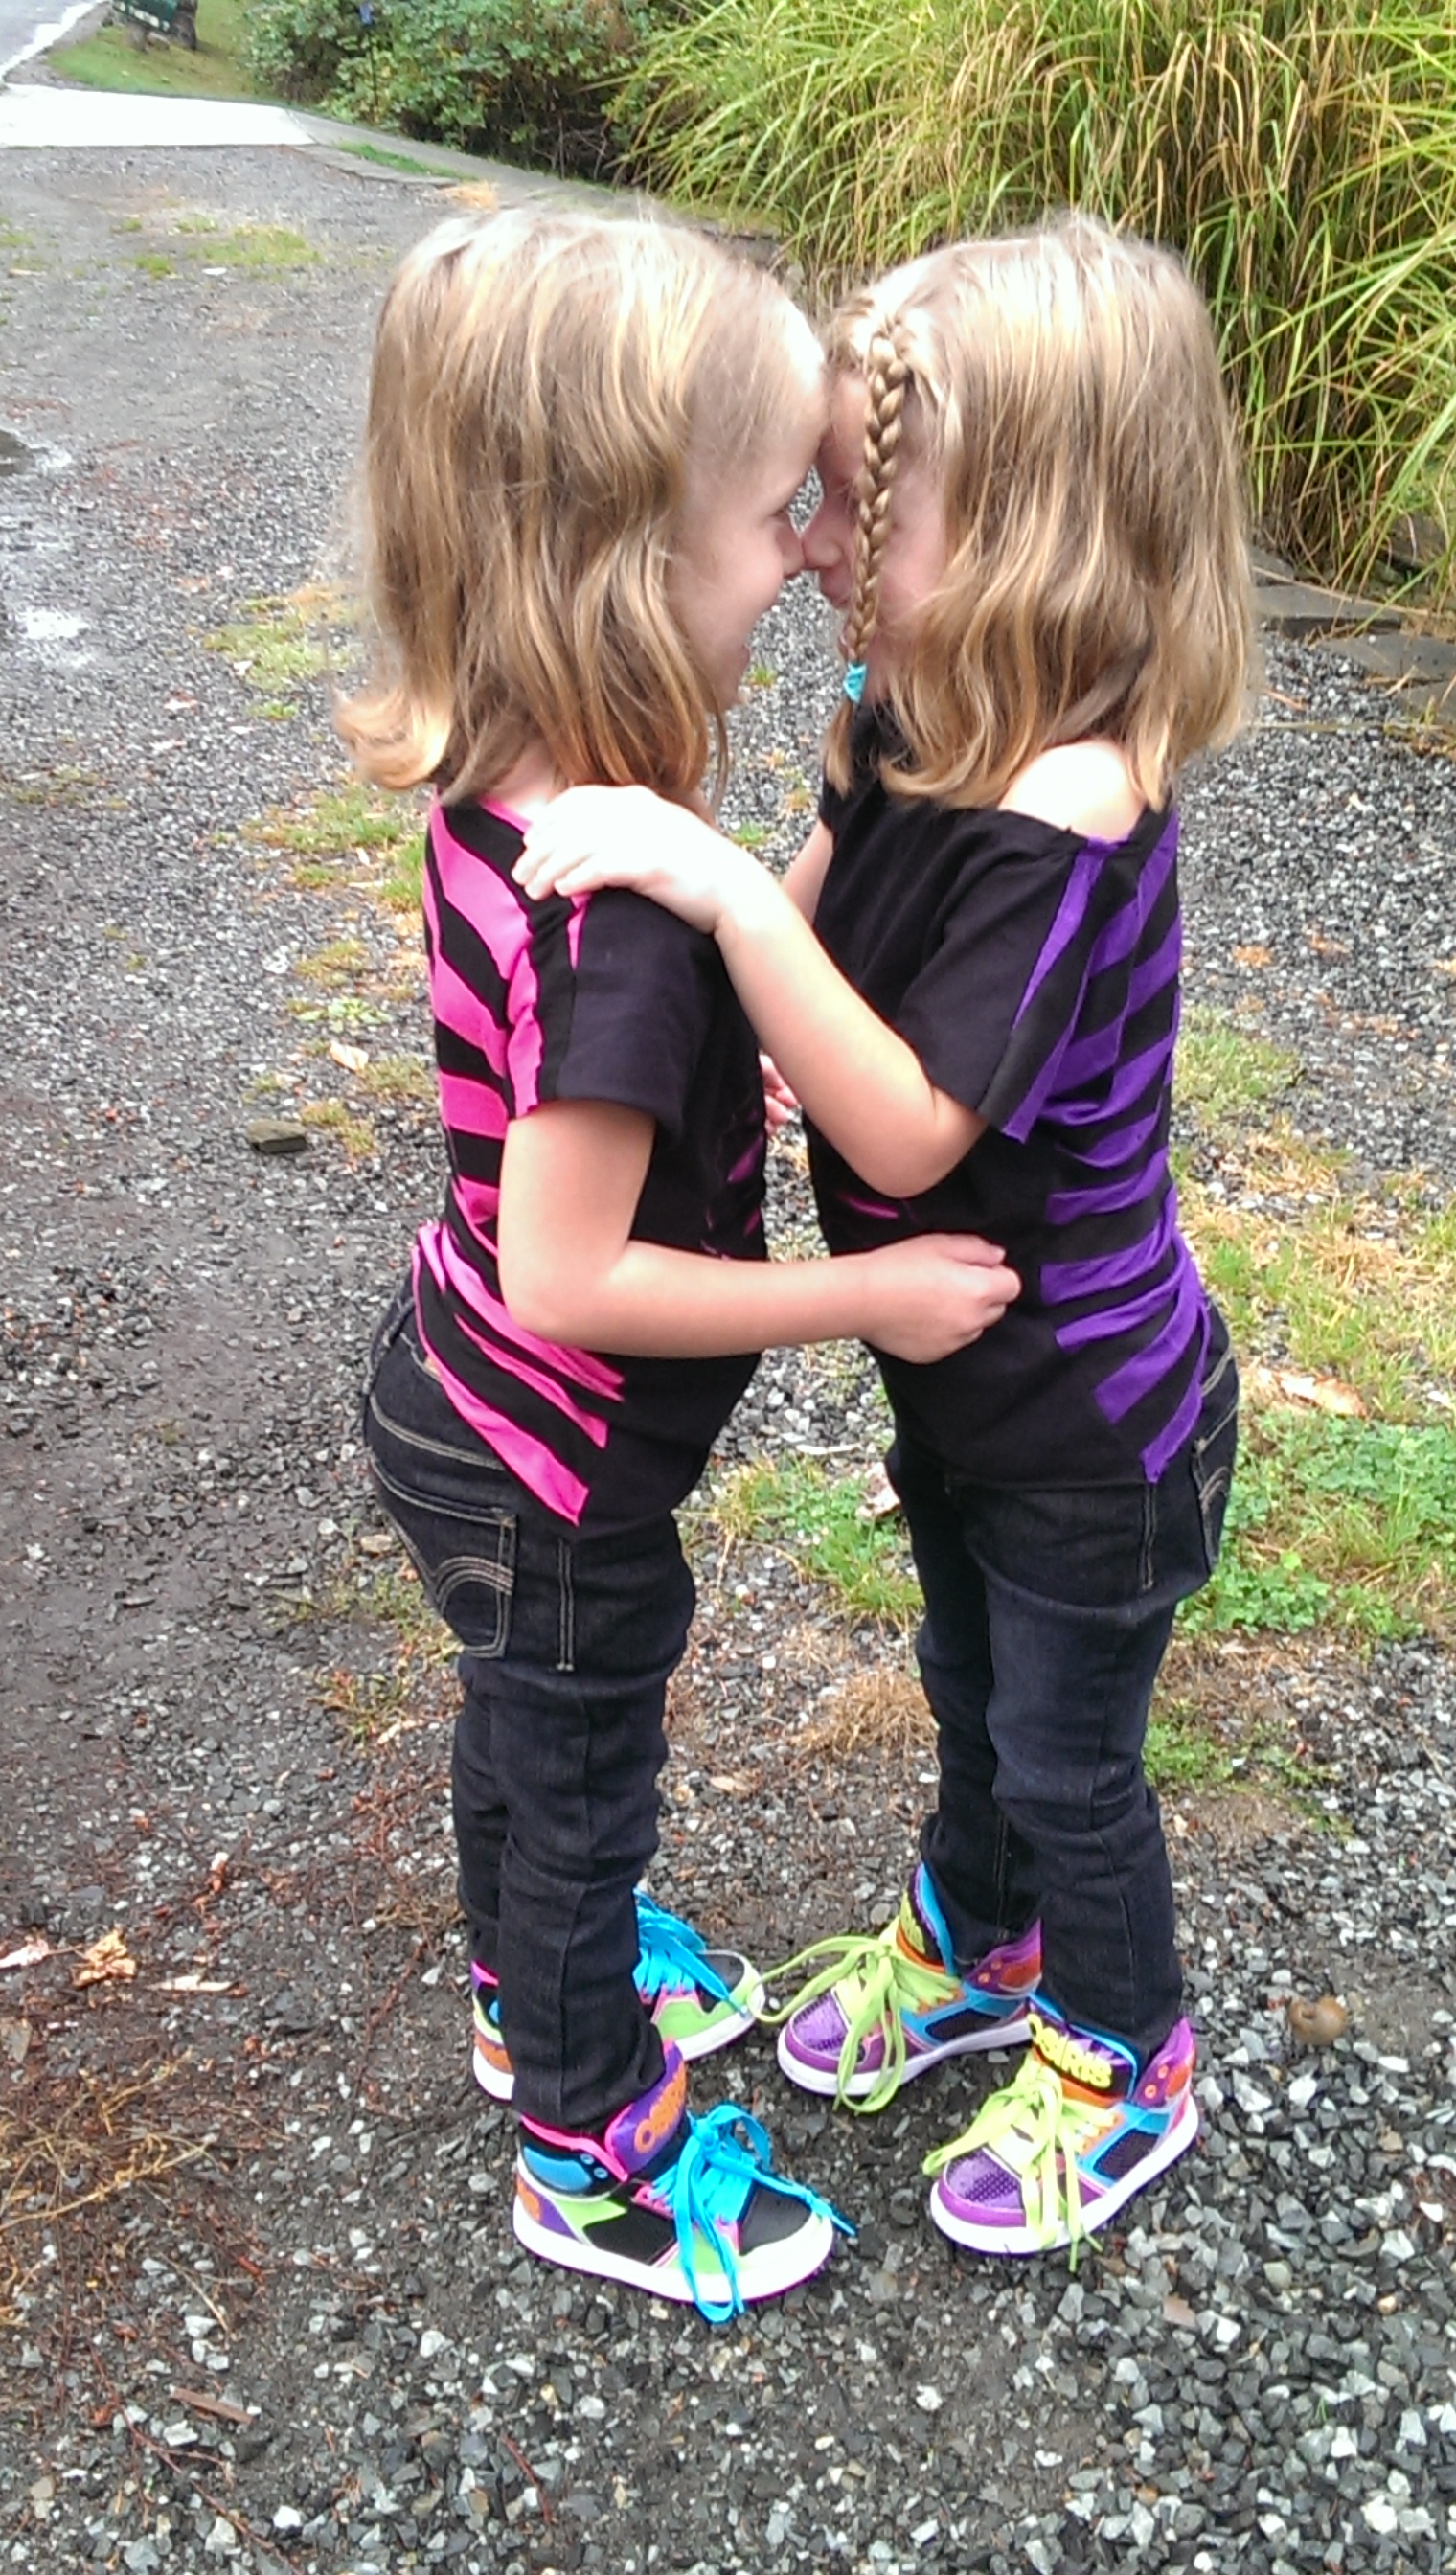
STEP 8: Finish assembling your garment per the original pattern directions. When completed throw it in the washer & then the dryer to get the fabric to curl for the full distressed effect and you are DONE!
OPTIONAL: Make someones day… In my case it would be 2 very happy little girls on their 1st day of 1st grade!
Leave a Reply