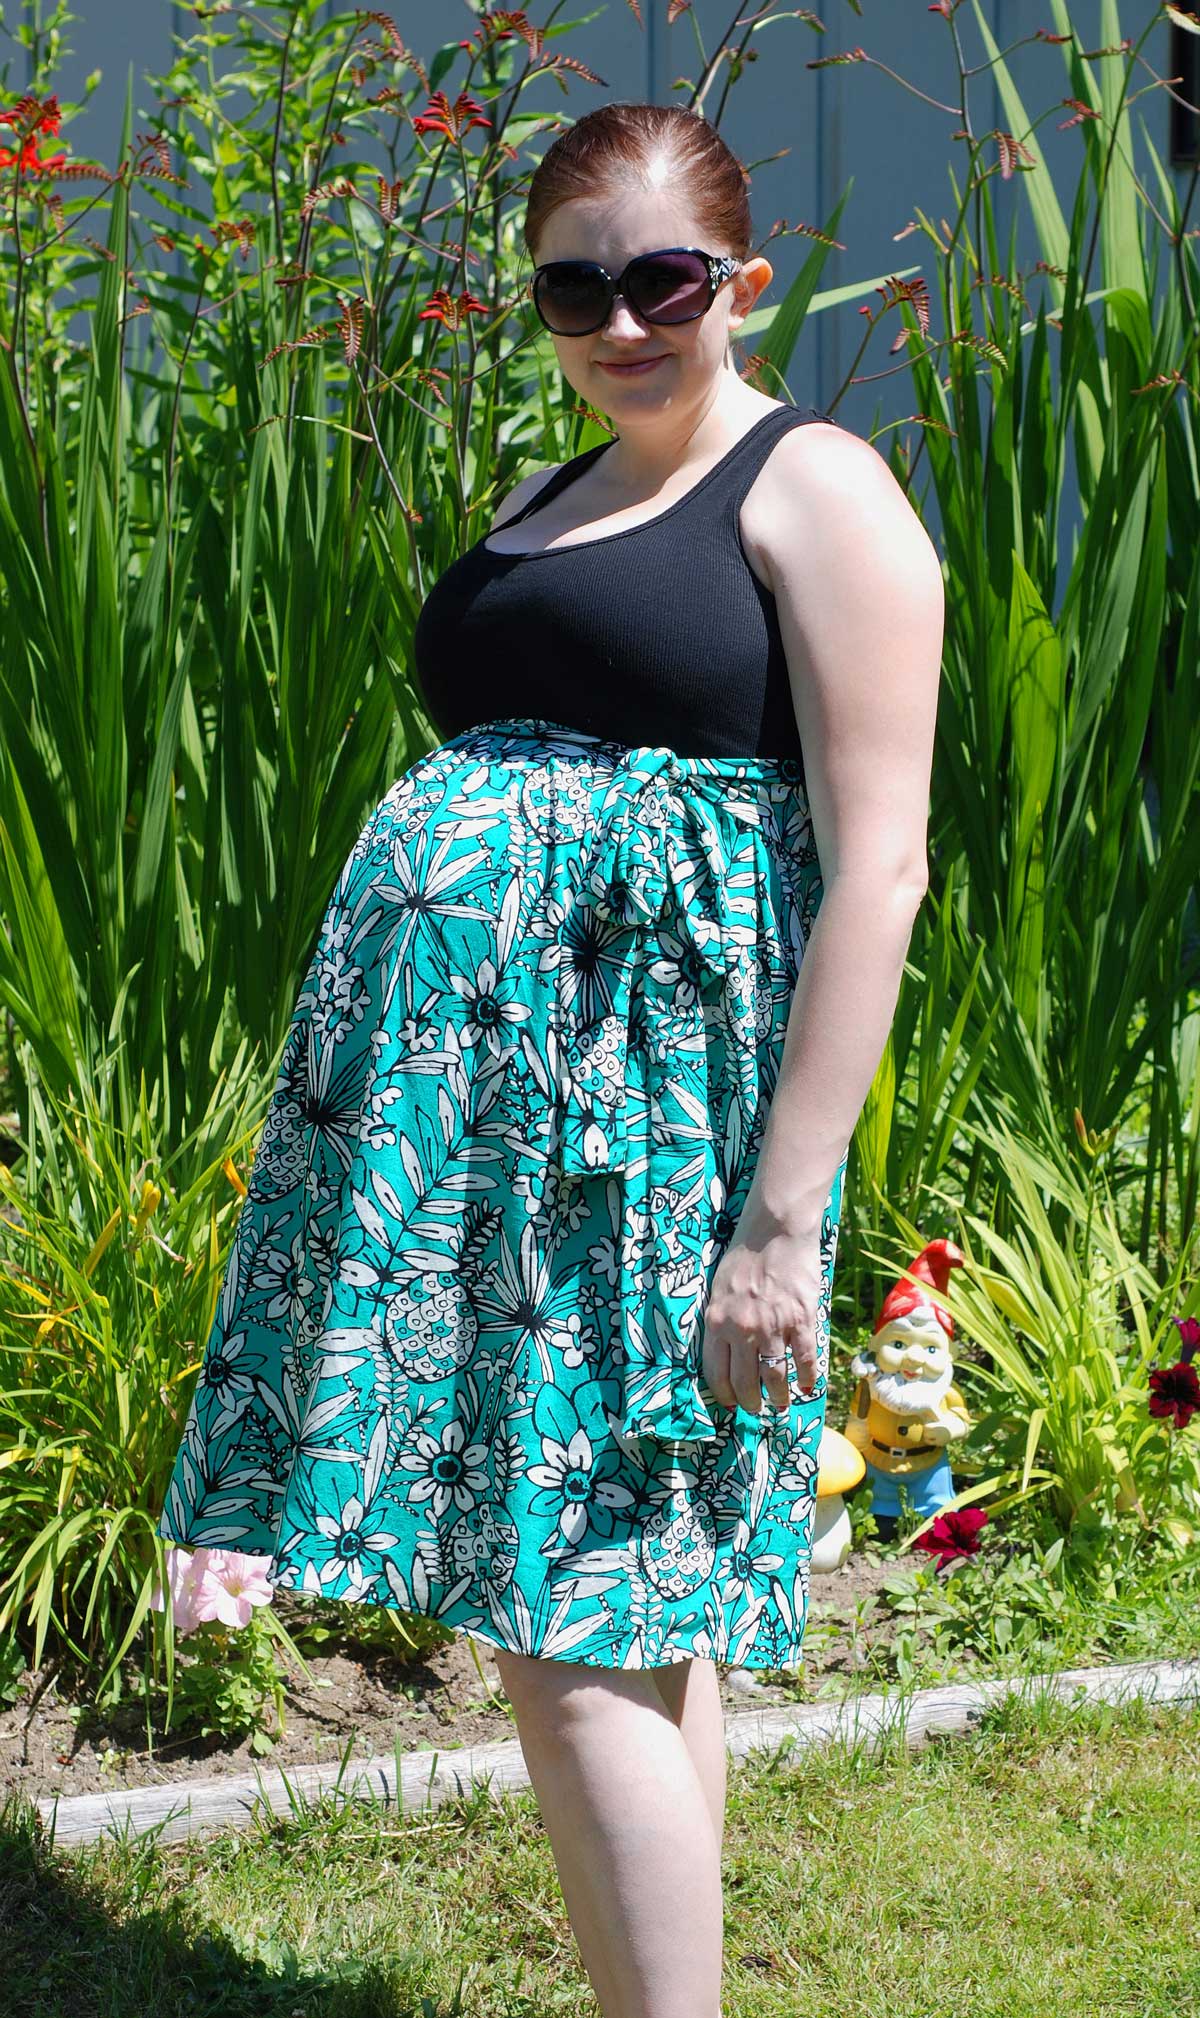
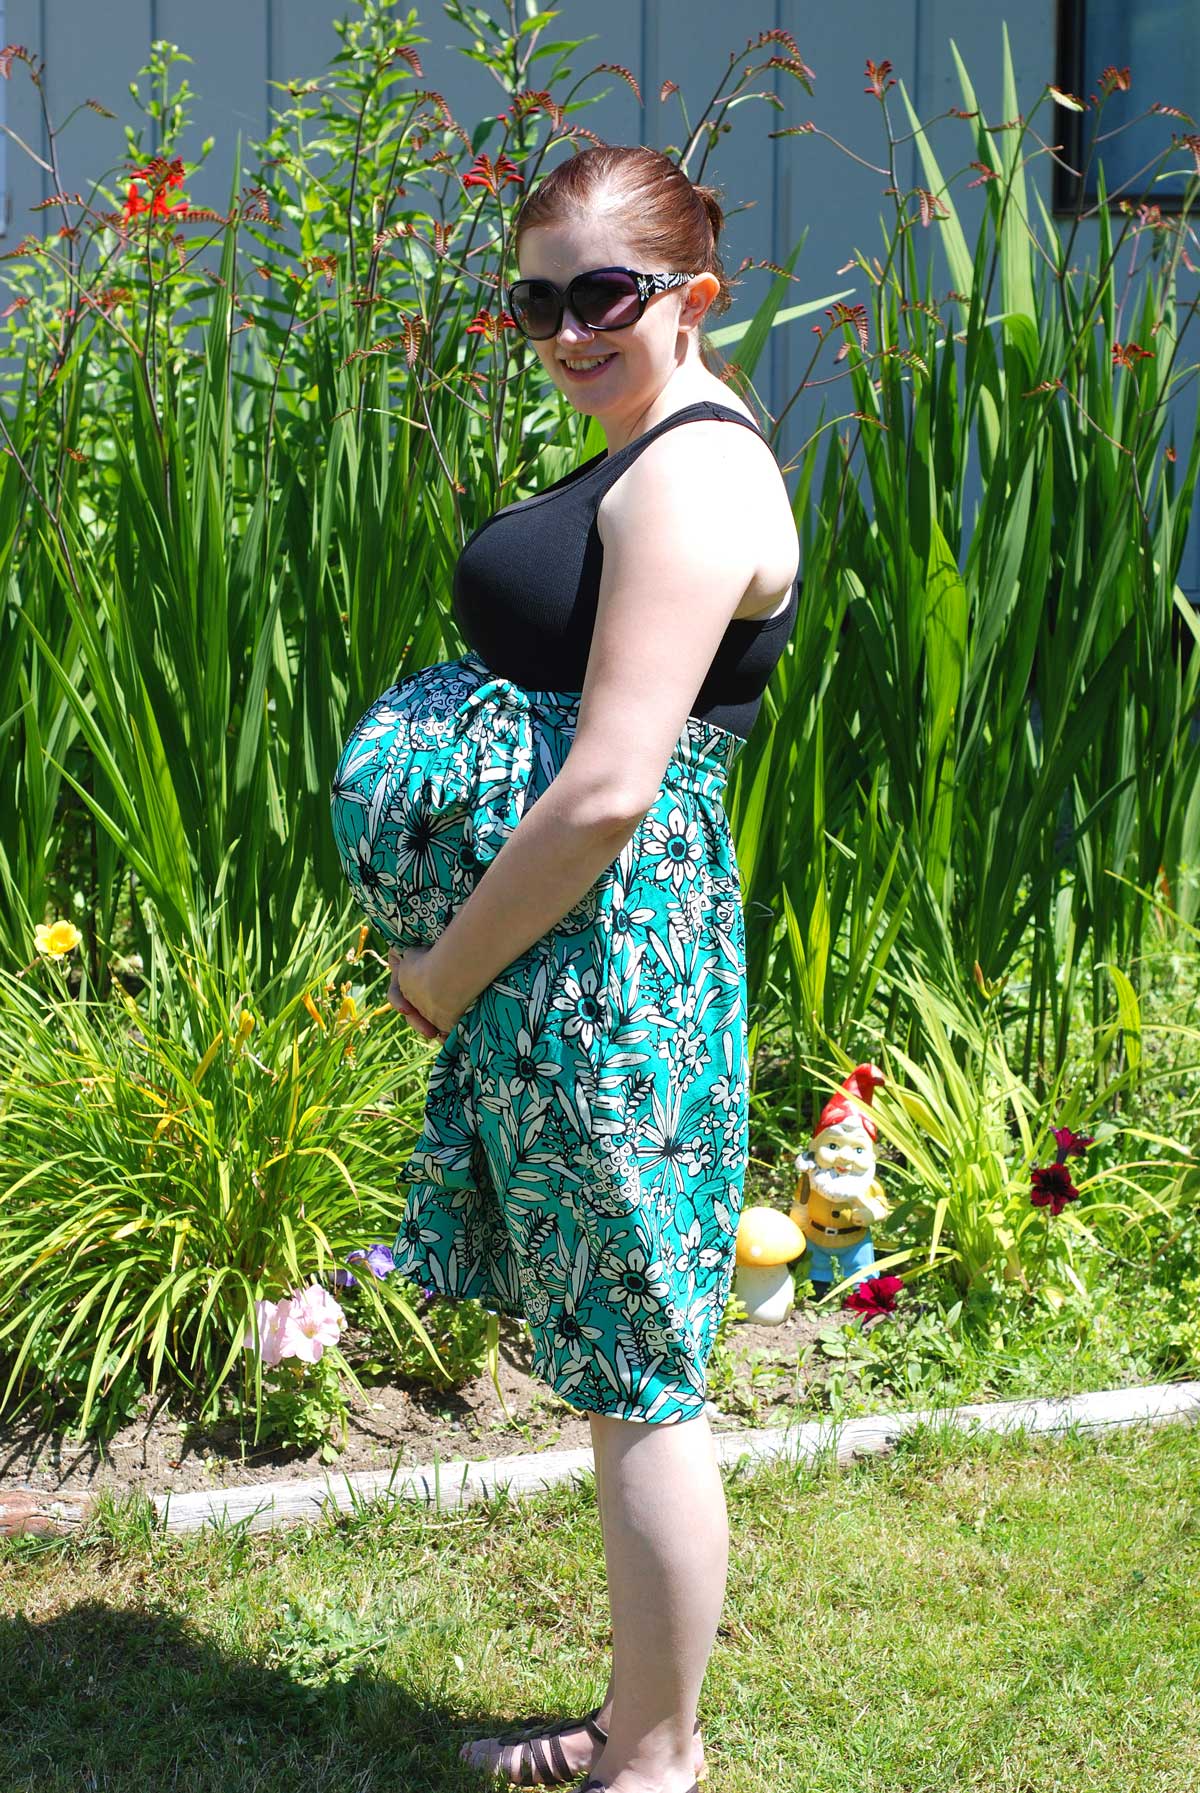
One of the complications of #5 being a surprise is that #1 I didn’t hold on to a ton of maternity clothes because we were pretty sure we were done #2 I am prego in opposite seasons so the bit I did hold on to is the wrong season! Finally #3 is I am too cheap to buy a bunch of stuff because I know resale isn’t great & I won’t be using it again! Because of this when summer decided to arrive on 7/4 (a whole day early for the pacific northwest! lol) I have a total of 2 tank tops & 2 pairs of shorts…. not really going to cut it for the next 8 weeks! So I dragged my hubby to walmart & bought a tank top in the juniors section for $3.88 & got 2.5 yards of this super soft rayon fabric in a print I LOVE clearanced for $12. Not only do I love the dress I ended up with for a whole $15.88, but I have enough scraps to make similar ones for the twins :).
I have had this tutorial pinned on pinterest forever & I am so glad I got around to trying it! I used it for the basic info, but changed a few little things that I think helped a lot. And it makes a great non-maternity dress too with the few changes I made, just don’t add the extra length to mark the hem!!!
DIY Perfect Maternity Dress Tutorial
This does work with a variety of materials for the skirt, light weight knits are nice, but honestly I really love this rayon shirting type of fabric. It is soft, flowy, lightweight, low maintenance and comes in 58″ width. The biggest thing with the rayon is you MUST finish raw edges with a serger or zig zag.
A few things I did differently and why…
~marked the shirt from under my boobs instead of the side to make sure it had enough coverage
~added 1/2″ seam allowance to my shirt & skirt piece lengths to prevent it from ending up to short/too high
~skipped the rounding the corners on the top front piece. Why? I didn’t feel it was needed and I can re-hem it to wear as a regular dress afterwards… if I did the corners thing it would bee poofy in the middle front.
~did not sew the ties into the side seam. Why? I wanted my sash to go all the way around & tie on the side… this calls for 1 being longer then the other. I found it easier (and prefer the look) to make my sash, put it on over the finish dress & mark where I need to tack it down to the side seam… then I just used a straight stitch to sew it down to the side seam half over the knit top & have over the woven skirt.
~ cut both the front & back pieces 3″ longer then I wanted it to fall in the back & then marked them hem when wearing & properly hemmed it. Why? The prego bump starts pulling from the skirt in the back not just at the side seam!!!! If you carry basketball style like me I would do 4″ & then mark & hem using a narrow hem… even longer if you are doing a wider hem.
~used a triple stretch stitch for attaching the skirt to the bodice. A narrow zip zag works too, but important since the top has to stretch!
I REALLY love how it turned out & the fact that I can re-hem it & keep getting years of use out of it! It would also make a great non-maternity dress with the changes I made & no need to add the extra 3″ before marking them, just 1/2″ for the hem.
FUTURE CHANGES: The one change I would make on future dresses has to do with me & being so dang busty (G+ cup even when not pregnant, but only 32-34 band size!) Next time I will mark both the front & back center as well as the side making them even to the eye so the back of knit top will actually be shorter since it doesn’t need the extra fabric to cover my chest! lol
Finally some pictures :). I am 29w2d here and as you will notice carry like a basketball…


7 Responses
Heather
the link is busted mama! HEEEEEELLPPPPP not due until Sept… sweating my tush off…
Kymy
Fixed! Sorry I pasted it twice 🙂
jusmywords
Weren’t you so glad for our “early” summer? 🙂
Peta
Congratulations Kymy and I am loving the dress, just gorgeous.
Memphis Girl
Adorable!
easygoingorganizer
Great dress and super-cute pregnant mama! 🙂
Jeni Aymami
Pinning because I need to make this!!
Fabric Stache sent me 🙂 <3