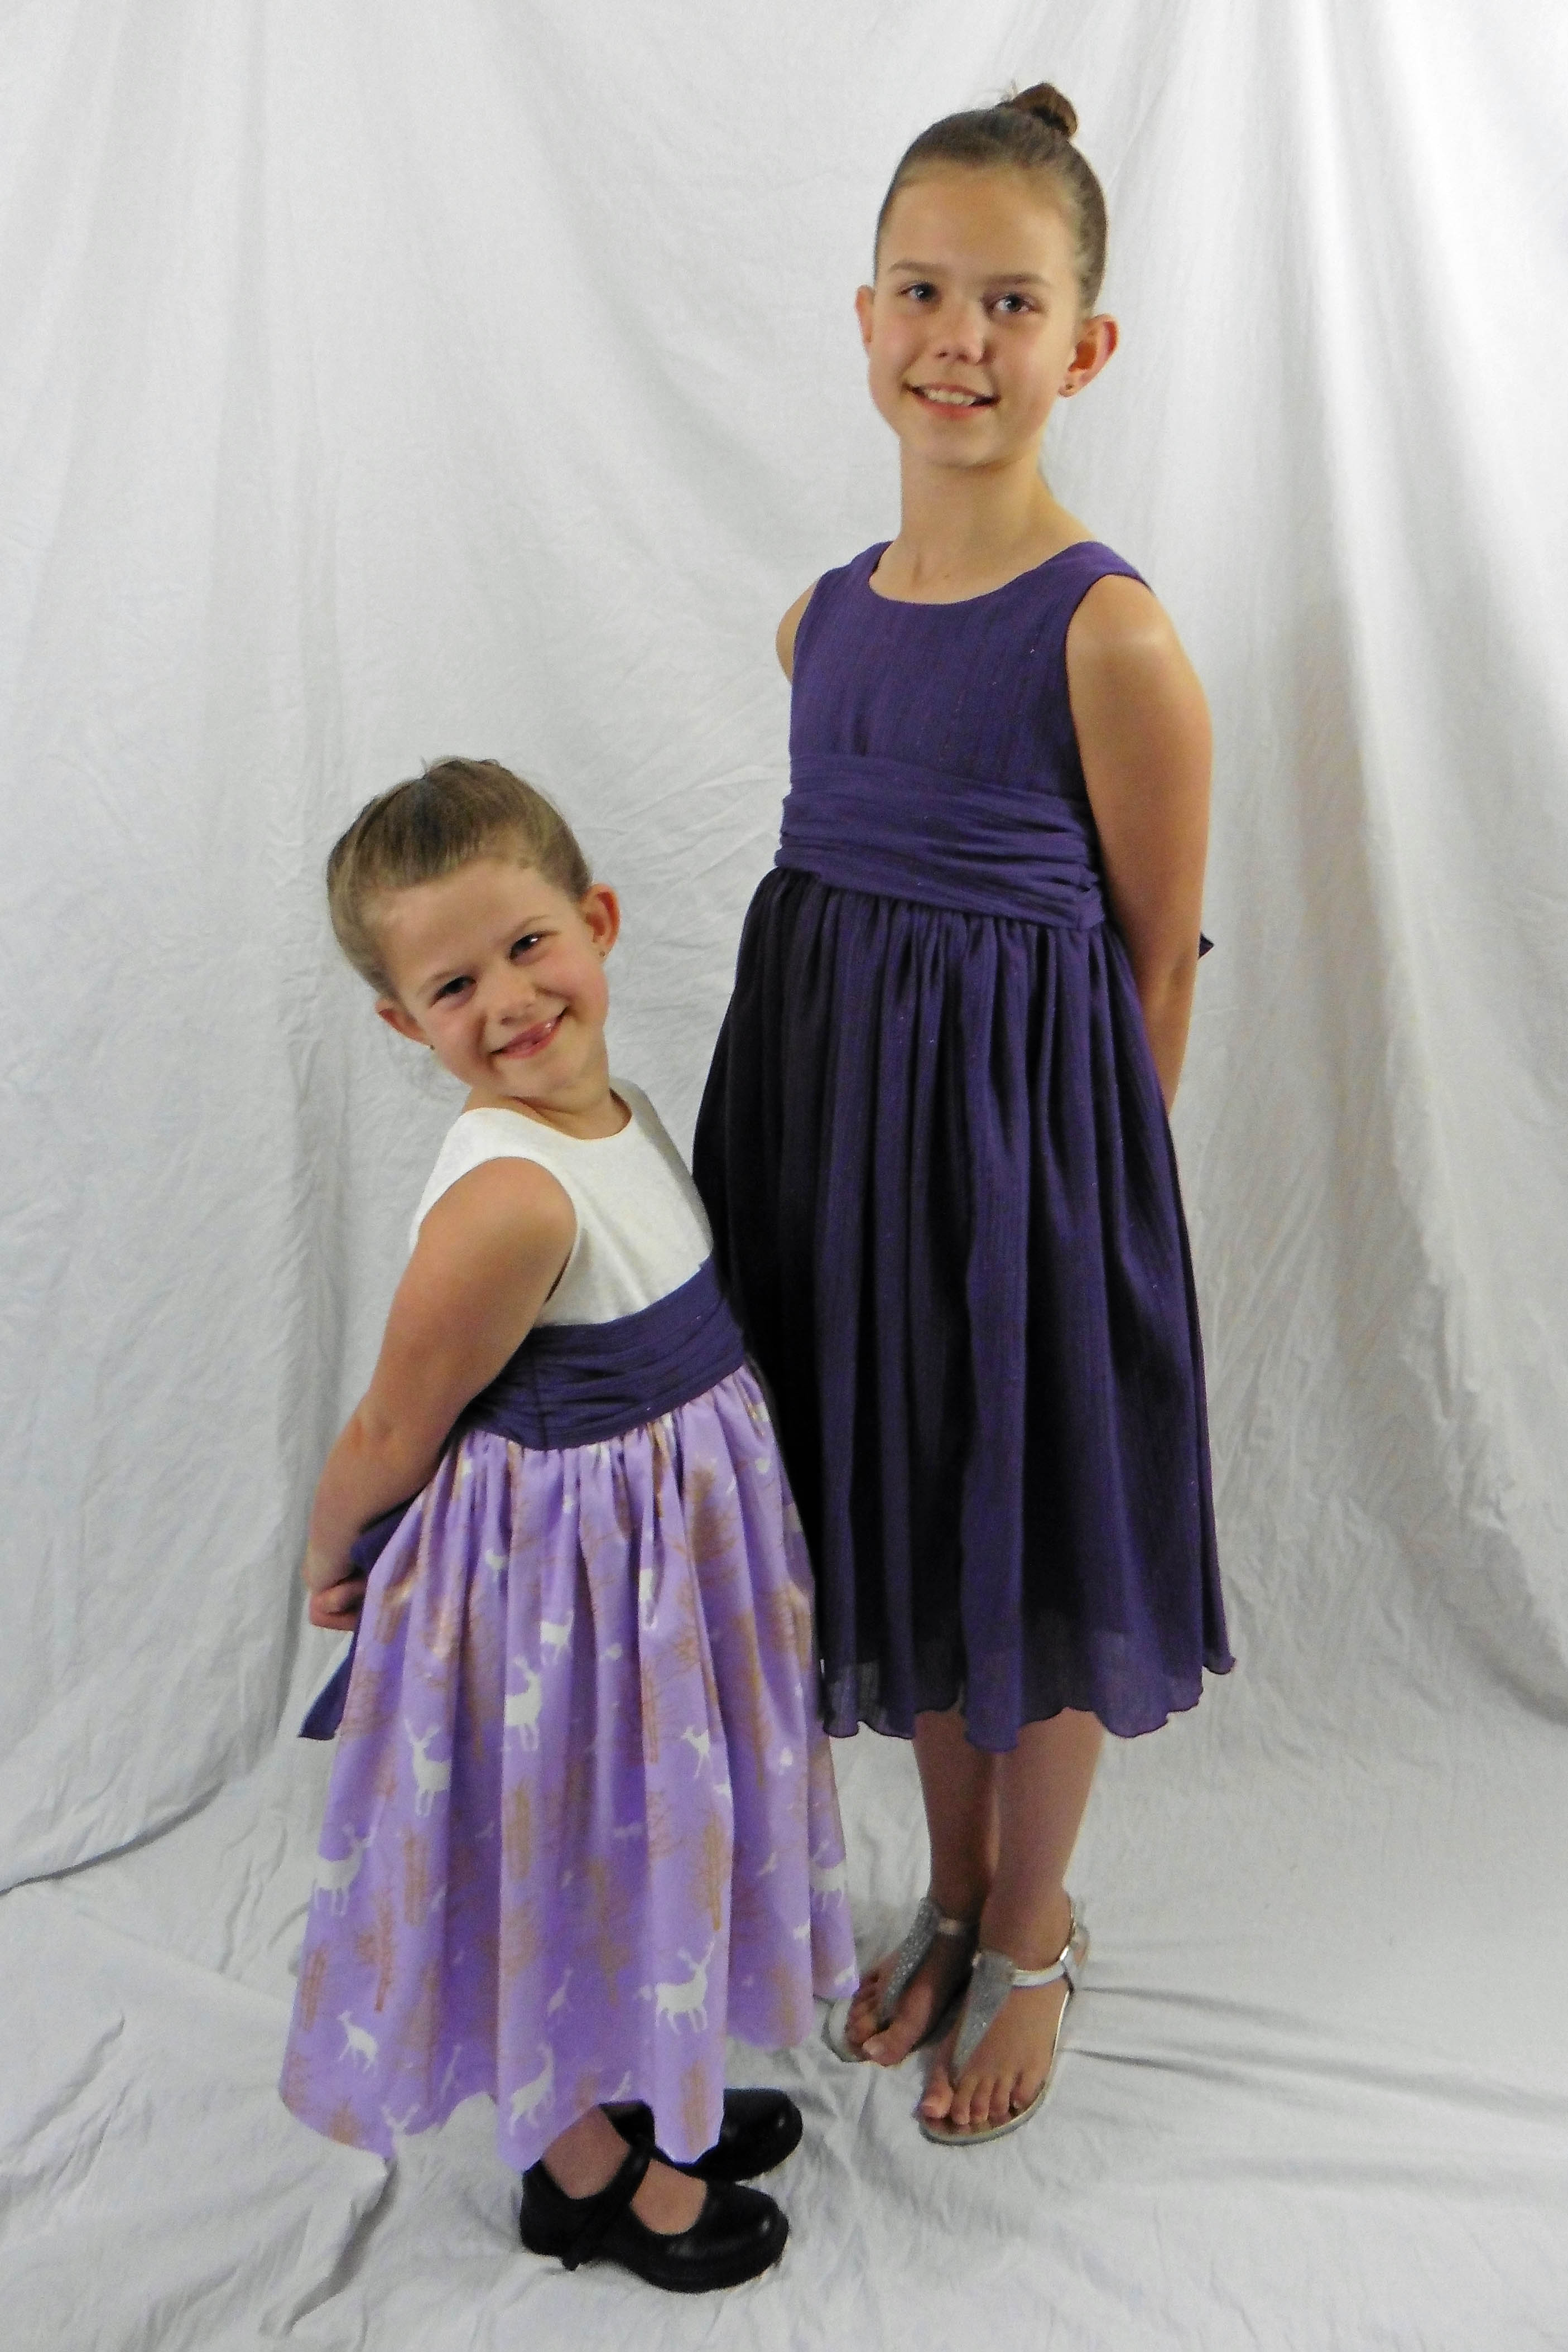
Is anyone else still sewing Christmas outfits? No? Just me? One week left, and I’m proud to say I’ve finally gotten my girls’ dresses done! (We won’t mention their sweater shrugs, my top, or the 3 boys’ outfits that I’ve yet to finish … mmmkay? lol)
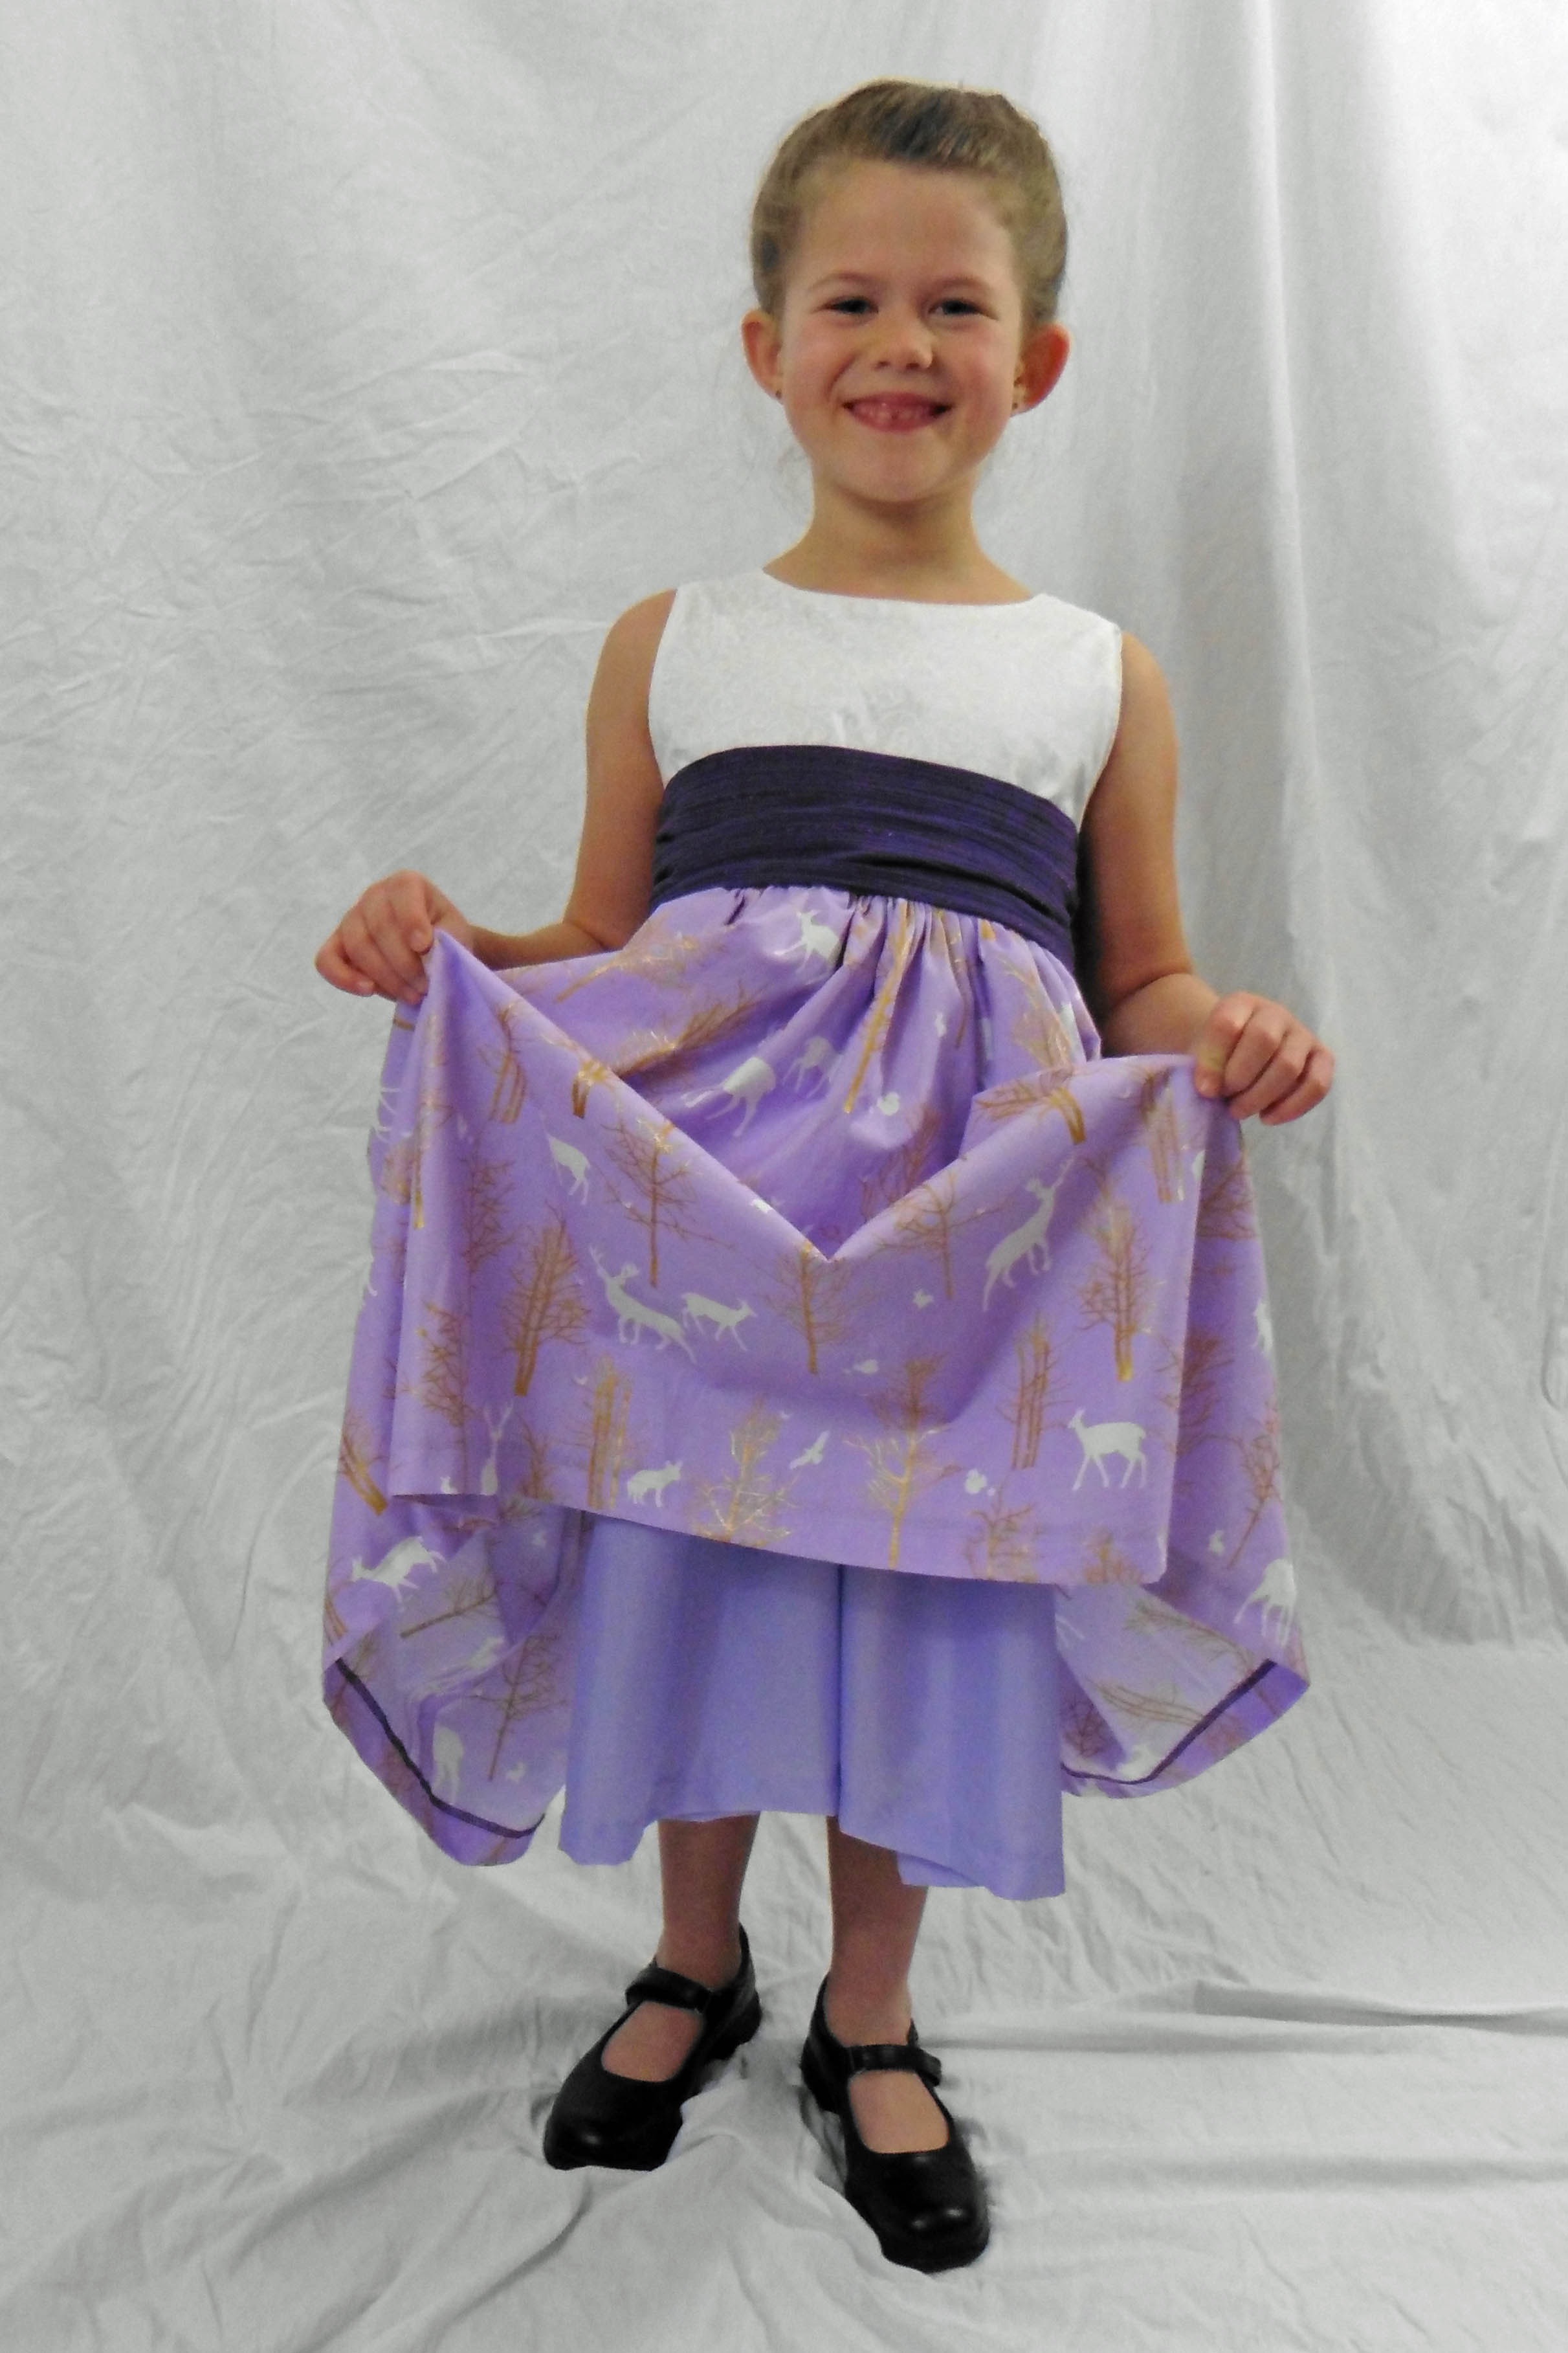
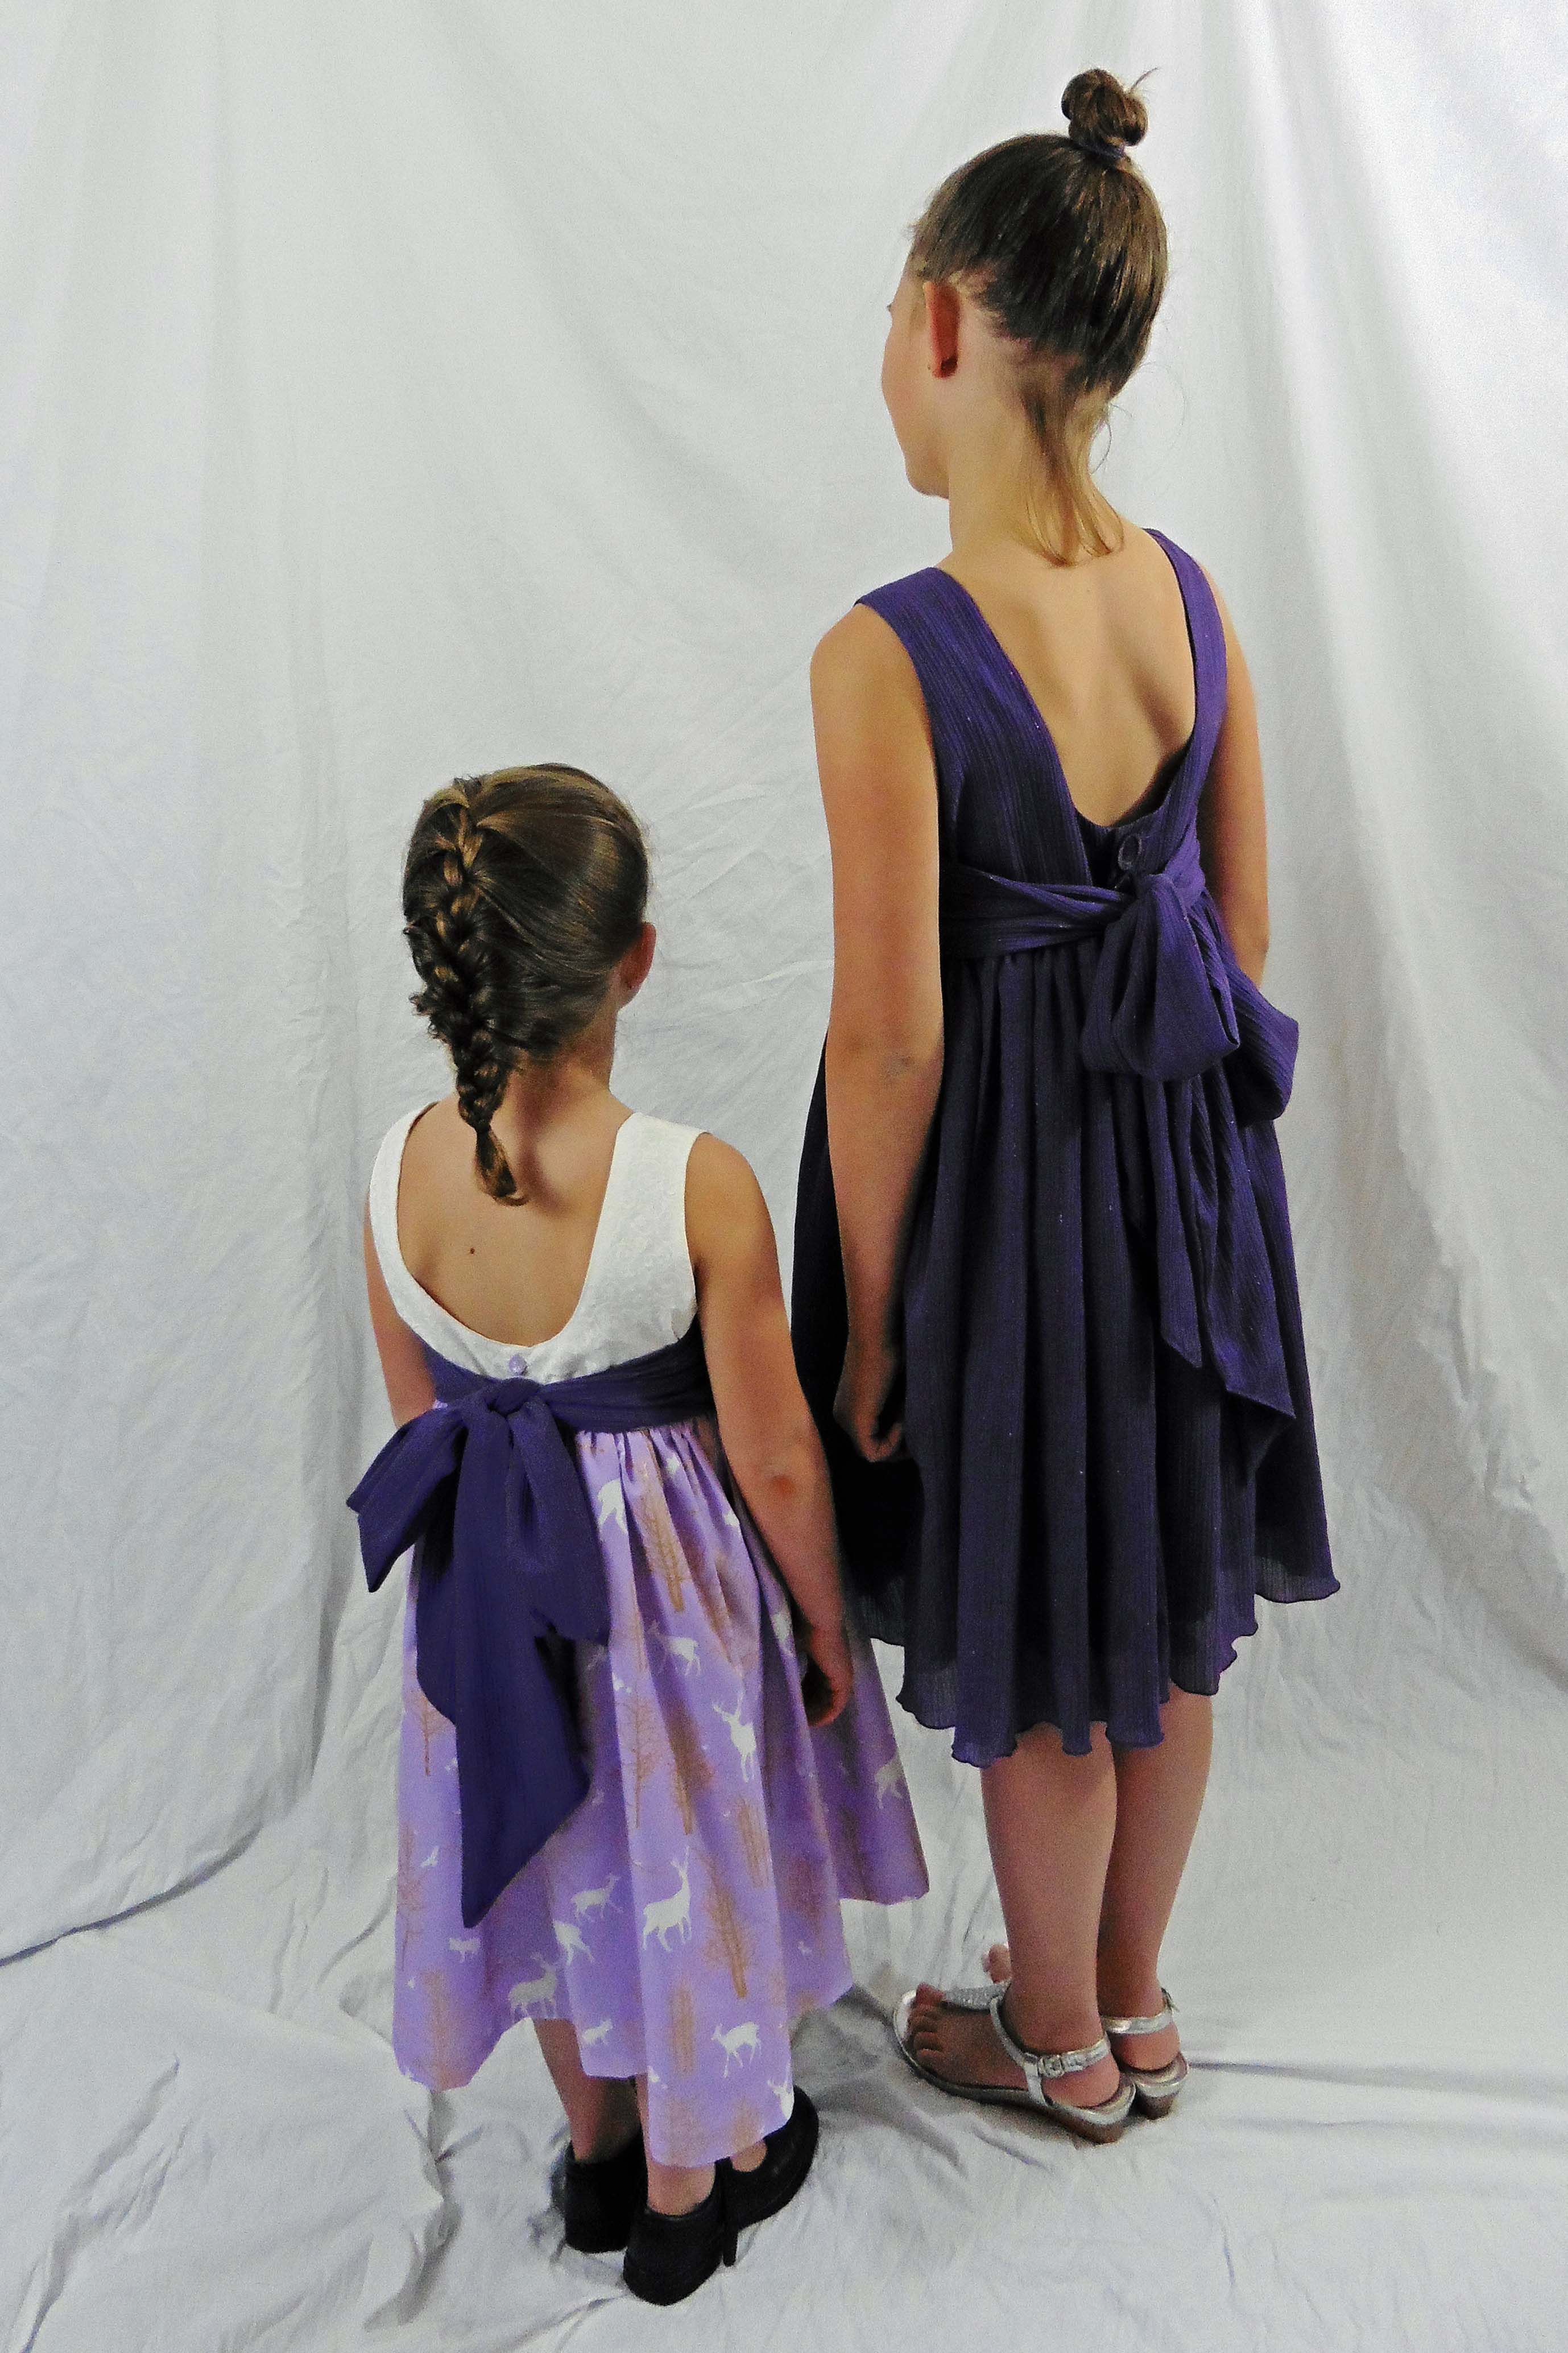
Anyhow, I thought I’d share a quick how-to on putting a lining under the skirt of Kenzie’s Party Dress. I love how lining the whole dress makes the insides look almost as nice as the outside of the dress!
The first step to adding a lining is to cut a skirt from your lining fabric. Use the simple skirt dimensions from the cut chart in the pattern, with the exception of cutting the length one inch shorter (the skirt’s length is the smaller of the two numbers). It needs to be shorter so that the finished lining won’t show when the dress is worn.
Following along with the steps in the pattern, construct the bodice. Do not yet top stitch around the neckline/back and do not add buttons and buttonholes (these will come after attaching the skirts).
Construct your main skirt of choice (signature or simple). Sew the lining skirt following the simple skirt directions … side seams, skirt placket, and hem. Put basting stitches around the top of each skirt separately and gather them to fit the bodice width.
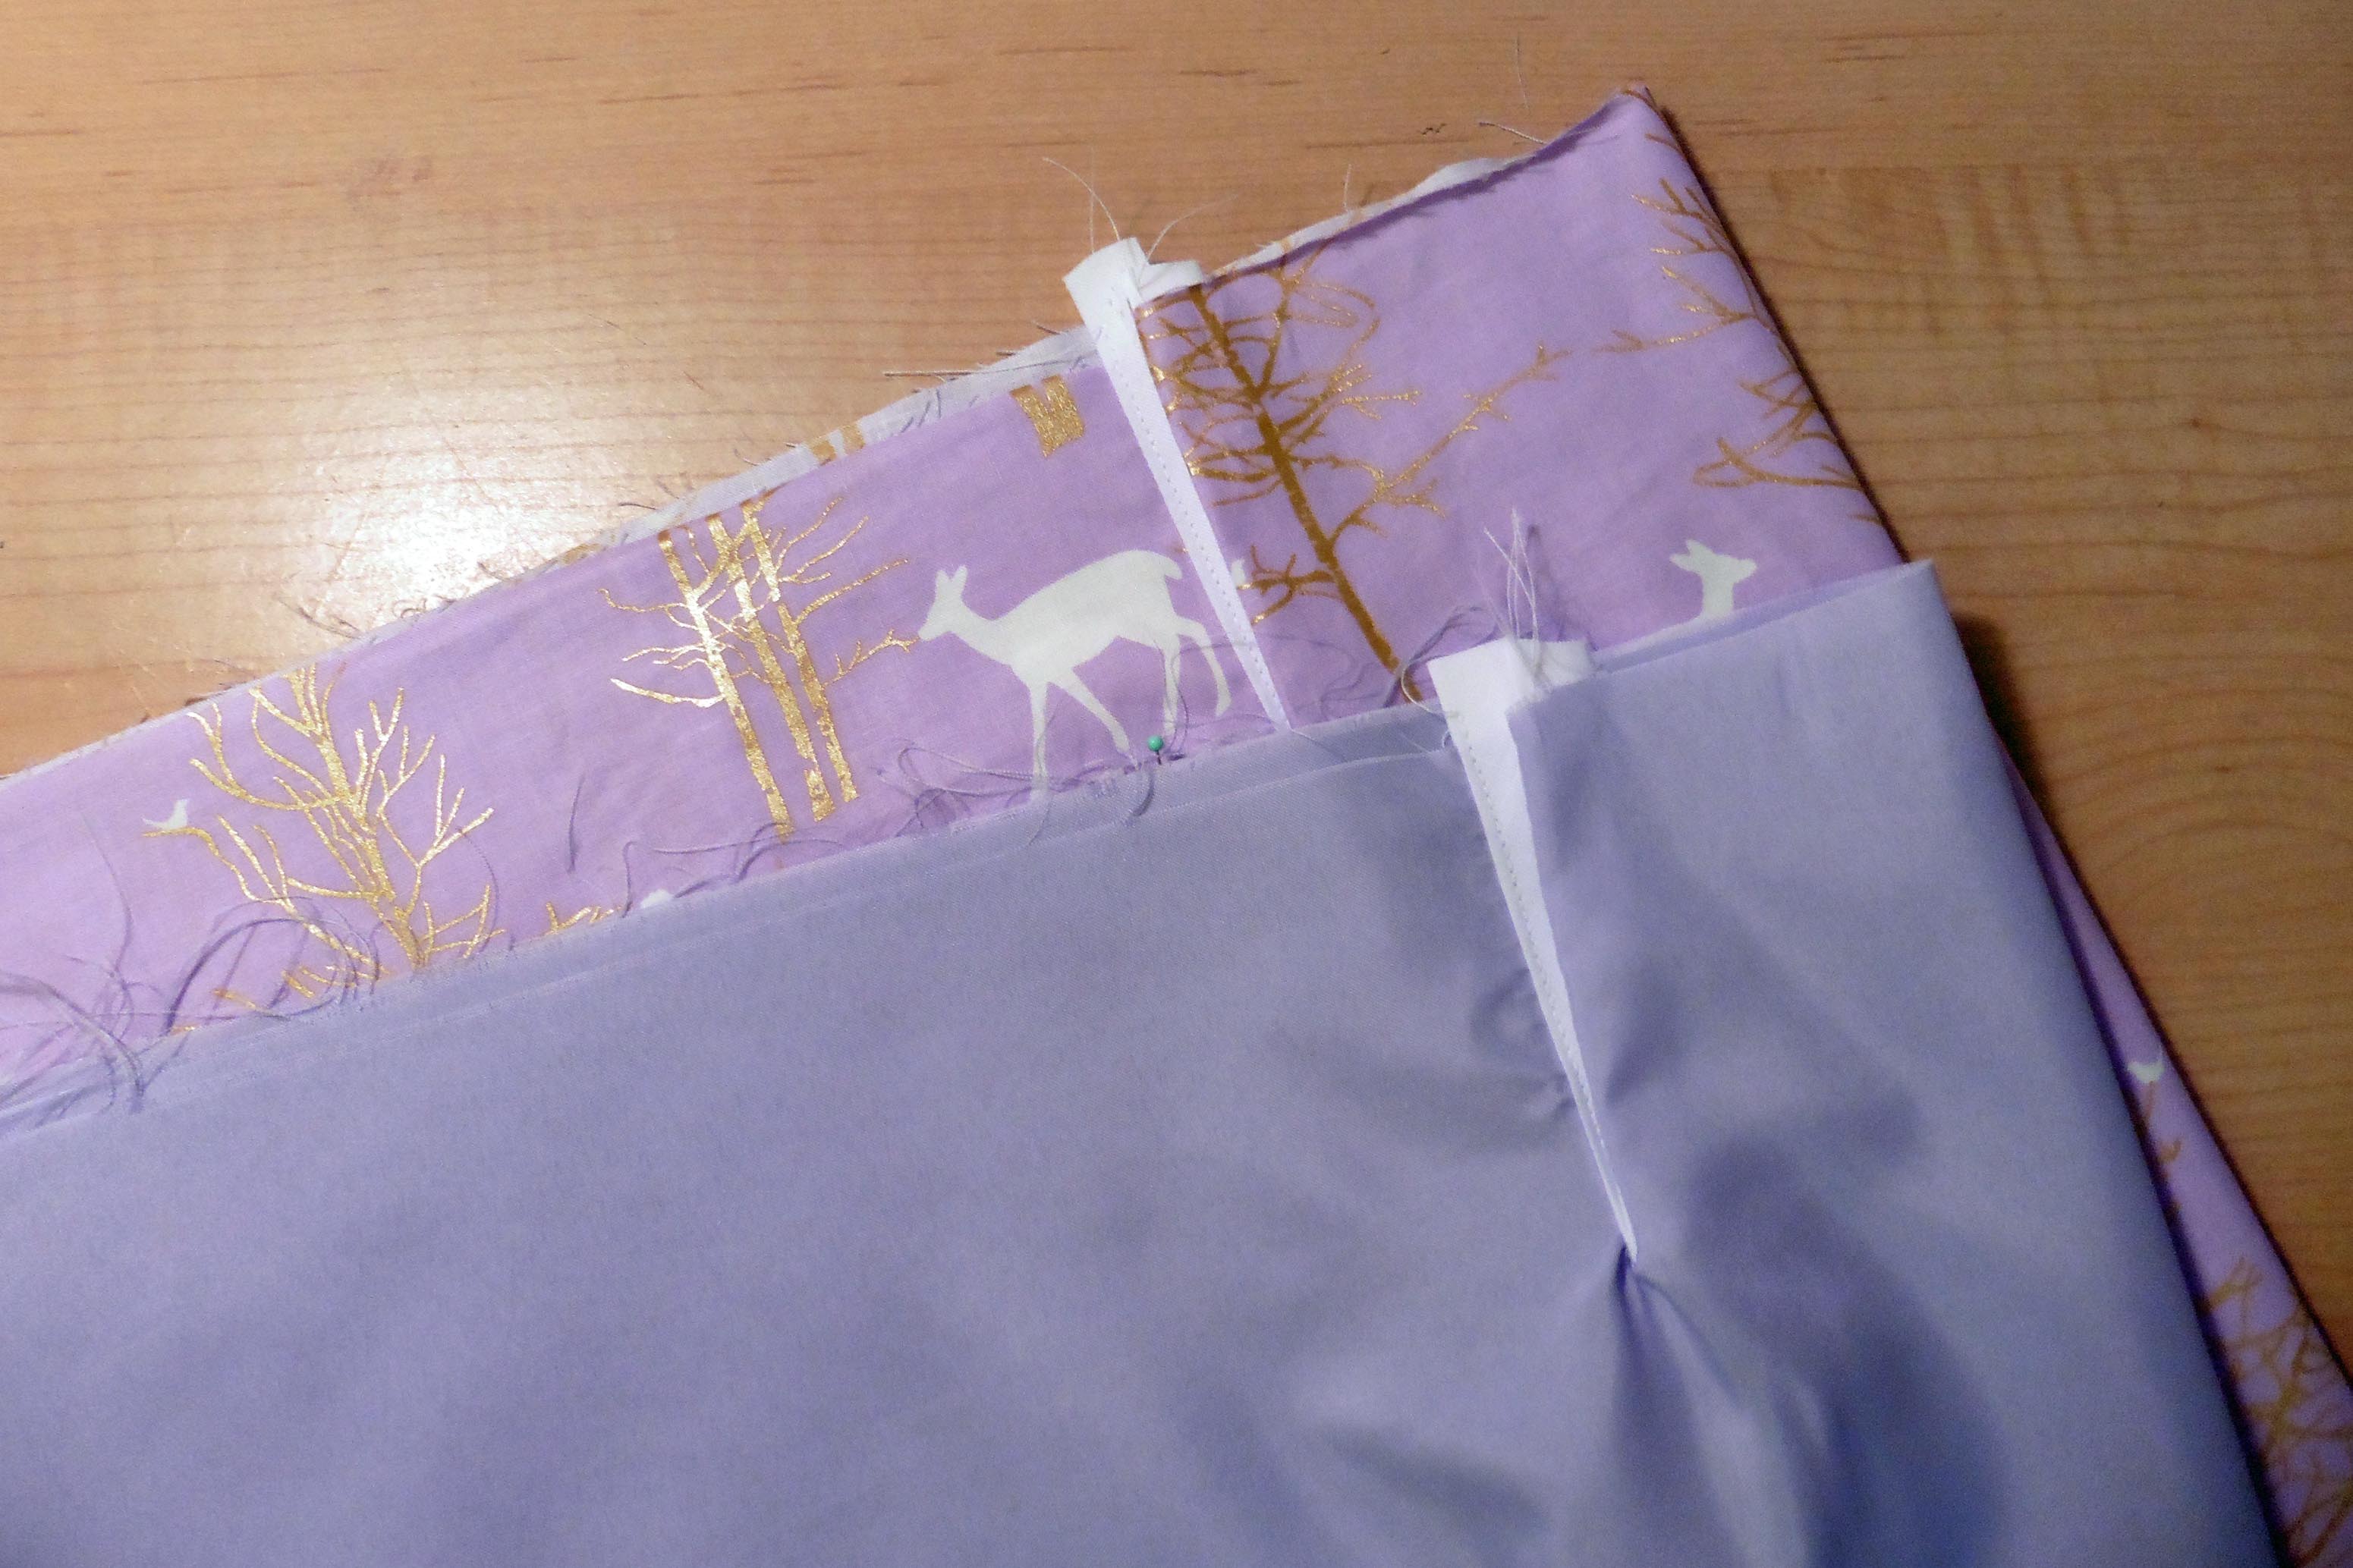
Starting with the skirt placket against the center back seam, pin the main skirt to only the main bodice, right sides together. Make sure the side seams are lined up and gathers are even and stitch them together.
Then match up the WRONG side of the lining skirt with the RIGHT side of the bodice lining, starting with the skirt placket against the center back seam and making sure to keep the gathers even. Stitch.
** The reason for wrong-to-right sides is so the lining skirt hem and side seams face the same way as the main skirt hem and side seams.
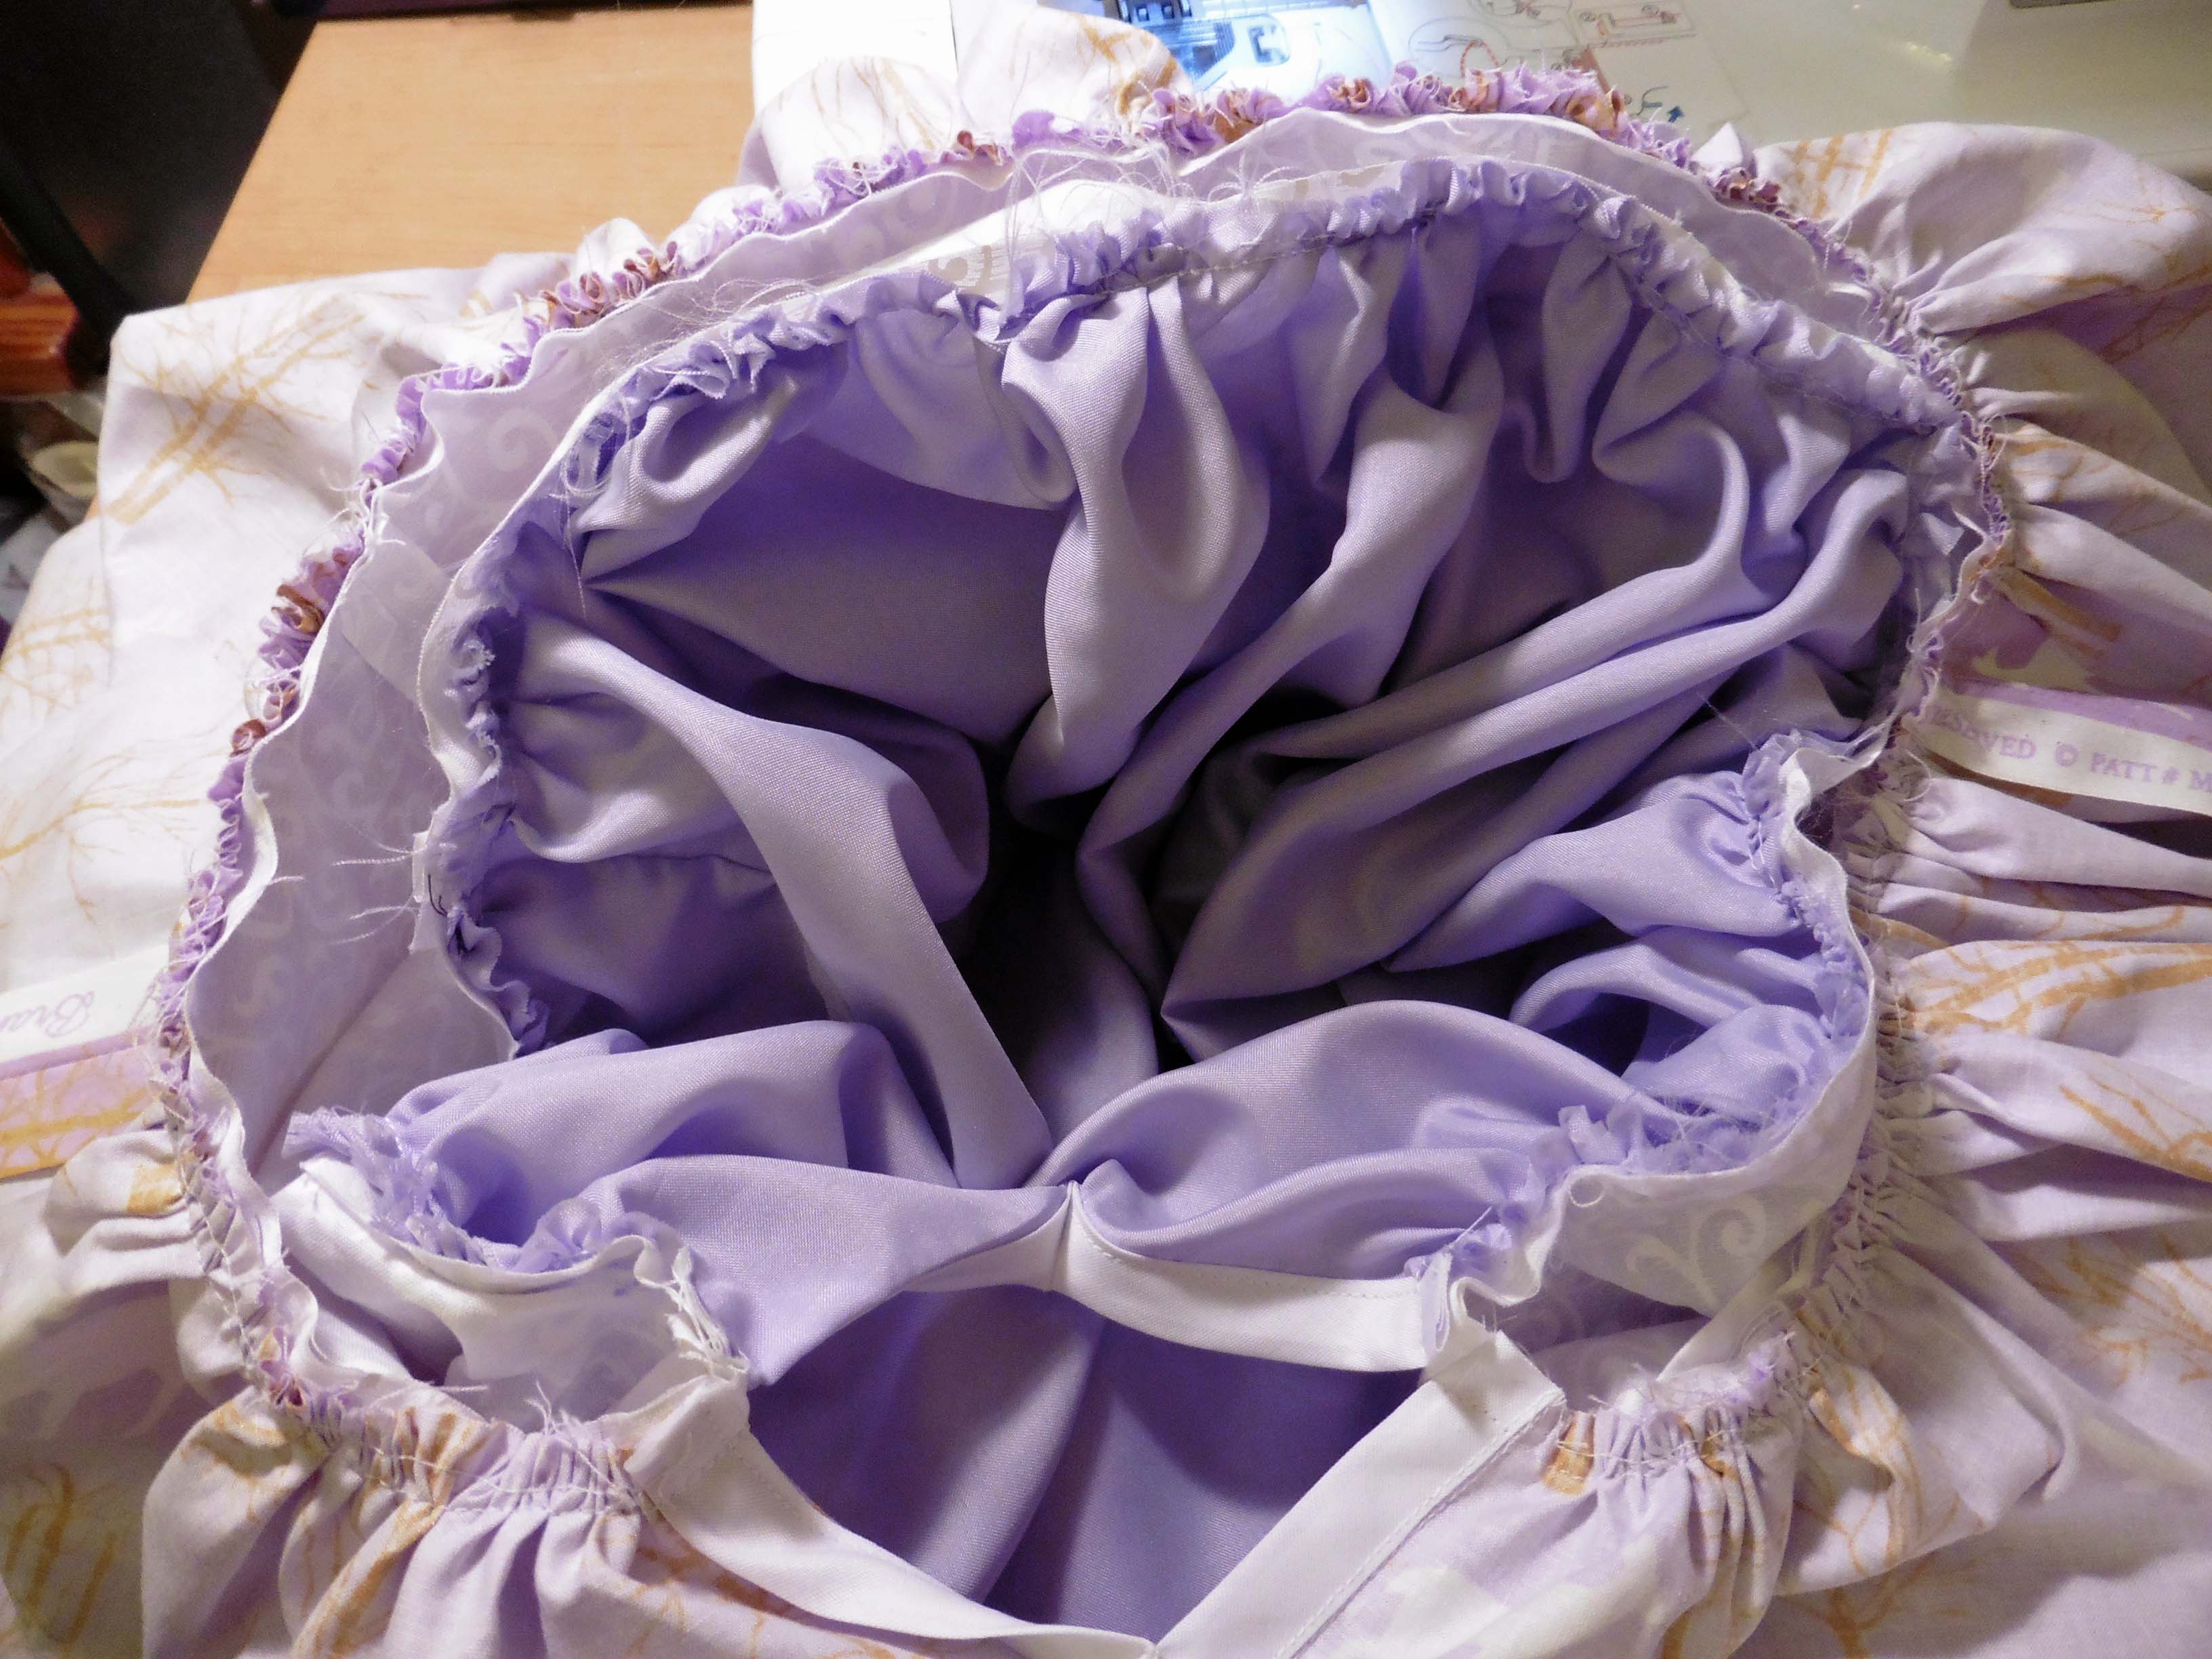
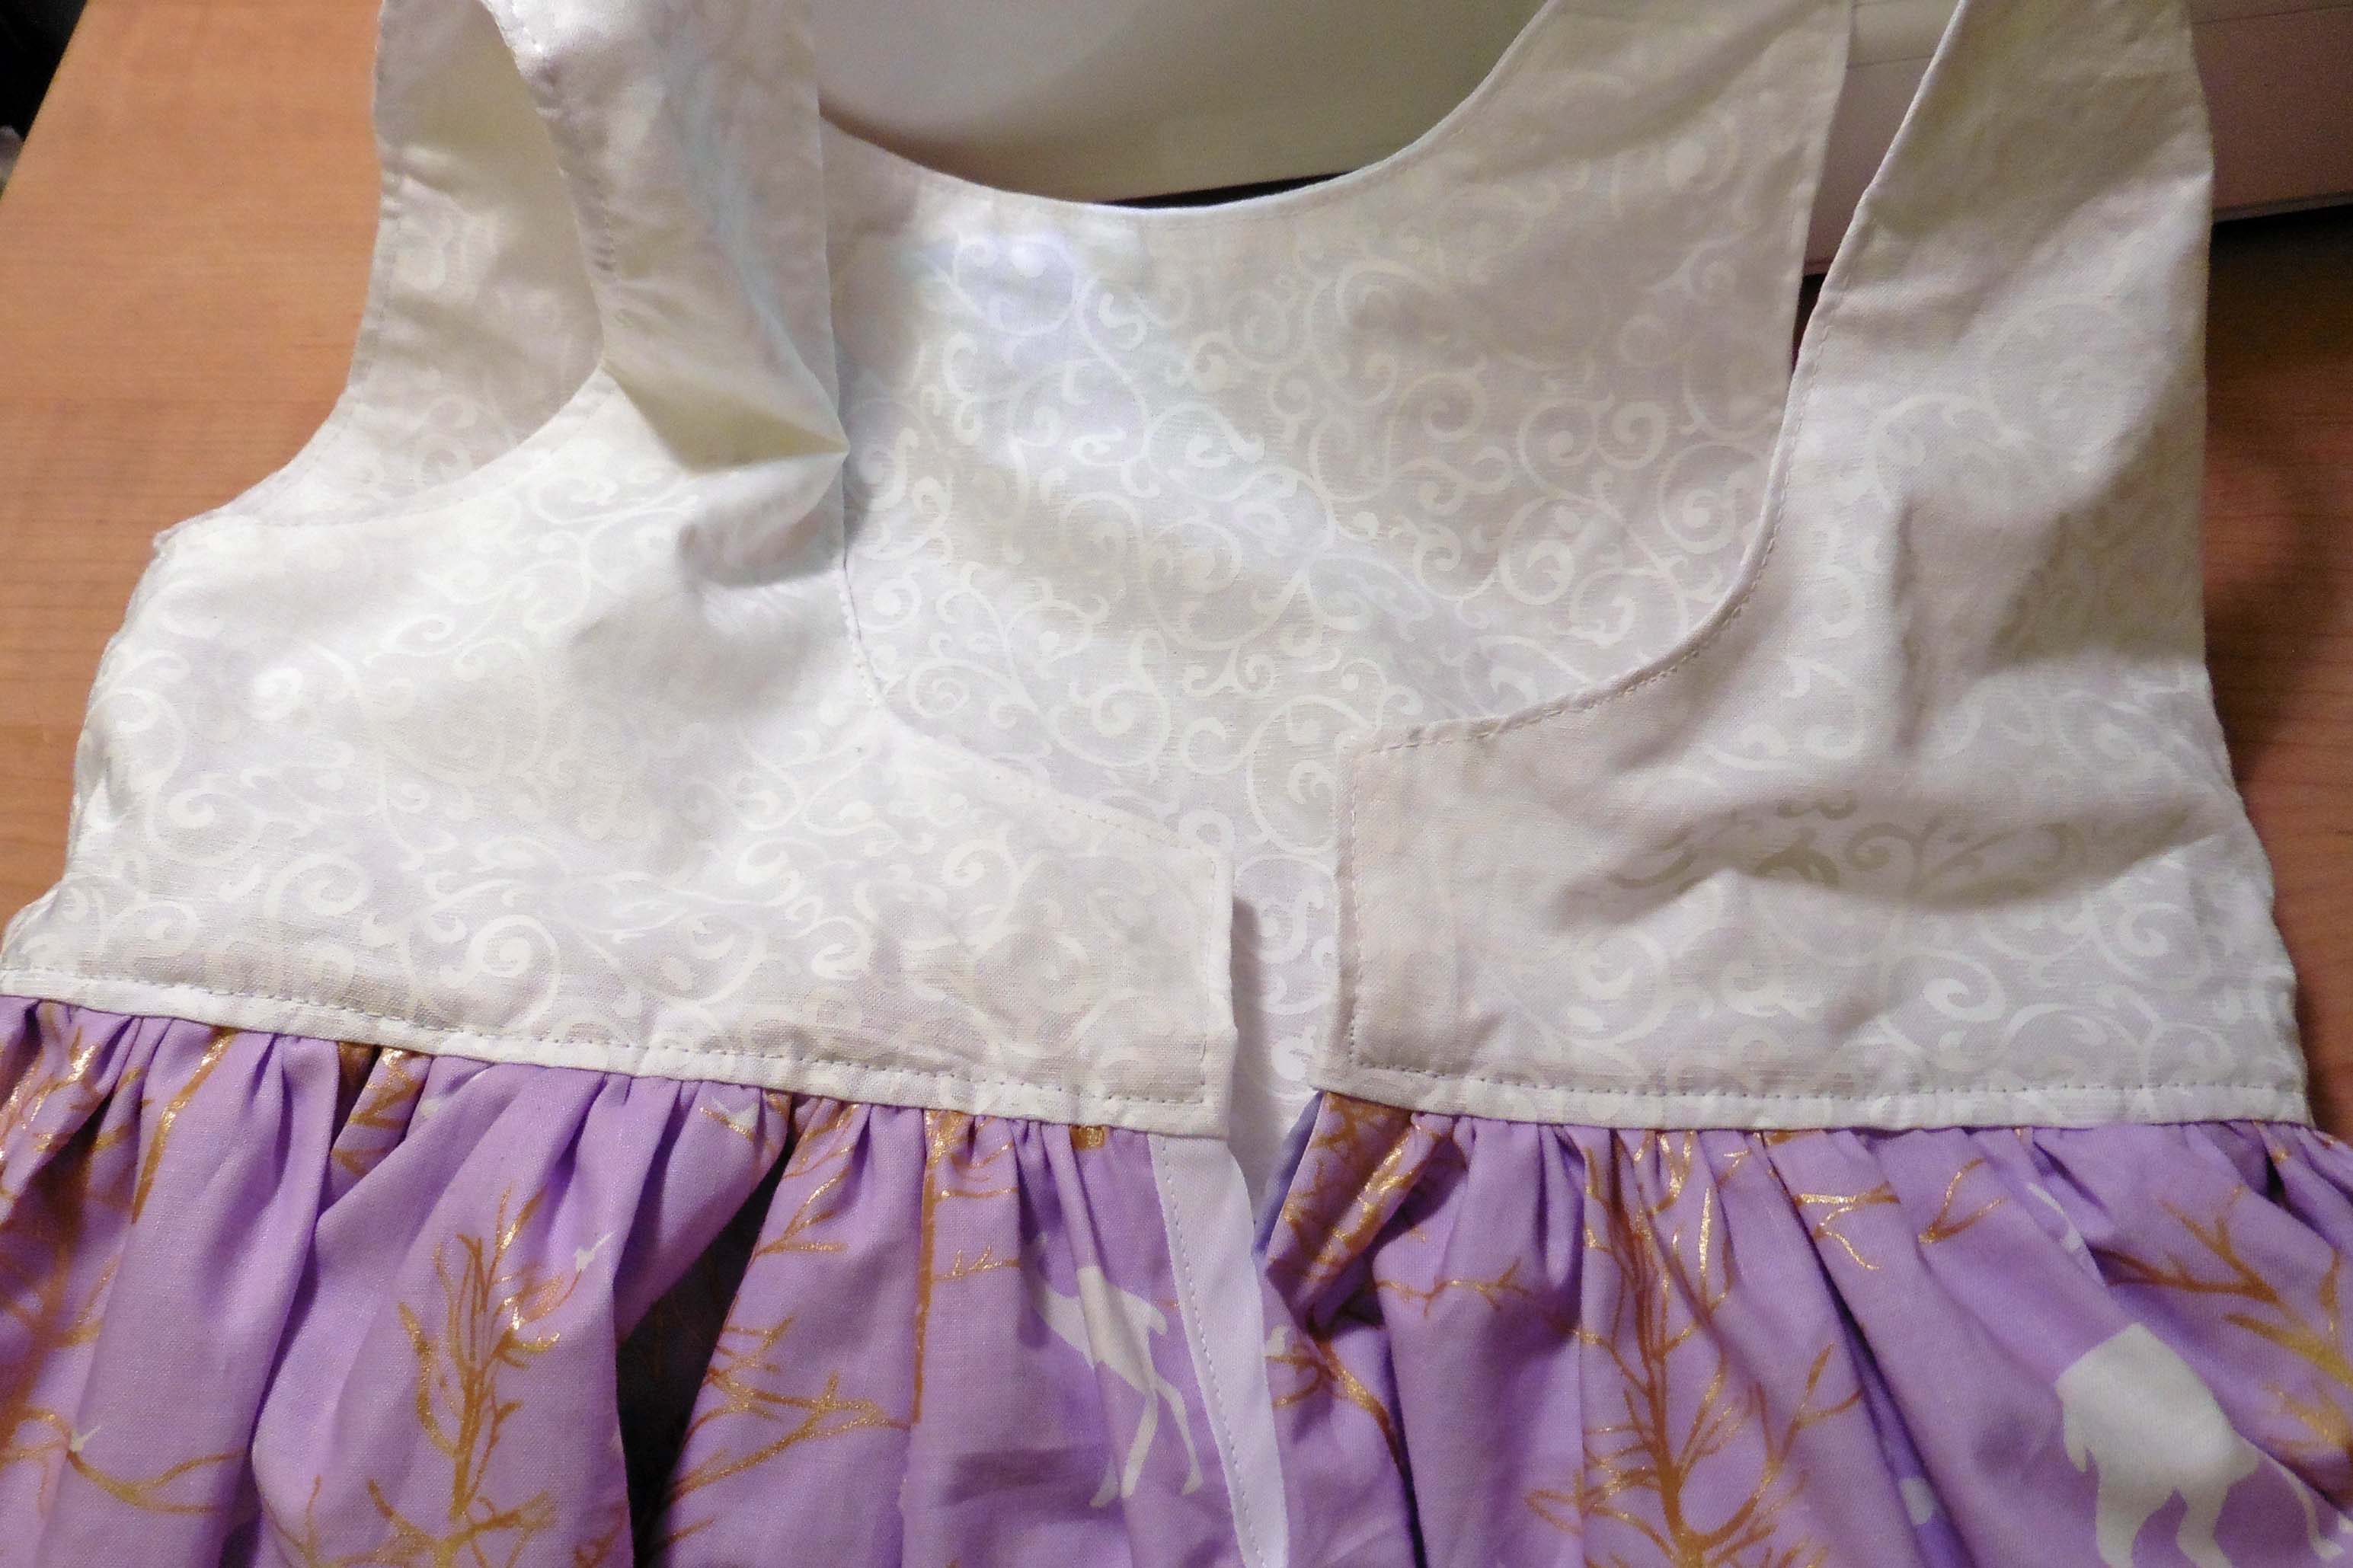
After sewing each skirt to the bodice, the main and lining skirt plackets will butt up against each other at the center back seams of the bodice. You can see that in the bottom middle of the picture above.
Next, press the seam allowances up toward the bodice. The seam allowances will be sandwiched between the main bodice and lining bodice.
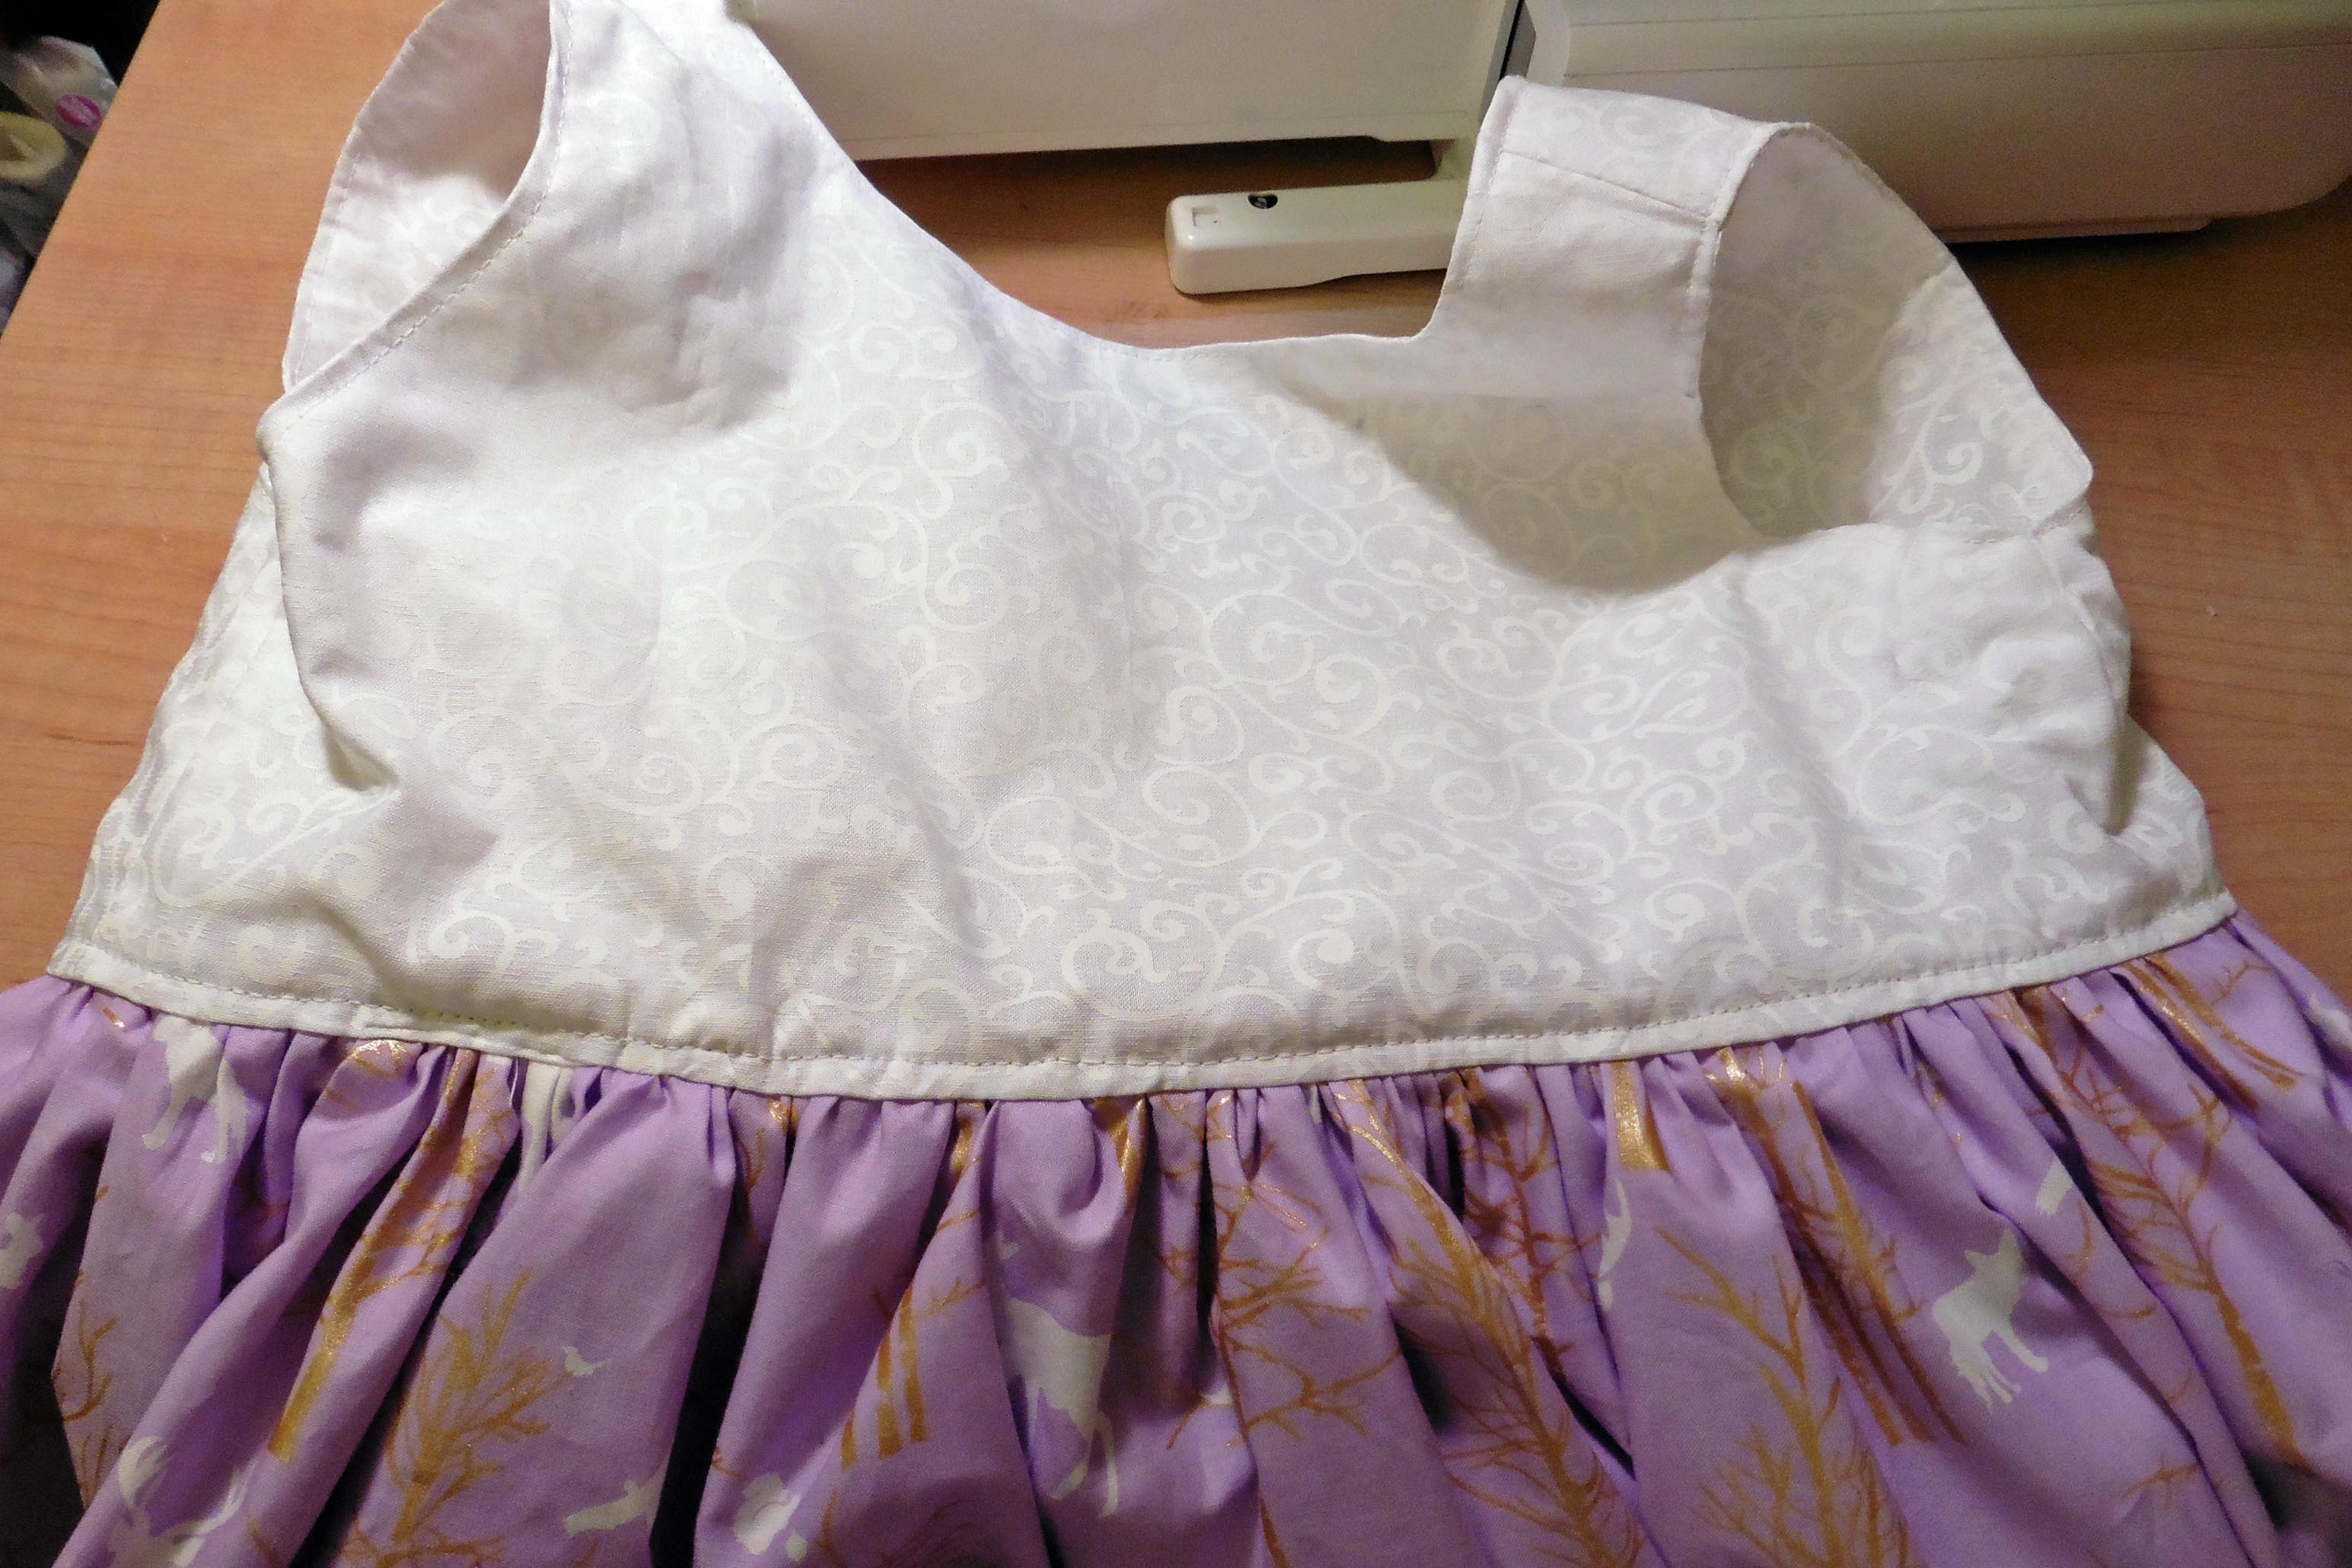
Now is the time to top stitch around the neckline, back scoop, down the center back of the bodice, and continuing around the top of the skirt seam on the bodice.
** If you skipped top stitching the armholes when we skipped the neckline top stitching, don’t forget to do them now, too.
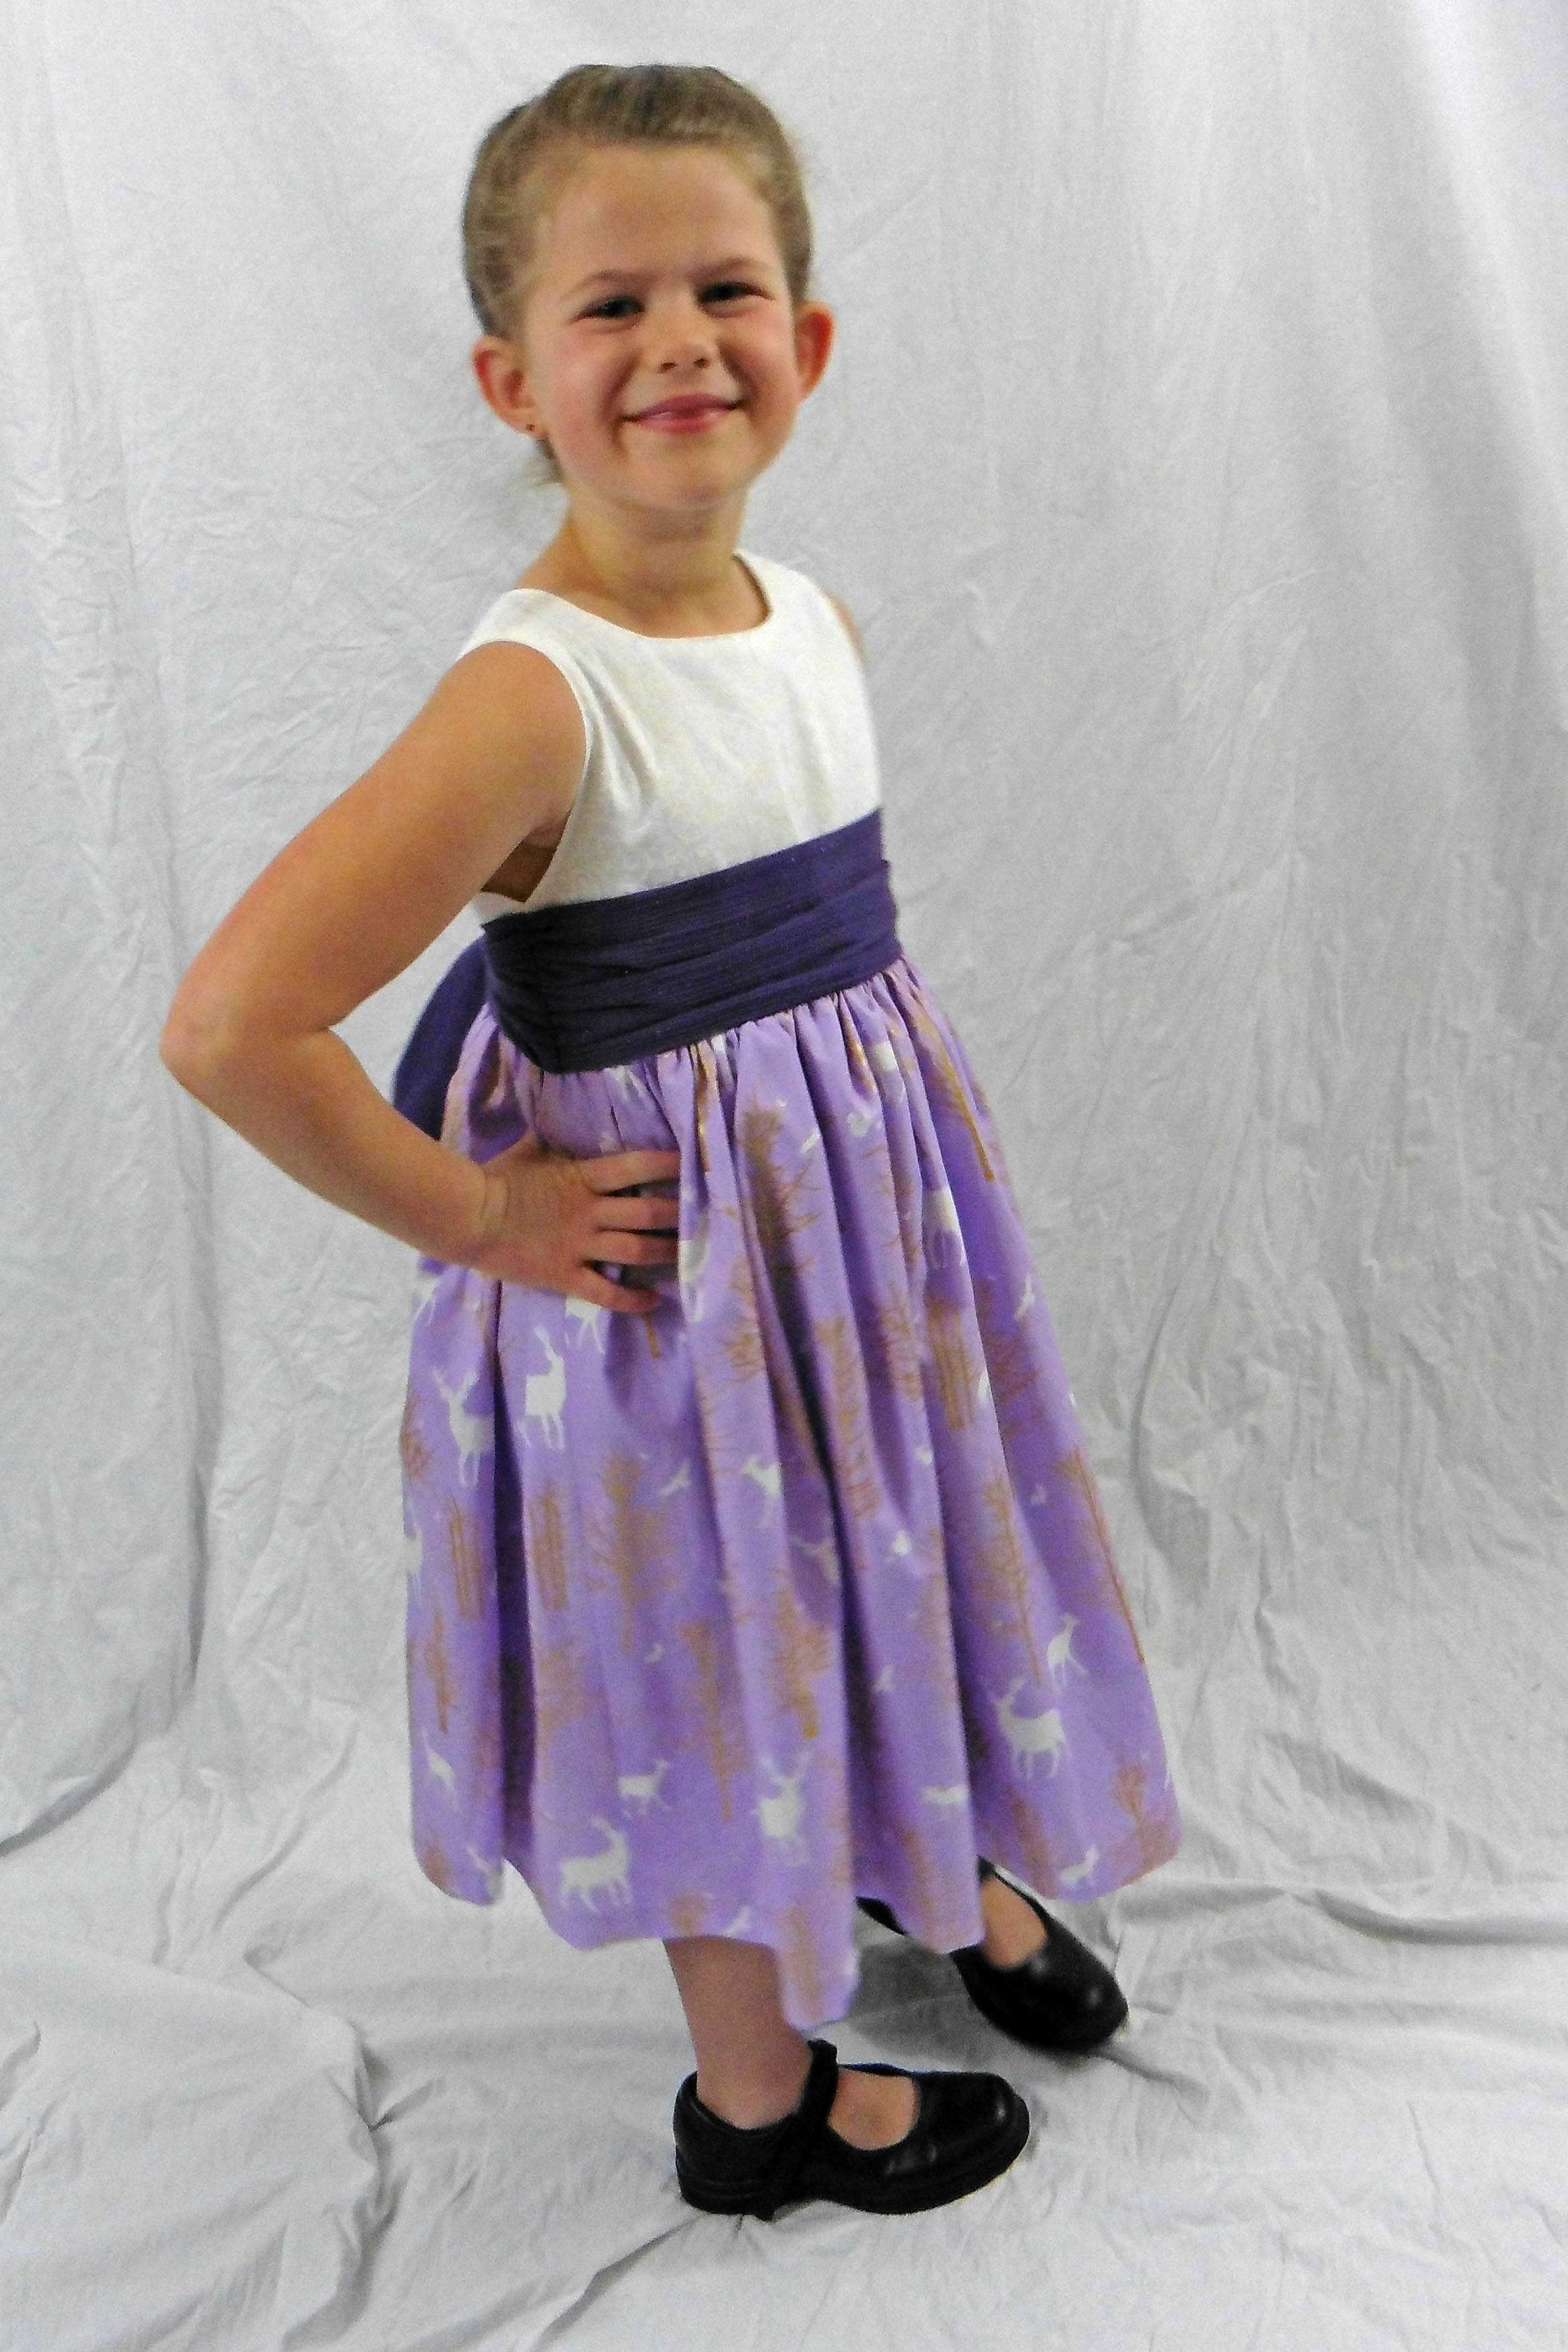
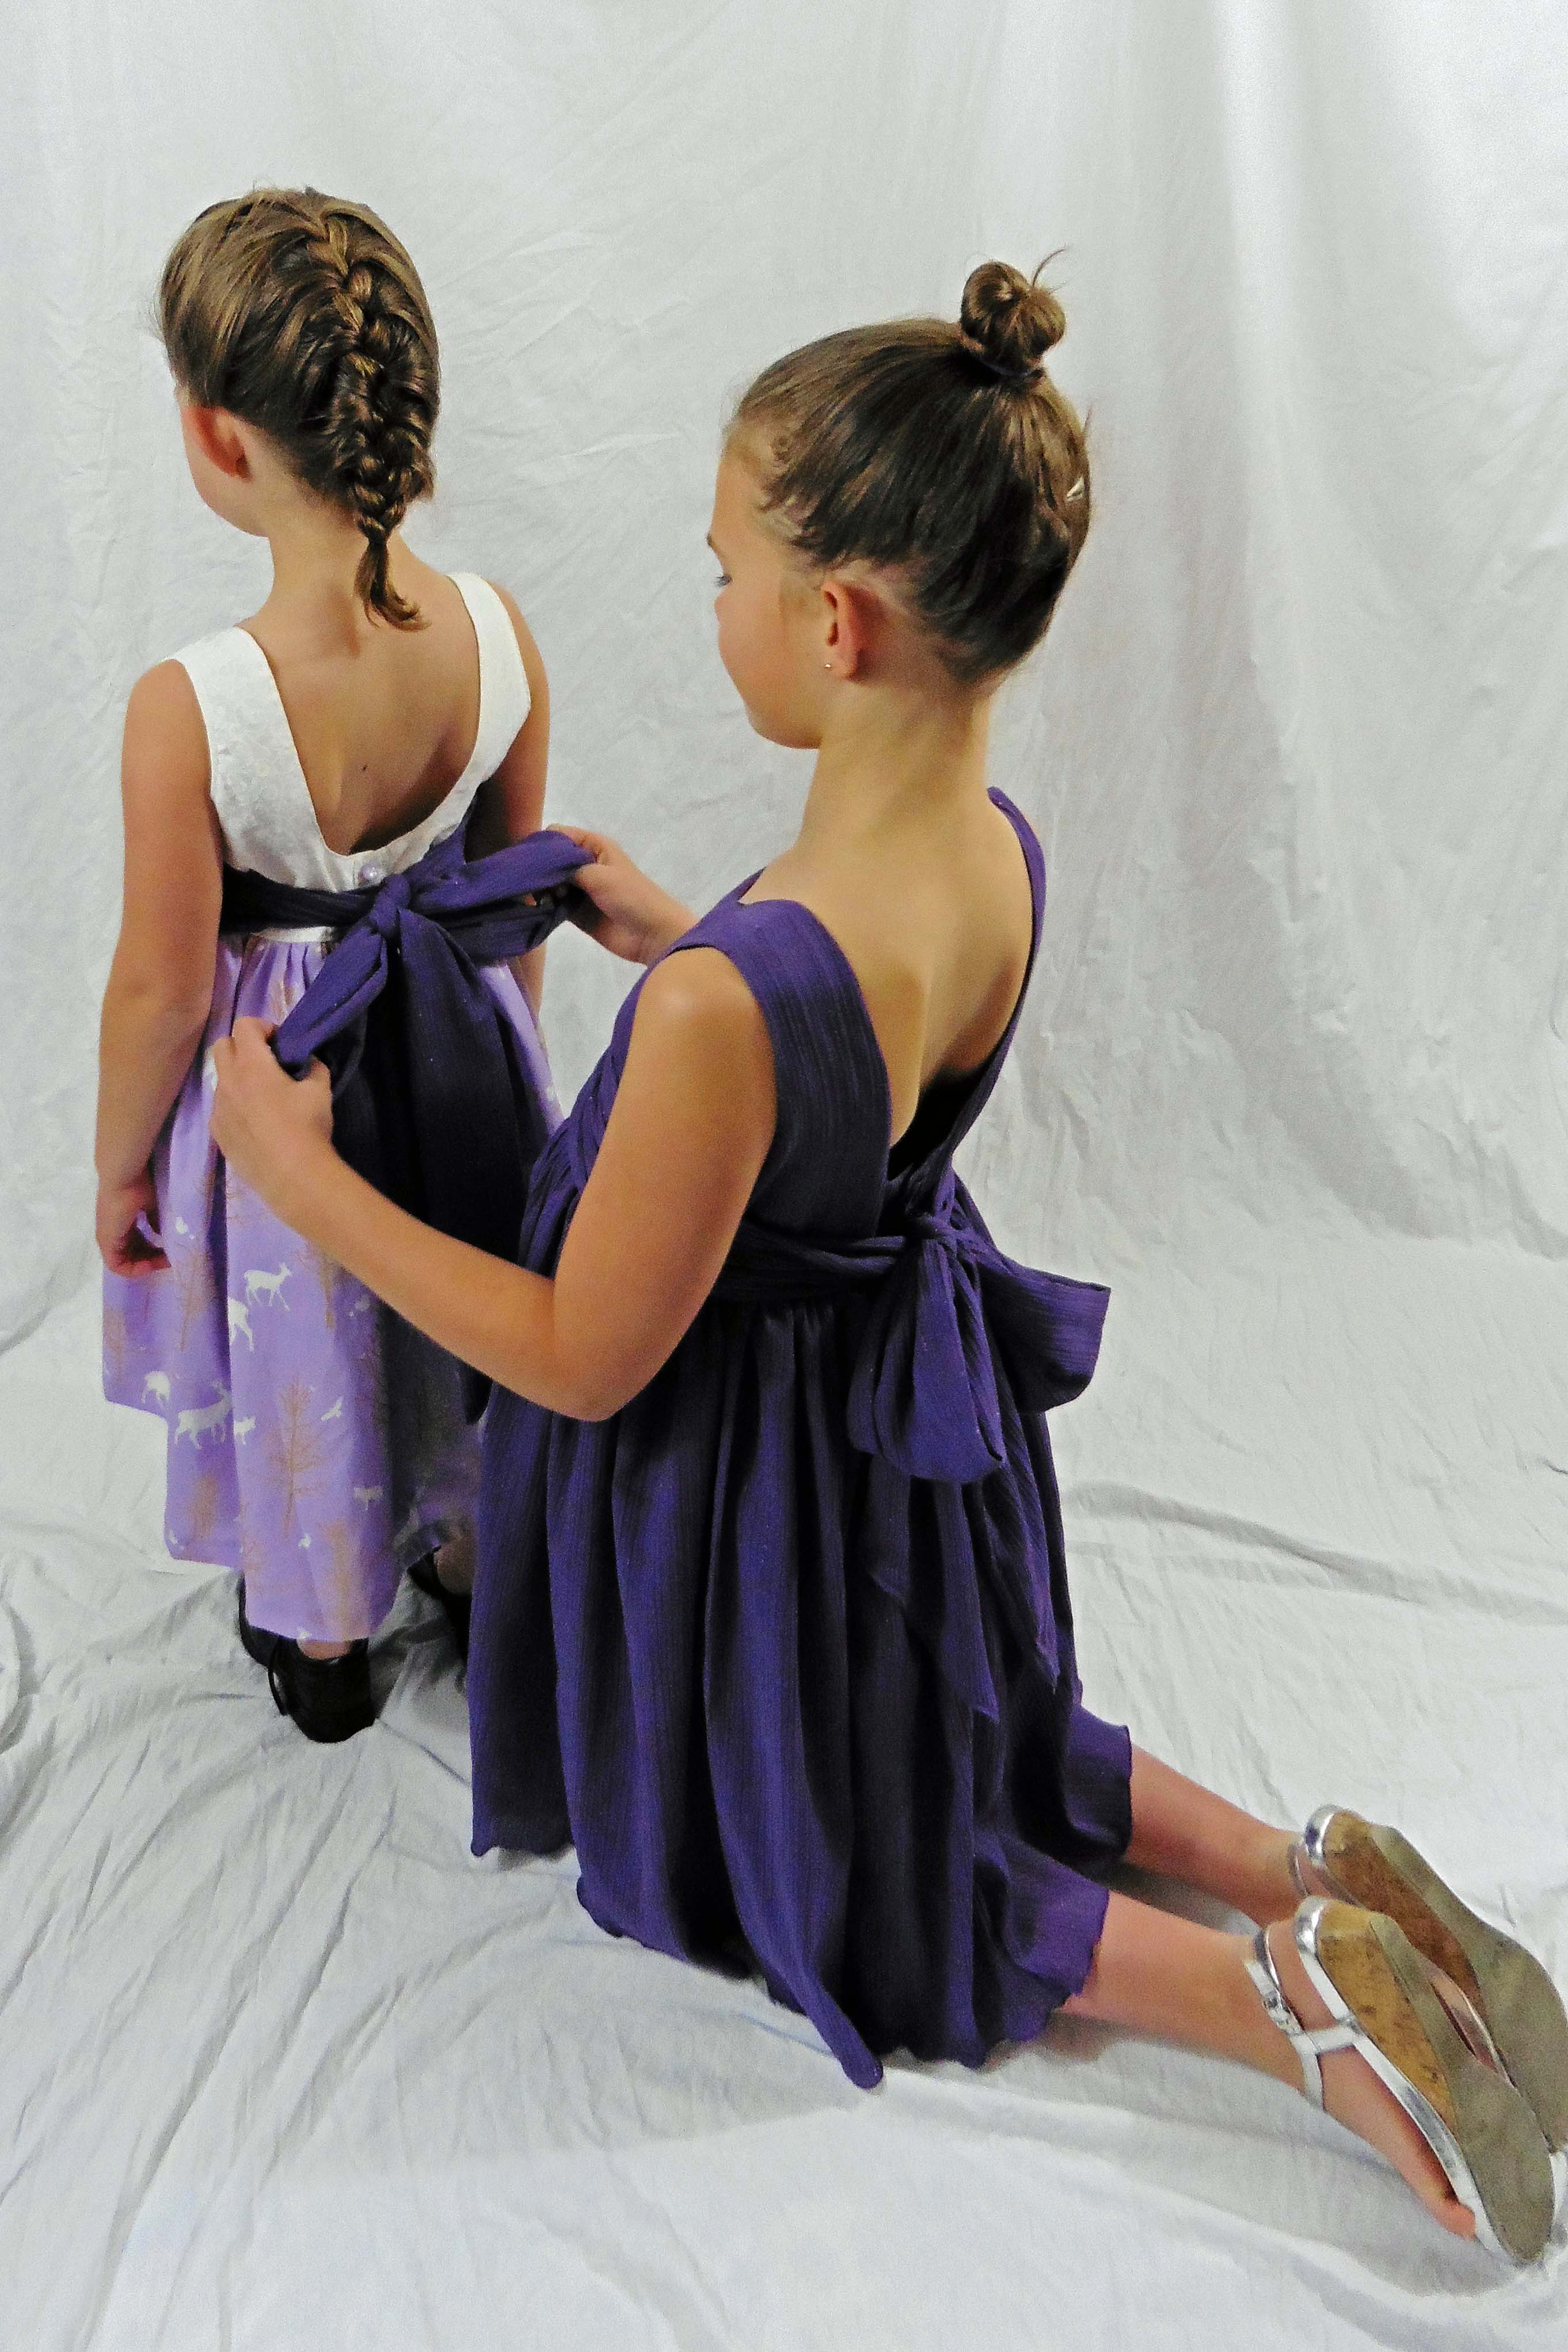
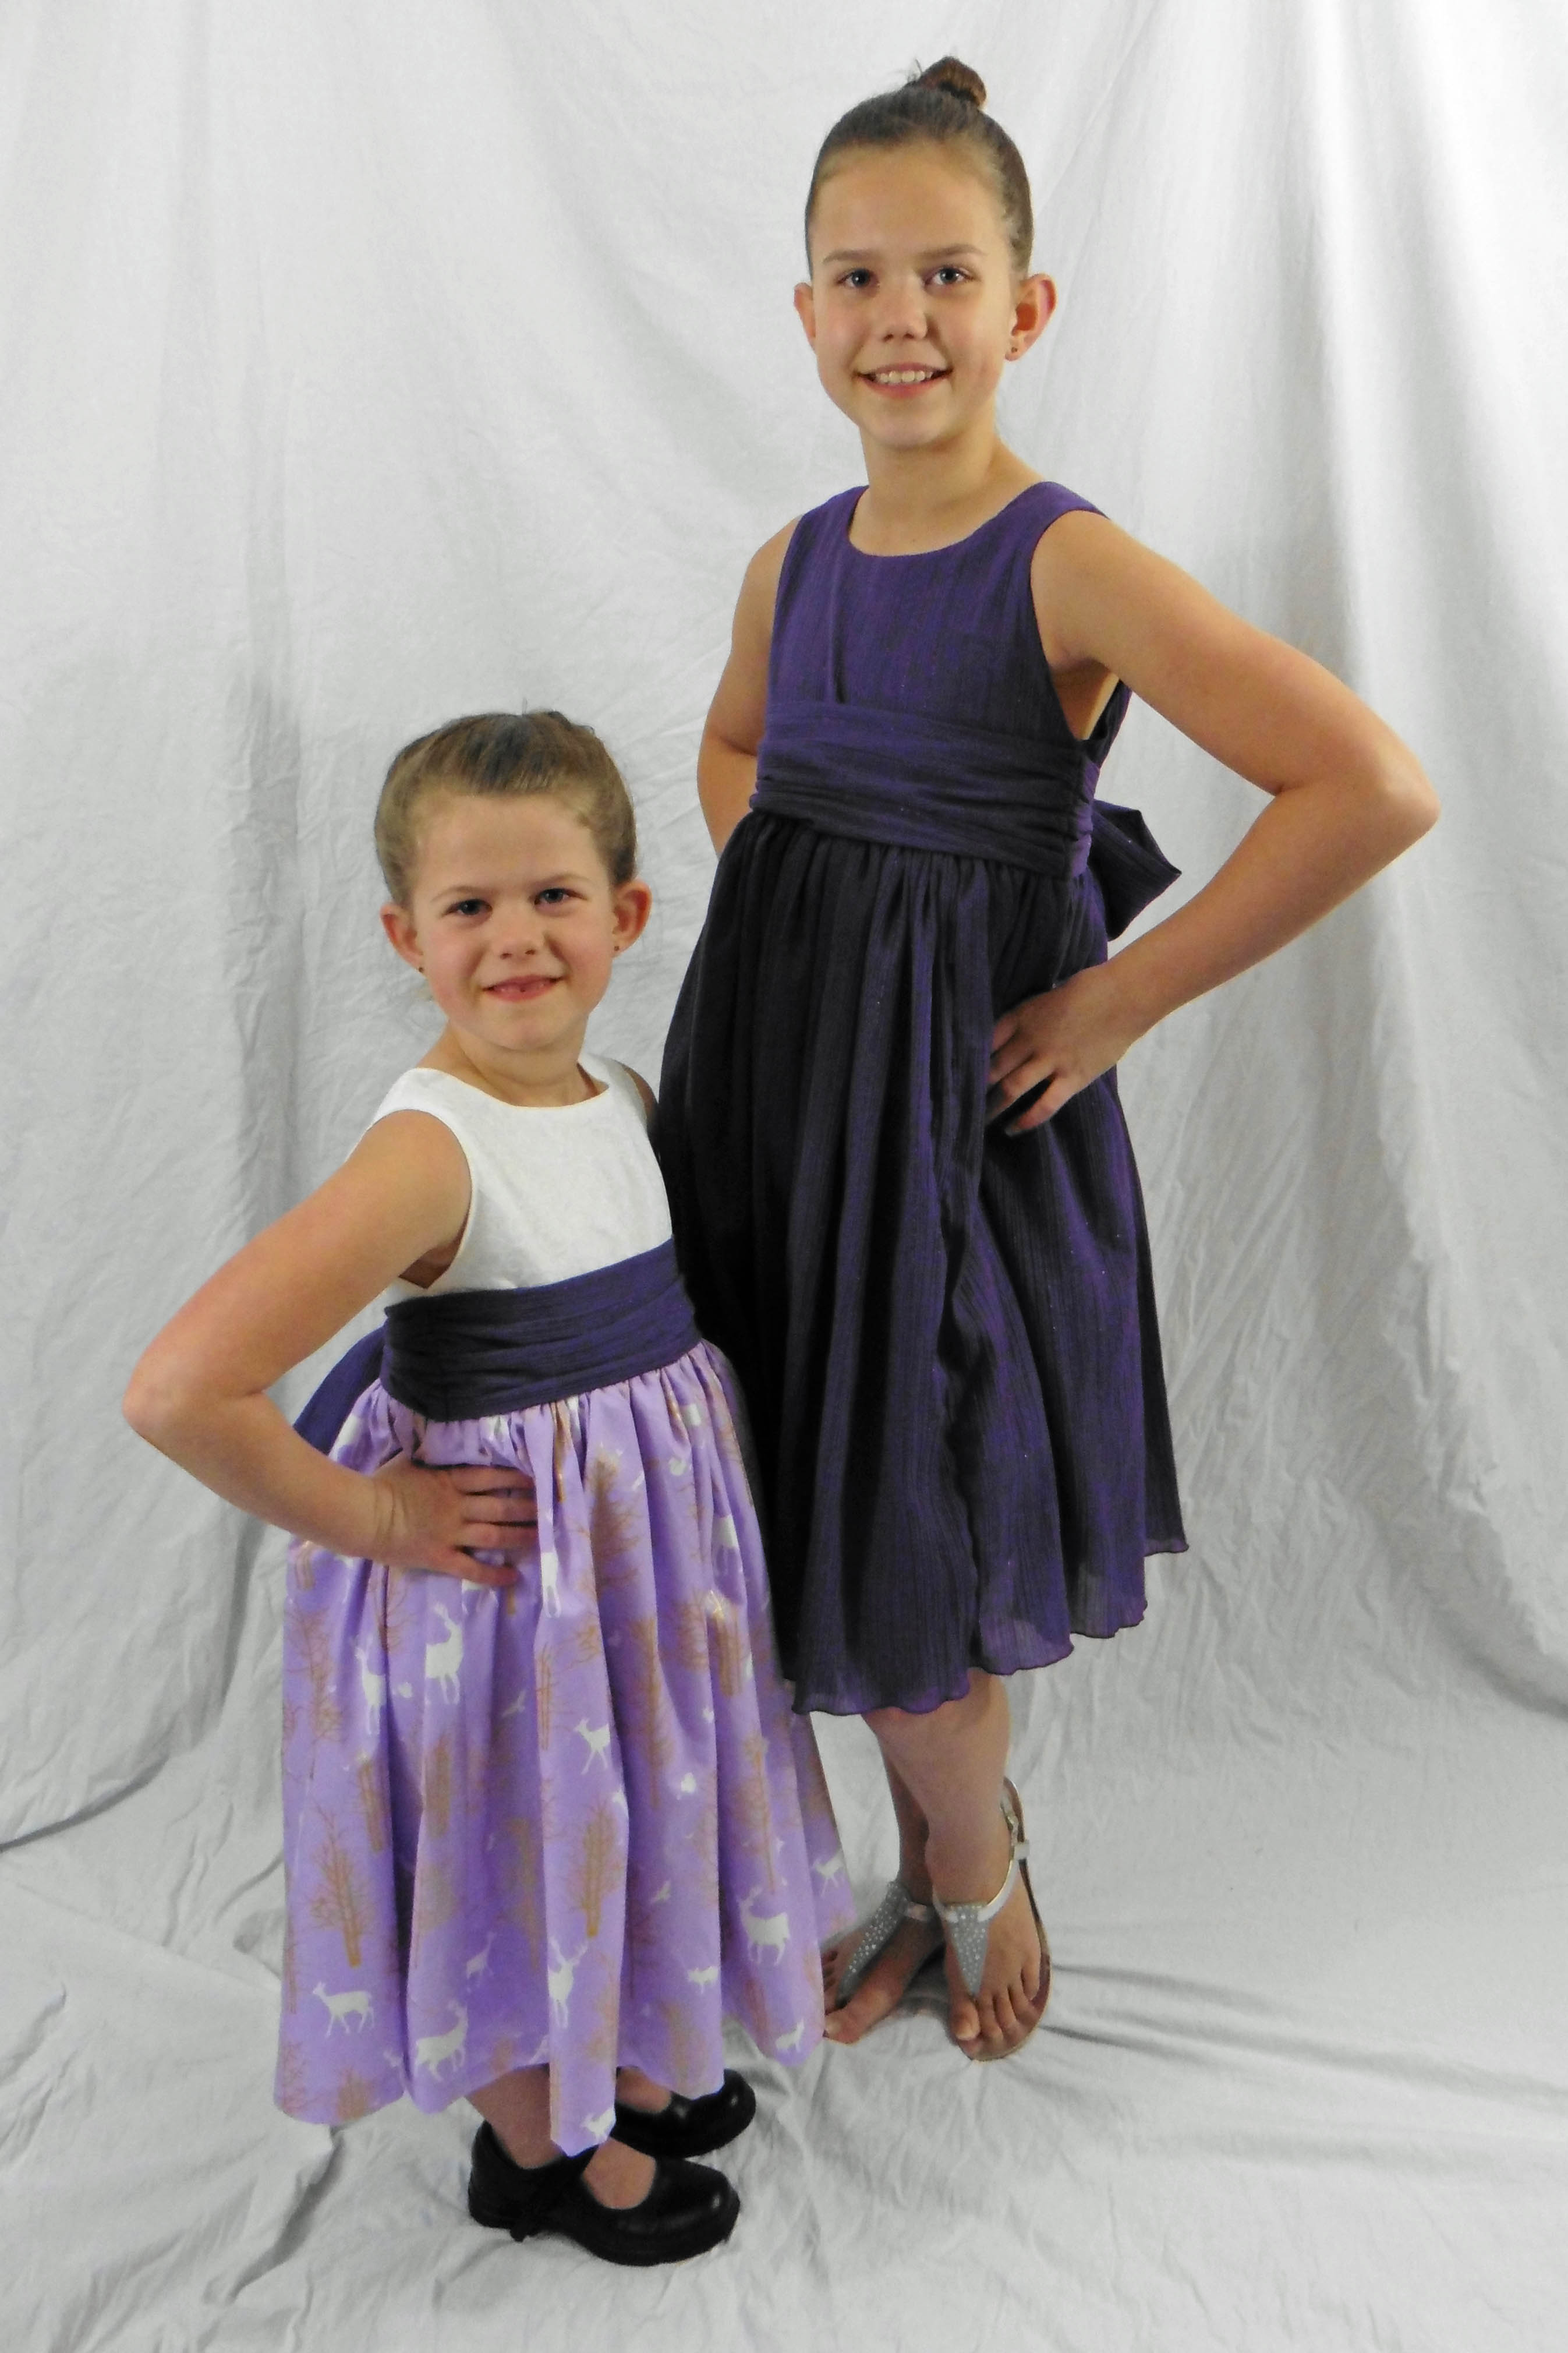
Add the sash by following the pattern instruction, and you’re all finished! Admire your beautiful dress, inside and out!
(Warning: photo overload below! 😉 )

Now, I’m off to finish their sweaters and my three boys’ outfits and my top so we can get family pictures taken and cards hopefully in the mail before Christmas Day!
Happy Sewing!! ~ Joelle
Leave a Reply