Have you ever wondered if you could use woven fabric to sew a pattern that was sized for knits? This week, I was wanting to make a new top for myself, but wasn’t “feeling it” with the knits I was finding in my stash. Considering that the nearest fabric store is over 65 miles away, going fabric shopping “just because” was not an option. What’s a girl to do? Pattern experimentation, here I come!
Since this was the first time I’ve tried sewing myself an EYMM pattern from woven, I decided to play it safe and use a top that I knew would be roomy enough to be comfortable without needing to stretch. When I made Kymy’s Dolman last month, I felt that I could have easily sized down for a closer fit so I hoped that this go-round that my original size would be perfect. I also chose to cut my woven fabric on the bias so that it would have a little give, though not true stretch.
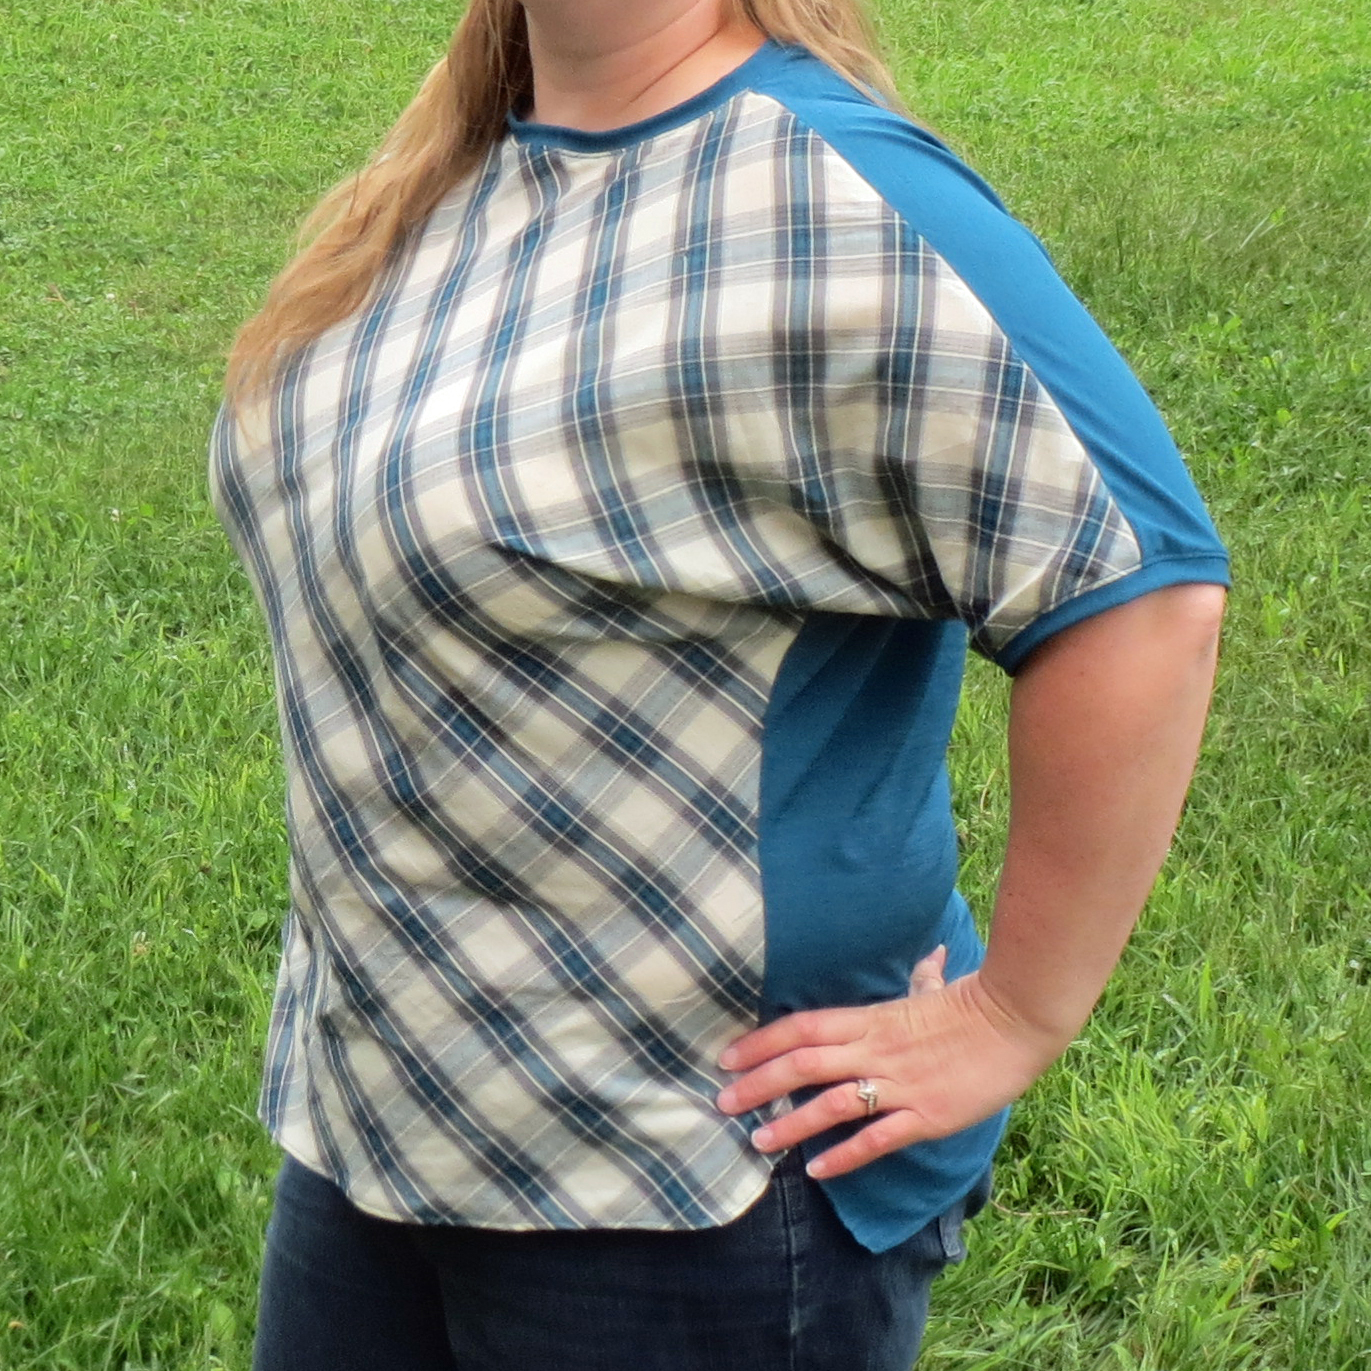
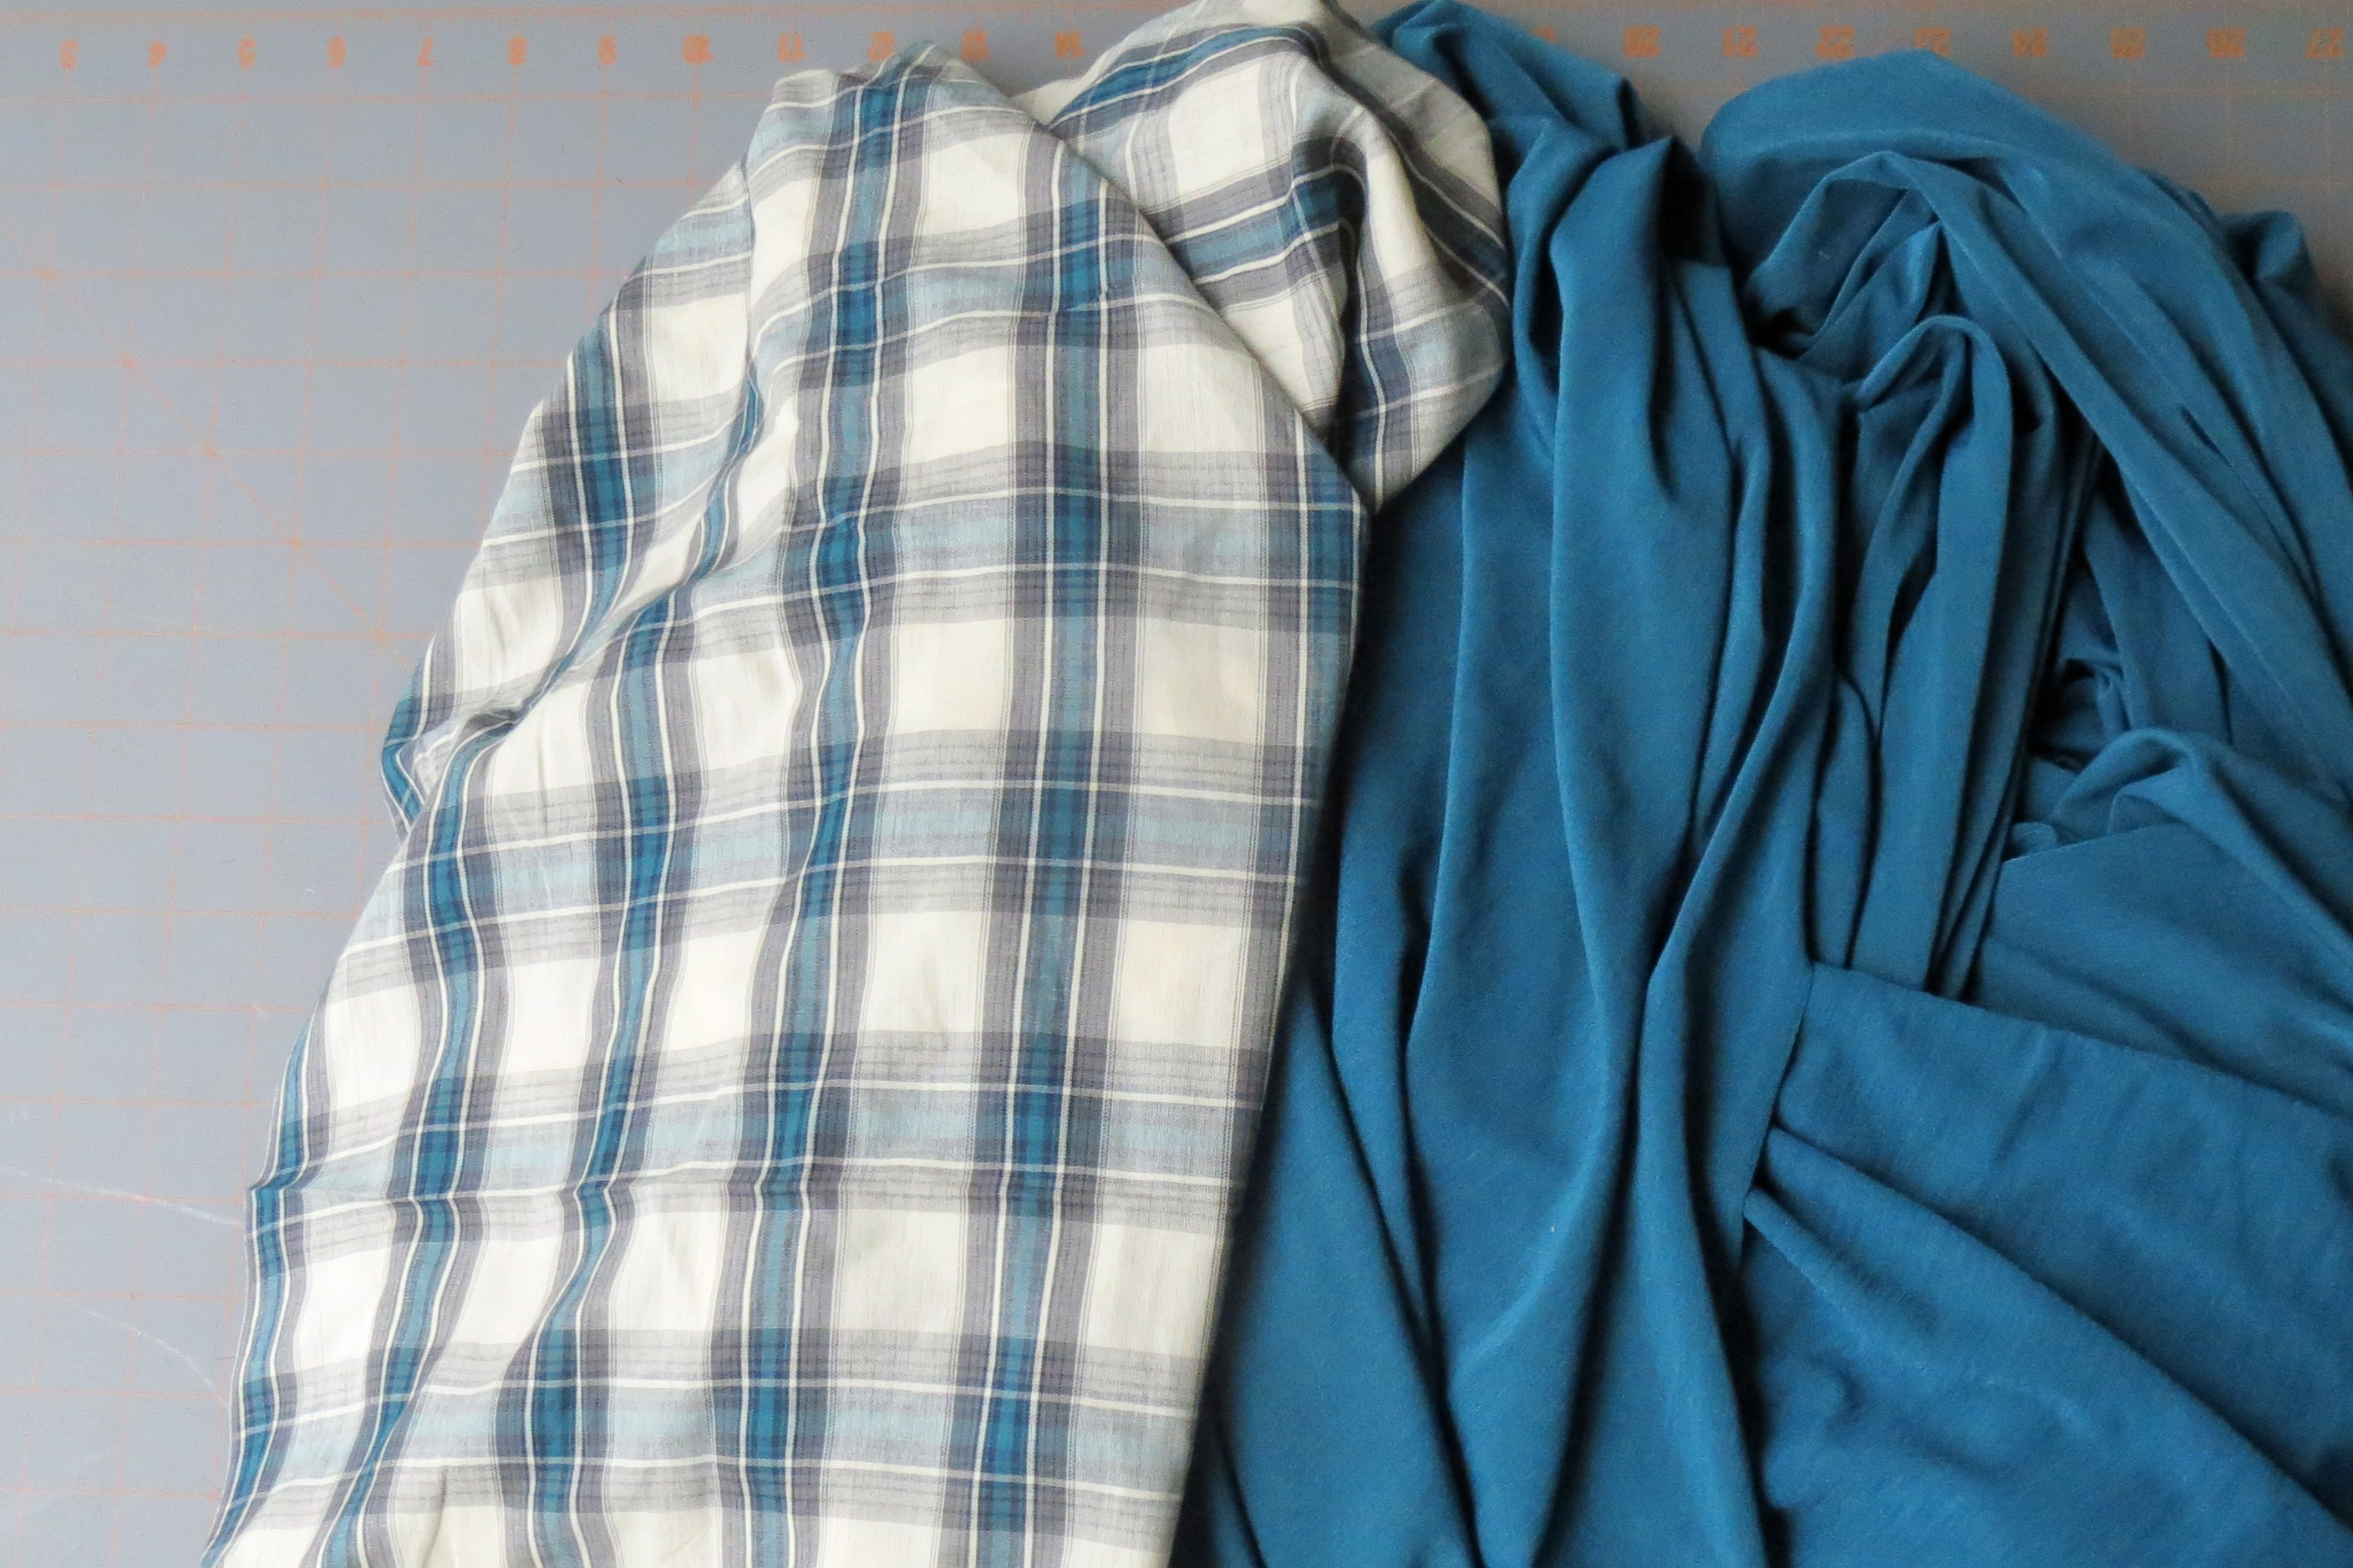
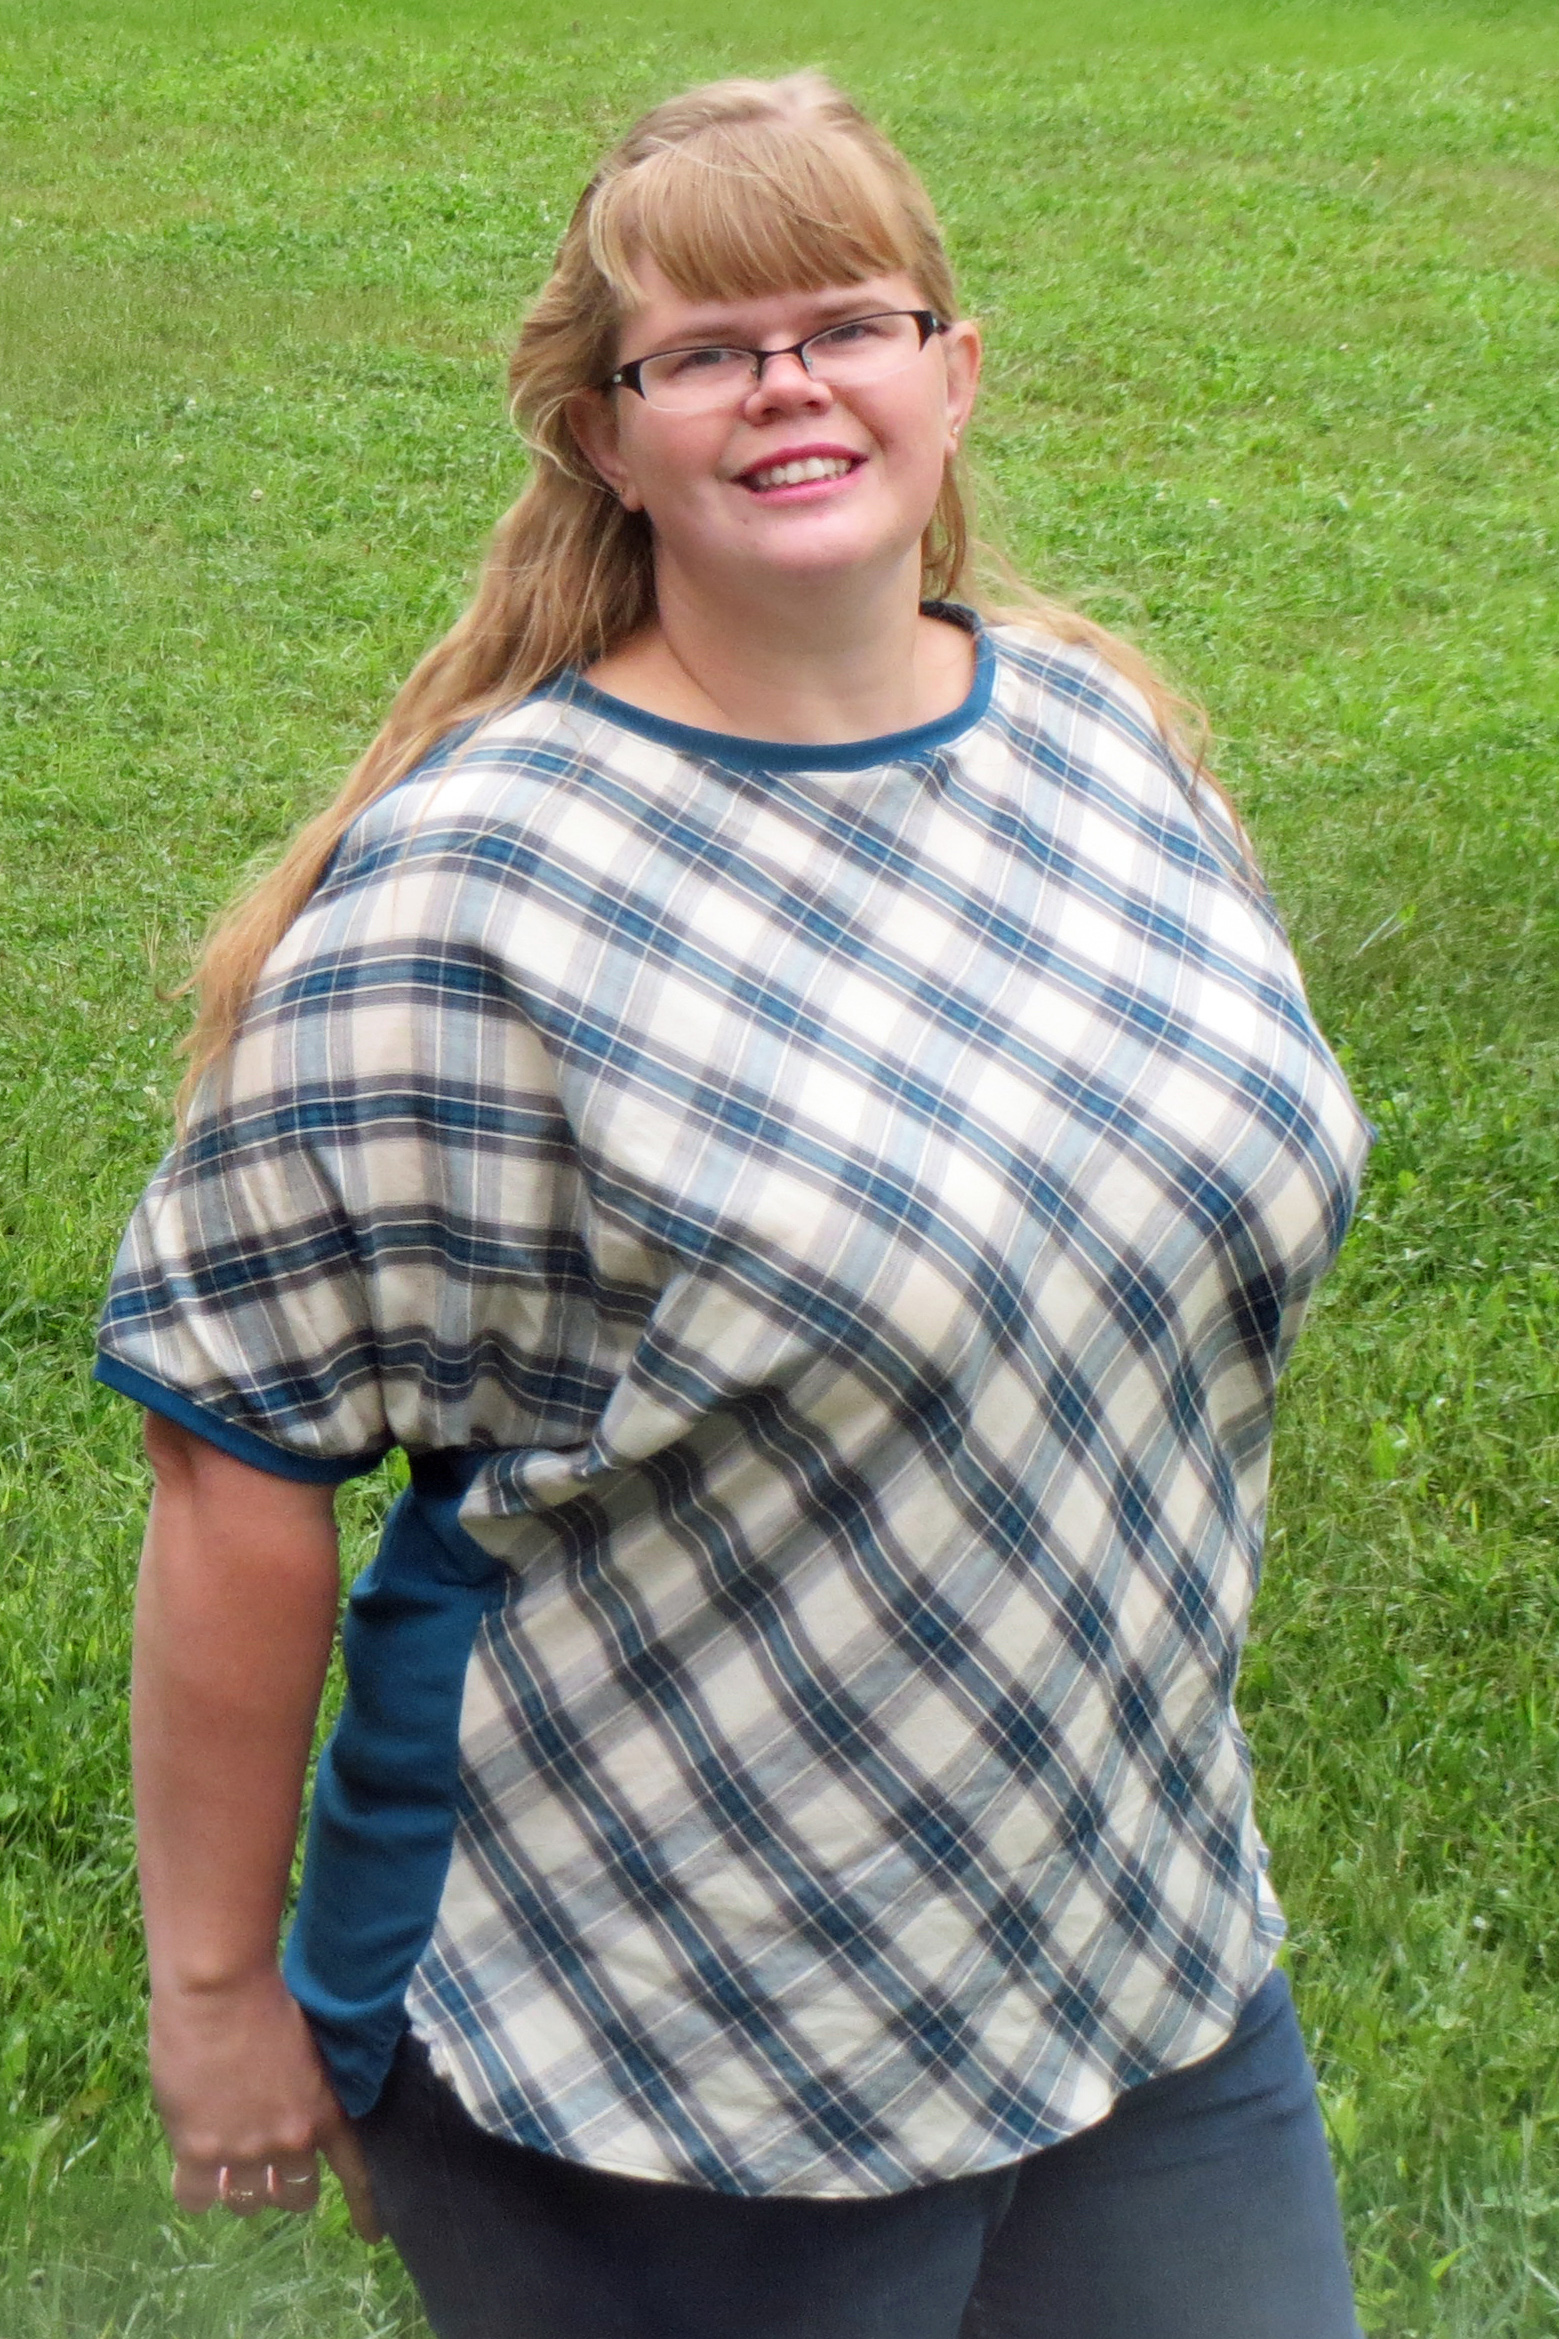
The bonus was that the plaid shirting I used looks amazing cut on the bias, although it took more fabric so I didn’t have enough for both front and back. That’s where I chickened out a bit and decided to use knit for the back just in case I needed a little stretch to get my top on without popping threads in the side seams. Luckily, I found a perfectly coordinating solid teal knit in my stash.
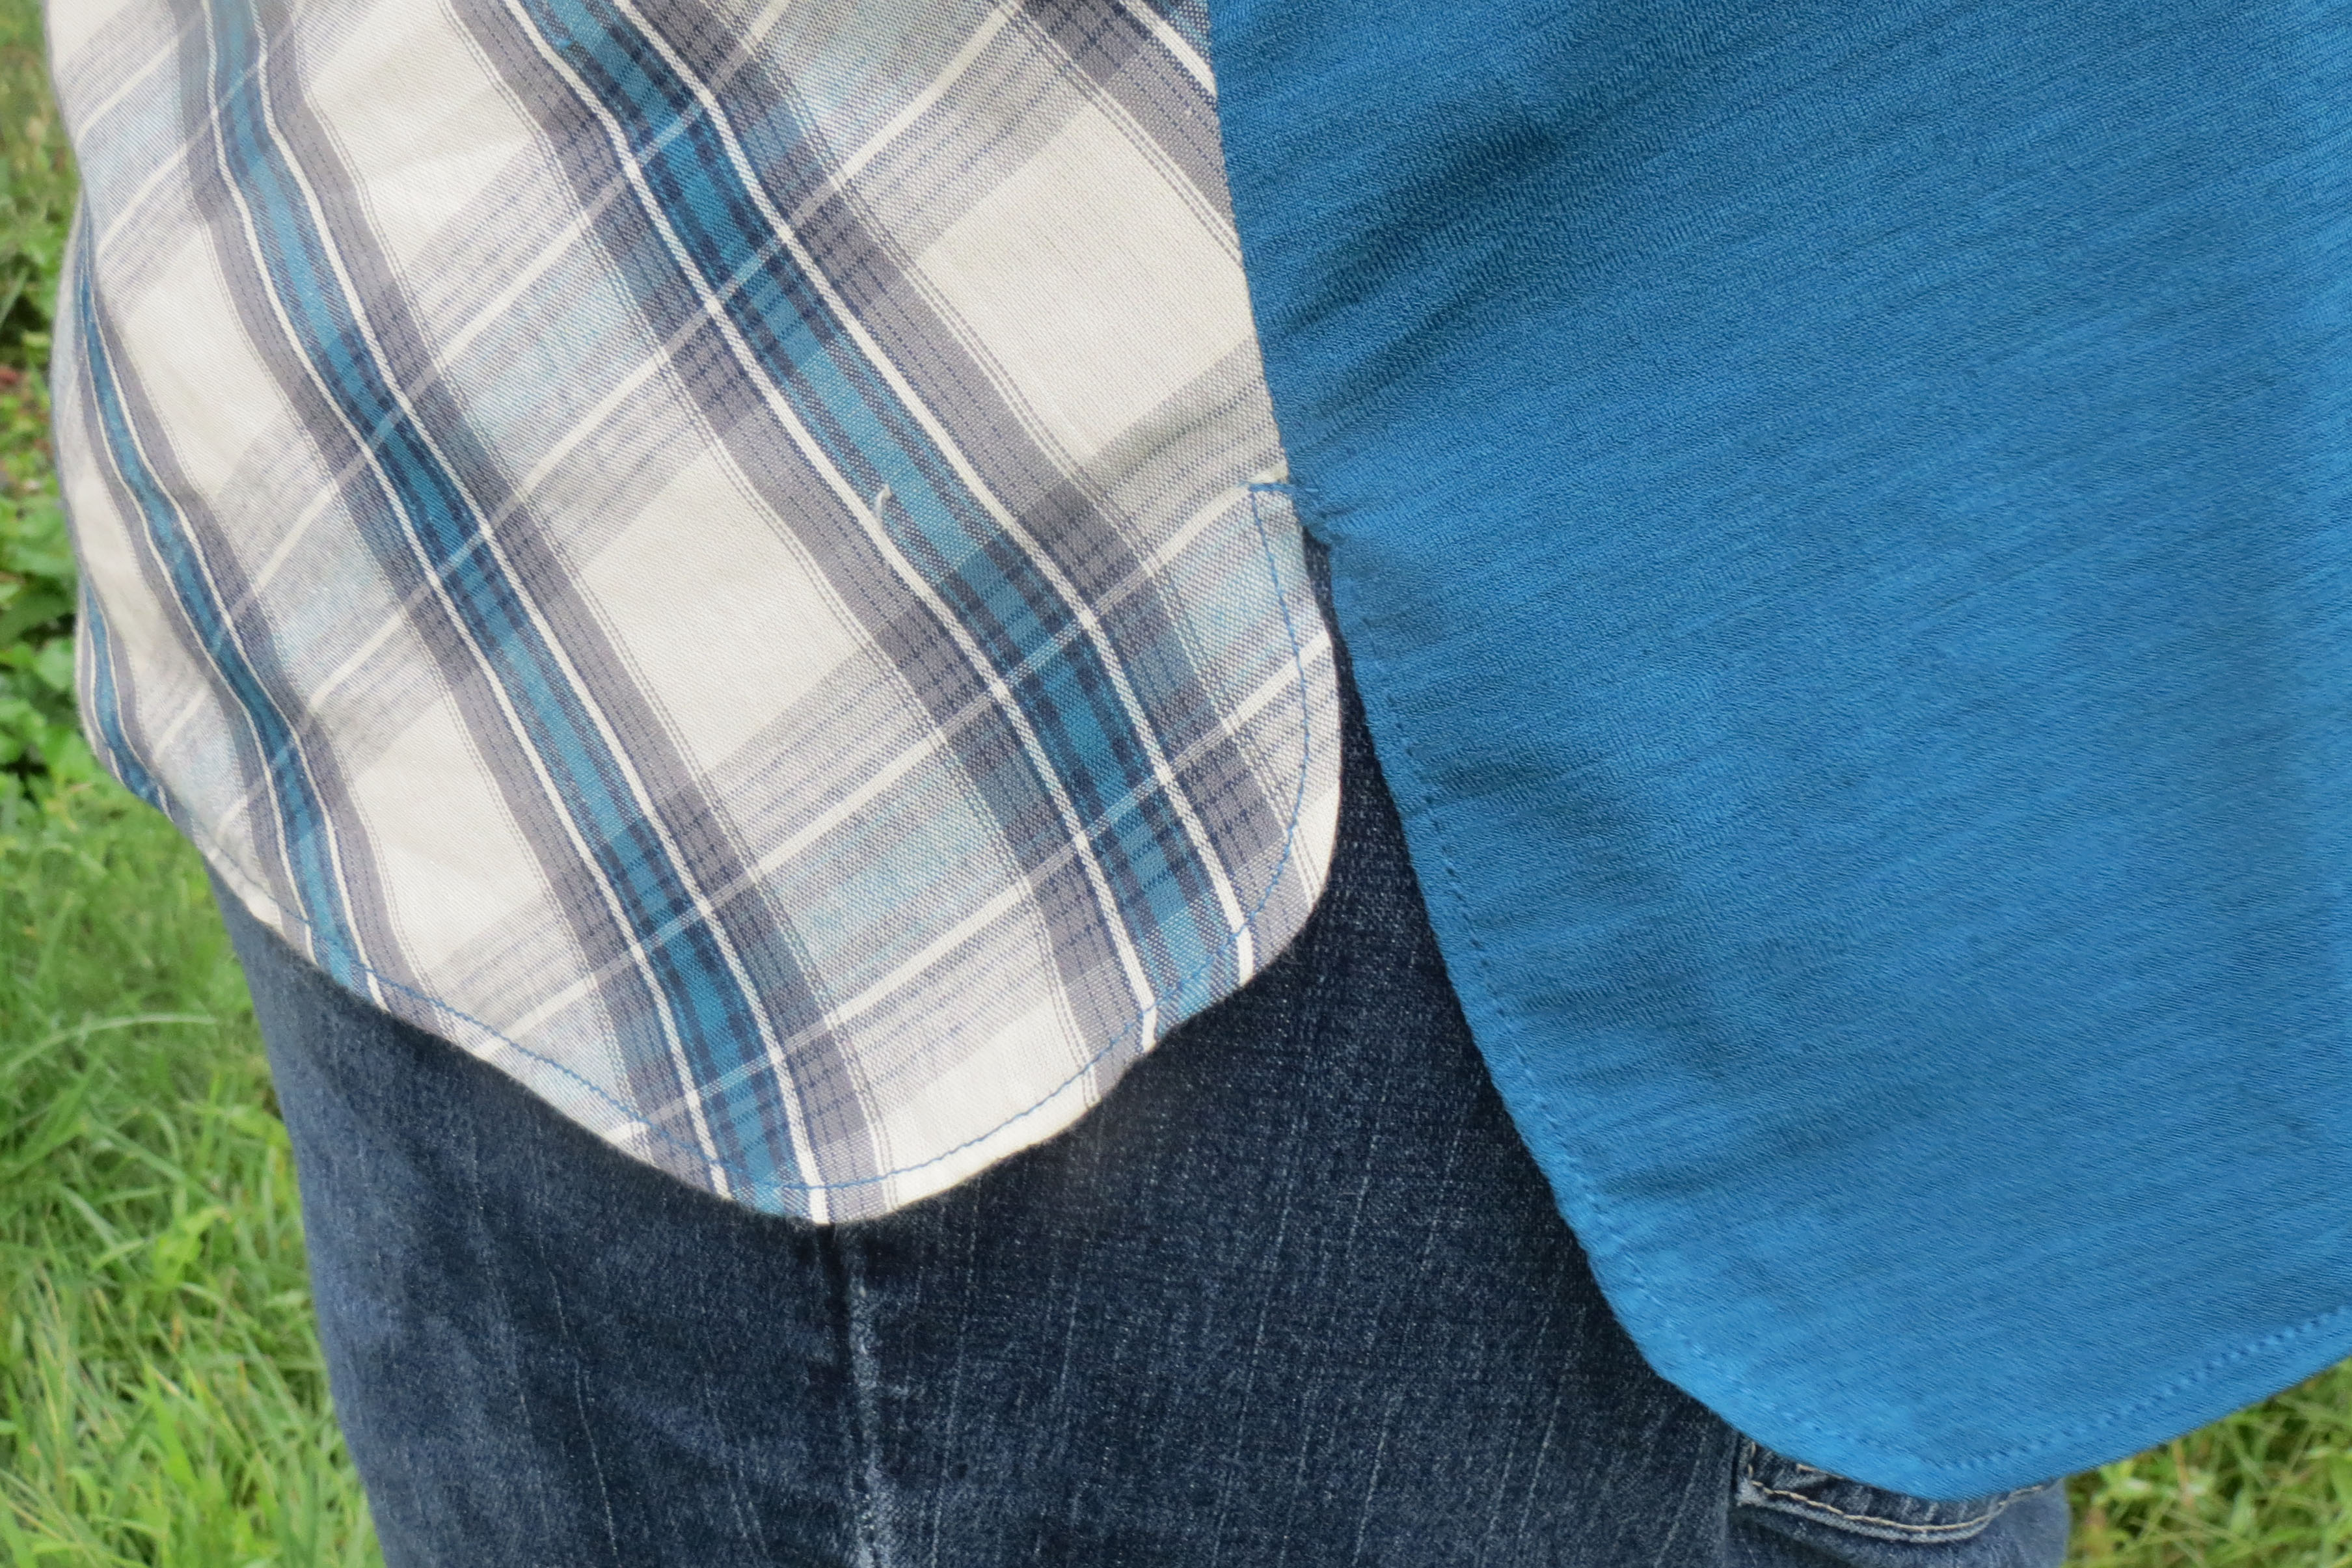
Besides using wovens, I strayed from the pattern in a couple more places. Because I’ve made Kymy’s Dolman before, I knew that the bottom hem might be too snug on me without the stretch that knit fabric allows so I compensated by adding small side vents. I also wanted to add a little more detail, so I lengthened the side seam and curved the bottom corner where it met the hem to allow for a modified shirt tail look. While I was at it, I cut the back of my dolman a couple inches longer than the front to make a hi-low look and to add more back waistband coverage for when I’m playing with my toddlers.
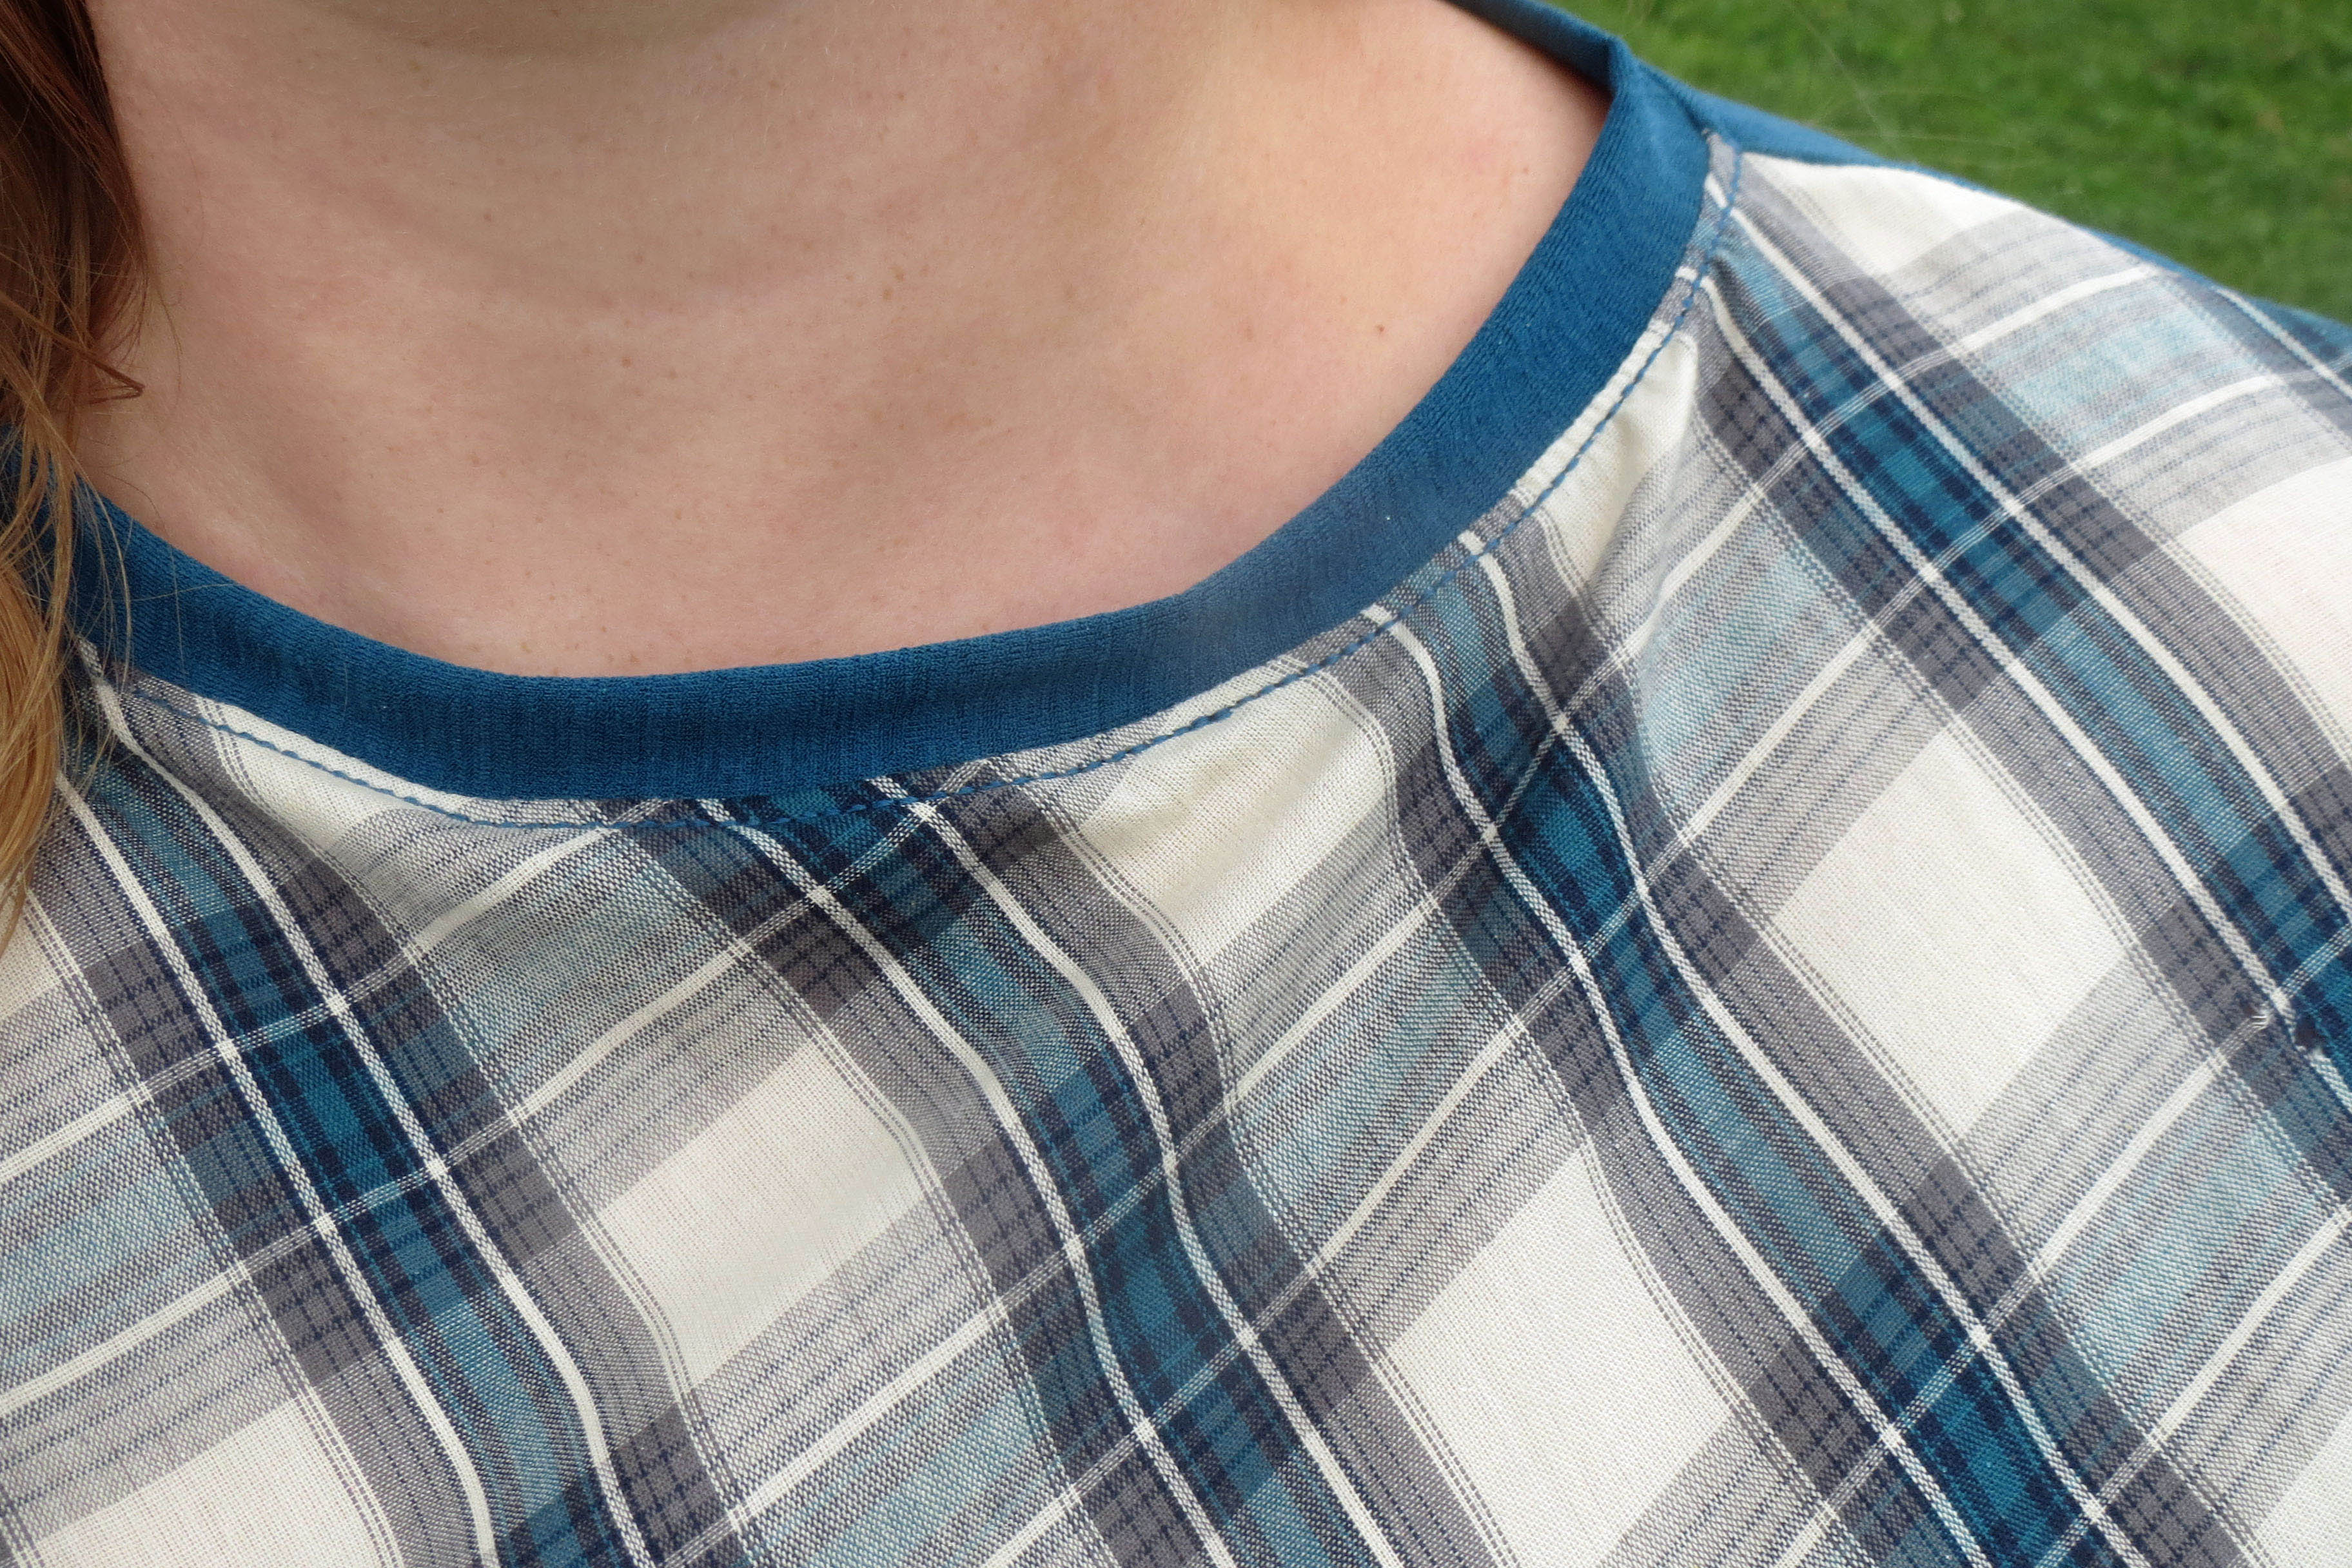
While sewing the shoulders and side seams, I was contemplating what a pain I think it is to hem a curved woven neckline. To prevent fraying, the raw edge would need to be finished or enclosed and folding it over twice would be tricky while maintaining a smooth curve. I decided that a knit band would solve that problem nicely. As long as I was banding the neckline, I figured I’d go all in and band the armholes also since hemming is one of the few things I don’t enjoy about sewing. I measured both the neck and arm holes and then cut bands for them that are roughly two inches shorter in length and 1.5 inches wide. I sewed them into loops, folded them so the raw edges met, and applied the bands “in the round” by stretching the band slightly to fit the neckline/arm hole it was finishing. I pressed the seam allowances toward the shirt and top stitched it down.
I’m kind of in love with my new top. As much as I love sewing with and wearing knits, woven fabric is more readily available in my area (not to mention, it’s usually less expensive) plus I have a large amount in my fabric stash. I can’t wait to experiment more and try woven for the back, too. I’ll keep ya’ll posted!
** Disclaimer: Experiment at your own risk. I wouldn’t suggest cutting into expensive fabric until you’ve tried making a muslin. Everyone’s body is different and therefore clothing fits differently and it may or may not work well for you. That said … have fun! **
Happy Sewing!! ~ Joelle
2 Responses
Adele
So cute! I love this.
Joelle
Thank you!