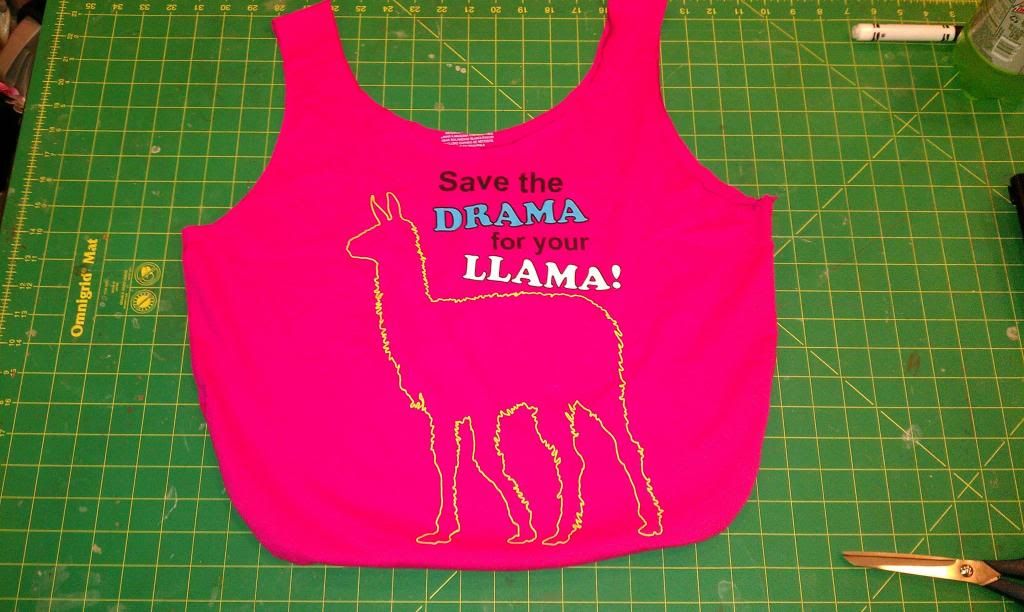
I have been making the square bottom version of these upcycled/recycled t-shirt bags for years but you either have to do more sewing to create boxed corners or you get these weird pointy, almost yoda like, corners depending on what you have in it. I decided I wanted to do something with a little different shape! I found this drama llama shirt for $2 and couldn’t resist buying it to make into something for my friend. She used to visit some online forums & if you frequent them yourself you have probably heard about the drama llama! lol.
SUPPLIES:
T-shirt
Bowl or Pie Dish
Washable Marker
Pins
Scissors
Sewing Machine with ball point/stretch needle*
*The reason for the ball point/stretch needle is that it goes between the knit fibers instead of ripping through them like a sharp needle. Sharp needles will often leave holes & lead to knits falling apart.
STEP 1, MARK & CUT:
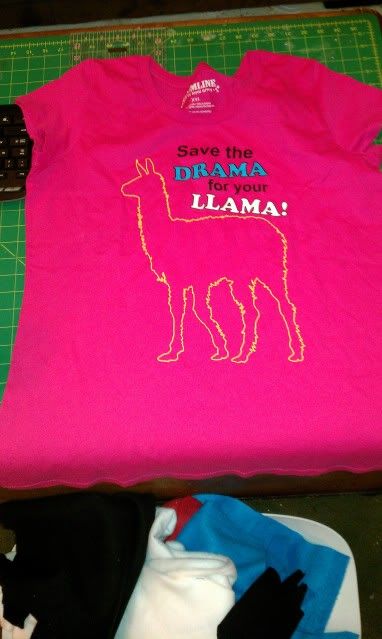
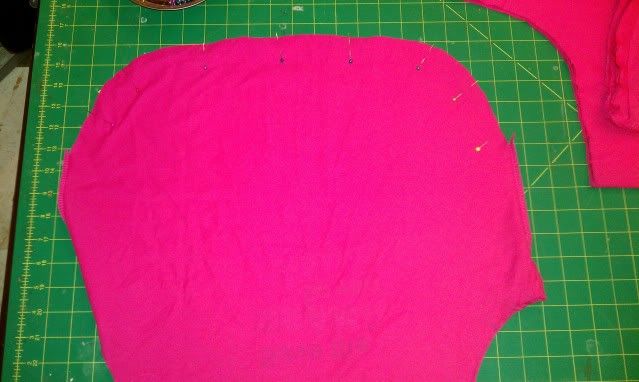
Lay your shirt flat with the graphic side down, then carefully fold it in half making sure to line up the shoulders, collar, sleeves & sides. Using the bowl or pie dish mark around the neck & sleeves creating the shape for what will be your handles. On the bottom near the side seams also create a rounded corner & the eyeing it draw the line across to create the bottom your bag. Redraw if needed, when happy cut!!! Cut slowly for a clean edge around the arms & neck as you won’t been finishing the edges. You can make your bag longer or shorter, just remember it will stretch some when being used!
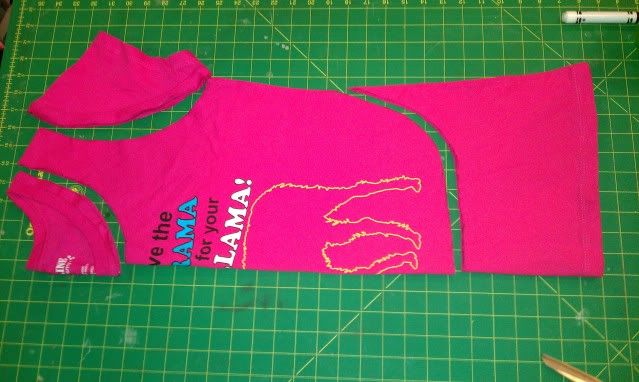
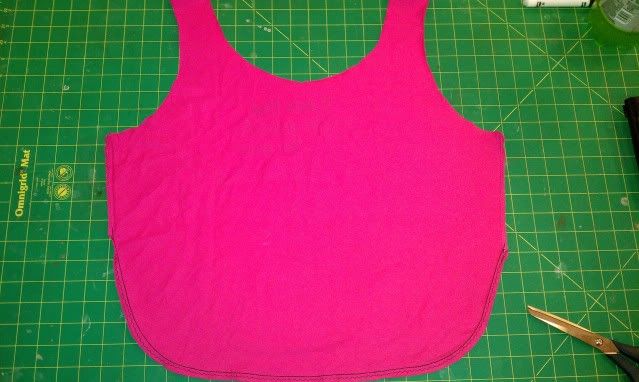
When you unfold your shirt it should now look something like this…
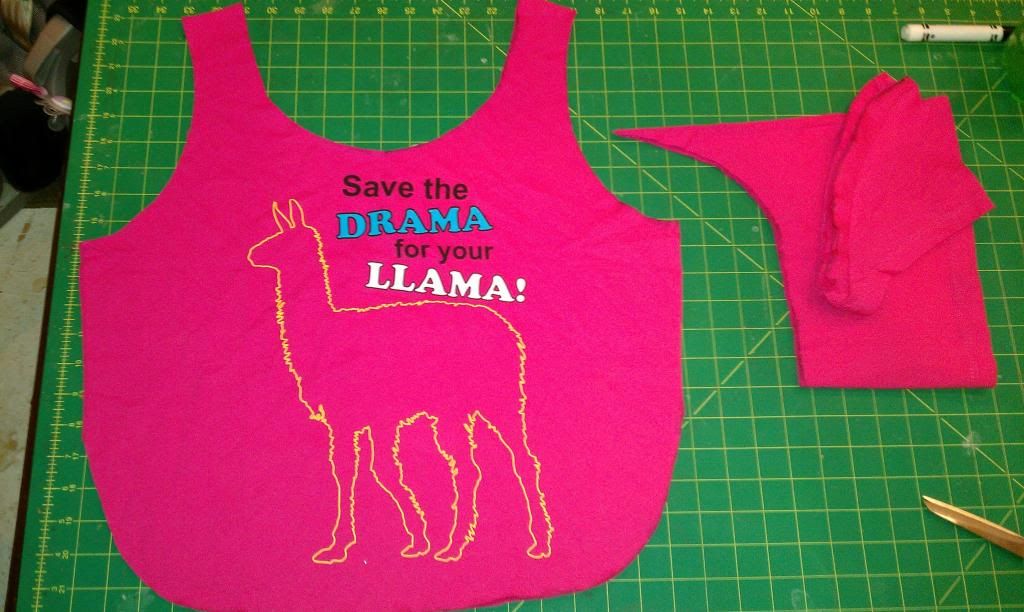
STEP 2, PIN & SEW:
Now turn your bag inside out so the graphic is on the inside, then line up your bottom edges & carefully pin them closed.
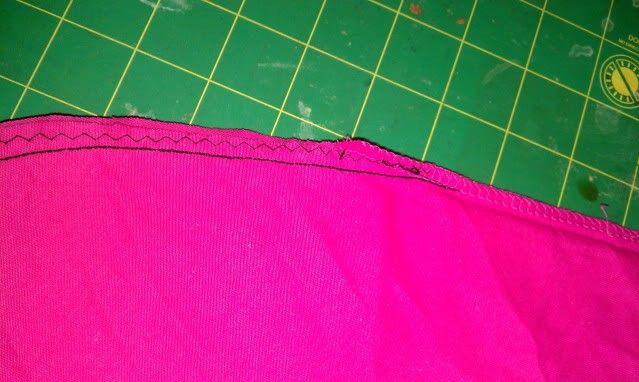
With your sewing machine use a stretch stitch like the triple stretch straight stitch or a narrow zigzag & sew the curved bottom opening closed starting & stopping 1″ up into the original side seam. Then finish the seam allowance with a zig zag or serger. Why, you ask? I know knit doesn’t unravel like wovens but if you do this it adds more strength to the seam, theses bags are strong & can hold decent weight! It is also important to make sure to back stitch when you start & finish. As with all knits let the machine do the work! Don’t push or pull the fabric or it will stretch wonky.
FINISHED!
This is a great beginner project and has been a huge hit when I have taught it in classes. It’s also a great eco-friendly way to recycle old shirts into reusable grocery bags! She was super excited to get it so I haven’t had a chance to get action shots yet as it went straight home with her! lol. If you make one you are always welcome to post pictures on my facebook fan page.
Leave a Reply