I *think* spring might finally be arriving in my corner of the world. After having snow on Easter and again on the Friday after, it’s about time for some warmer weather around here! I’m hoping that digging out my California Dress pattern and sewing it up in some breezy floral fabric will help encourage Mother Nature to put away the cold and keep the sun shining for the next few months! 😉 (I hear that it’s supposed to reach the 70s here later this week, despite having snowed two days ago!)
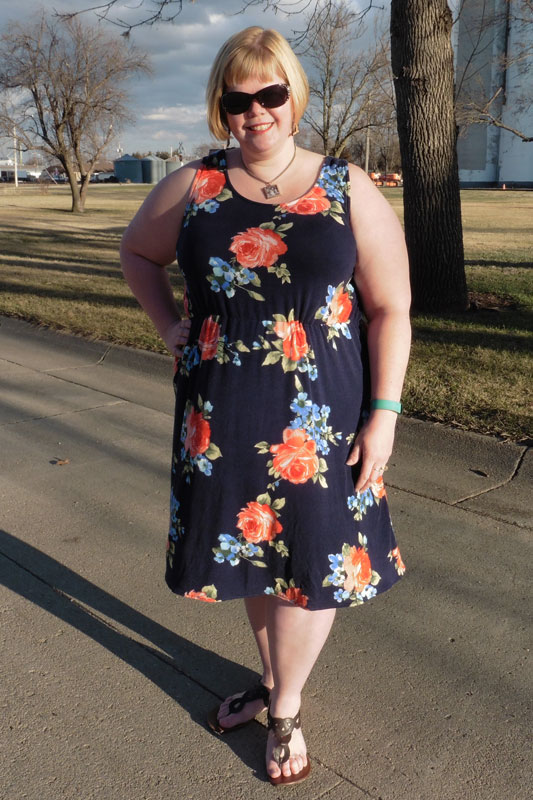
I was thinking earlier this week that I haven’t been very inspired lately, so I thought I’d go back to an oldie but goodie. The California Dress is one of my favorite patterns ever. The 2 bodices and multiple hem options make it easy to sew up a closet full and have them all look different! In fact, I’ve sewn over a dozen California Dresses and until today had never made myself the “below knee” length.
**Note: I gained a few pounds this winter due to thyroid issues, so my pattern is a size smaller than my measurements would currently put me in and this dress is a slightly snugger fit without as much blouson effect at the waistline. I was just too lazy to print out a new copy of the pattern and am hoping to lose the extra weight soon and have the dress fit more as Kymy intended.**
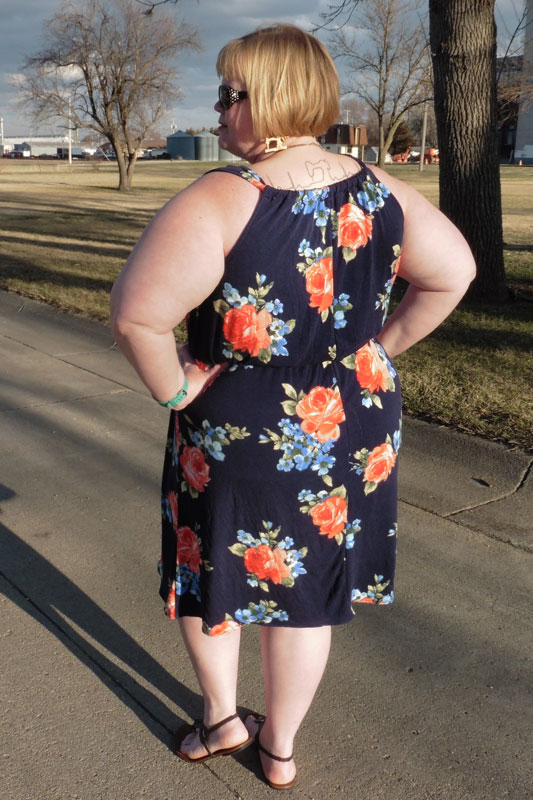
As much as I love changing it up, I tried my best today to follow the pattern as written … though I did make a small deviation because I didn’t quite have enough fabric yardage to fit the front and back end to end (and my size won’t fit side by side on the fabric width). To “make it work,” I decided to add a seam down the center of the faux halter bodice and wear that bodice in back always (even though Kymy drafted the California Dress so that you can wear either bodice option in front or make it with two scoop necklines or two faux halter necklines).
To do this, I folded my fabric in half and cut the scoop neckline on the fold, then turned my pattern around and cut the faux halter neckline with the “fold” edge of the pattern piece facing (but not all the way against) the selvage edge. I placed it and cut 3/8 inch away from the pattern’s “fold” side, in order to add a seam allowance to that edge (cutting two mirror image pieces instead of one on the fold). Then the first sewing step I made was to sew the two back pieces right sides together, before continuing to follow the pattern as written. I think that the seam is barely noticeable and most store-bought dresses have a seam up the center back anyways. Besides, I almost never turn my dress around and wear the faux halter in front just due to personal preference.
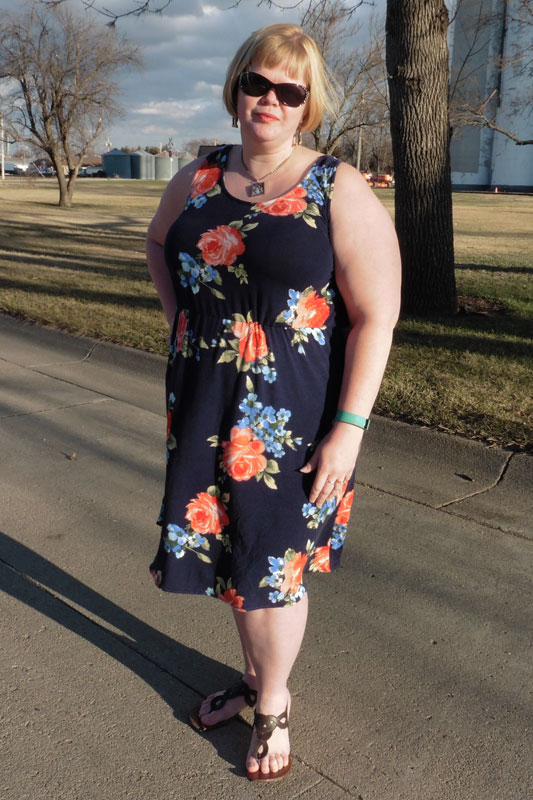
The fabric I pulled from my stash today is a gorgeous navy with floral rayon spandex I got in a mystery box from Simply by Ti Fabrics. It’s one of the few times I’ve ordered a mystery box and not regretted it. Haha! I love how soft and drapey it feels and I’m sure my new California Dress will get lots of wear this summer!!
Happy Sewing!! ~ Joelle
Leave a Reply