I have to say one of the most common things I read about whether from pattern testers, pattern designers or small shops is how can I take better pictures? We can deny it all we want, but the truth good photographs sell more products! Whether you are looking to improve your skills for scrapbooking and memories or you want to improve the photography skills for your store this information is helpful. So today after seeing the Craftsy class I recommend the most on sale I decided I needed to finally sit down and write this post ;).
I will start off by saying I have some ‘momtographer’ experience having run a small business and having 5 kids. Last year I decided I really wanted to improve my photography skills. I knew the basics like the rule of thirds, natural light vs. incandescent light and what most of the settings on my camera are called but I didn’t know how to truly use them with different lighting. Lighting is a HUGE factor in successful photography and learning how to adjust the settings on your camera for lighting can make some of the biggest difference besides a good lens.
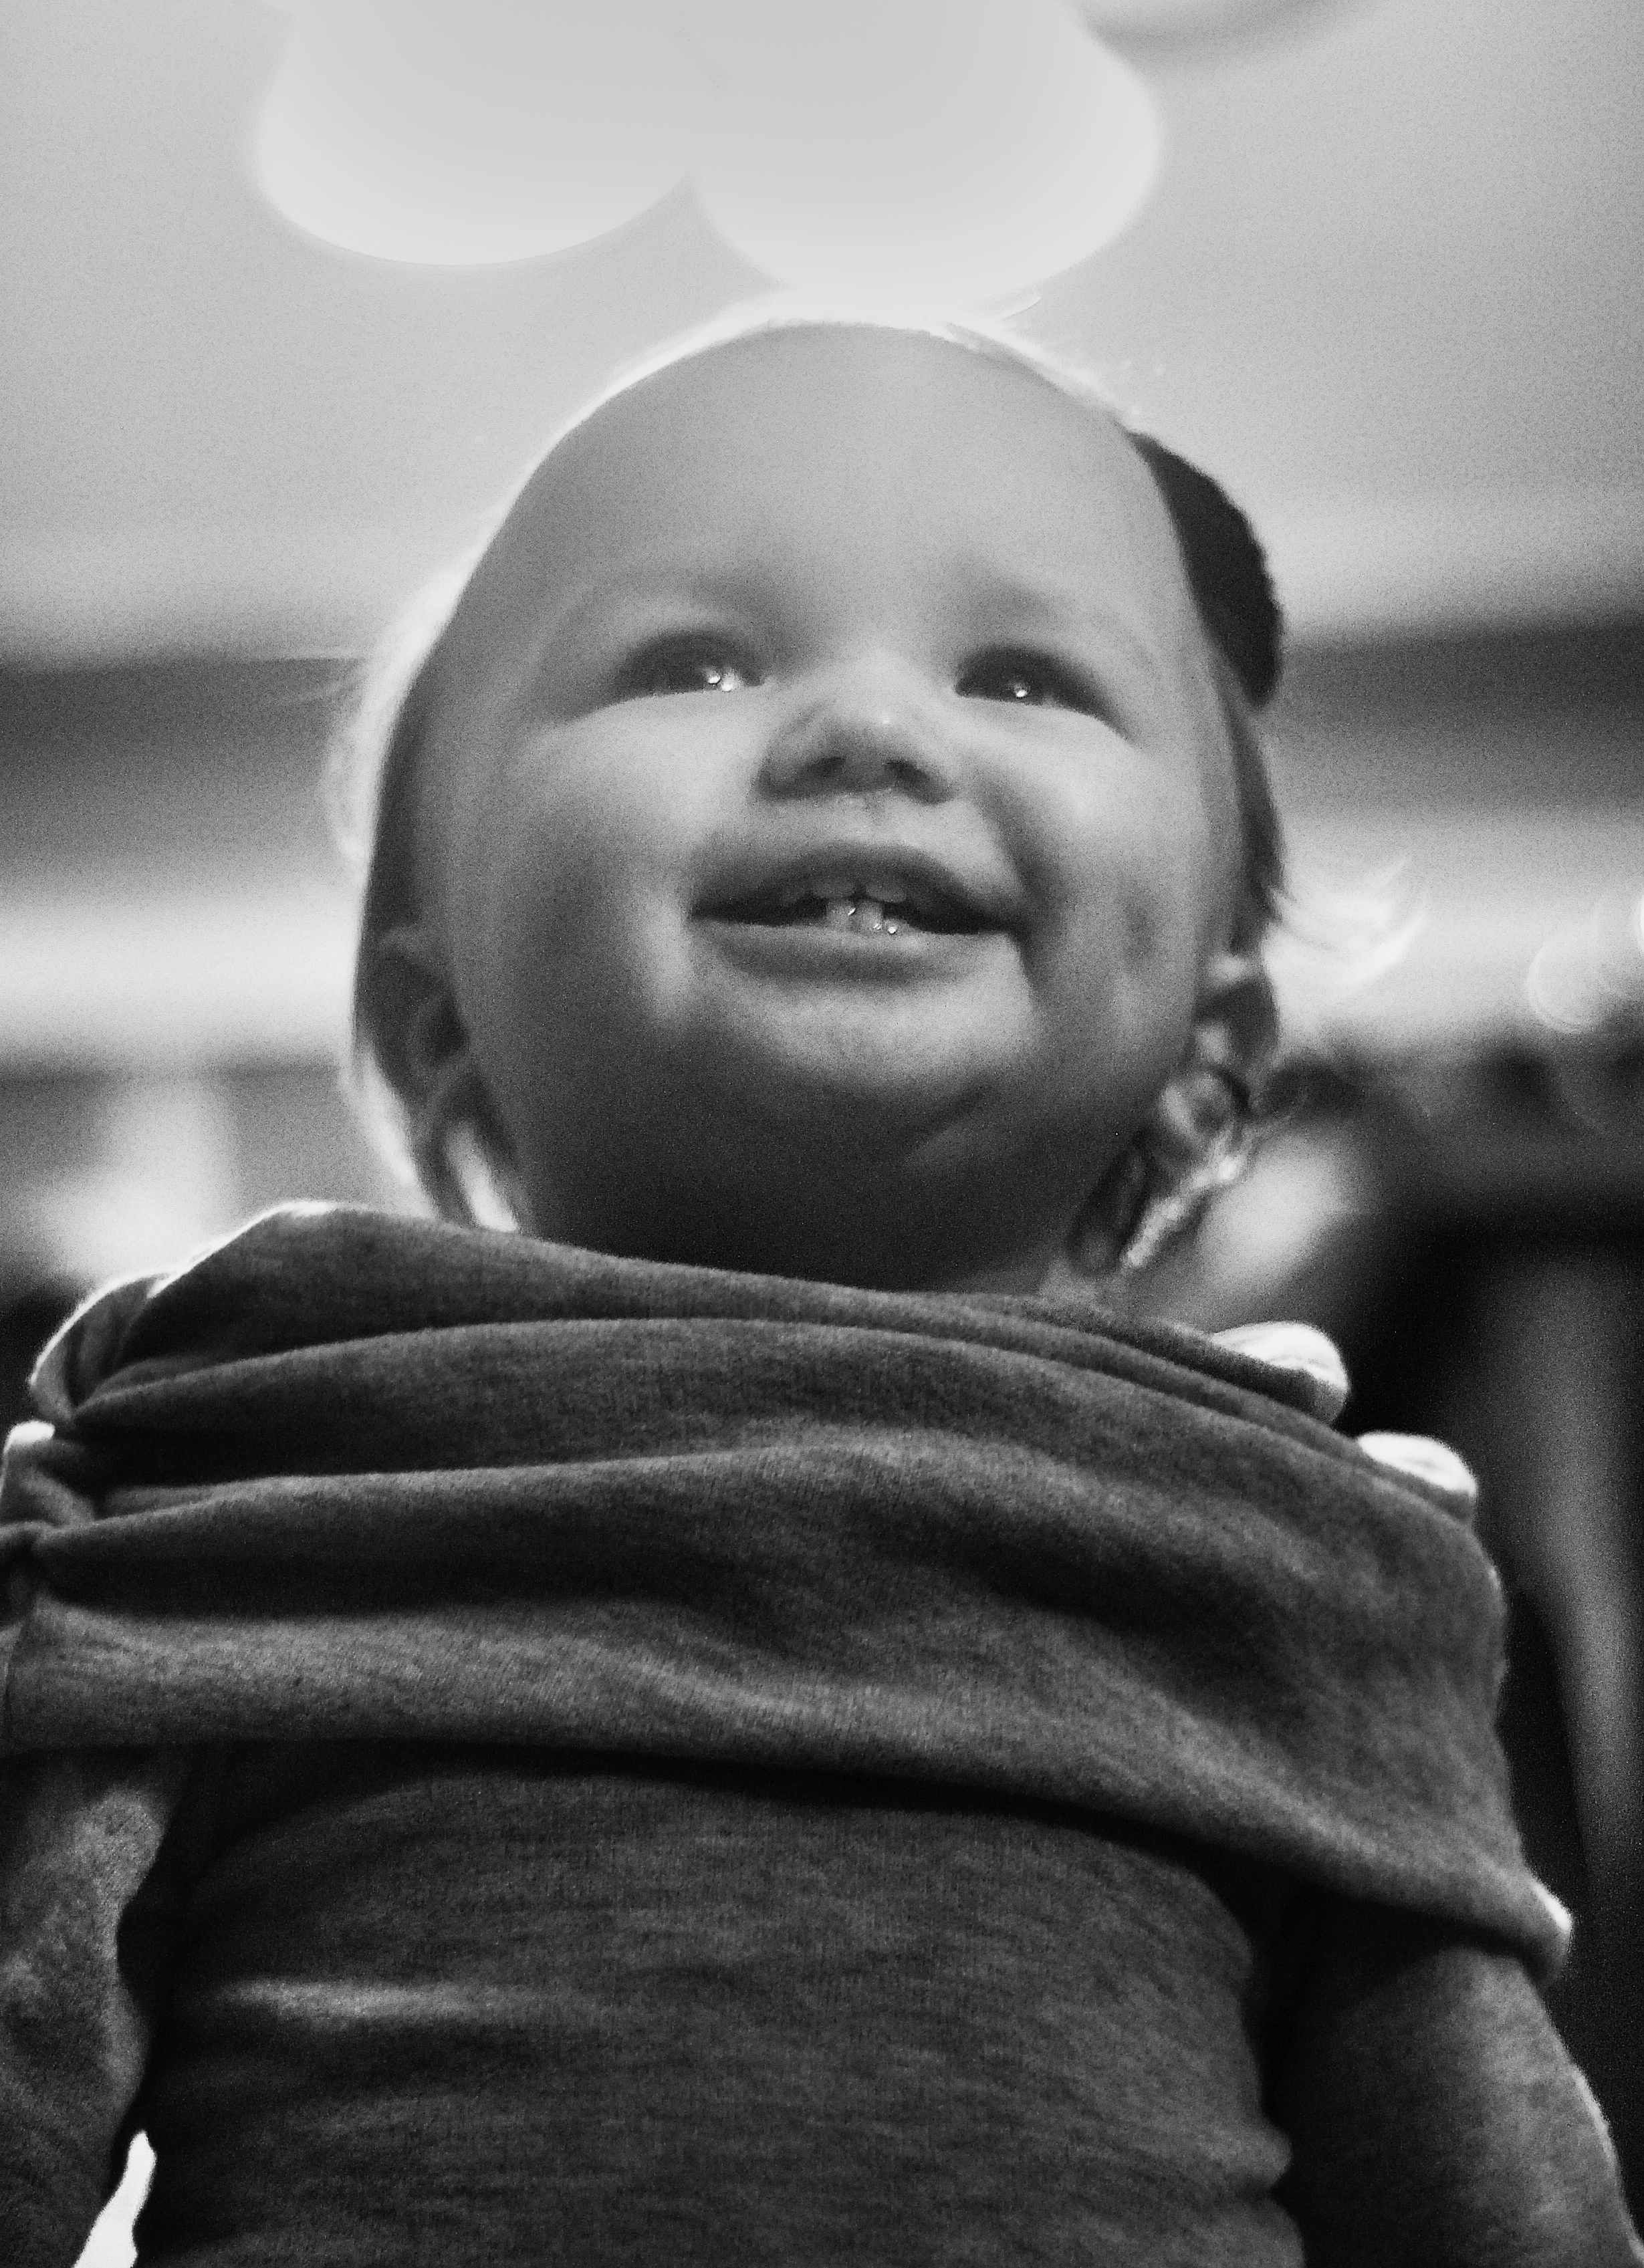
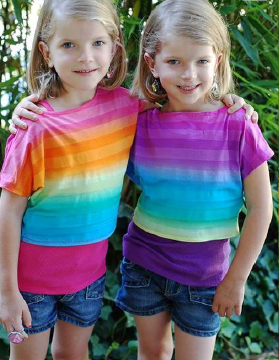
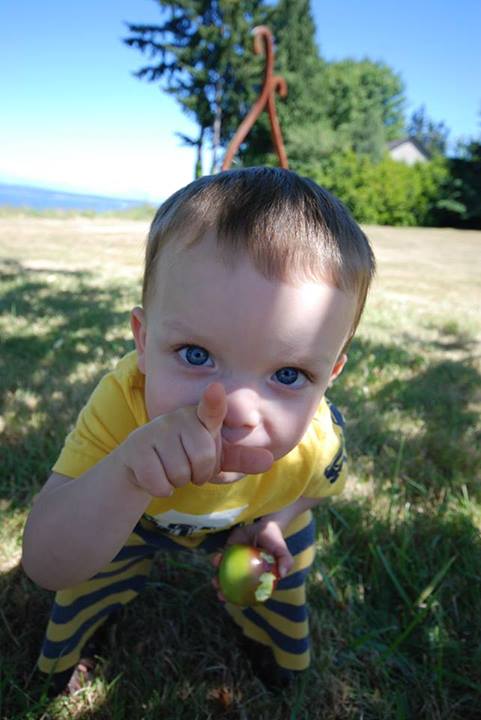
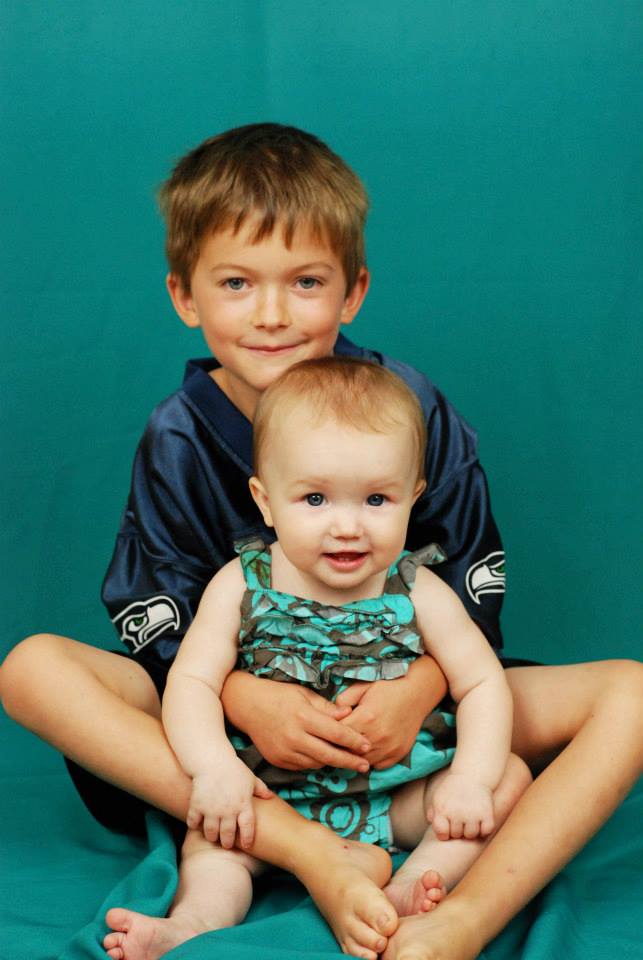
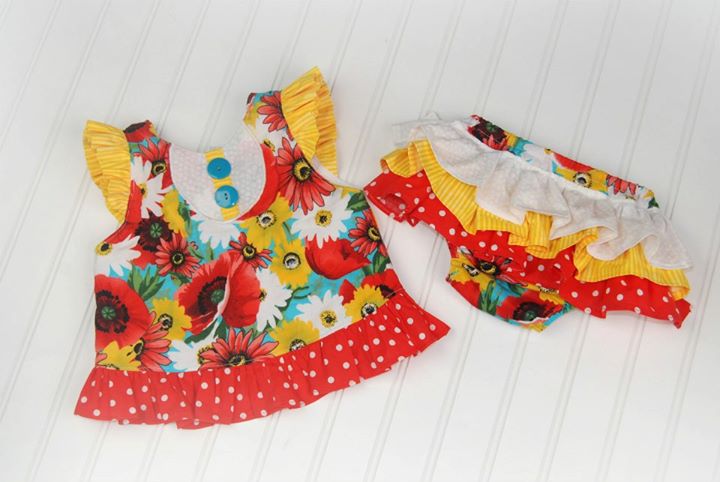
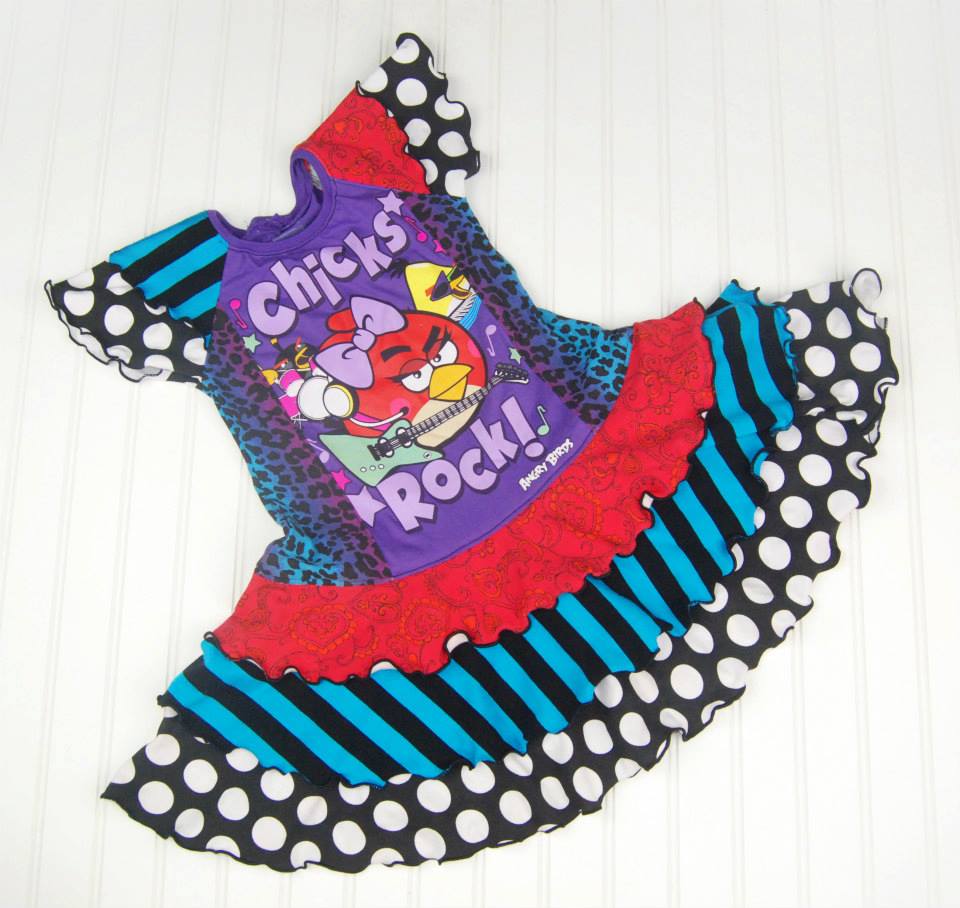
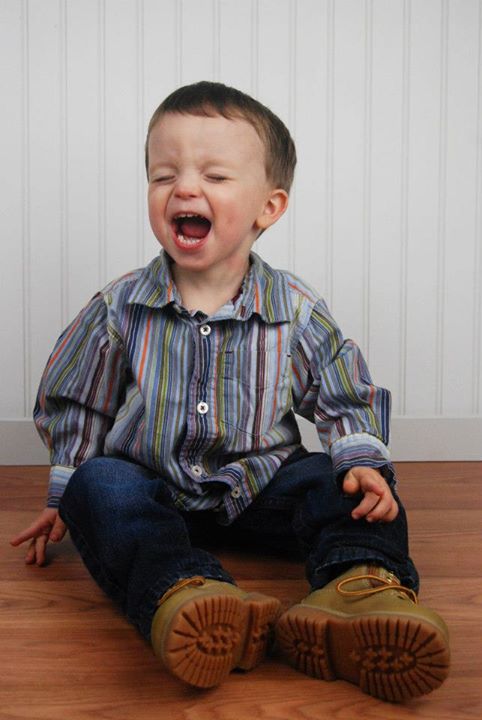
Here are a few shots that I give the lighting credit to the skills I learned in this class and these are just the beginning!
 *This post contains affiliate links that help support this blog. I ONLY use affiliate links to products I personally use and recommend.*
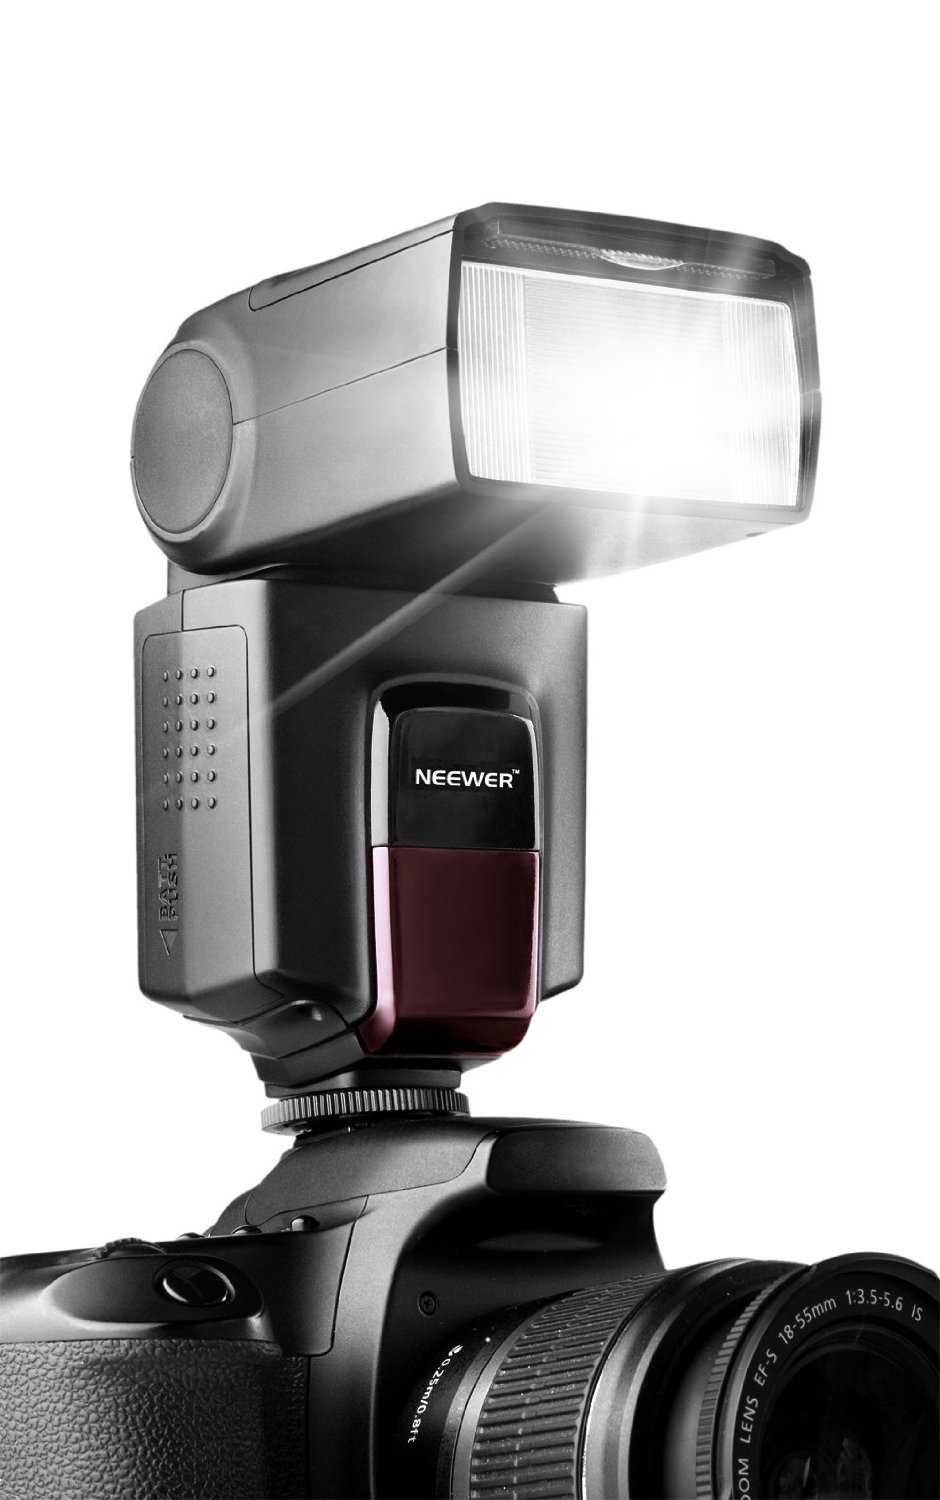
First off a few basics… to truly take good product pictures & photographs you really do need a DSLR. Yes my cellphone is great for candid shots, as are many point and shoots, but you simply can’t adjust the shutter, aperture and other settings the way you can with DSLR. I shoot with a Nikon D80 which is almost 9 years old but works great. I love my 50mm 1.8f lens (which I could afford a 1.4f!) and I also have a few standard lens and I would LOVE to get a 24mm-70mm lens but it’s not in the budget any time soon! One of the most important accessories you can get for your camera is a speedlight. This is what helps you manipulate a lot of the lighting to get great pictures. This one small investment in equipment plus the class made a HUGE difference in the picture quality, no matter which lens I use.
I highly recommend this speedlight from Amazon. It is generic and works on nearly all DSLR’s including Nikon and Canon. You can change the flash direction as well as you it on a shoe horn stand if needed. The best part is that it is super affordable! It ranges from $37.95-$39.95 and has free prime shipping. This is needed for the class that I recommend and no one who has bought it so far has regretted getting it, they have wished they hadn’t waited so long!
“Shot this a little while ago in the worst light you can imagine with my brand spankin’ new speedlight thanks to Kymy!” ~ Linda
Linda’s picture was awesome, I will ask her if I can share ;).
Now comes the class ;). I must save I have purchased quite a few Craftsy classes and I have been VERY happy with them. You get permanent access to them so there is no time limit and you can watch the videos over and over again as well as ask the instructors questions. This class is over 40% off for 2 days only, now through 5/11/2014.
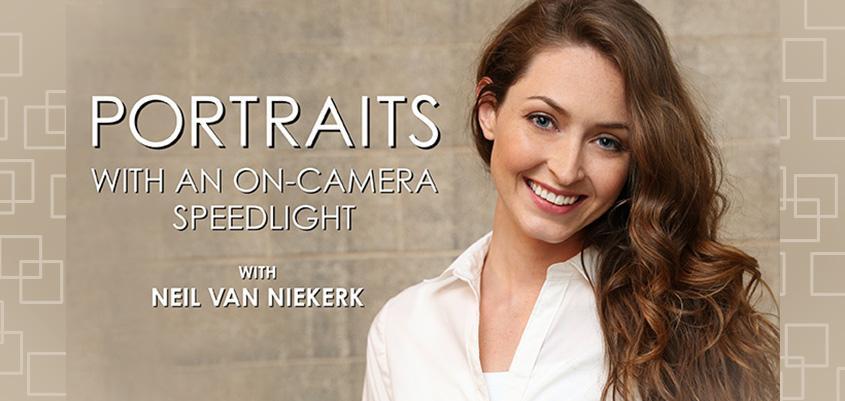
I actually have both the written book and the Craftsy class of the Portraits with On-Camera Flash. Yes it’s a portrait class BUT it has a ton of great lighting & camera setting information. If there is one online class you could take for this, this is the one I recommend. I also highly recommend Neil van Neikirk’s other classes as well, especially the off camera flash one.
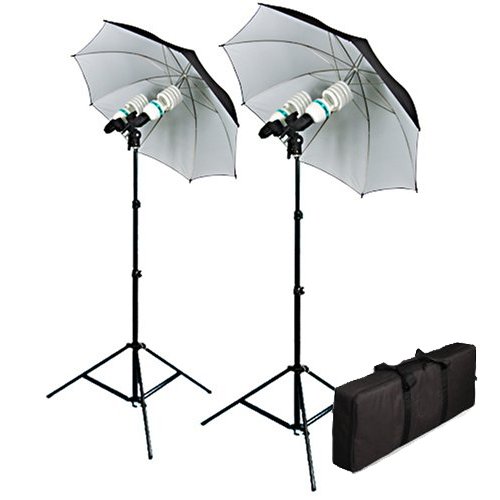
If you do want to take indoor photos and are looking for a basic, affordable lighting set up I recommend this one from Cowboystudio on Amazon. It is not a flash set but a continuous light and you can get soft box umbrellas for it as well. It is a great, affordable, starter lighting set to get your feet wet. 6 years later I still use mine 🙂
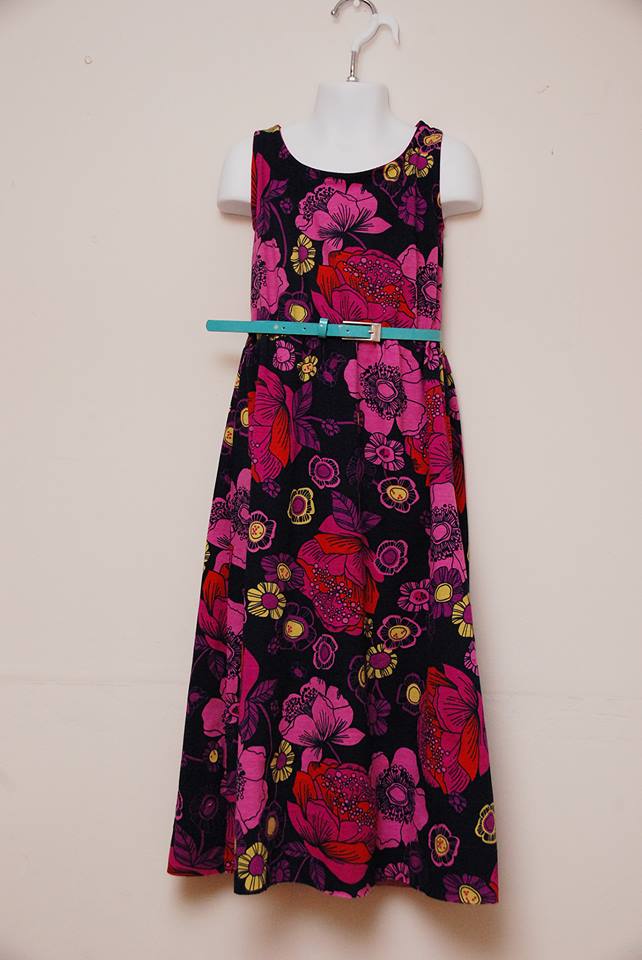
This is a quick photo I took after first taking the class to learn how to best utilize my stand lights. This is in a VERY dark room and while it is not professional I think it turned out pretty darn well.

The other big thing is getting creative making clean backgrounds. You don’t need fancy back drops! One of my favorite back drops for kids and products is a piece of white bead board from Home Depot, a piece of base board trim and about 3 pieces of snap together laminate flooring. A few claps (also from Home Depot) and some fabric & you have TONS of possibilities! This set up is only 4′ long but works GREAT for smaller thing & kids.

Leave a Reply