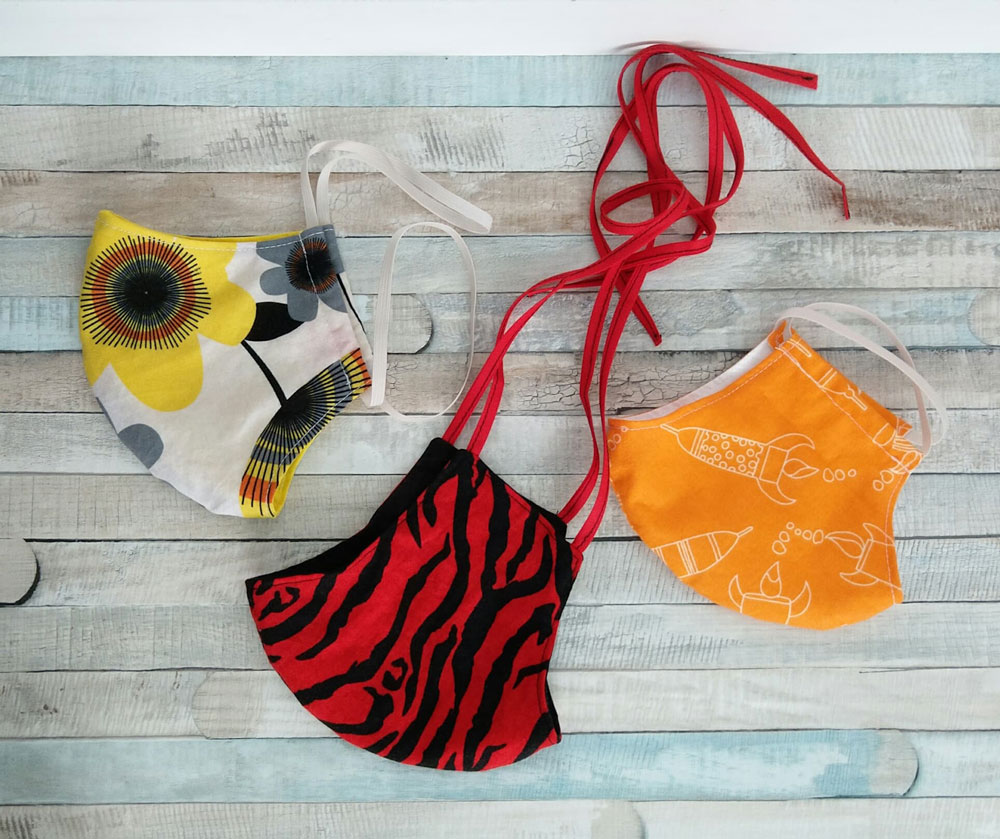
With the current pandemic, and shortage of PPE for our medical workers and first responders on the frontline, the CDC has loosened measures in regards to protective wear and have even okayed the usage of a bandana tied around the face if out of protective wear. So when the call came out local locations were looking for cloth masks, especially for over their N95 masks that they are being asked to reuse for days on end (normally they would change masks often), I was happy to start sewing!
These masks do NOT stop the spread of CoVid19 and are not a medical device!!! That being said the world we are in right now, a cough catcher that has been found to block approximately 50% of particles is better than nothing.
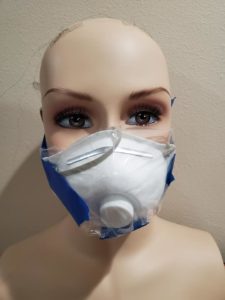
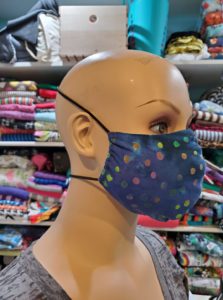
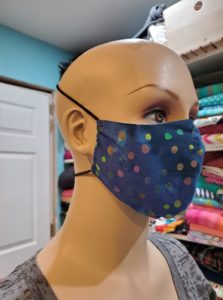
The next issue I ran into was helping out a local Fire Chief and hospital. The mask pattern so many like doesn’t actually fit OVER the N95 masks (one of the main reasons they are currently wanted) as a matter of fact there were very few that do other than the AB Mask by a Nurse pattern (which I also recommend). So with the held of the Chief and some first responders I got a bunch of measurements and even an old (not CoVid19 use) N95 mask that I could tape to ‘Creepy Mannequin’ (my kids named her) to design something that filled the gap between a style they wanted, and the function they needed.
Please contact local locations to see what type of mask they are collecting before sewing. Every facility and location has different preferences. If any medical worker or first responders want to send us a picture of them rocking their mask we would LOVE to see and share it.
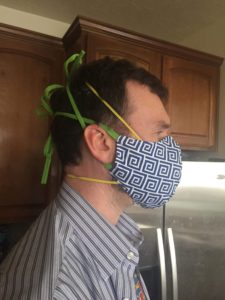
Below you can see the same blue mask on Creepy with and without the N95 to see how it fits on both. There is also a picture of tester Trisha’s husband wearing the tie version over an N95.
This pattern is FREE to download and use for personal and charity (donation) use. Don’t use this pattern to sell masks to during a pandemic, that is not what this was created for and it is just not cool. There are other patterns out there you can use for that. Finally please do not redistribute it without permission, while it is free I worked hard to create this and may need to edit it etc. You are welcome to print off 5 copies, or such, for the ladies in the church group who can’t, but otherwise please just link people back to this tutorial.
CLICK HERE TO DOWNLOAD THE PDF PATTERN AND DIRECTIONS FOR FREE HERE.
PRINTING: Make sure to download it, then print, not from and internet window. Also, make sure to check ‘Actual Size’ or ‘Custom’ ‘and 100%’. If ‘Auto’ or ‘Fit to Page’ is selected it can print the wrong size.
NEW: Optional POCKET Modification (must download/use BOTH the original pattern AND the modification file) EYMM Face Mask N95 Cover Pocket Mod Tutorial
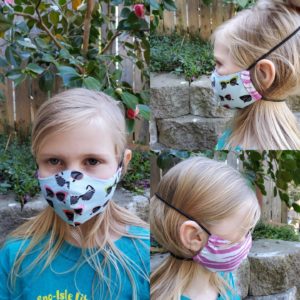
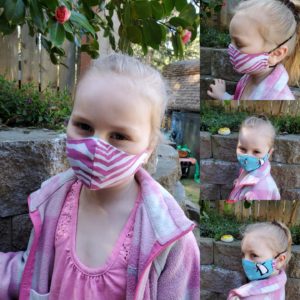
Due to maker requests with the newest recommendations we have now tested and released a similar, non-medical Petite Adult & Youth Ages 3-18+ pattern. SAFETY NOTICE: You should NEVER leave children ALONE wearing a mask in case they aren’t breathing good enough or the straps are catching. There should always be an adult present during use.
CLICK HERE TO DOWNLOAD THE PETITE ADULT AND YOUTH 3-18+ NON-MEDICAL MASK HERE.
Making Cloth Masks for Covering N95 Masks
SUPPLIES:
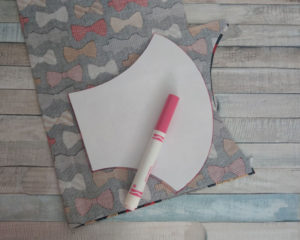
PDF Pattern Piece (Page 5) Printed Off & Cut Out
1/4 yard or more of 100% Cotton Fabric (woven quilting cotton quality)
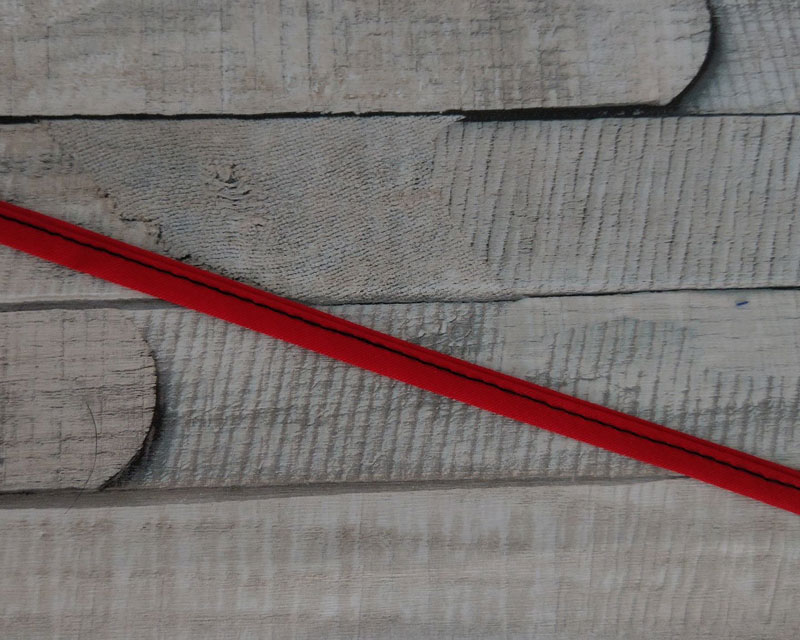
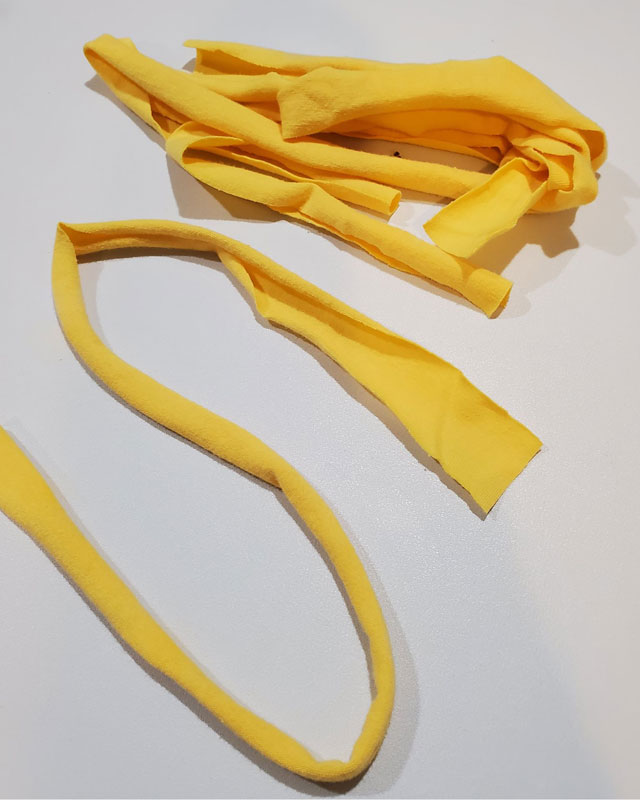
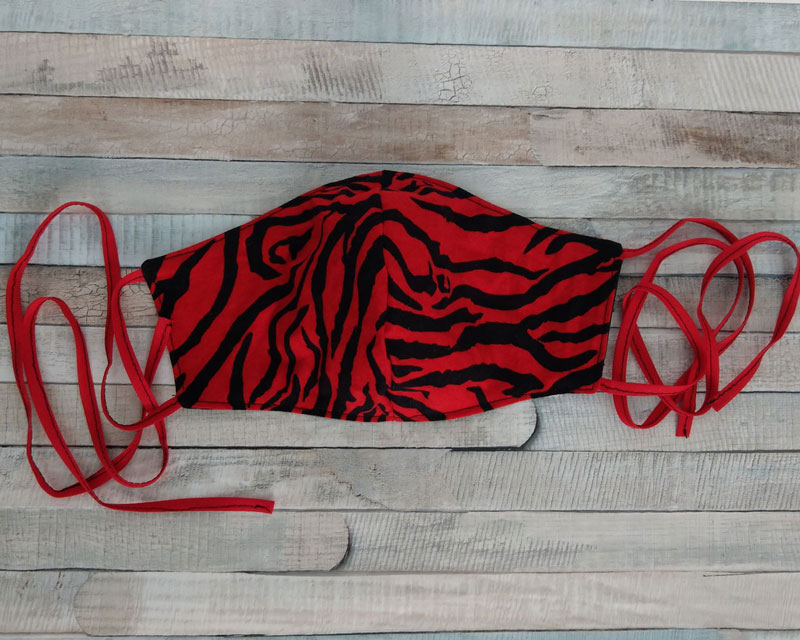
16-26″ of 1/8″ or 1/4″ Elastic OR 4 18″ Ties (Bias tape, or 3/4″ knit strips thicker of jersey cotton)
Sewing Machine, Iron & Thread
STEP 1:
Cut out 2 each of your main fabric and your lining (they can be the same). Make sure to fold your fabric in half first so they are mirror image when you cut them out.
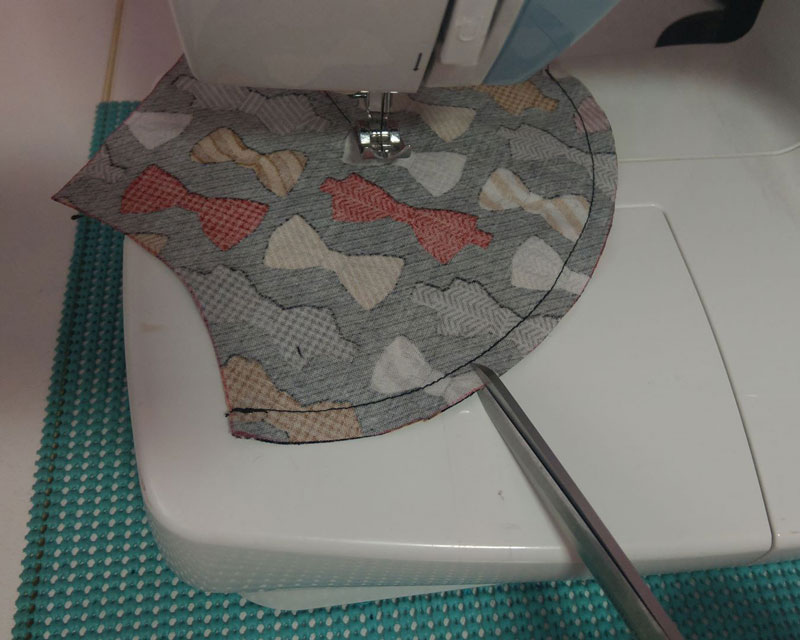
STEP 2:
With right sides together, sew using a 1/4″ seam allowance, along the curved edge. Repeat for inner.
For the best results clip along your curve, making sure not to hit your seam. This is not a must-do if production sewing for donation, but it will give a nicer finished seam.
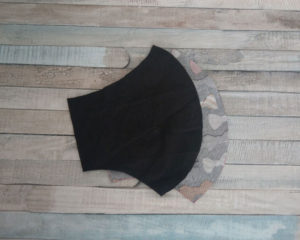
STEP 3:
Turn your piece with your main fabric right side out, so the seam is inside.
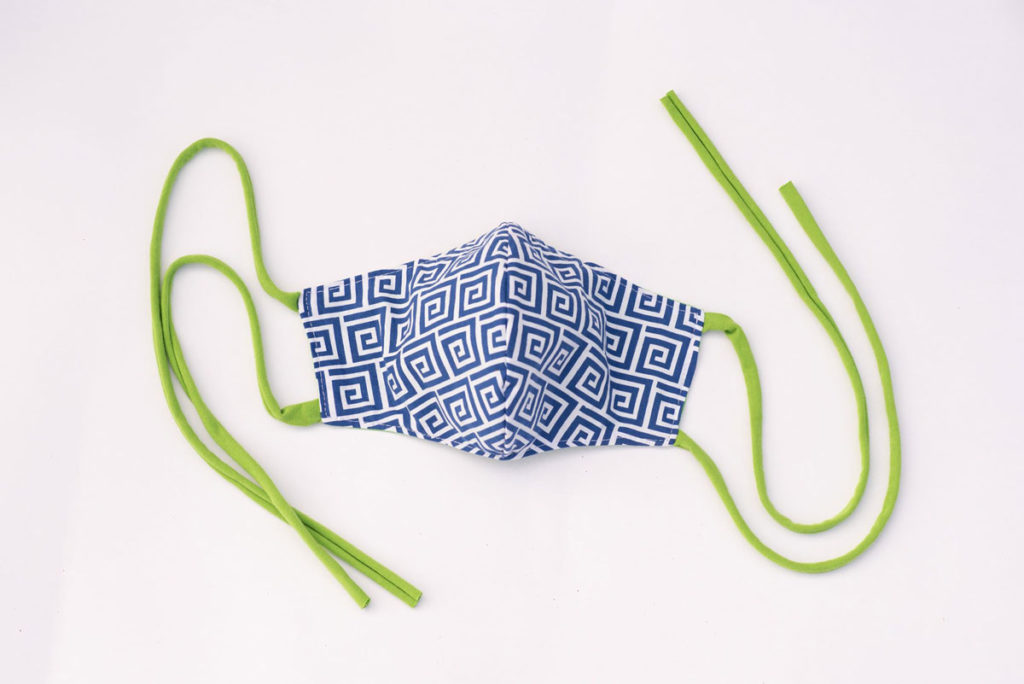
STEP 4A: (Ties only, if using elastic skip to Step 5)
Make 4 18″ ties. If using woven bias tape ties make sure to sew the layers together tucking ain and finishing one end.
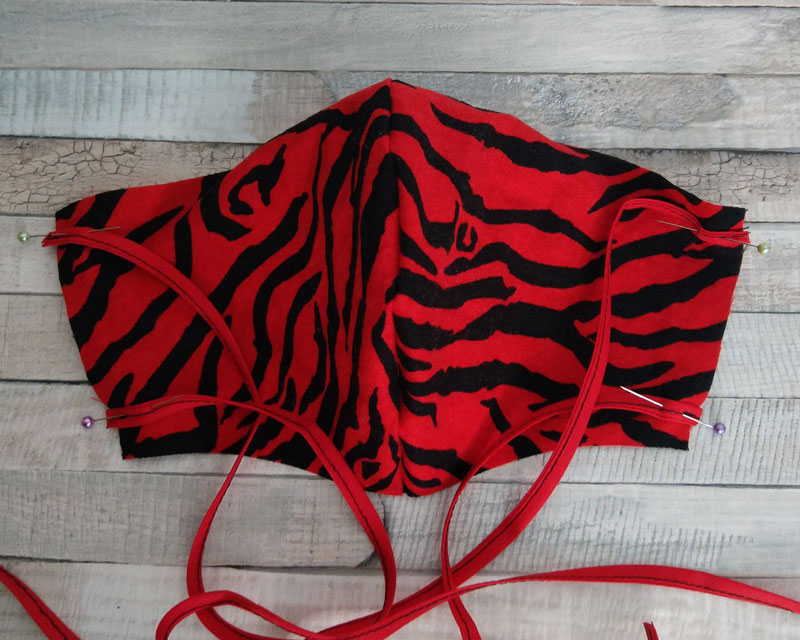
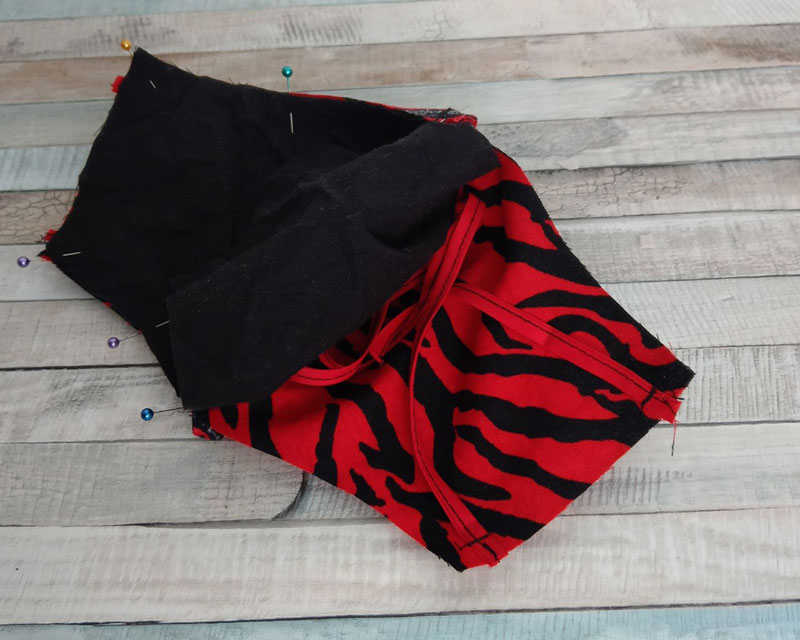
STEP 4B: (Ties)
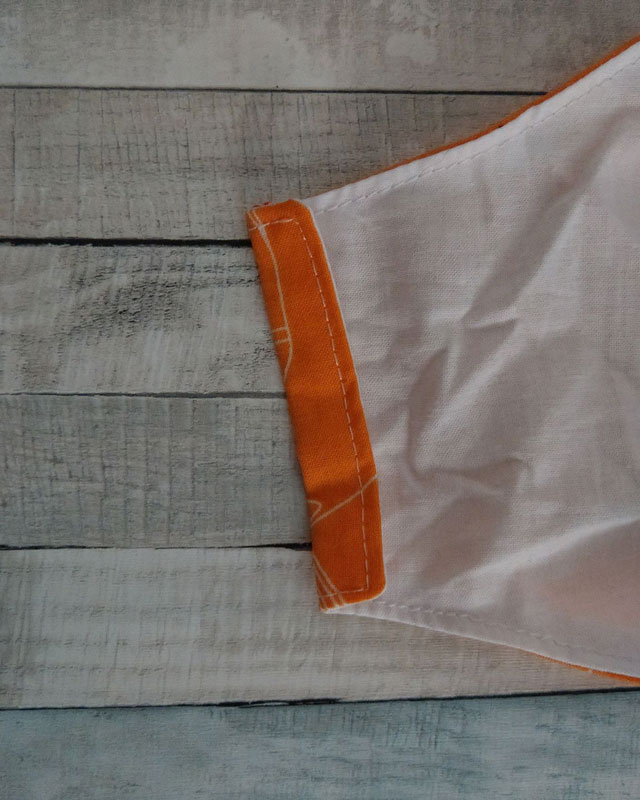
Pin the unfinished end of your tie on the short side of your lining 1/4″ from the long edge. If using jersey, just fold in have to make 1/2″ to attach. Your unfinished edge should match up with the raw edge of the fabric, ties laying into the middle of the mask. Stitch them in place with the sewing machine 1/4″ from the edge.
STEP 5:
Place your main fabric on top of your lining so they are right sides together. If you have ties, make sure the loose pieces are all in the middle. Pin around the entire outside.
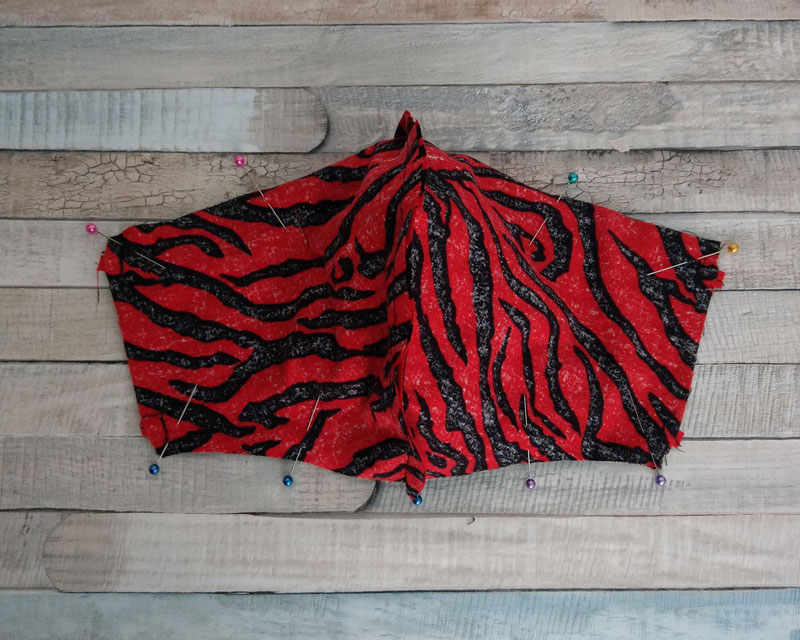
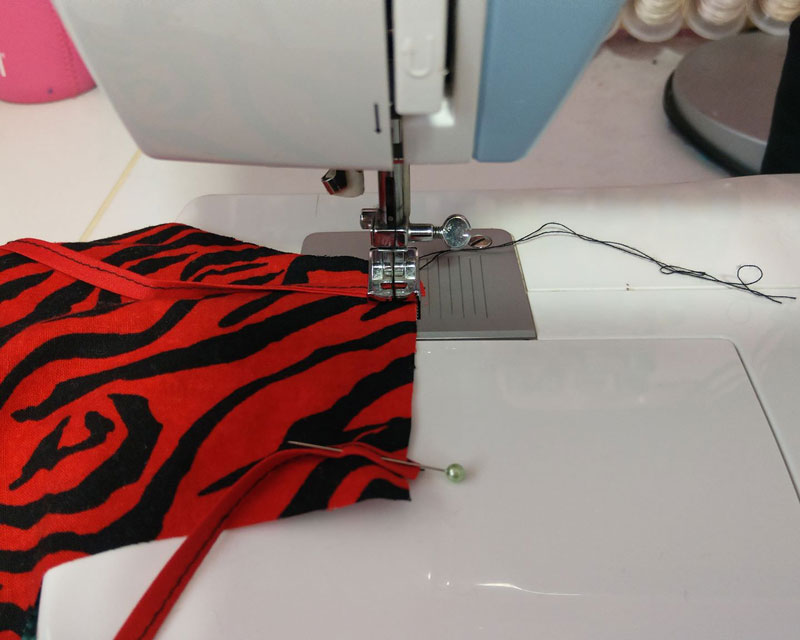
STEP 6:
Sew around the entire mask using a 1/4″ seam allowance making sure to leave a 2″ opening on one of the two smaller ends so you can turn it. Trim the corners.
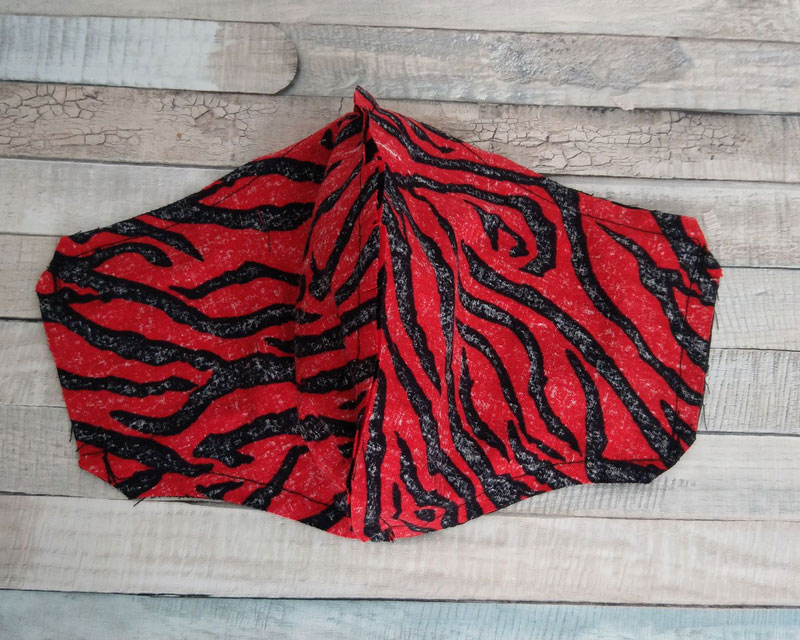
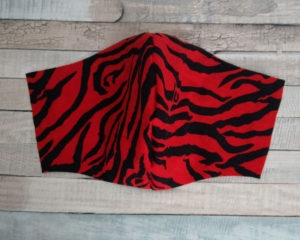
STEP 7:
Turn it right side out, pushing out your corners and turning the seam allowance at the opening inside and press with an iron. Topstitch 1/8″ from the edge all around the mask the tie version is now finished. *Optional – Topstitch the short sides only.
STEP 8:
Use the iron press the ends in 1/2″ and crease for the elastic casing and set aside.
STEP 9: Note: elastic stretch can vary, test your first one to see what works best.
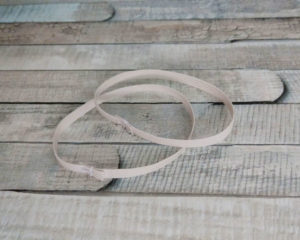
Ear loops – sew two 8-9″ pieces into two single loops with and 1/2″ overlap.
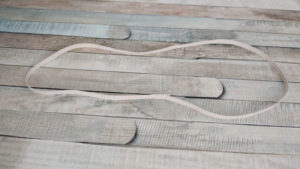
Around the head sew – a 24-28″ piece into a loop overlapping 1/2″, or tie a stretchy t-shirt tie to the same.
IF USING CORD ELASTIC cut it slightly longer and tie it with a knot so that know makes ear loops approximately 6.5-7.5″ finished to the knot, and around the head 23.5-24.5″
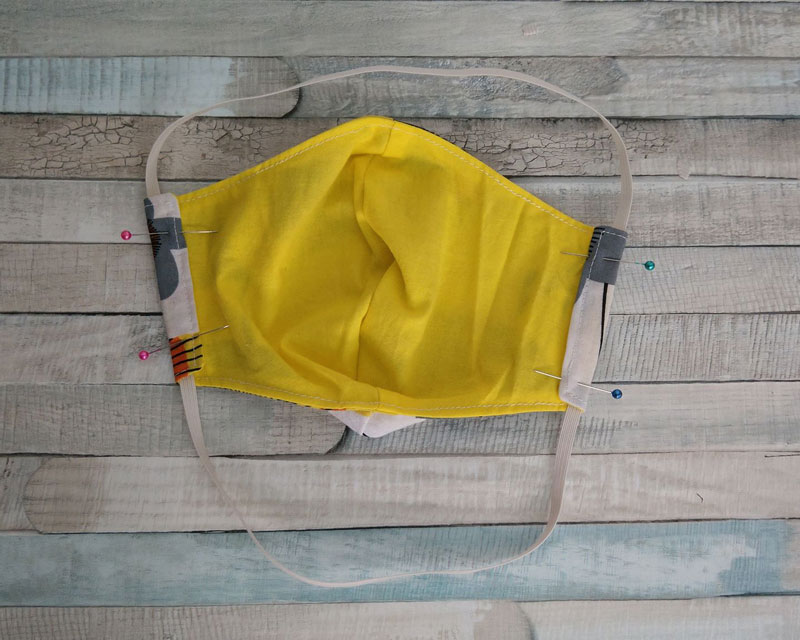
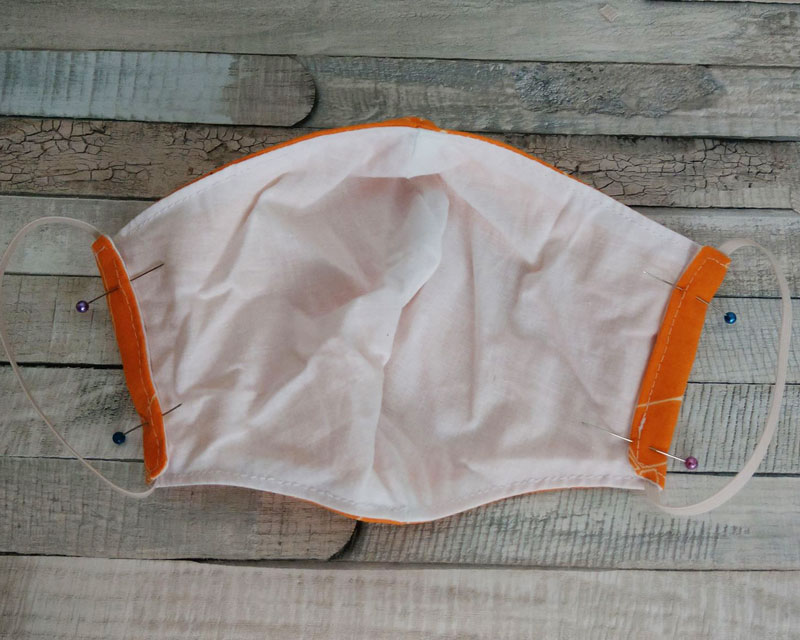
STEP 10:
Carefully lay the elastic in the ear elastic channels and pin in place, make sure they are right next to the fold. If doing around the head you lay it around the mask like a circle and put the sides in the channels.
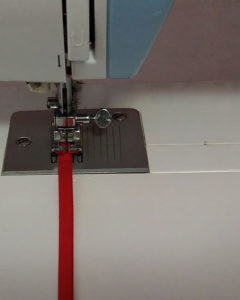
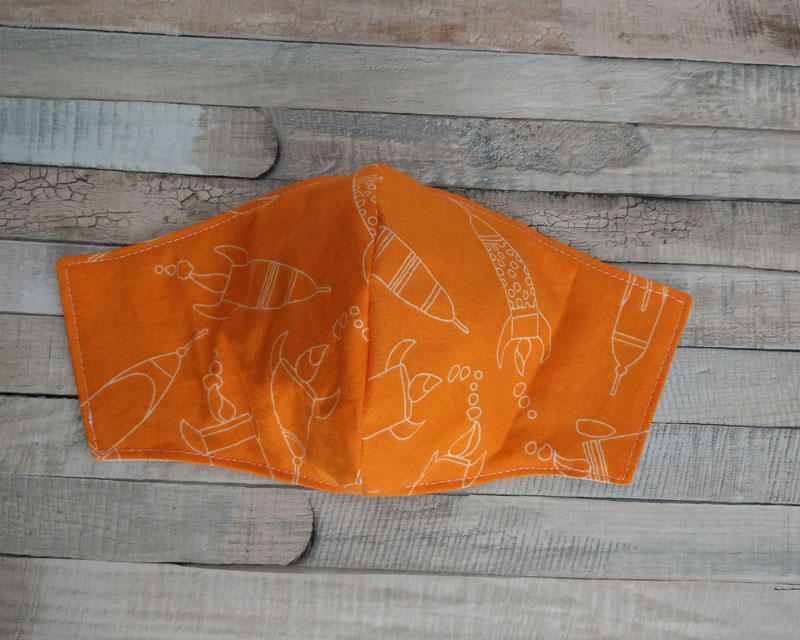
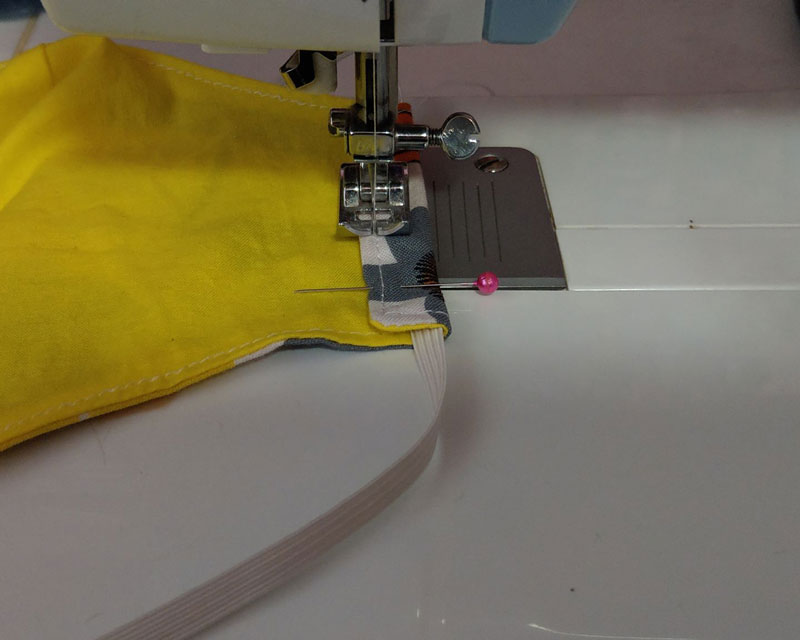
STEP 11:
Sew your channels in place 3/8″ from the folded edge, for the best results sew from the lining side.
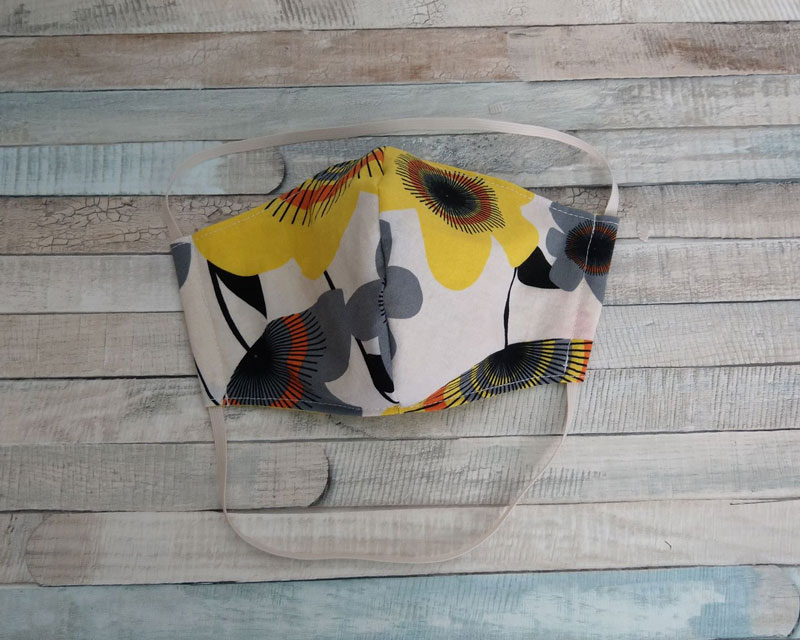
You are DONE!!!!
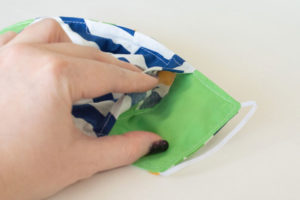
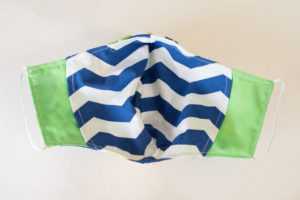
Want to make a Pocket Style? I have uploaded a Modification Tutorial that includes additional lining pieces to make the lining include a pocket so people can insert a surgical mask or other approved filtration material for their facility.
DOWNLOAD The Pocket Modification Tutorial HERE!
Due to maker requests with the newest recommendations we have now tested and released a similar, non-medical Petite Adult & Youth Ages 3-18+ pattern. SAFETY NOTICE: You should NEVER leave children ALONE wearing a mask in case they aren’t breathing good enough or the straps are catching. There should always be an adult present during use.
CLICK HERE TO DOWNLOAD THE PETITE ADULT AND YOUTH 3-18+ NON-MEDICAL MASK HERE.